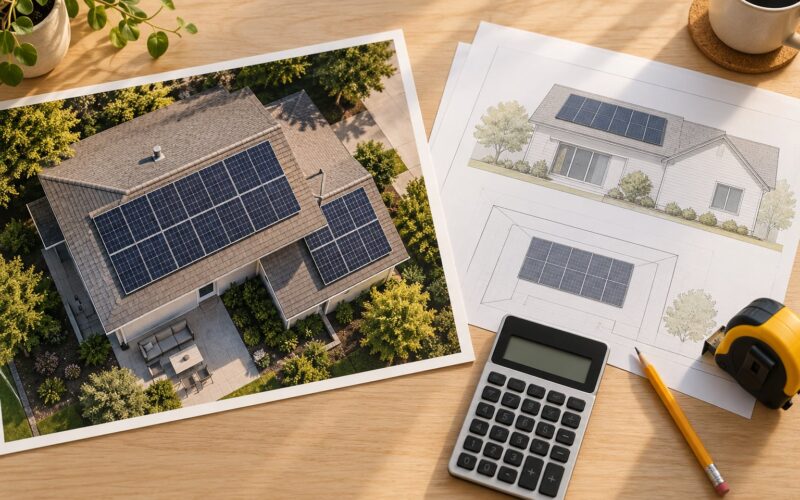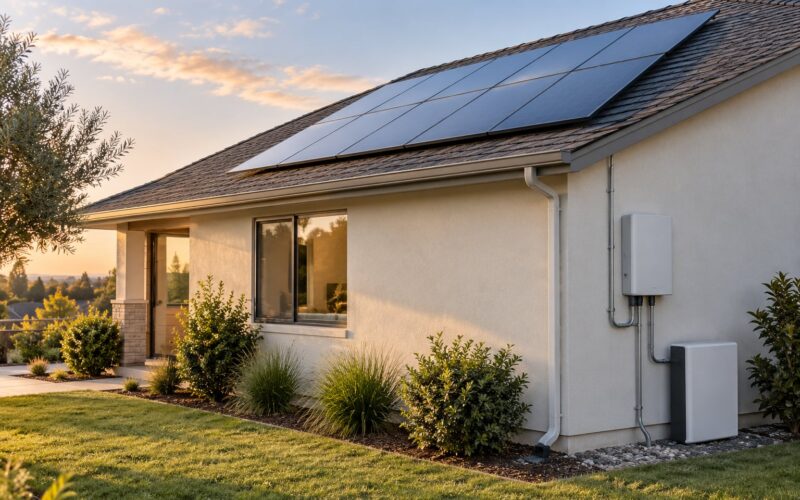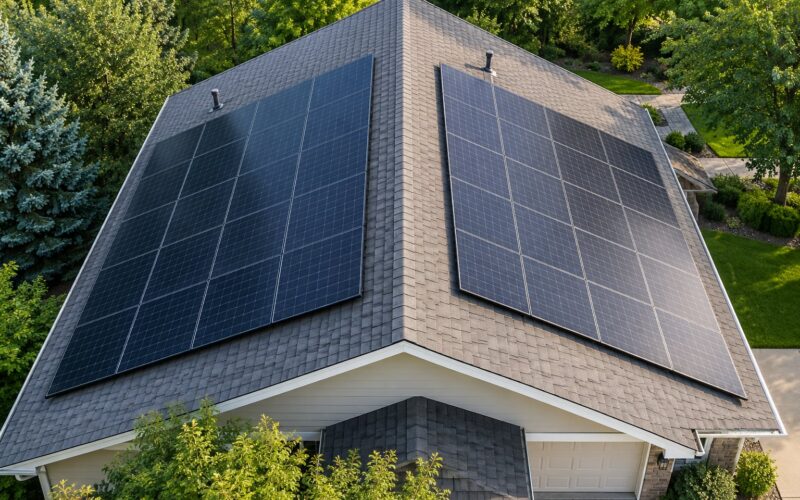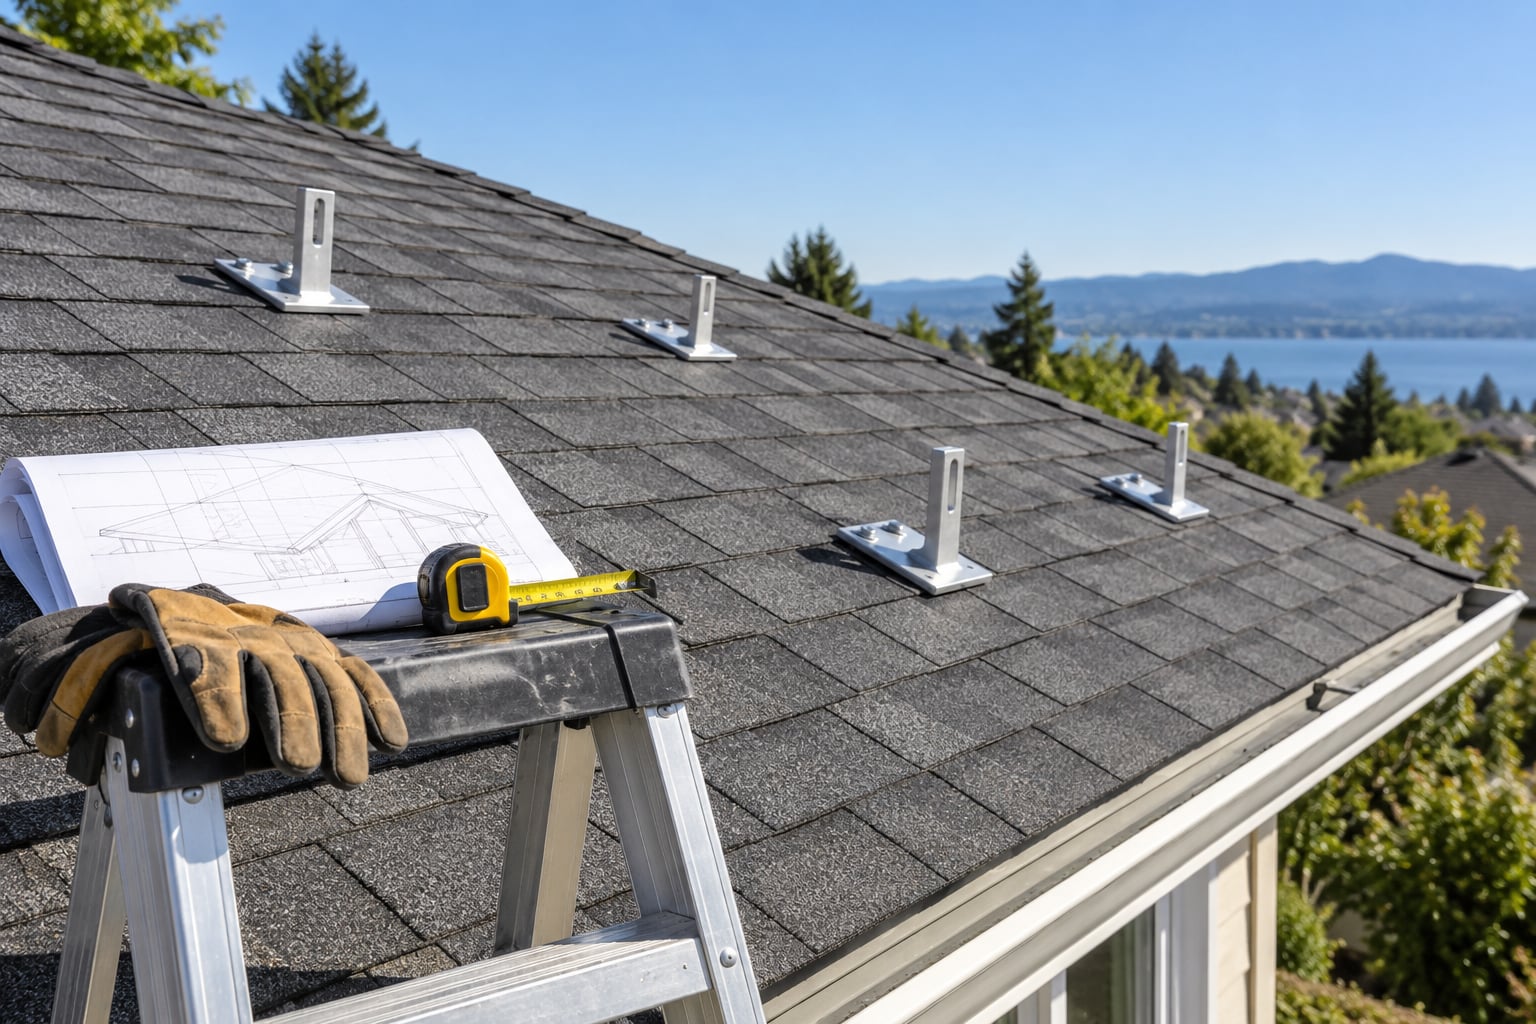
Most homeowners can do the paperwork half of solar preparation themselves: pull the roof records, walk the surface from the ground, clear the yard, plan where the crew will set up, and take dated photographs before anyone touches the roof. The other half belongs to professionals. Knowing how to prepare a roof before solar installation means doing the safe, useful parts yourself and leaving structural, electrical, flashing and mounting work to a qualified installer, roofer or engineer. The whole prep job is usually a few afternoons spread over a few weeks.
The order matters more than the effort. Roof work you do in a hurry, before the installer has assessed the site, tends to be redone later.
Table of Contents
- What You Need
- Step-by-Step: How to Prepare a Roof for Solar Installation
- Step 1: Review Your Roof and Installation Records
- Step 2: Inspect the Roof Surface and Structure
- Step 3: Measure and Clear the Proposed Array Area
- Step 4: Plan Access Around the Roof
- Step 5: Repair or Replace Necessary Roofing First
- Step 6: Confirm Electrical, Shading and Permitting Readiness
- Step 7: Photograph and Document the Final Condition
- Common Mistakes
- Frequently Asked Questions
- Do I need a new roof before installing solar panels?
- Should I reroof before installing solar panels?
- Can solar panels go on an old asphalt shingle roof?
- How much of the roof preparation can I do myself?
- Do I need permits to get a solar-ready roof?
- What should I do first to prepare my roof for solar panels?
- Conclusion
What You Need
Gather these before you request a site assessment. Nothing here is expensive, and most of it already exists in a folder, a garage or an email archive.
- Roof records — the original contractor invoice, the material brand and style, the install date, and the warranty paperwork. Manufacturer bulletins for your shingle or metal brand are often online and worth reading before the visit.
- Home records — the year you bought the house, any prior roof repair invoices, and the name of the roofer who last worked on it.
- Measurements — rough roof footprint, attic or garage dimensions, and the location of the main service panel and meter.
- Access notes — driveway width, side gate dimensions, a clear path from the street to the roof edge, and where a ladder can stand level.
- Shading information — a rough sense of what casts shade on the roof and at what hours, including a neighbouring tree that has grown taller since you bought.
- Safety gear for ground work — sturdy footwear, gloves, a ladder with a stabilizer if you will look from a low height, and a phone. Nothing more.
Read your roofing manufacturer’s installation instructions if you have them; they often state which flashings and penetrations are permitted and which sealant systems are approved. And be clear about the line: work on structure, wiring, disconnects, grounding and mounting hardware belongs to licensed trades.
Step-by-Step: How to Prepare a Roof for Solar Installation
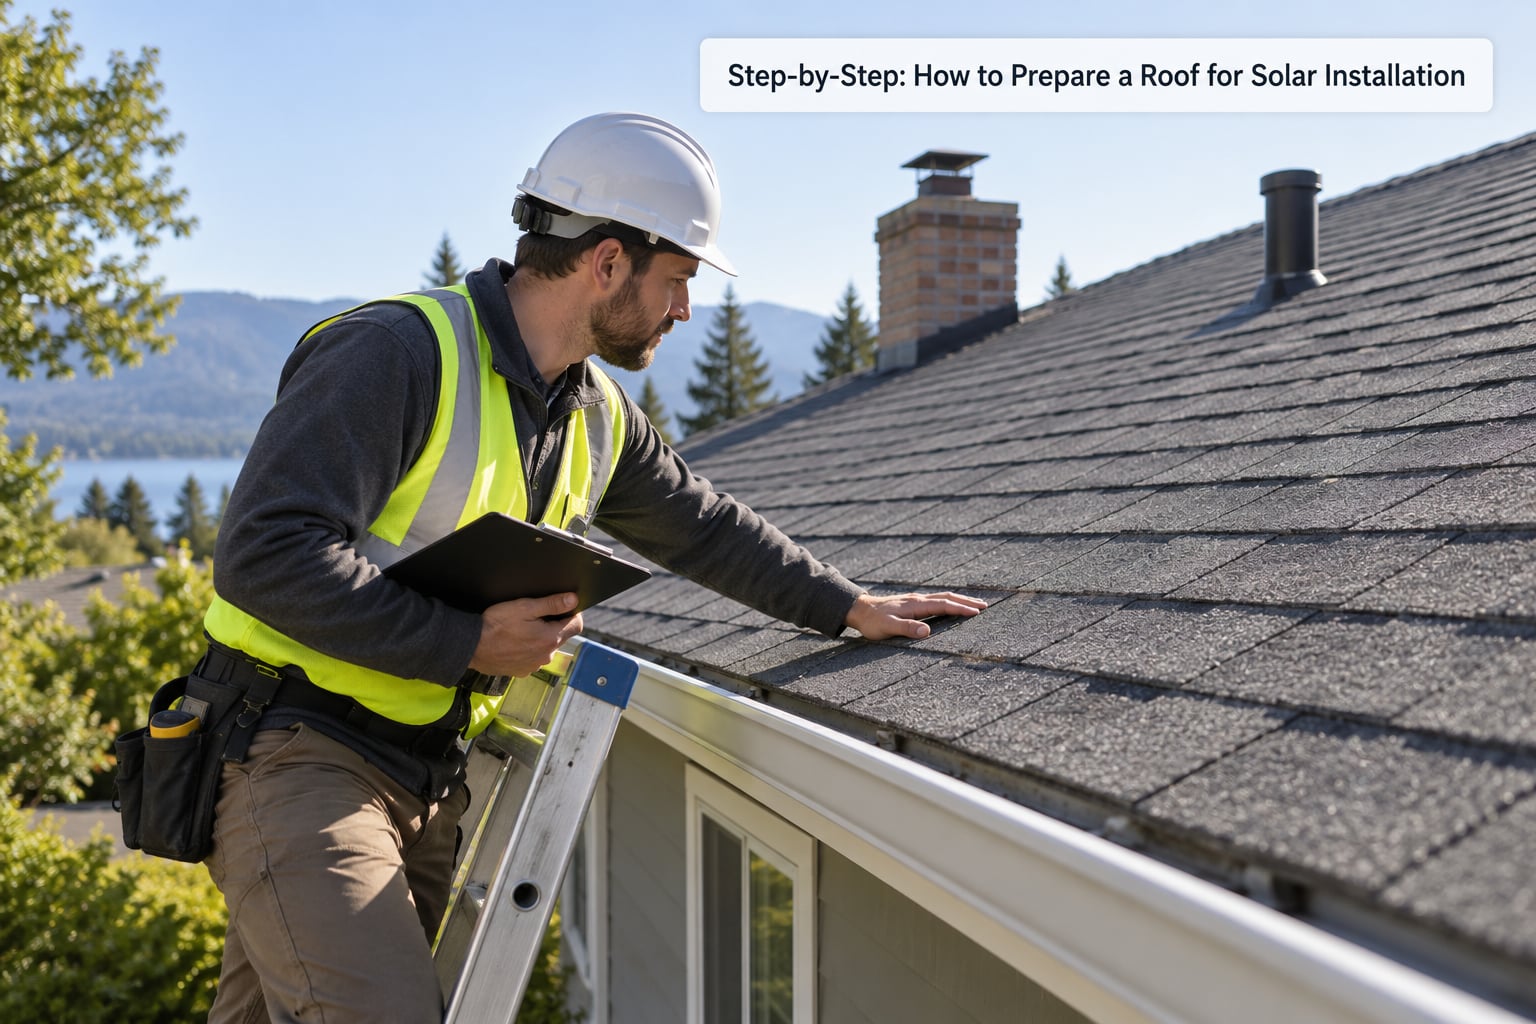
Work through these in order. The early steps are free and reversible; the later ones cost money and are much cheaper to do before panels are on the roof than after.
Step 1: Review Your Roof and Installation Records
Start on paper, not on the roof. Find out what the roof is made of, when it went on, who installed it and what the warranty covers. If you bought the house new, the builder’s package or closing documents usually include the roof spec. If not, your county or city building department may have a permit record from the original installation, and the roofing manufacturer can often identify a roof’s age from its serial number stamped on the underside of a shingle tab if someone can look without stepping on it.
What to hand the installer: the material and brand, the install date, warranty documents, and every repair invoice you can find. What to look for yourself: a roof past its expected service life, a warranty that excludes penetrations from a third party, or documentation you simply cannot find, which tells the installer the roof’s history is unknown. Any of those three is a good reason to ask for a professional roof inspection before you go further.
Step 2: Inspect the Roof Surface and Structure
From the ground, or from a ladder held by someone else at a low, safe height, photograph the roof plane where the array would go. Note missing, cracked, curled or displaced shingles, granule loss collecting in gutters, dark staining or algae streaks, dents, popped fasteners, and any daylight or damp sheathing visible in the attic under that area. Sagging rooflines, a ridge that looks off, or a ceiling stain that moves with rain are the three findings that stop everything else until they are resolved.
Be clear about what you are and are not judging. Looking at a surface and photographing what you see is fine. Assessing whether rafters or trusses can carry the array’s dead load, whether the roof meets current code, or whether the covering needs replacement is not. That requires a written structural load calculation or a letter from a structural engineer, not a visual “looks fine” from the driveway. Installers on solarpaneltalk.com describe the same thing from the other side of the ladder: confirming every fastener lands in a rafter is hard, and clearance around existing vents and skylights is a code question, not a judgement call.
Step 3: Measure and Clear the Proposed Array Area
To get a rough sense of usable area, measure each roof plane from the ground or an accessible edge, note the slope, and subtract space around vents, skylights, chimneys and the required setbacks from the edges. Treat this as a sanity check on the plan, not a design. Satellite imagery is free and shows plane dimensions, but it will not tell you about a dented panel, a wasp nest in a soffit, or a vent that sits exactly where a rail needs to go.
Clear the ground work yourself: prune back branches that overhang the roof edge, remove leaf piles and moss from gutters, take down a satellite dish or antenna if the installer says it is in the way, and relocate planters and patio furniture. Do not climb onto a steep, wet, icy or high roof to do any of it. If shade is a question, get a written shading analysis rather than guessing from a screenshot; the gap between an assumed shadow and a measured one is often worth several percent of annual production.
Step 4: Plan Access Around the Roof
Installers need room to work and a way to get material up. Walk the route from the street: is the driveway wide enough for a truck and a trailer, is the side gate passable, and is there a level spot away from sprinklers and soft ground for a ladder. On a steep or tall roof, that means a lift or a scaffold, and that is the installer’s call and their equipment, not something you rig up in the yard.
Access planning is the step most homeowners get wrong in how to prepare a roof before solar installation, because it is invisible from the street and costs a full crew day when it fails. Also plan the human logistics. Secure pets in a separate room on install day. Move vehicles you care about. Keep the path to the electrical panel and meter clear. Note any low overhead cables, service lines or eaves that a crew will want to know about, since those affect where a ladder can safely lean. And expect the installer to verify the final access requirements themselves once they see the site, rather than treating your plan as the last word.
Step 5: Repair or Replace Necessary Roofing First
If Step 2 turned up anything real, fix the roof before anything else happens. A roof that needs work now will need more work later, and doing it after installation means removing the panels, replacing the roof, and reinstalling everything. That detour is the single most expensive avoidable mistake in residential solar, and it is the reason roof age comes up in nearly every installer conversation.
Get a written assessment and a written schedule from a licensed or appropriately qualified roofer, and put them in touch with your solar installer directly. Ask each of them, in writing, what the other is doing and when. Homeowners on r/nzsolar described a go-solar project held up by prerequisite concrete tile pointing and painting, so if you have tile or an unusual covering, raise it early rather than after the contract is signed.
Step 6: Confirm Electrical, Shading and Permitting Readiness
Two things are worth sorting before the installer quotes you firm: the shading analysis and the electrical panel. Your installer handles the permit application and the utility interconnection paperwork, and can tell you whether your existing service panel has the capacity and the space for a disconnect. If you are building or doing a major remodel, pre-installing conduit and upgrading the service is often cheaper and faster at that stage, and a recurring piece of advice in solar forums is that doing it early avoided change orders later.
Leave the wiring itself alone. For most homeowners, how to prepare a roof before solar installation stops at knowing where the panel is and whether it is full. Running conduit, adding disconnects, grounding and interconnection are licensed electrician work under the National Electrical Code, including the rapid shutdown and arc-fault provisions that apply to rooftop PV. Keep the path to the panel and meter clear so the crew is not blocked on install day. If you belong to an HOA, check the rules early; state solar access laws limit what a homeowners association can restrict, though the details differ by state.
Step 7: Photograph and Document the Final Condition
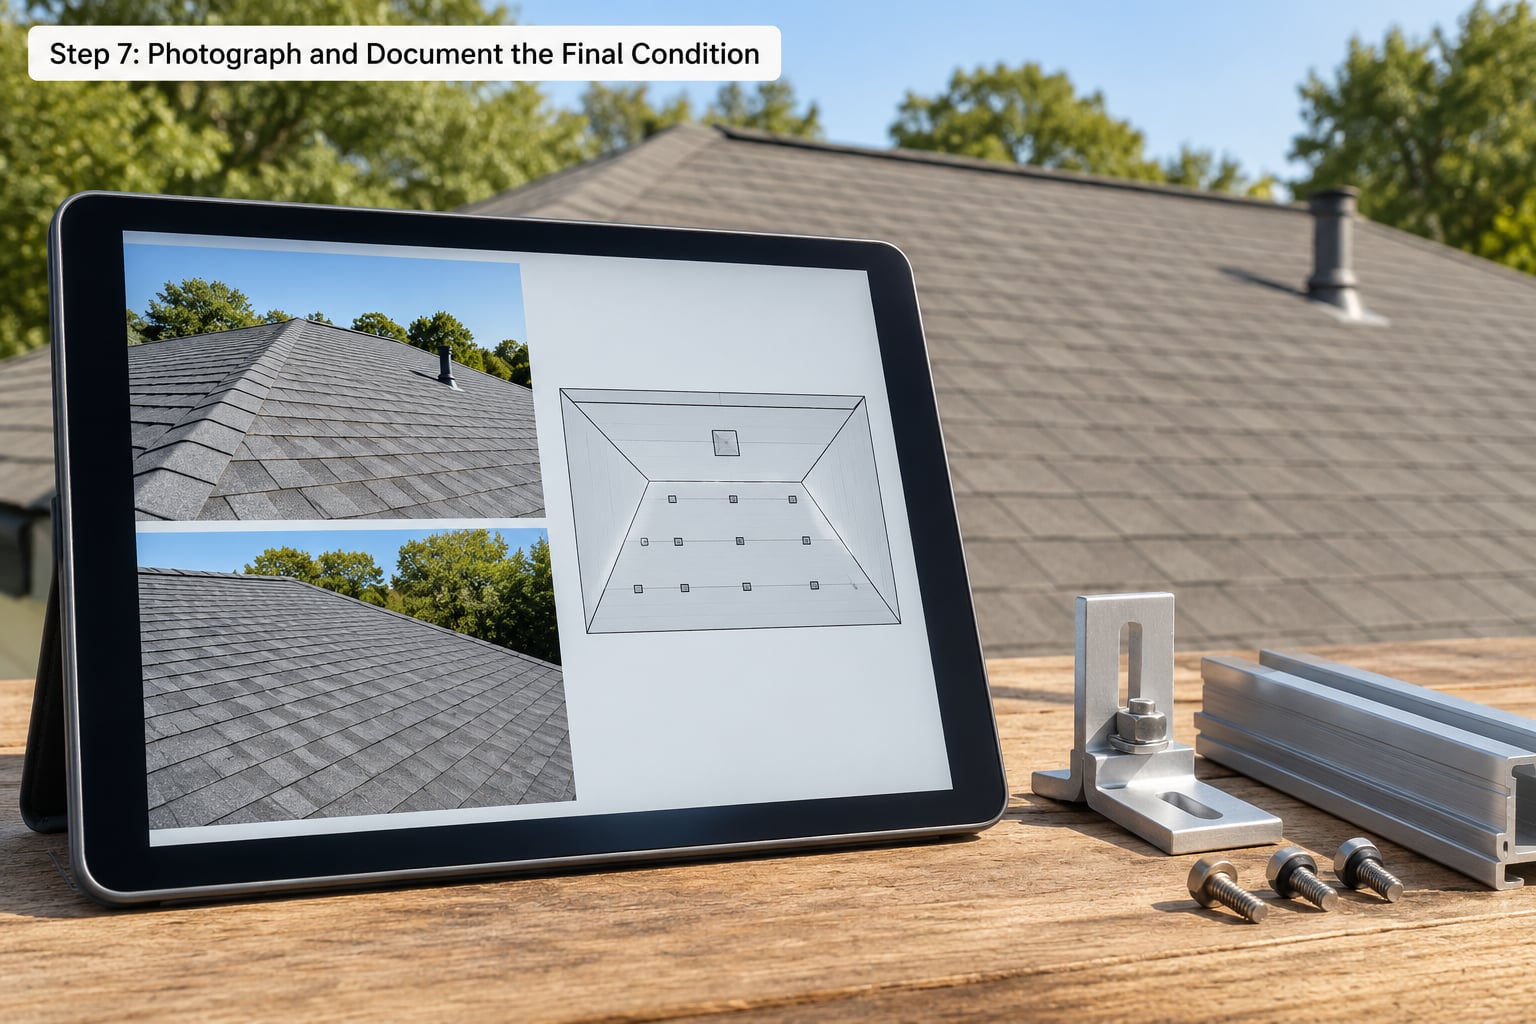
This step costs an hour and it is the one homeowners most often skip. Take a full set of dated photographs: every roof plane, close and wide, the gutters, the penetrations, the attic framing if you are already up there, and the service panel label. Use your phone’s date stamp or note the date in a file name, and save a copy outside your phone.
Add the paper trail: the roof invoice, warranty documents, the roofer’s written assessment, the installer’s written structural calculation, and the shading report. A dated baseline is what you produce if a leak shows up after the panels go up, and the top worry in homeowner forums is exactly that argument. Ask the installer which warranty covers roof penetrations and which roofer warranty applies, and get the answer in writing, so you know who to call and you are not bouncing between two companies.
Common Mistakes
Almost every expensive problem in a solar prep traces back to one of these.
Waiting too long to repair the roof. Installing on a covering that already has a known problem buys a leak investigation and an argument later. Fix it first, and let the new roof settle before the array goes up.
Treating a visual check as a structural sign-off. A roof that looks fine from the driveway is not the same as a documented load calculation. Ask for the calculation in writing, and if the house is older, has a remodeled attic, or has wide rafter spacing, get an engineer’s letter.
Forgetting permits and utility coordination. A system connected without approval can be disconnected. Let the installer file the permit and interconnection paperwork, and confirm who is responsible before you sign.
Overlooking shading until the design is done. Trees grow, neighbours build, and a chimney shadow that is minor in June is not minor in December. Get a written shading analysis with the design, and agree on any trimming as part of the plan rather than as an afterthought.
Failing to plan access. A gate too narrow or a driveway too tight costs a day of crew time. Walk the route the week before install, not the morning of.
Treating electrical or structural work as routine. This is the one that gets people hurt and can void permits and warranties. Conduit, disconnects, grounding and mounting belong to licensed trades and to the mounting system’s instructions.
Skipping the photographs. Dated records take an hour and settle most leak disputes before they start.
Two quick tips: get three quotes and compare what each one actually includes, not just the headline number. And ask every contractor to say in writing which parts of the job they are responsible for, so nobody assumes the roofer is handling the penetrations or the installer is handling the waterproofing.
Frequently Asked Questions
Do I need a new roof before installing solar panels?
Not automatically, but the roof has to be sound and have enough life left to outlast the system, which commonly runs 25 to 30 years. Installers generally want at least 10 to 15 years of remaining service life, and many will not sign off on a roof with active leaks, sagging or worn decking. If your roof is near the end of its life, replace it first, because doing it afterwards means removing and reinstalling the panels.
Should I reroof before installing solar panels?
If the roof needs replacement at all, reroofing first is almost always the cheaper sequence. Replacing a roof with panels mounted on it means paying to remove the array, re-flash every penetration and reinstall the equipment afterward. If the roof is in good shape, reroofing first wastes money and years of roof life. Get a written assessment from a roofer and a written plan from your installer, and let those two documents settle the order.
Can solar panels go on an old asphalt shingle roof?
They can, but age alone is not the deciding factor. A fifteen-year-old roof in good condition with documentation is often accepted, while a ten-year-old roof with brittle granules, curled edges or soft decking will be rejected. Remaining life matters more than the install date. Asphalt shingle is the most straightforward surface for mounting hardware, and the manufacturer instructions cover approved flashings and sealants.
How much of the roof preparation can I do myself?
Records gathering, a ground-level visual inspection with photographs, clearing vegetation and clutter, planning the access route and documenting the roof’s condition are all reasonable homeowner tasks. Structural load calculations, rafter and truss assessments, roofing repairs, flashing work, conduit, disconnects, grounding and mounting hardware are not. A clear dividing line is whether the task involves the roof covering, the structure or the electrical system.
Do I need permits to get a solar-ready roof?
Preparing the roof itself, meaning inspections, repairs and documentation, generally does not require a solar permit. Installing the system does. Your installer normally files the building and electrical permits and handles the utility interconnection application. If you are doing a major remodel or new build, ask about preconduit and a service panel upgrade during the permit, since both are cheaper before the system is designed around your existing panel.
What should I do first to prepare my roof for solar panels?
Start with the paperwork. Find the roof invoice, the material, the install date and the warranty, then take dated photographs of every roof plane from the ground. That combination tells you the roof’s history and gives you a baseline record. With those in hand, book a professional site assessment, and let the assessment drive any repairs, clearing or access planning that follows.
Conclusion
How to prepare a roof before solar installation runs in a fixed order: find the records, look at the surface, measure and clear the area, plan access, complete any roofing work, confirm the electrical and permitting side, then photograph everything while it is still clean. The homeowner jobs take an afternoon each and cost almost nothing. The professional jobs take longer and cost real money, which is exactly why they belong at the front of the schedule.
Start by pulling your roof invoice and taking dated photographs, then book a professional site assessment. Everything else, including clearing the yard and planning the access route, follows from what that assessment says.