Solar lights stop working for a handful of predictable reasons, and the answer is usually one of four things: the switch is off, the panel is dirty or shaded, the rechargeable battery has aged out, or water got into the housing. Work through those in order and most dead paths come back on within an afternoon. The whole check takes about 15 minutes per light with basic tools, and it needs no electrical experience for the first four steps.
Before you buy a replacement, know that a light that glows faintly for an hour has a different fault than one that never lights up at all. Dim output points at charge or battery capacity. Zero output points at the switch, the sensor, or a completely flat pack. That distinction saves you from swapping parts that were never the problem.
Table of Contents
- What You Need for Why Are My Solar Lights Not Working
- Step-by-Step Solar Light Troubleshooting
- Why Are My Solar Lights Not Working? Check the Basic Controls
- Why Are My Solar Lights Not Working? Check Sunlight and Charging
- Why Are My Solar Lights Not Working? Inspect the Battery
- Why Are My Solar Lights Not Working? Test the Sensor and Switch
- Why Are My Solar Lights Not Working? Look for Water and Wiring Damage
- Common Mistakes That Keep Solar Lights Broken
- Frequently Asked Questions
- How long should solar lights charge before they work?
- Can I replace the battery in a solar garden light?
- Why does my solar light work during the day but not at night?
- How do I test a solar light sensor?
- Do solar lights need direct sunlight to charge?
- Can solar lights be repaired after water damage?
- Conclusion
What You Need for Why Are My Solar Lights Not Working
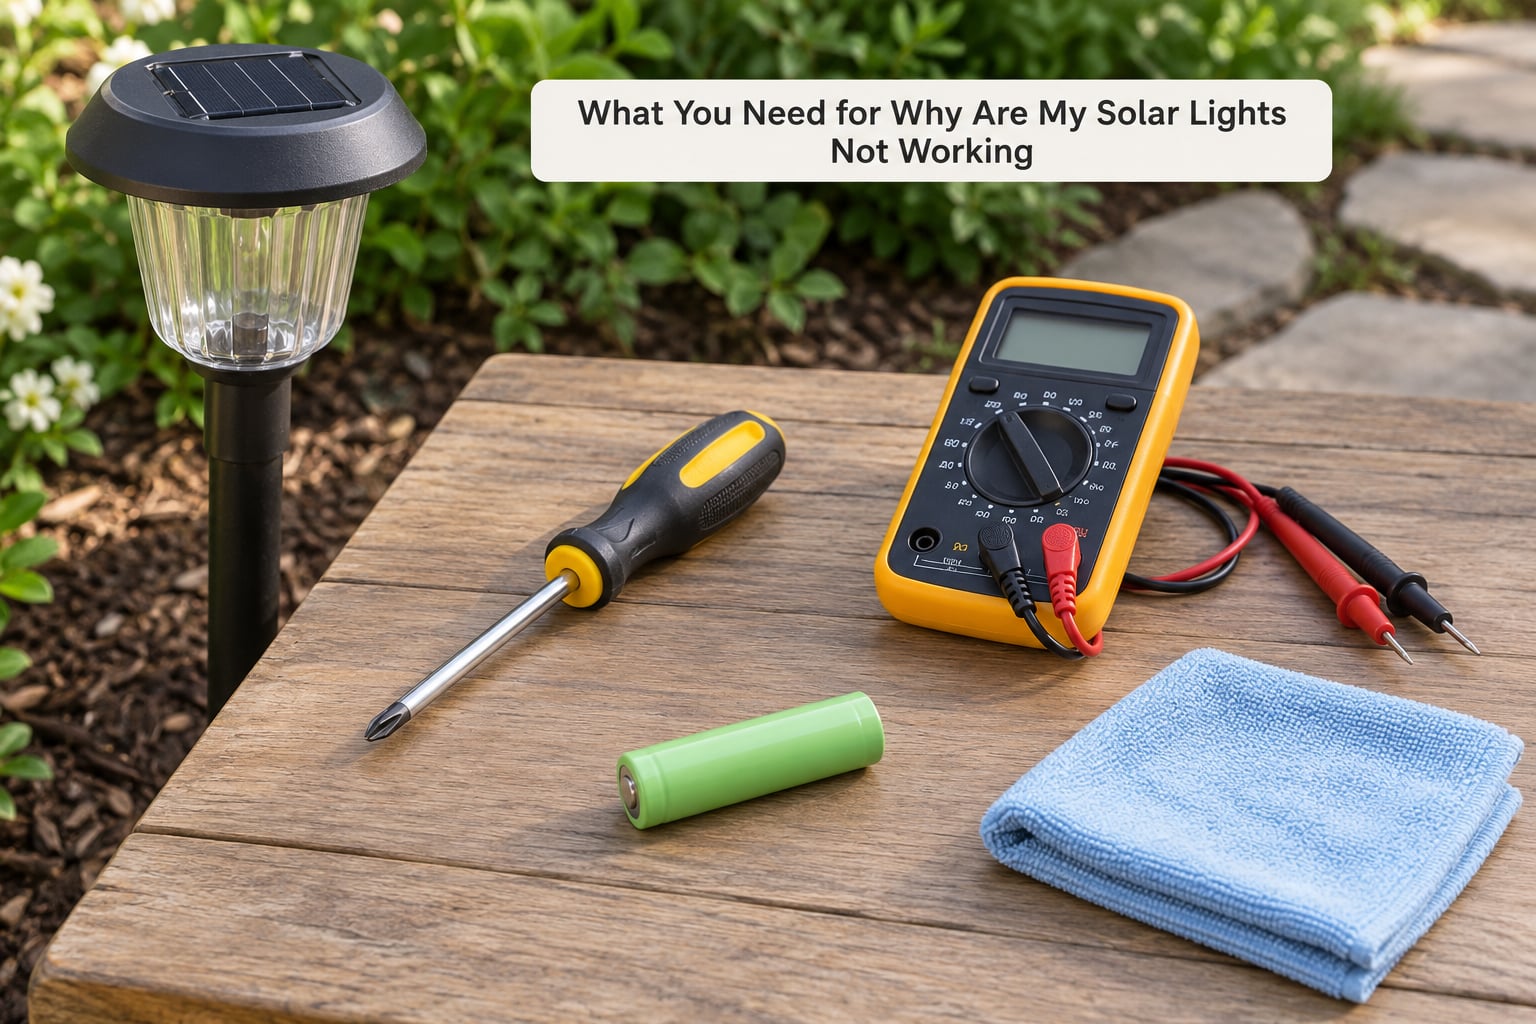
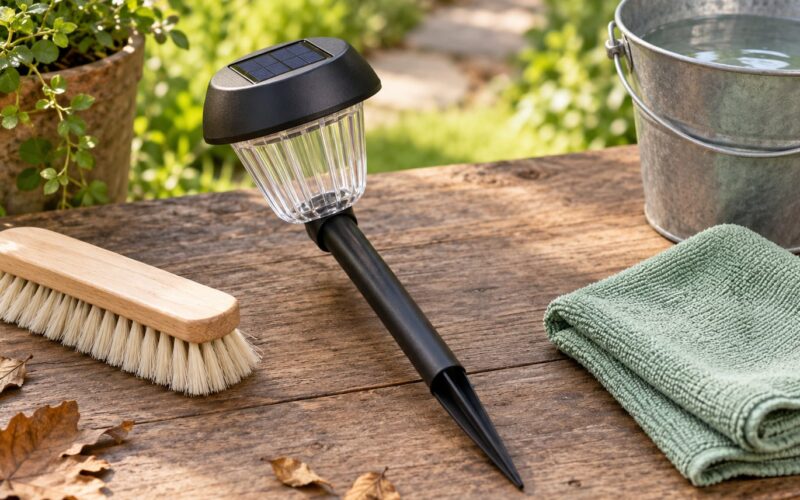
You need very little, and most of it you already own. A small Phillips or flat-blade screwdriver for the base panel or battery door, and a soft cloth or cotton pad for the solar panel. A damp cloth with a little white vinegar works well on mineral deposits, plain soap and water handles general grime.
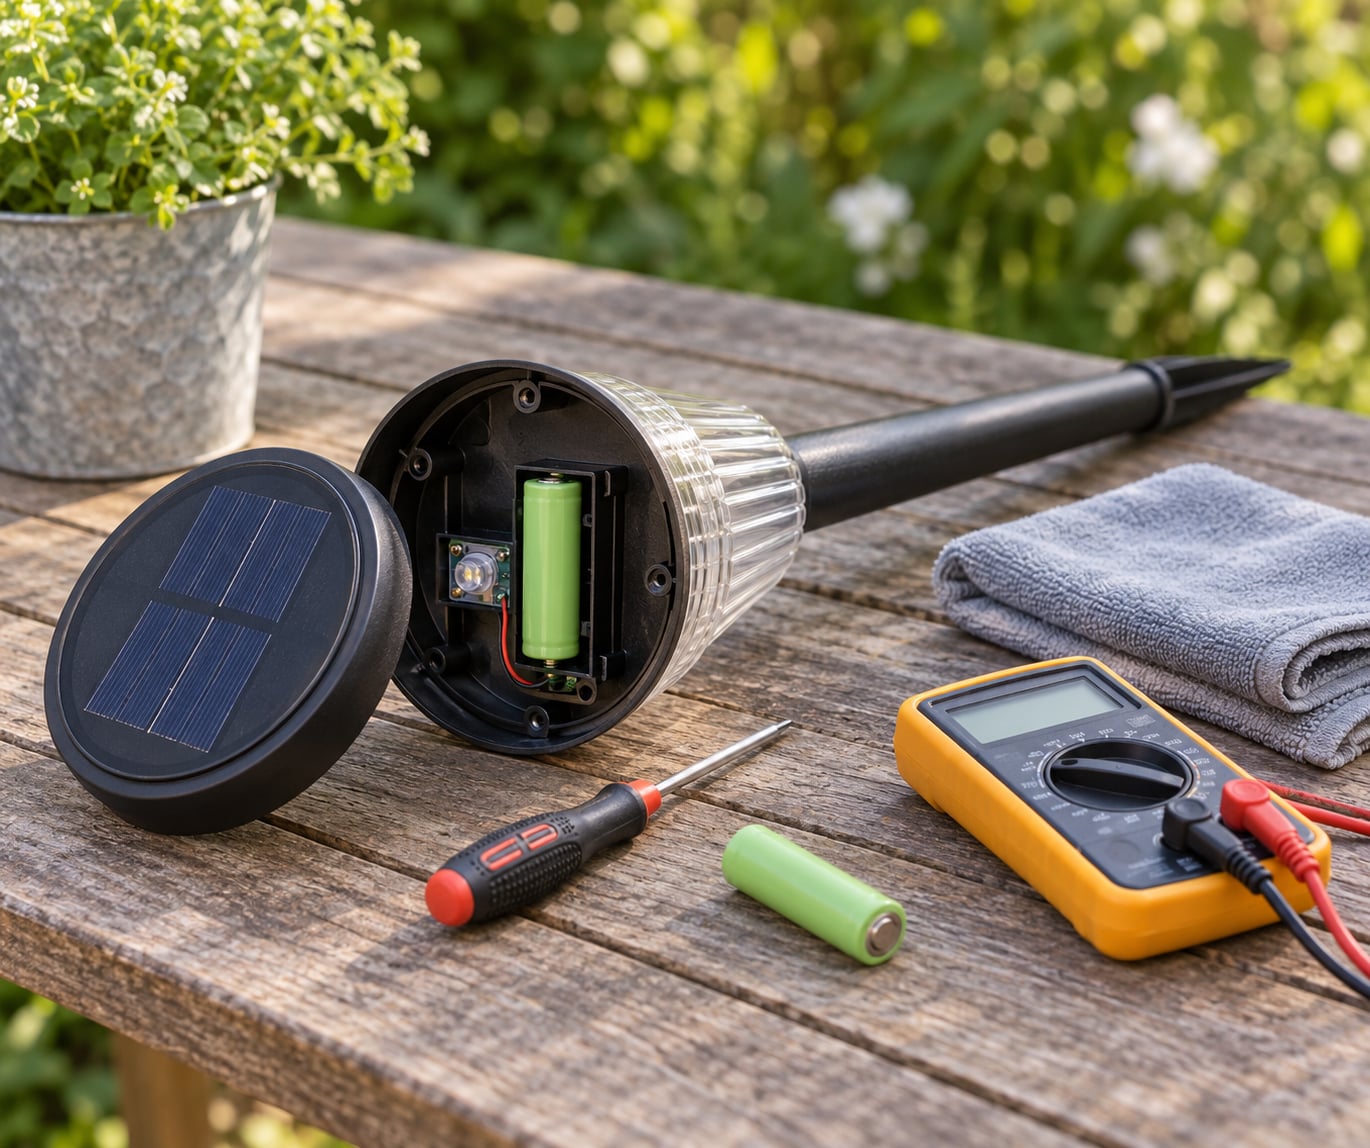
A multimeter turns guesswork into a reading. Set it to DC volts and check the battery pack, then the panel output. If you do not have one, skip ahead and use the darkness tests instead.
Bring a spare rechargeable battery in the size your light takes, which is usually 1.2 volt AA or AAA NiMH. Keep the manufacturer’s instructions nearby if you still have them, because the sensor reset procedure varies by brand. A small flashlight or headlamp helps when you are checking the light sensor after dark.
Step-by-Step Solar Light Troubleshooting
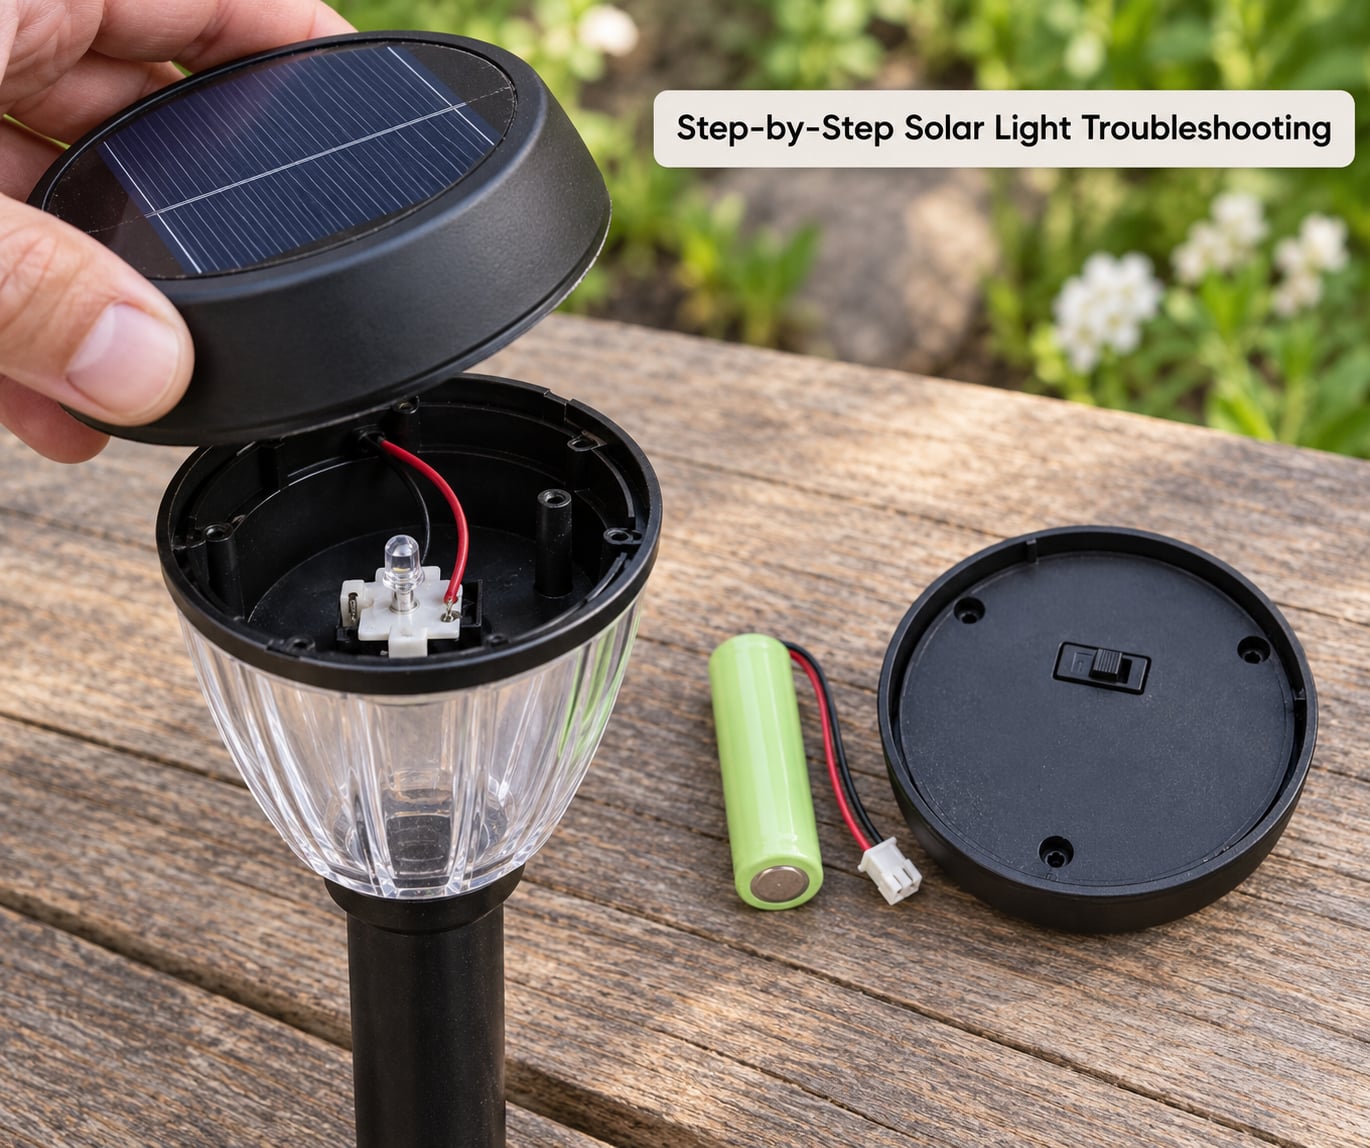
Run these five checks in order. Each one is quick, and each rules out a group of causes, so skipping ahead wastes more time than it saves.
Why Are My Solar Lights Not Working? Check the Basic Controls
The most common cause is embarrassing but real: the switch is in the OFF position, and it usually ships that way with a pull tab or a piece of tape over the panel. Look at the bottom, the back, or the pole for a slider, a rocker, or a small tab. Move it to ON and remove anything covering the panel face.
Then test for light. Cover the entire solar panel with your hand or an opaque cloth and hold it there for 20 to 30 seconds. A working light with a healthy battery will come on, because the sensor reads darkness. If it does not, move to the battery check.
Look for an obstructed daylight sensor too. Many lights have a small photocell window separate from the panel, often on the front face or under a lens. Dirt, paint overspray, or a spider web on that window keeps the light in daytime mode all night. A gentle wipe fixes it more often than not.
Why Are My Solar Lights Not Working? Check Sunlight and Charging
Solar path lights need roughly 6 to 8 hours of direct sun for a full charge. Under a tree canopy, beside a fence, or along a north-facing wall, they get a fraction of that and never build a usable charge. Direct sun delivers many times more power than bright shade, so a light that worked in one spot often fails after you rearrange the garden.
Move the light into open sun and give it two full sunny days before judging it. That first cycle matters, because the battery often arrives partly discharged from the factory and from sitting in a dark box.
A dirty panel is the same problem wearing a disguise. Dust, pollen, bird droppings, and hard-water film can cut output by roughly 70 percent. Wipe with a damp cloth, then follow up with a barely damp cloth using a little vinegar on mineral crust. Skip alcohol and abrasive cleaners, which haze the plastic and scratch the cells.
If you want to know whether the panel is charging at all, cover the panel and watch for the light. Then leave it in the sun for a full day and check again. That side-by-side comparison tells you more than staring at the LED.
Why Are My Solar Lights Not Working? Inspect the Battery
The rechargeable battery is the part that wears out, and it does so quietly. Most AA and AAA NiMH packs last 1 to 3 years depending on how much sun the panel gets and how often the light runs. Symptoms are unmistakable: the light comes on at dusk, glows faintly, then dies within an hour or two.
Open the battery compartment and look before you touch anything. A bulging or swollen cell is unsafe, so do not squeeze or puncture it, and check whether any liquid or white crust has leaked onto the contacts. Swelling shows up most often in older lights that sat through a hot, unventilated summer.
With a multimeter on DC volts, a healthy NiMH cell reads roughly 1.2 to 1.3 volts charged. Below 1.0 volts, the cell is spent. A pack of two AAs should read about 2.4 to 2.6 volts in total. A reading near zero with the light in full sun points to a bad pack rather than a bad panel.
Replace with the same chemistry and the same voltage. Do not mix alkaline and NiMH cells, and never use ordinary alkaline batteries, because they will not recharge and can leak or bulge under the charging circuit. Quality NiMH cells from a reputable brand tend to hold a full night where the cheap bundled ones fade after a few months, which is the single most common complaint on DIY forums.
Clean the contacts as you go. A dab of dielectric grease on the terminals slows fresh corrosion. For green or white crust, rub it off with a soft brush or fine abrasive, then wipe with a dry cloth before seating the new cells.
Why Are My Solar Lights Not Working? Test the Sensor and Switch
Solar lights come in three common switching types: a dusk-to-dawn photocell that lights automatically, a motion sensor that needs movement, and a plain on/off switch. Each fails differently, so test the one your light actually has.
For a photocell, cover the panel completely in daylight. The light should come on within a few seconds. A light stuck on all day is not a dead sensor, it is a sensor that is seeing darkness, usually because a neighbouring light or a street lamp is hitting the photocell and keeping it switched off. That interference shows up a lot in shared gardens. Taping over the sensor window with opaque electrical tape is a common fix, and so is moving the light a few feet away from the offending lamp.
For a motion sensor, walk past the light during the day with the panel covered. If the LED never fires, the PIR lens is either blocked by grime or dead. Wipe the lens first. Sensors also need several seconds of stillness before they re-arm, so standing right in front of the light will not trigger it.
For a switch, flip it off for a few seconds and on again. Many models have a reset or mode button, often a small recessed hole you press with a paperclip while the light is switched on. Holding that for 10 to 15 seconds clears a stuck mode setting and restores the default behaviour. If nothing changes, the switch assembly is usually part of the same board as the sensor, which means replacement of the whole light.
Why Are My Solar Lights Not Working? Look for Water and Wiring Damage
Lights that fail after rain or after winter almost always let water in. Check the seam where the base meets the housing, the battery door seal, and the stake. A warped cover, a missing rubber gasket, or a cracked lens all let water sit on the board.
Signs of water damage are green or white crust on the battery terminals, a dull green film on the copper contacts, rust on the screws, and a battery compartment that is damp or sticky inside. Corrosion that has spread under the board usually cannot be cleaned off, and DIY forum posts about budget lights often end with the same conclusion: once the board is green, the light is finished.
Also inspect the wiring. Look for cracked insulation, a wire pulled loose from the battery holder, or a connector pushed partly out of its socket after the housing was opened. Heat-shrink tubing or a dab of silicone sealant over a repaired joint keeps water out next time.
Worth knowing that IP65 means splash resistant, not submersible. An IP65 light is fine in rain but should not sit in a puddle, and it will not survive being pointed at a sprinkler head. Persistent watering is the most common route to permanent damage.
Common Mistakes That Keep Solar Lights Broken
Placing a light somewhere that gets almost no sun. Even a few hours of bright shade leaves a battery far short of full, and the light dies before midnight. If the spot is dim, move the fixture rather than blaming the battery.
Testing during the day. A solar light will not illuminate in daylight because the sensor is doing its job. Any test has to happen in the dark or with the panel covered, and judging a light after two hours of afternoon sun tells you nothing.
Leaving the protective film or factory strip over the panel. That film looks like a faint haze until you compare it with an unwrapped light, and it blocks a real share of the charge.
Using the wrong batteries. Alkaline cells are not rechargeable, and mixing chemistries in the same compartment causes overheating and swelling. Match the voltage printed on the original pack.
Ignoring corrosion because the light still flickers. Green crust on the terminals cuts charging capacity even when the light appears to work, which is why replacements often seem to help for a while and then fail again.
Rushing the reset. Some lights need the switch cycled with the panel in darkness, and some need the reset button held rather than tapped. Check the brand instructions before assuming the electronics are dead.
Frequently Asked Questions
How long should solar lights charge before they work?
Give a new or newly replaced light two full days of direct sun before you judge it. Most solar path lights need 6 to 8 hours of unobstructed sunlight for a complete charge. A light that has been sitting in a box, or one whose battery was fully drained, often needs that first extra day to recover. If it has had two clear days in open sun and still stays dark at dusk, the fault is elsewhere: a dead battery, a failed panel, or a sensor.
Can I replace the battery in a solar garden light?
Yes, on most models. Solar lights with AA or AAA sized compartments open from the base or back with a screwdriver, and the pack swaps out in a minute. Match the chemistry and voltage printed on the original, and use quality NiMH rechargeable cells rather than alkaline. Check for corrosion and swelling before you fit the new pack. Sealed or glued housings are the exception, and those are usually better replaced than repaired.
Why does my solar light work during the day but not at night?
That combination points at the daylight sensor, not the battery. Covering the panel or photocell window should trigger the LED in seconds, so if it lights while covered but stays dark after dusk, the sensor is being fooled into thinking it is still daytime. A bright porch light, street lamp, or a neighbour’s floodlight hitting the photocell is the usual culprit. Taping over the sensor window or relocating the light a few feet solves it in most cases.
How do I test a solar light sensor?
Find the photocell, usually a small window on the front or underside of the light, and cover it completely with an opaque cloth or your hand. A working sensor registers darkness and switches the LED on within a few seconds. To confirm the panel is charging at the same time, leave the light in full sun for a day, then repeat the cover test. Light plus no charge points at the panel or battery; no light in either condition points at the sensor or switch.
Do solar lights need direct sunlight to charge?
Direct sun matters far more than ambient light. Bright shade delivers a fraction of the energy a clear, unobstructed panel receives, which is enough to run a light for an hour or two but not for a full night. Place lights where nothing blocks the sky, keep them clear of leaf litter and snow in winter, and wipe the panel down when dust builds up. A panel that never sees clear sky will never hold a full charge.
Can solar lights be repaired after water damage?
Sometimes, and it depends how far the water travelled. Light corrosion on the battery terminals and a damp battery compartment can be cleaned with a soft brush, dried, and treated with dielectric grease. Once the board itself turns green, the light has usually failed permanently, because the corrosion sits under the components and keeps drawing current. Waterproofing the seams with silicone sealant on a working light helps prevent the next failure.
Conclusion
Start at the switch, then the panel, then the sunlight, then the battery. That order takes fifteen minutes and catches the large majority of solar light problems, because those four account for nearly every dead path light people report. If the light still fails after a new battery and a clean panel in open sun, the fault is water in the board or a failed sensor, and replacing the fixture is usually the sensible stop.