To clean solar panels on garden lights, you only need lukewarm water, a soft brush and a clean microfiber cloth. Switch the light off, brush away loose debris, wipe the panel gently toward its lower edge, then dry it fully before you put it back in the sun. Ten minutes of work per light, no tools beyond a kitchen drawer.
The reason people hesitate is that a solar light is a sealed electrical box with a glass or plastic face on top, and it costs almost nothing to ruin one by being careless with water or an abrasive pad. The good news is that the safe method is also the easiest one, and most of the time the only thing standing between a dim light and a bright one is a layer of pollen and leaf litter.
This guide covers the whole job: what to gather, the six steps in order, how to handle mud, droppings and moss, and what to do when the light is still dim afterwards. I have never needed anything more exotic than dish soap and a cloth, and it is still the method I would use in 2026.
Table of Contents
- What You Need
- Step-by-Step
- Step 1: Test the Light and Protect the Power
- How to Clean Solar Panels on Garden Lights Safely
- Step 3: Rinse the Panel and Keep Water Away From the Housing
- Step 4: Dry Before Reassembly or Recharging
- Step 5: Check for Remaining Dirt and Charging Issues
- Step 6: Place the Light in Direct Sun
- Common Mistakes
- Frequently Asked Questions
- How often should I clean solar panels on garden lights?
- Can I use regular household cleaner on a solar light?
- Is it safe to wash a solar garden light with a hose?
- Why is my solar light still dim after cleaning the panel?
- Can I clean the panel while the garden light is switched on?
- Conclusion
What You Need
The whole job falls into two levels: a basic dry clean for routine dust, and a wet clean when the panel has real grime on it. Most lights only ever need the first. The second is for spring pollen season, autumn leaf litter and anything that has turned to dried mud.
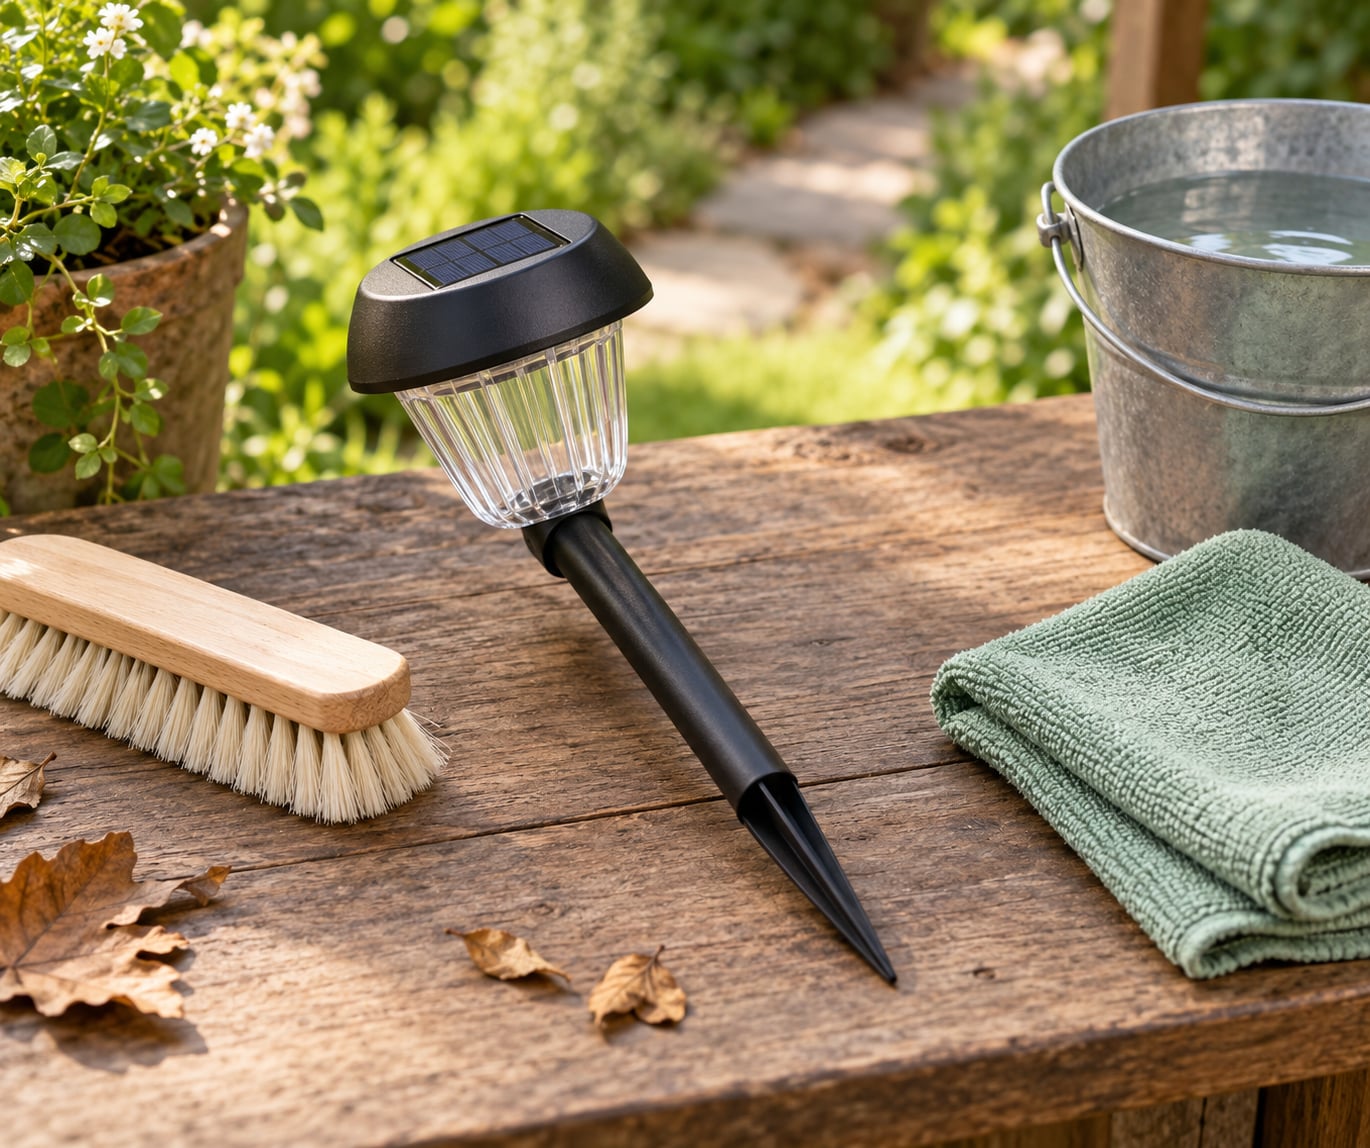
- Soft-bristled brush. An unused toothbrush, a soft paintbrush or a bottle brush with fine nylon bristles. This is the tool that does the actual work of lifting dust, pollen and dried leaf matter. Skip anything with wire or stiff metal bristles.
- Microfiber cloth, at least two. One for washing, one clean one for drying. Paper towels and kitchen roll scratch plastic panels and leave lint behind, so I would not use them even though several guides still recommend them.
- Small bucket or bowl. For mixing warm water with a few drops of mild dish soap, and for catching the runoff.
- Lukewarm water. Not hot. Warm water loosens grime better than cold, and hot water plus soap strips the anti-reflective coating off some panels faster.
- Mild dish soap. Plain, unscented, non-abrasive. A couple of drops is plenty.
- Gloves and a dry cloth to cover the panel. Gloves keep your hands off any corrosion, and a dry cloth over the face protects it while you handle the fixture.
Now the list of things to keep away from the panel. Pressure washers and even a strong hose jet force water past gaskets and into sealed joints, which is why the top answer on the pressure-washer question that ranks high on this topic says plainly that it is a bad idea. Metal tools, steel wool and abrasive pads scratch the surface, and on cheaper resin panels those scratches are permanent because they never come back.
WD-40 is the other popular wrong answer. It is a petroleum solvent, and it attacks rubber and silicone seals, leaves an oily film that traps dust, and dulls the panel’s light transmission. Same reasoning rules out ammonia, acetone, bleach and any “solvent-based” glass cleaner. If a product has bleach or ammonia on the label, it does not belong on a solar light.
Step-by-Step
Step 1: Test the Light and Protect the Power
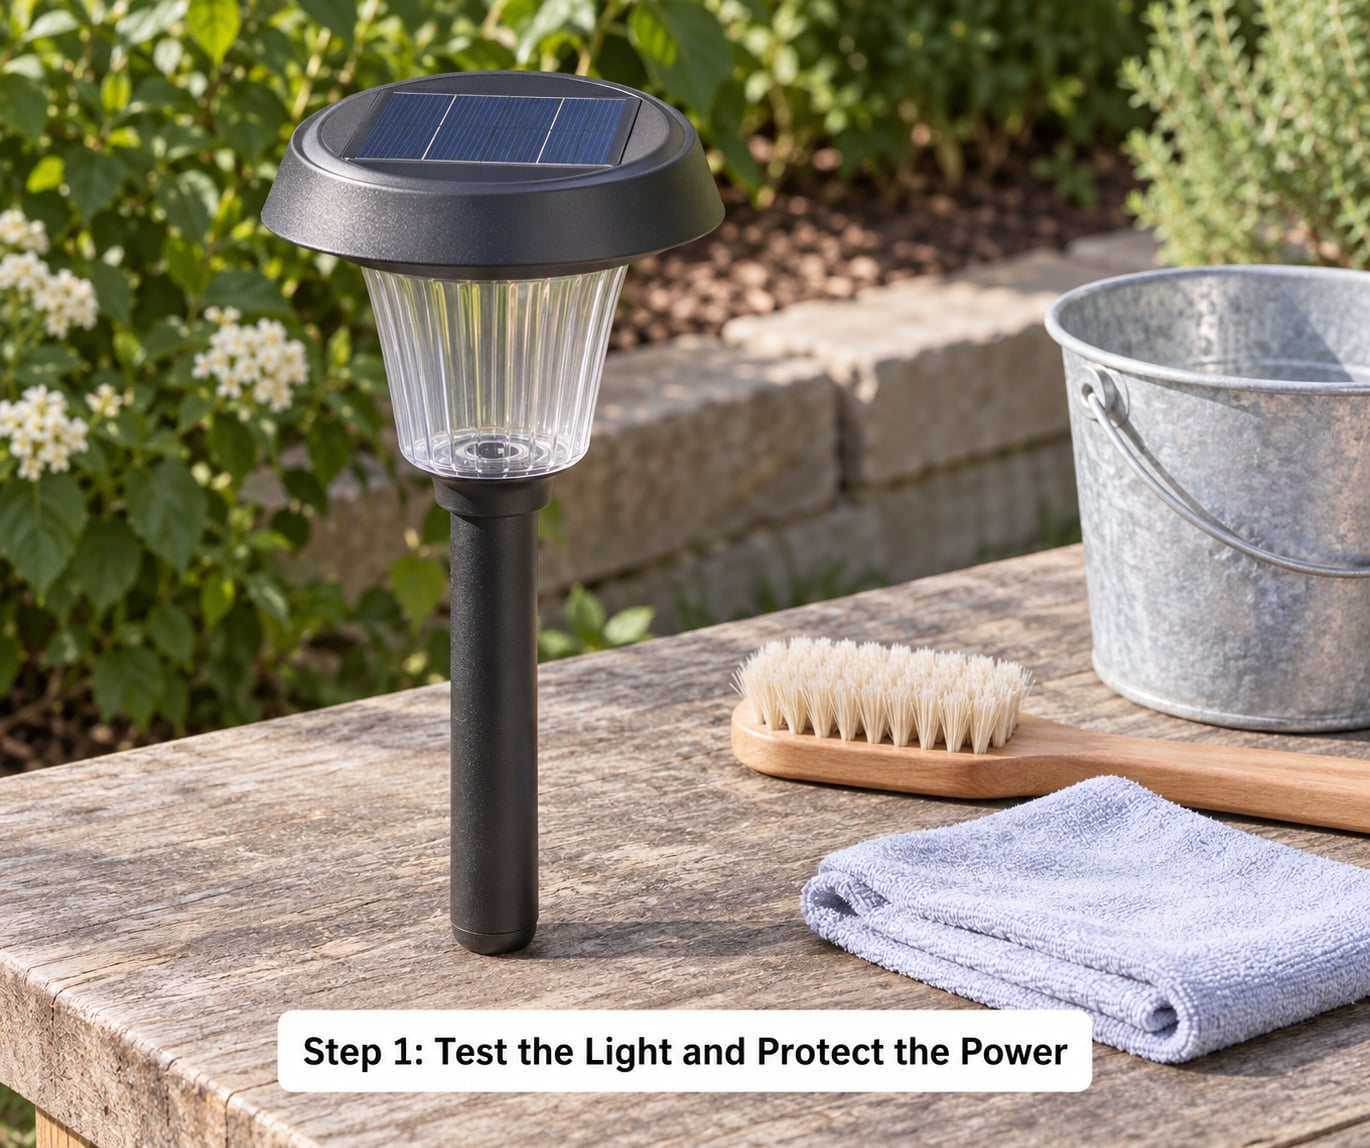
Start by finding out whether the light is working at all, because that tells you what to expect after cleaning. Leave it in place until dusk, let it come on, and note how bright it looks. Cover the panel with a dry cloth so you can see the light rather than the glow.
Then switch it off and give the panel a few minutes if it sat in direct sun. A warm panel plus water plus a plastic housing is the combination that causes warping. Move the light to a stable surface at roughly waist height, where you are not balancing on a step with a wet cloth in your hand.
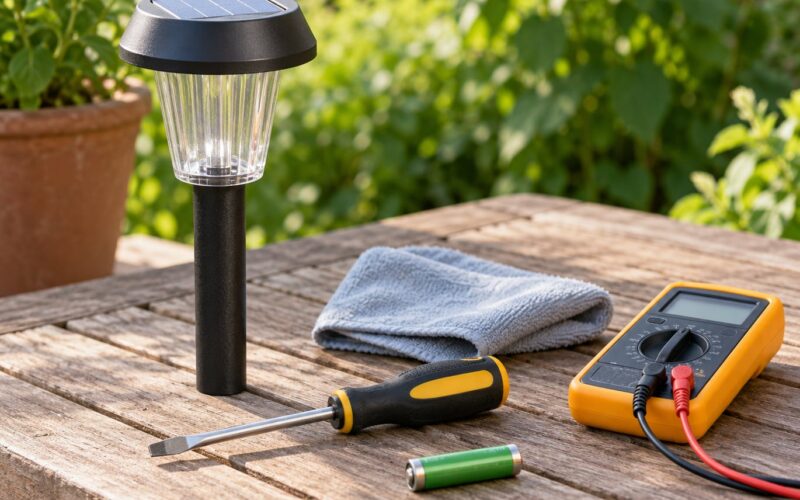
Do not unscrew covers, pry off the panel or open the battery compartment. Sealed units are not meant to be opened, and once you break that seal you have created the water ingress problem you were trying to avoid. If a unit genuinely needs its battery changed, treat that as a separate repair job with the manual open beside you.
How to Clean Solar Panels on Garden Lights Safely
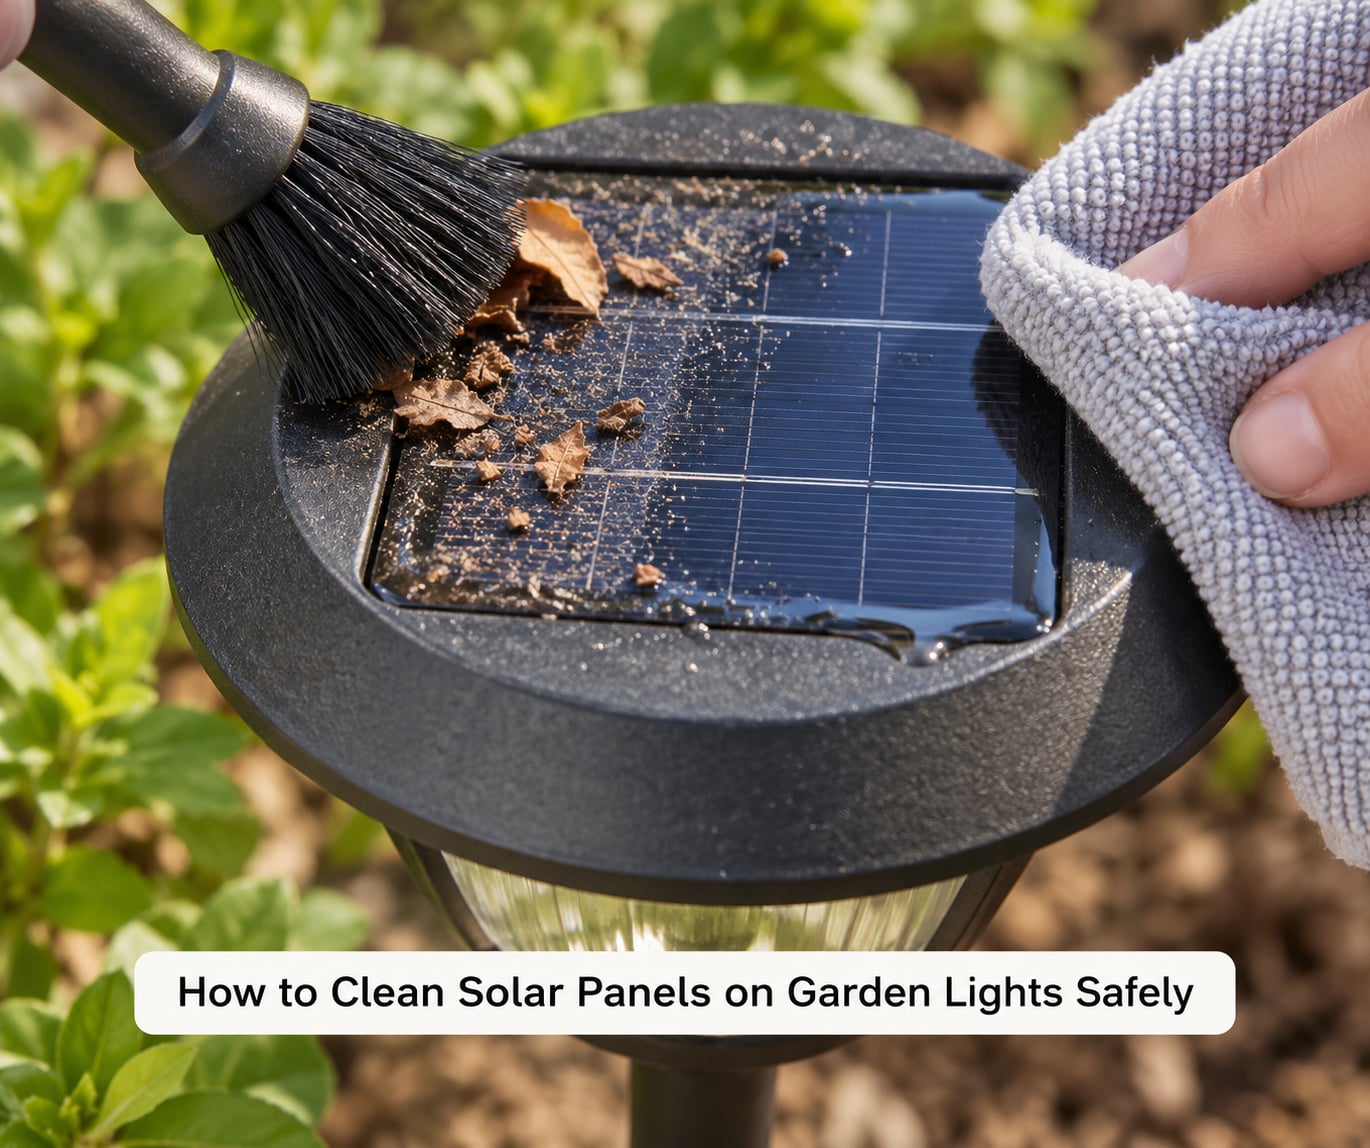
This is the core of the method: wet it lightly, loosen the dirt with a soft brush, then wipe down toward the lower edge with a separate clean cloth. Light pressure the whole way. If dirt is lifting off without you pushing, you are doing it right.
For a routine dust or pollen clean, the brush alone on a dry panel often does the job, and dry brushing is gentler on the surface than wet work. For pollen, spider residue and thin moss, mix a couple of drops of mild dish soap into lukewarm water in your bucket, wet the panel with a damp cloth or a low-flow trickle, and let it sit for a minute or two. Five minutes is fine too, if the panel is horizontal and not blowing away.
Work in small circles with the soft brush, then wipe from the top edge down so the water carries the loosened dirt off the face rather than back across it. Rinse as you go in the bucket. You want a thin film, not a soak.
Step 3: Rinse the Panel and Keep Water Away From the Housing
For a rinse, use a damp cloth or a very low-flow hose held well back from the fixture, and direct the water across the flat photovoltaic face rather than into the joints, the on/off switch, the battery housing or the light sensor. Those are the entry points where water causes trouble.
A brief wipe-down is always safer than flooding the fixture. If you can keep water running off the panel in a second instead of pooling in the seam, you are doing enough. Distilled water for the final pass is worth it if you have it, because ordinary tap water leaves mineral spotting that builds up into a haze over a few seasons.
Step 4: Dry Before Reassembly or Recharging
Dry the panel with the clean lint-free cloth straight away, then leave the light in a shaded, airy spot for a while if you cannot get it completely dry in one pass. Water sitting against a sealed surface for hours is how moisture gets where it should not be.
Do not switch the light on while it is wet, do not push it back down into soil, and do not seal it up while the housing is still warm. If you removed a stake and the base sits against damp ground, put it back on dry ground first and check it tomorrow.
Step 5: Check for Remaining Dirt and Charging Issues
Hold the panel under indirect light, not direct sun, and look for streaks, mineral spots and leftover debris caught in the corner seams. If something is still there, repeat only the step that fixes it, usually another light brush pass or a second cloth wipe. There is no prize for being thorough past this point.
A clean panel does not always mean a charging panel. On a small garden light, the battery and panel are both modest, and a unit that has been slowly undercharged for a couple of seasons may simply be finished. Cheap lights are built cheaply on purpose, and they underperform by design rather than through neglect.
Before replacing anything, run through the simple causes: is the switch in the on position, is the pull tab removed from a fresh battery, is the panel in direct sun rather than under a shrub, and does the light sensor actually think it is dark? Lights near a doorway or a street lamp can be fooled into staying off because the sensor reads that as daylight. If the panel is clean, the light is in full sun and it is still dim after a full day’s charge, contact the manufacturer or seller rather than assuming another wipe will fix it.
Step 6: Place the Light in Direct Sun
Put the light back where it gets several hours of unobstructed direct sunlight, and keep artificial light away from the sensor at dusk, since most of these lights only charge in full daylight and only light when the sensor reads darkness. Shade under a tree canopy is the most common reason a clean panel still does nothing.
Give it a full day before you judge. One bright afternoon rarely tops the battery up, and a light judged after a single half-day will always look worse than it is.
Common Mistakes
Scrubbing dry with an abrasive pad. Dry sand on a panel acts like sandpaper. Brush dry dust off gently first, and only add water before you use any pressure at all.
Using household cleaners. Bleach, ammonia glass cleaner, degreaser and WD-40 damage seals and coatings. Mild dish soap and water is not a compromise, it is simply the correct answer.
Hitting it with a pressure washer or a strong hose jet. A gentle trickle is fine across the panel face. High pressure drives water past waterproofing and into the electronics, and it can unseat a sealed panel. This is the one piece of advice where the online contradictions all resolve the same way.
Cleaning a hot panel in full sun. Hot water on a warm panel can haze the plastic. Work in the shade, and let the fixture cool first.
Opening sealed components. If the unit needs a battery or a switch replaced, that is a repair, not a cleaning job, and the manual should be in front of you.
Assuming a dim light is always about dirt. Sometimes it is. Sometimes it is a shaded location, a dead rechargeable battery, or a light sensor tripped by nearby illumination. Clean first, diagnose second, replace third.
One seasonal habit worth setting: do a light brush-down in spring when the pollen starts, another in autumn once the leaves have come down, and check for grit and road salt around lights near a path in winter. Once or twice a year is enough for most gardens, and more often if your lights sit under pine trees or beside flowering shrubs.
Frequently Asked Questions
How often should I clean solar panels on garden lights?
Twice a year is plenty for most gardens: a dry brush-down in spring as pollen starts, and another after autumn leaf fall. Add a third check in winter if lights sit near a path where grit and salt collect. Clean sooner when you notice shading, streaks or a big drop in brightness, because grime builds up gradually and you stop noticing it. Dry brushing handles routine dust; wet work with mild soap is only needed for real grime.
Can I use regular household cleaner on a solar light?
Only mild dish soap. Regular bleach, ammonia glass cleaner, degreaser, acetone and WD-40 can attack rubber and silicone gaskets, dull the panel surface and leave a film that traps more dust than you removed. A couple of drops of unscented dish soap in lukewarm water is all you need. For a hazy or yellowed plastic panel, a paste of baking soda or non-gel white toothpaste applied gently is a safer second option than any solvent.
Is it safe to wash a solar garden light with a hose?
Yes, if it is a low-flow trickle or a damp cloth, aimed across the flat panel face and kept away from the switch, the seams and the light sensor. Never use a pressure washer or a strong jet, which forces water past waterproofing and into the electronics. Wipe the panel dry rather than letting it air dry wet, and do not switch the light on while moisture is still around a sealed joint.
Why is my solar light still dim after cleaning the panel?
Usually it is not the panel. Common causes are a shaded location, a battery that has been undercharged for seasons, a switch left off, a pull tab still fitted to a fresh battery, or a light sensor tripped by nearby artificial light at dusk. Confirm the light gets a full day of direct sun, then leave it one complete day before judging. If it stays dim in full sun with a clean panel, contact the manufacturer or seller.
Can I clean the panel while the garden light is switched on?
Switch it off first. Cleaning a live light risks water reaching the switch and electronics, and you cannot judge the panel properly while the lamp is glowing. Testing before you start is still worth doing, though: note how bright the light is at dusk so you know whether the clean made any difference. For the clean itself, the light must be off, cool and stable on a work surface.
Conclusion
The safest sequence is short: switch the light off, brush away loose debris, wipe gently toward the lower edge with lukewarm water and a microfiber cloth, dry it fully, then give it a full day of direct sun before you judge it. Start with a soft dry brush and only reach for water once dust brushing stops doing the job, and check the manual first if your light has an unusual mounting or a sealed design. If it is still dim after that, you are probably looking at a battery or sensor problem, not dirt.