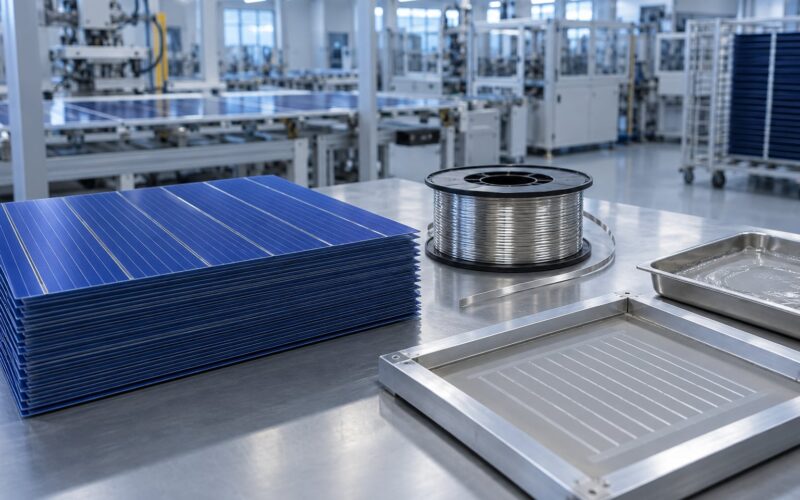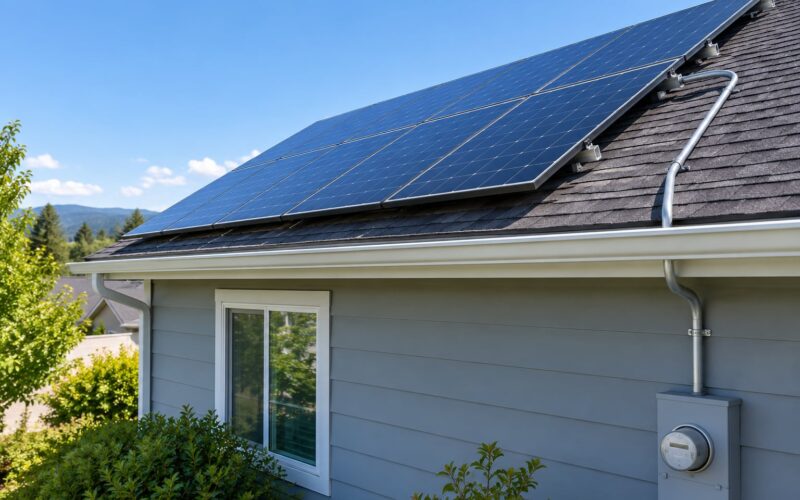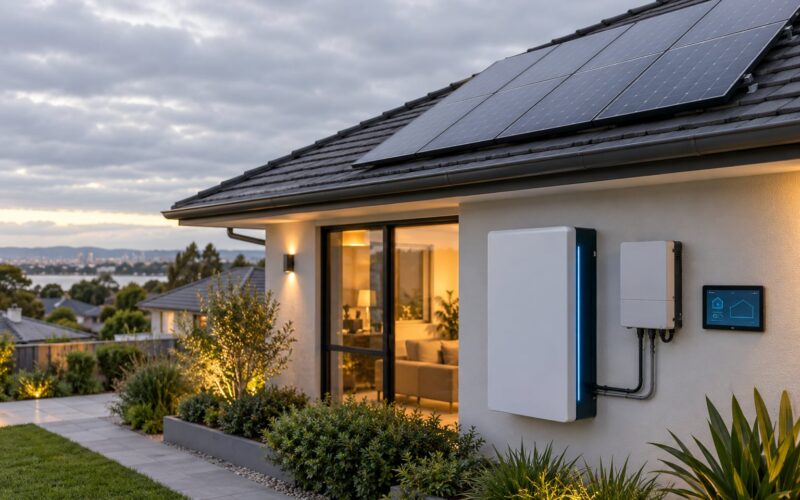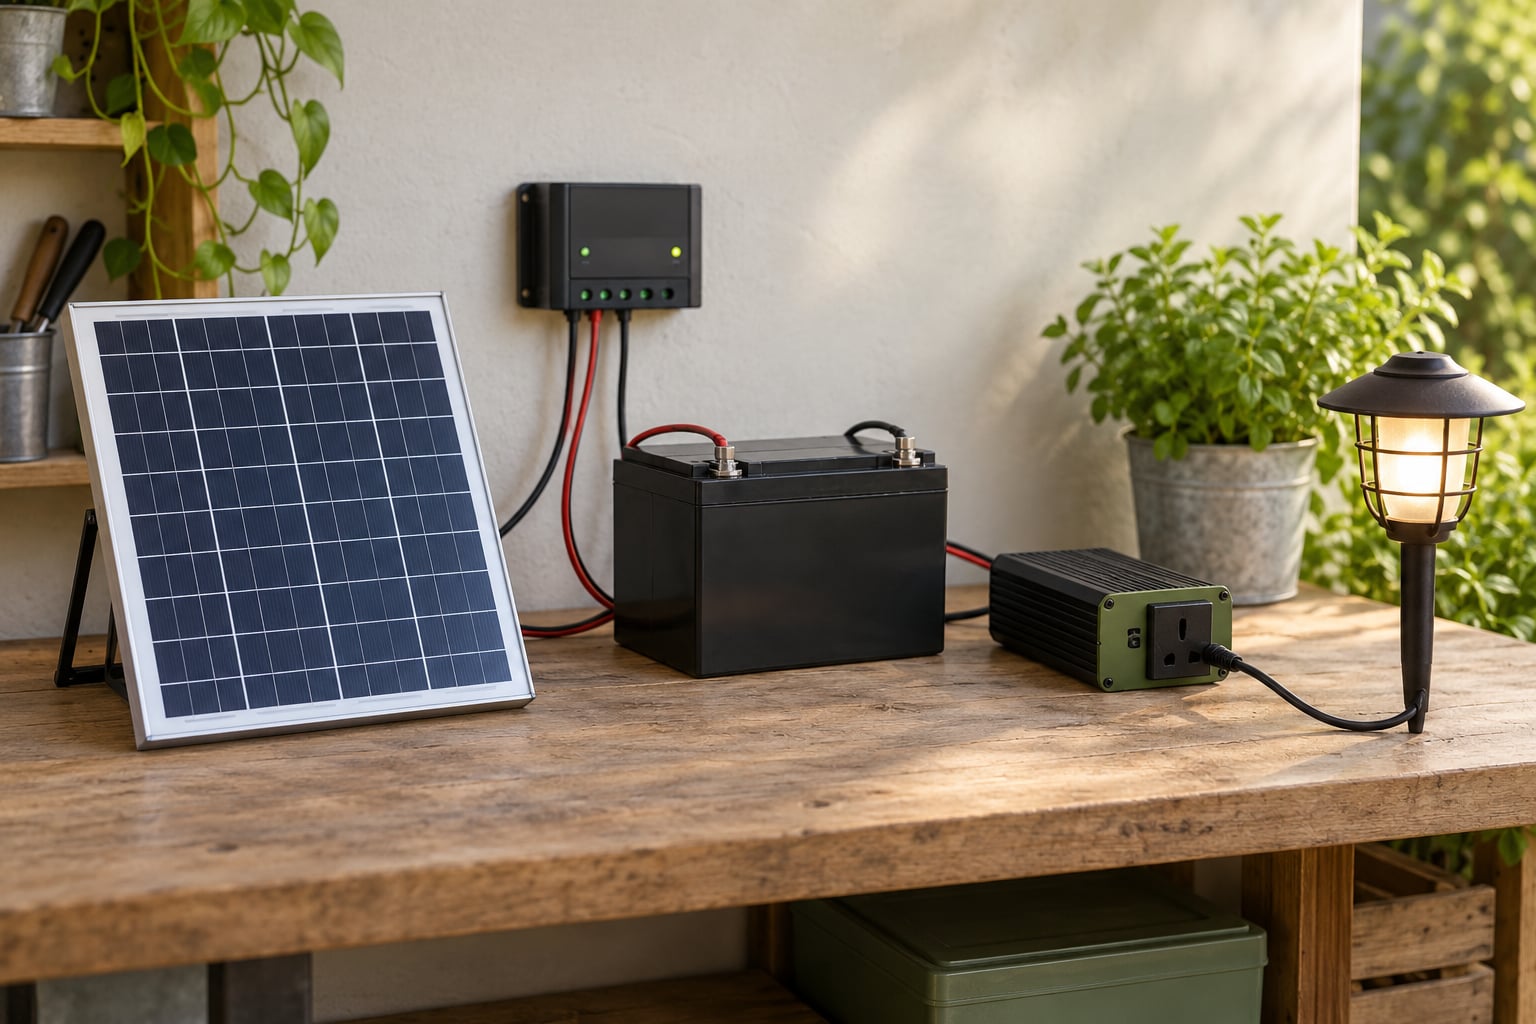
A 12 volt solar system collects sunlight with a solar panel, regulates the power through a charge controller, stores it in a battery bank, and then runs your devices on 12V DC or converts it to household AC through an inverter. Understanding how those four parts work together is the difference between a setup that quietly runs for years and one that cooks a battery in a weekend.
Most people meet this kind of system through RV solar, a shed, a boat or a row of garden lights they bought as a kit. The physics is identical in every case, and it is simpler than the spec sheets make it look. Below is how the energy actually flows, what the numbers on a panel mean, and where people get hurt.
Table of Contents
- What Is a 12 Volt Solar System?
- Where 12V systems make sense
- How 12 Volt Solar Systems Work: The Main Components
- What the solar panel actually does
- What the charge controller does
- Can you hook a solar panel directly to a 12 volt battery?
- What Happens During a Sunny Day?
- What Happens on Cloudy Days or at Night?
- How Do You Choose the Right Battery and Panel Size?
- Sizing the charge controller
- Wiring two or more panels
- What a panel actually delivers in a day
- How 12 Volt Solar Systems Work for Common Home Projects
- Do You Need an Inverter for a 12 Volt System?
- How to Install and Protect a Small System Safely
- Frequently Asked Questions
- Can a 12 volt solar panel charge a 12 volt battery directly?
- Do all 12 volt solar systems need an inverter?
- How long does it take a solar panel to charge a 12V battery?
- Can you connect two 12 volt solar panels together?
- How many volts does a 12 volt solar panel actually put out?
- What maintenance does a small 12 volt solar system need?
- Where to Start With Your Own 12 Volt System
What Is a 12 Volt Solar System?
A 12 volt solar system is an off-grid power setup built around a nominal 12V bus. Sunlight hits a photovoltaic panel and produces direct current, a charge controller meters that current into a battery bank, and the stored energy powers DC loads directly or feeds an inverter for AC appliances.
“Nominal” is the key word. A lead-acid battery marketed as 12V actually sits around 12.6 to 12.8 volts when rested, and it needs roughly 14.4 to 14.8 volts to take a full charge. Your voltmeter will therefore read well above 12 most of the day. The label describes the system, not a fixed reading.
The same thing happens on the generation side. A panel labelled 12V does not put out 12 volts. Typical panels run 17 to 22 volts under load, with an open circuit voltage that can touch the low twenties on a cold morning. That gap is normal, and it is exactly why a charge controller sits between panel and battery.
Where 12V systems make sense
Small outbuildings, RVs and caravans, boats, remote cabins, backup circuits and yard lighting all share the same advantage: the wiring runs long and the loads are small, and 12V keeps the current manageable. If you never need more than a few hundred watts at once, a 12V bus is the simplest version of the idea.
12V stops being the right answer once your loads get heavy. Thick cable costs more than the panels did, and at 48 volts the same power moves with a quarter of the current. Many owners who outgrow a 12V system step up to 24 or 48 volts rather than pushing more current through the same cables.
How 12 Volt Solar Systems Work: The Main Components
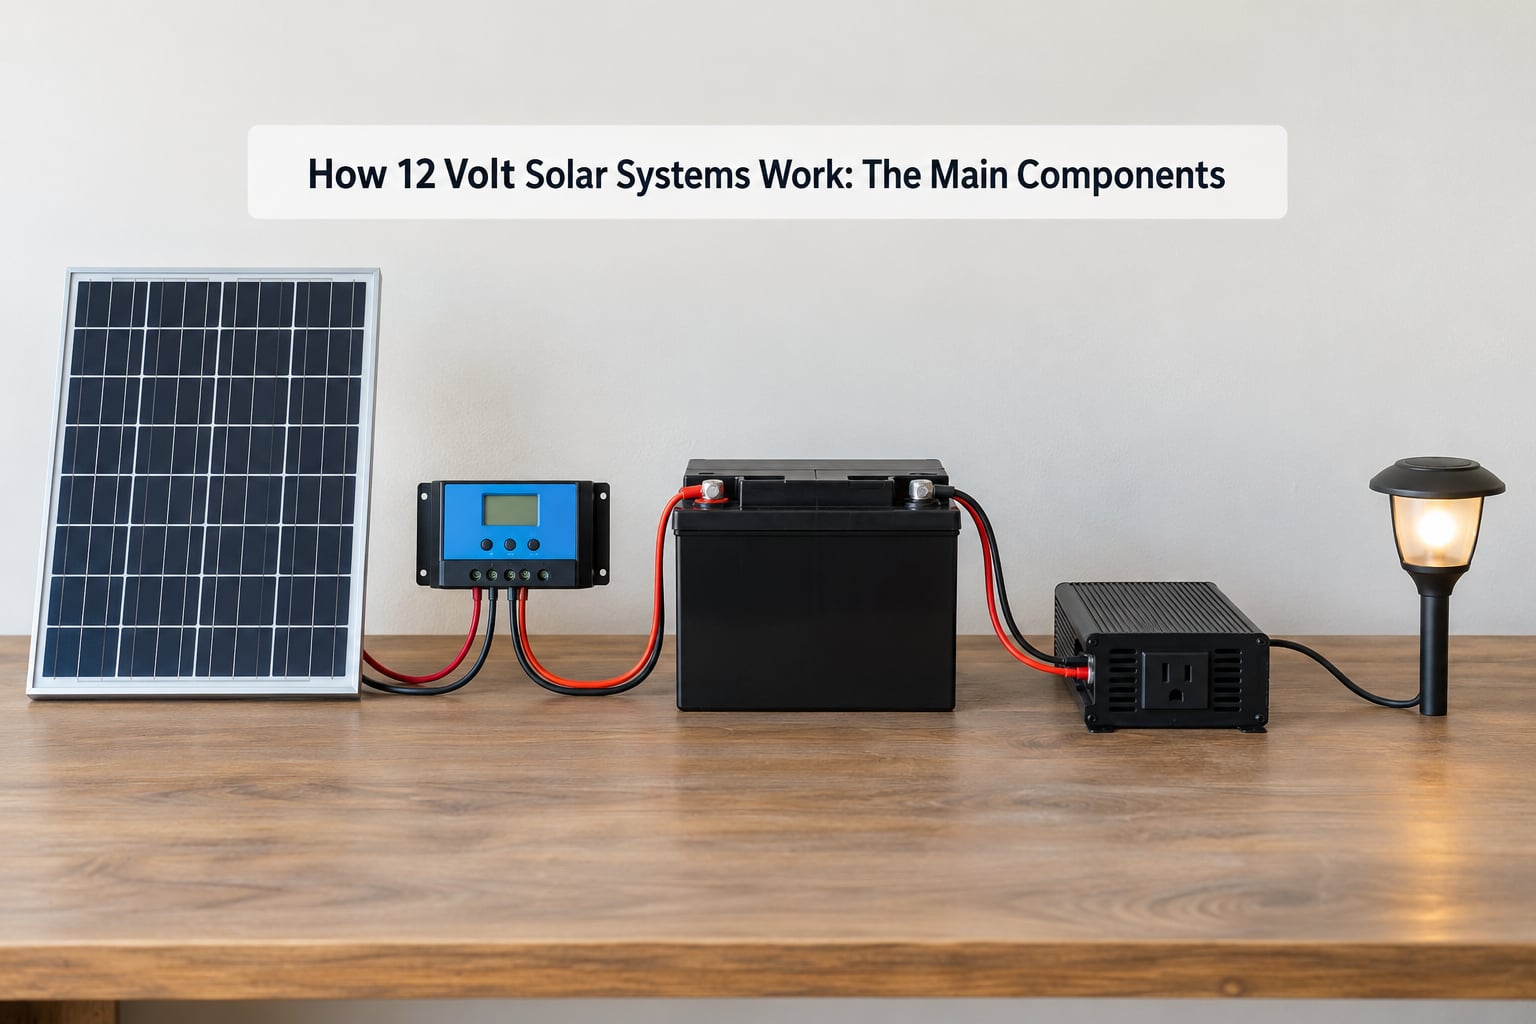
Four components carry a 12V system, and three more keep it safe. Here is what each one does.
| Component | What it does | Common types | Why it matters |
|---|---|---|---|
| Solar panel | Turns sunlight into DC electricity | Monocrystalline, polycrystalline, semi-flexible | Sets how much energy enters the system and how much physical area it takes |
| Charge controller | Regulates panel output and manages the charge profile | MPPT, PWM | Without it the battery is overcharged every sunny day |
| Battery bank | Stores energy for night and cloudy spells | Flooded lead-acid, AGM, gel, LiFePO4 | Capacity decides how long you can run after dark |
| Inverter | Converts 12V DC into 120/240V AC | Modified sine wave, true sine wave | Needed only if you want to run mains appliances |
| Wiring | Carries current between everything | 10 AWG to 4 AWG copper, MC4 connectors | Undersized cable wastes energy as heat and becomes a fire risk |
| Protection | Limits current when something goes wrong | Fuses, breakers, battery disconnect, grounding | The difference between a blown cable and a burned-down shed |
What the solar panel actually does
Silicon cells in the panel absorb photons. Photons knock electrons loose in the silicon, and the panel’s cell structure forces those electrons to flow in one direction through an external circuit. That flow is electricity, and it is direct current, which means it flows one way only.
Each cell produces a fraction of a volt. Around twenty cells wired in series give you the roughly 12 volts that defines a “12V” panel, and commercial panels put 30 to 36 cells in a frame with a junction box on the back. Monocrystalline cells are dark and uniform, polycrystalline cells show the telltale blue speckle, and modern residential panels typically convert 15 to 20 percent of the light that hits them into usable power.
What the charge controller does
The controller sits between panel and battery and does two jobs. It finds the highest point on the panel’s power curve and harvests energy there, and it runs a multi-stage charge cycle so the battery fills fully without being cooked.
That charge cycle has three stages. Bulk stage pushes current in as hard as the battery will take it. Absorption stage holds a slightly higher voltage to fully equalise the cells. Float stage then backs off to a maintenance voltage and stops charging, so a full battery is not sitting on a trickle forever.
MPPT controllers, short for maximum power point tracking, track the panel’s optimal operating point throughout the day. PWM controllers, pulse width modulation, simply chop the panel output down to battery voltage, which throws away energy in the process. MPPT is often quoted as up to around 30 percent more efficient, and the gap widens in cool or hazy weather. On small 12V kits the difference in dollars is usually modest, so a PWM controller is a reasonable budget choice.
Can you hook a solar panel directly to a 12 volt battery?
No, and this is the question that shows up most often on DIY solar forums. Connecting a panel straight to a battery skips voltage regulation entirely, so the panel pushes raw output into the cells all day. On a sunny afternoon that is well above the 14.8 volts a flooded lead-acid battery tolerates, and it shortens the battery’s life fast.
It also runs backwards. Once the panel voltage drops below battery voltage at dusk, current flows from the battery into the panel and slowly drains the bank overnight. A controller blocks that reverse current, controls the charge voltage and handles temperature compensation, which is the charge voltage shifting as the cell gets colder or hotter. Always wire through a controller, even for a single garden light.
What Happens During a Sunny Day?
Here is the energy path in six steps, and it is the same order whether the system runs an RV or a row of lights along a path.
- Sunlight hits the panel. Photons are absorbed by the silicon cells and knock electrons loose.
- The panel generates DC. Current flows at roughly 17 to 22 volts, depending on panel size and temperature.
- The charge controller harvests that power. An MPPT controller matches the panel to its best operating point and steps the voltage down to what the battery will accept.
- The battery bank stores it. Amp-hours flow in during bulk stage, then absorption, then float.
- The inverter runs, if you have one. DC on the input side becomes usable AC on the output side.
- Your loads draw power. Either straight off the 12V bus or through the inverter, and only up to what the system can actually produce.
Two details surprise people. First, a panel rarely makes its rated wattage, because rated output assumes perfect conditions: full sun at a cool cell temperature, square to the sun, with no dust on the glass. A 200W panel on a hot afternoon with a light haze might deliver 140 to 160 watts instead.
Second, DC loads and AC loads pull from different sides of the system. A 12V fridge runs directly off the battery, which is efficient and quiet. A kettle on an inverter draws far more power than its label suggests once conversion losses are counted, and it draws it in bursts.
What Happens on Cloudy Days or at Night?
After sunset the panel makes nothing, and the system runs entirely from stored energy. That is the whole reason the battery bank exists. On a winter morning a lead-acid battery at rest will read nearer 12.3V than 12.8V, and a lithium bank will show a flatter curve, which is one reason lithium chemistry is popular for cold-weather storage.
On a cloudy day output drops to a fraction of the rated figure, often 10 to 30 percent, depending on how thick the cloud is and whether you have any direct sun at all. Panels work on diffuse light, just far less efficiently. They also produce more power per panel on a cold, clear day, since cell voltage rises as temperature drops, which is why winter output per sunny hour can be better than summer output per sunny hour.
Sizing therefore comes down to usable sunlight rather than peak panel output. Builders track this with peak sun hours, the number of hours a panel receives irradiance strong enough to produce useful power. A typical site gets three to five peak sun hours on a good summer day and considerably fewer in winter. A 200W panel at four peak sun hours produces roughly 800 watt-hours in ideal conditions, and more realistically 500 to 700 after losses.
Shade is the quiet killer. A roof vent, an air conditioning unit or a branch casting a shadow across part of a panel can cut total output dramatically, because the current from lit cells has to find a path through shaded ones. Sizing a system around usable daylight rather than the panel on the label is what keeps expectations honest.
How Do You Choose the Right Battery and Panel Size?
Start with what you actually use. Write down each device, its wattage, and roughly how many hours a day it runs. Multiply watts by hours to get daily watt-hours, then divide by a planning number of 3 to 4 peak sun hours and add a margin for cloudy stretches. That result tells you the panel array you need.
Then size storage in amp-hours. A 12V battery bank rated at 100Ah holds about 1200 watt-hours of stored energy, because 100Ah multiplied by 12V equals 1200Wh. Divide your daily watt-hour requirement by 12 to get the amp-hours you need, then adjust for depth of discharge.
| Battery type | Usable depth of discharge | Strengths | Watch out for |
|---|---|---|---|
| Flooded lead-acid | Around 50 percent | Cheapest per amp-hour, easy to find | Vented hydrogen, needs a level check, heavy |
| AGM | Around 50 percent | Sealed, no maintenance, tolerant of vibration | Heavy for its capacity, sensitive to heat |
| Gel | Around 50 percent | Deep cycle tolerant, good in boats | Needs a lower charge voltage and a matching controller profile |
| LiFePO4 | 80 to 90 percent | Light, long cycle life, holds voltage flat | Costs more, needs a lithium charge profile |
Setting the controller charge profile to match the chemistry is not optional. Lead-acid and LiFePO4 want different absorption voltages and different float behaviour, and a controller set for the wrong one will either undercharge the bank or damage it. Check the battery maker’s recommended profile before you dial anything in.
Sizing the charge controller
The arithmetic is one line: panel watts divided by system voltage gives the amps the controller must handle. Three 175W panels on a 12V system produce 525 watts, and 525 divided by 12 comes to about 44 amps, so a 40 to 50 amp controller covers it. A 60 amp unit gives you headroom if you plan to add a panel later, since swapping a controller later means re-running the cables.
Also check the controller’s maximum input voltage against the panel’s open circuit voltage. In cold weather Voc climbs, and connecting a string whose open circuit exceeds the controller’s limit is how people fry a charge controller in December.
Wiring two or more panels
Panels connect in series, in parallel, or as a string of series pairs in parallel. Series wiring adds voltage and keeps the current at the panel’s rated amp rating, which is why it suits longer cable runs. Parallel wiring keeps voltage at the panel’s level and adds current, which suits shorter runs and more panels. Two panels in series on a 12V system produce around 36 to 44 volts, and your controller must accept that.
Most small residential panels come with MC4 connectors, so joining them needs no tools, but the array still needs its own fuse or breaker near the panels, and a controller with a second, smaller fuse at its output.
What a panel actually delivers in a day
| Panel wattage | Realistic daily yield | Roughly supports |
|---|---|---|
| 50W | 150 to 200 watt-hours | A string of low-voltage garden lights, a phone charger |
| 100W | 300 to 500 watt-hours | A few LED lights, router and modem, small USB loads |
| 200W | 500 to 800 watt-hours | A 12V compressor fridge, fans, phone charging, lighting |
| 400W | 1200 to 1600 watt-hours | A 12V fridge plus laptops and lights, or a small water pump |
Treat these as planning ranges, not promises. Winter yield in a cloudy region can sit well below the bottom of the range, and that is precisely why a bigger battery bank matters more than a bigger panel once your loads are steady.
How 12 Volt Solar Systems Work for Common Home Projects
Garden lighting is where 12V systems got their start. Most solar path lights already contain a tiny panel, controller and battery in one post, and the same three parts scaled up let you run a whole run of lights off one panel on a timer switch or a dusk sensor. Loads here are small, usually a few watts, so cable runs stay cheap.
A shed is the next step up. If the goal is a work light, a small fan, a battery charger and a Wi-Fi access point, a 100W panel with a 50Ah controller and a 100 to 200Ah bank covers it comfortably. Everything stays on DC, so no inverter is needed at all.
Small pumps deserve their own conversation. A 12V diaphragm pump drawing three to five amps will drain a 100Ah bank in an evening, and starting current is higher still. Solar pumping setups usually work because the pump runs during the same hours the panel is producing, with the battery acting as a buffer rather than as the fuel supply.
Wi-Fi and network gear is the most forgiving load of all. A router, a modem and a small switch draw perhaps 15 watts combined, run 24 hours a day, and do not care about voltage quality. This is a genuinely useful first project, and it teaches controller sizing without any risk to expensive equipment.
A 12V compressor fridge changes the picture. These pull 40 to 60 watts while running and cycle intermittently, which suits solar well, but they also want a battery bank with real capacity because they run at night. Single panel sizes of 200W and up with several hundred amp-hours of storage are realistic; anything less and the fridge cycles badly.
Where 12V stops being sensible: anything with a compressor, heater or motor large enough to want mains power, and anything past a few hundred watts of continuous draw. There, a 24 or 48 volt system with the same inverter carries the same power over thinner cable.
Do You Need an Inverter for a 12 Volt System?
Only if you want AC. A 12V solar system can run DC loads straight off the battery with no inverter at all, which is the simplest, most efficient arrangement and the one most garden lighting, phone charging and lighting circuits use.
An inverter converts stored DC into mains-style AC so you can run a laptop charger, a TV, a microwave or a power tool. Choose a true sine wave inverter for anything with a motor, a heating element or sensitive electronics. Modified sine wave units cost less and will buzz or run a fan oddly, which is harmless for a lamp and annoying for anything else.
Before connecting anything, check three things: the input voltage range, the continuous wattage and the surge rating. A small inverter that can sustain 500 watts may still collapse when a compressor tries to start. And remember that inverter output is capped by what the battery can deliver, so a 1000W inverter on a 100Ah lead-acid bank will trip the moment you push it, whatever the panels are collecting.
How to Install and Protect a Small System Safely
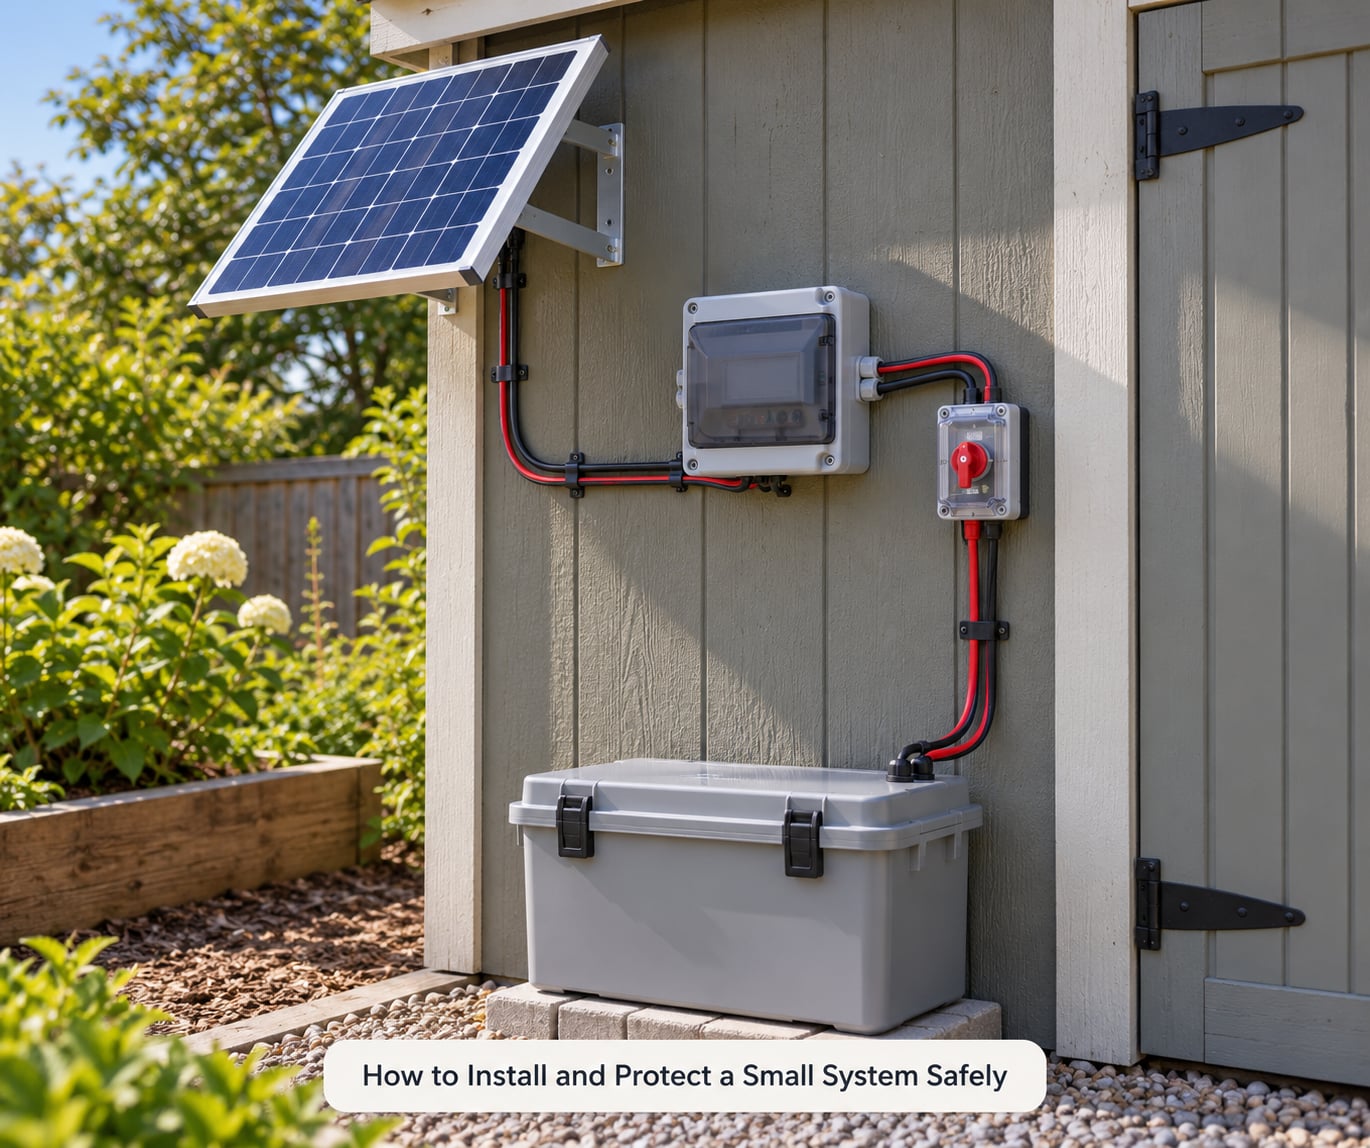
Battery failures on small solar builds come down to the same handful of mistakes: no charge controller, undersized cable, no fusing, and terminals left loose. Work through this order and most of the risk goes away.
- Plan the current path first. Draw the route from panel to controller to battery to loads and mark where each fuse goes before a single cable is cut.
- Mount the panel where nothing shades it and where you can reach the back to check wiring.
- Run the panel cables to the controller and fit a fuse or breaker at the panel end so a short anywhere in that run disconnects cleanly.
- Size the cable for the current and the run length. As a rough guide, 10 AWG handles about 30 amps continuously, 8 AWG about 40, and 6 AWG about 60. Voltage drop over distance is the reason a long run to the shed needs heavier cable than the load alone would suggest.
- Connect the battery last, with the controller switched off, and tighten terminals with a proper wrench rather than by hand.
- Fuse the battery circuit. A fuse within a few inches of the positive terminal is standard practice on anything beyond a single light.
- Ground the system following the controller and panel instructions, and bond the battery negative if the design calls for it.
- Weather-seal every entry point and keep controllers in a vented, splash-proof enclosure.
Flooded lead-acid batteries vent hydrogen while charging, so they belong in a ventilated enclosure, never in a sealed cupboard or an interior living space. Lithium and sealed AGM do not vent gas, but they still want protection from heat, since both lose life faster when warm.
For anything beyond a small, simple wiring job, hand the job to a qualified solar installer or electrician. Roof work, structural mounting, mains-tied equipment and any circuit feeding a dwelling sit firmly in that category, and local rules on permitted work vary by country and region.
Frequently Asked Questions
Can a 12 volt solar panel charge a 12 volt battery directly?
Not safely. A panel wired straight to a battery skips voltage regulation, pushes overcharging voltage into the cells on sunny days, and drains the bank back through the panel overnight. Always route the panel through a charge controller, even for a single garden light.
Do all 12 volt solar systems need an inverter?
No. DC loads such as 12V lights, fans, phone chargers, routers and 12V fridges run straight off the battery bank with no conversion step. You only need an inverter when you want mains-style AC for appliances like a laptop charger, a TV or a microwave.
How long does it take a solar panel to charge a 12V battery?
It depends on panel size, battery capacity and how much usable sunlight you get. A 200W panel in good conditions puts roughly 600 to 800 watt-hours into a 12V battery over a day, which fully restores a depleted 50 to 60Ah bank. Winter or heavy cloud can stretch that across several days.
Can you connect two 12 volt solar panels together?
Yes. Wire them in series to add voltage, which suits long cable runs, or in parallel to add current at the same voltage. Two panels in series produce roughly 36 to 44 volts, so confirm your charge controller accepts that input before connecting them. Add a fuse at the panel end of the run.
How many volts does a 12 volt solar panel actually put out?
A panel labelled 12V produces around 17 to 22 volts under load, and its open circuit voltage can reach the low twenties on a cold clear morning. The 12V label describes the nominal system it belongs to, not a fixed output, which is exactly why a charge controller is required.
What maintenance does a small 12 volt solar system need?
Rinse panel glass a couple of times a year, keep the controller’s vents clear, and check battery terminals for corrosion and tightness. Flooded batteries need a periodic water top-up and an electrolyte check. No maintenance is ever zero maintenance, but a ten minute check twice a year catches most problems early.
Where to Start With Your Own 12 Volt System
Write down your daily watt-hour load before you buy anything, then size the panel array and battery bank from that number plus your local peak sun hours. Start with one panel, one properly sized MPPT controller, fusing at both ends and a battery you can actually lift. Add the second panel only after the first has run a full season without surprises.
Understanding how 12 volt solar systems work is mostly about respecting three numbers: a panel’s real output is lower than its label, a battery should not be drained past its depth of discharge, and a controller sized for half your array wastes money while one sized for all of it protects you. Get those three right and the rest is just wiring.