To charge solar lights for the first time, pull any battery tab, peel the film off the panel, set the switch the way your manual says, and leave the fixture in unobstructed sunlight for six to eight hours a day for one to two full days. The active part takes about ten minutes. The waiting is the whole job, and skipping it is why so many new lights sit dark on their first night.
A light that glows faintly for an hour after its first day in the sun has not failed. The battery usually arrives partly charged, and the first deep charge is what lets it reach full capacity. Expect dim or short first-night output, then judge the light properly after two or three nights.
Table of Contents
- What You Need
- Step-by-Step: How to Charge Solar Lights for the First Time
- Step 1: Check the Light and Turn the Power On
- Step 2: Remove Protective Film From the Solar Panel
- Step 3: Place the Light in Direct Sunlight
- Step 4: Leave It to Charge Fully
- Step 5: Test the Light After Dark
- What To Do If The First Night Is Dark
- Common Mistakes
- Frequently Asked Questions
- Should solar lights be on or off when charging for the first time?
- How long do solar lights take to charge for the first time?
- How do I know when a solar light is fully charged?
- Why aren’t my new solar lights working?
- Can you charge solar lights without sun?
- How do you reset a solar light that has stopped working?
- Conclusion
What You Need
Almost nothing. That is the nice part about solar lighting, which is why these fixtures are so popular for paths, decks and beds where running a cable would be a hassle.
- The light itself, with any battery tab, pull strip or insulating sticker still in place until you are ready to start.
- The instruction sheet or manual, whether it came in the box or sits on the maker’s site. It is the authority on switch position and initial charge time for your model.
- A sunny spot that sees direct sun for most of the day with no fence, wall, eaves or tree casting shade across the panel.
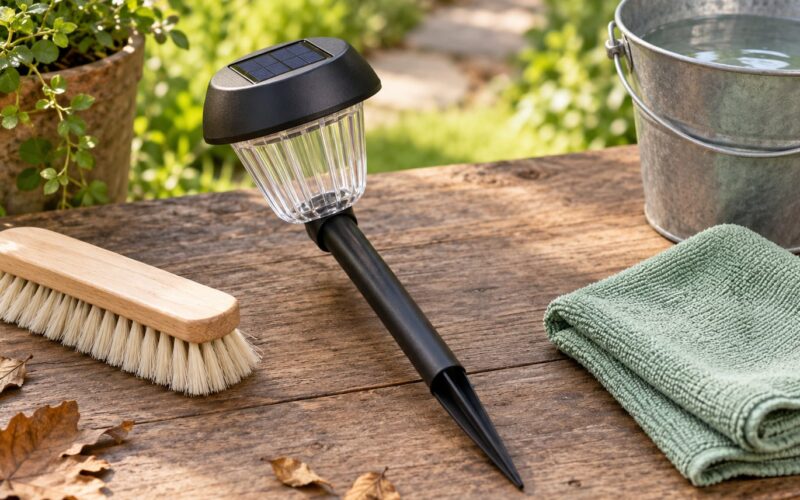
- A soft cloth or cotton pad and a little water for wiping dust off the panel surface.
No tools are needed for the charge itself. No screwdriver, no wire, no mains charger. The only exception is a light with a USB port, where a cable and a USB power bank come in handy later if you want a top-up without sun.
Step-by-Step: How to Charge Solar Lights for the First Time
Work through these five steps in order. The order matters less than the fact that nothing gets moved, switched or shaded partway through the process.
Step 1: Check the Light and Turn the Power On
Look for the on/off switch or mode control before anything else. It is usually a small slider on the underside of the base, on the back of the solar panel, or on a tab at the top of a stake light. Flip the light over and check inside the battery compartment too, because the switch is not always where you would guess.
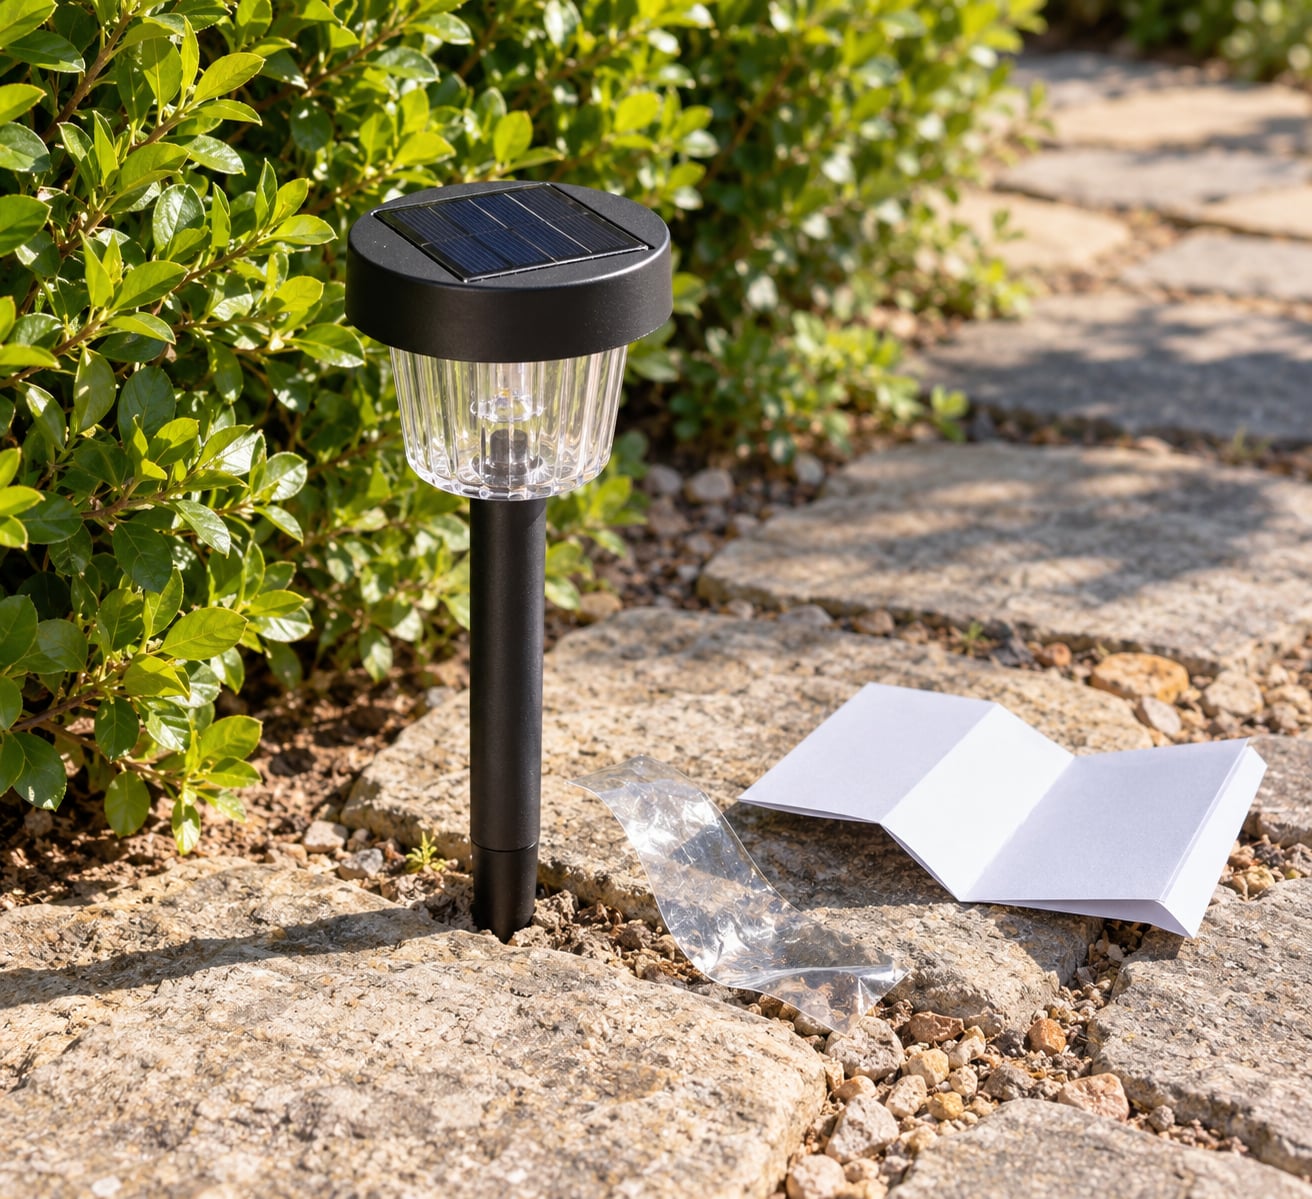
If the light uses AA or AAA rechargeable cells, look for a thin plastic pull tab or an insulating disc between the battery and the contacts. That tab is a shipping lock. Pull it out or the circuit never closes, no matter how much sun the panel gets.
Now set the switch. Most manufacturers ask for OFF during the first one to two days, and a few newer models describe the opposite, saying that ON keeps the battery connected to the charging circuit. Both camps publish confident advice, which is why the question comes up so often. The rule that settles it: your product manual wins, because the circuit inside your specific light is what decides it. If the manual is silent, use OFF as the default.
How you can tell it worked: with the tab removed and the switch set, you should see no corrosion or bent contacts in the battery compartment, and the panel should sit flat in its housing with nothing blocking it.
Step 2: Remove Protective Film From the Solar Panel
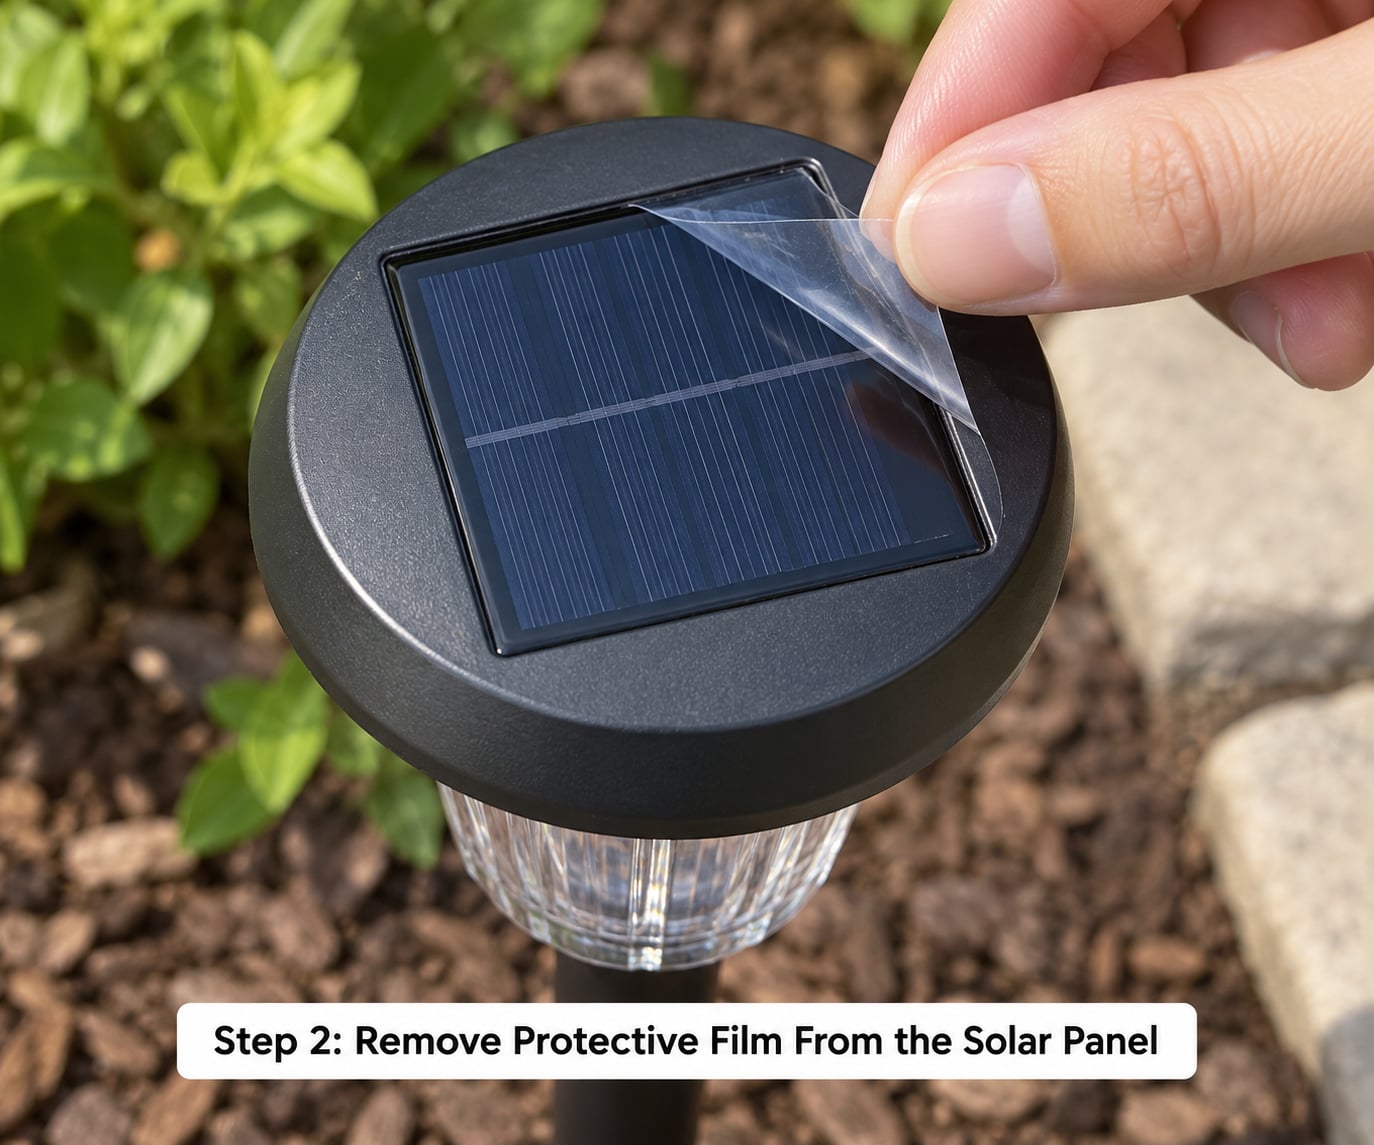
Peel off any clear factory film, sticker or tape sitting on the photovoltaic panel. New lights often ship with it because it protects the cell from scratches in the box, and it is easy to miss because it looks like part of the panel.
A film-covered panel can lose a large share of its output, which is exactly the output you need on day one. While you are there, wipe the surface with a damp soft cloth if there is any dust, pollen or grime. Dirt on a small panel costs noticeably more than dirt on a large one, because the panel is already the bottleneck.
How you can tell it worked: the panel should look evenly dark blue-black or glossy black with no cloudy haze, no bubbles and no lifting edges. That surface is what converts sunlight into the current that charges the battery.
Step 3: Place the Light in Direct Sunlight
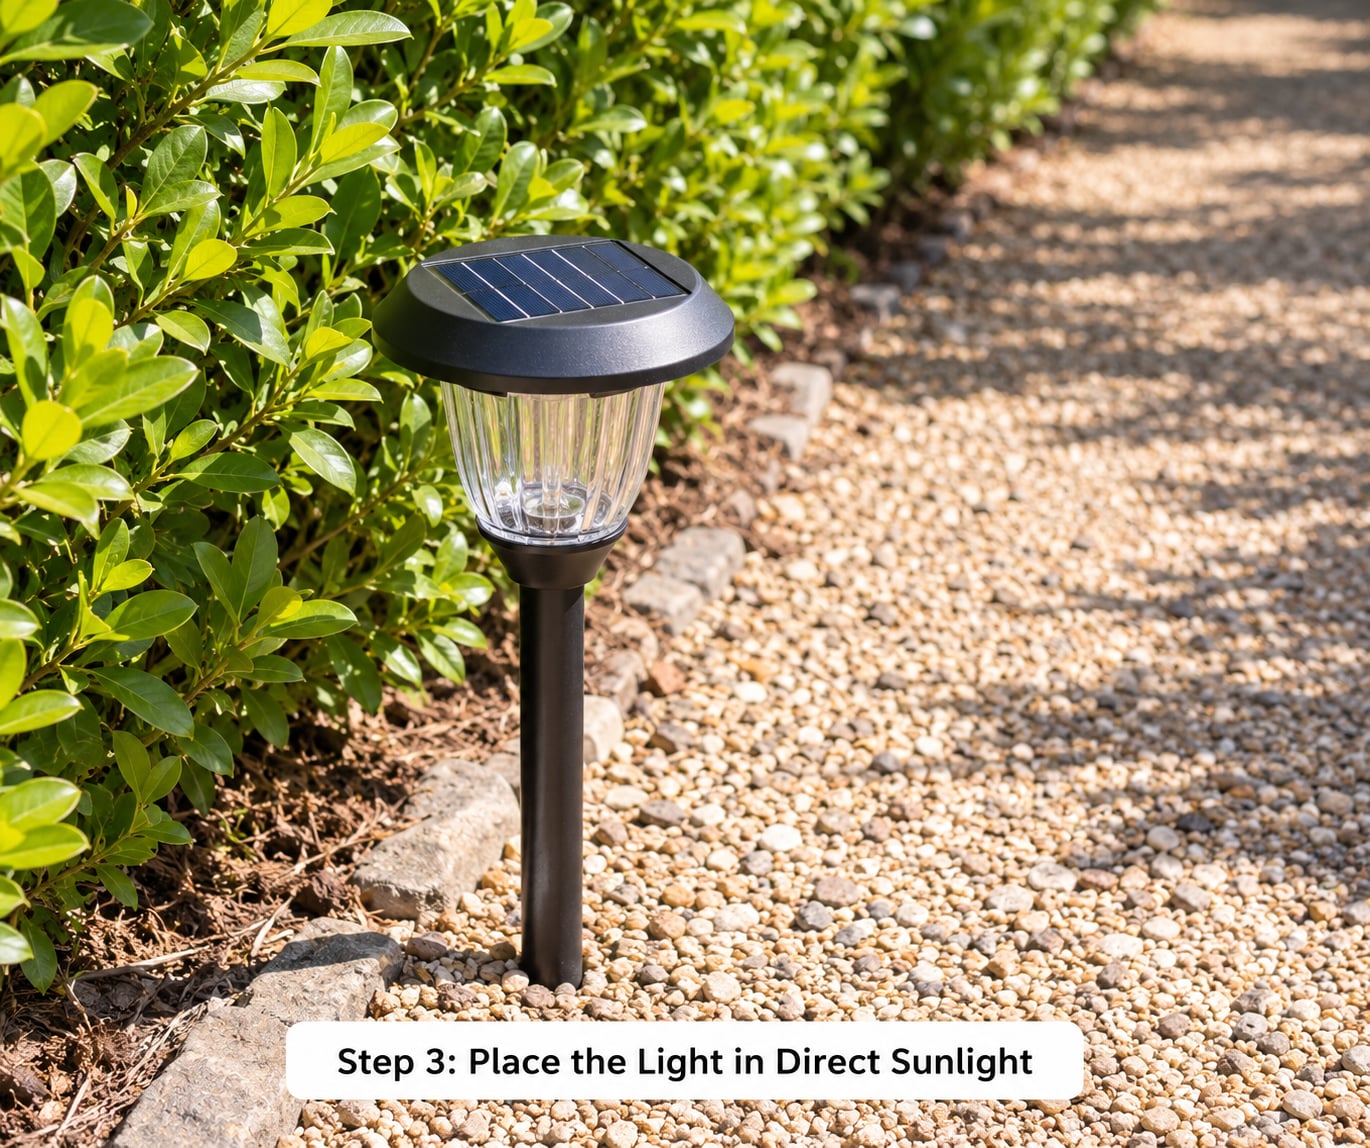
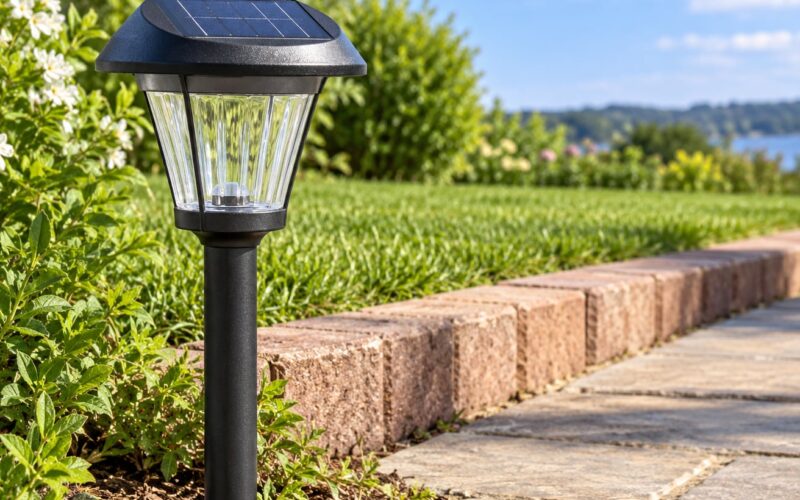
Put the light where the panel faces the sun for the longest part of the day, with nothing overhead. Watch the spot across a full day rather than judging it at noon, because shadows from a fence or a neighbour’s tree move.
Follow the orientation the manufacturer suggests. Most path lights want the panel facing up or slightly south in the northern hemisphere, and spotlights usually want the panel angled away from the direction they throw light, so the fixture’s own shadow does not fall across the cell.
Watch out for the shade that only appears later in the year. A spot that is fine in June can be under tree branches by September, and by the time you notice the shorter runtime the season has already turned.
How you can tell it worked: the light sits level, firmly staked or screwed down, and the panel is in the open sky rather than tucked against a wall.
Step 4: Leave It to Charge Fully
This is where patience does the work. Give a new light one full day of strong direct sun, and two if you want a genuinely deep first charge. Forum consensus on solar lighting is consistent on this: a standard light needs six to eight hours of direct, full sunlight for a full charge, and brand new ones do best with a solid day or two of full sun to prime the batteries.
Charge times vary more by light type than most guides admit, mostly because the panel-to-battery ratio differs so much between fixtures.
| Light type | First charge in full sun | Normal daily top-up |
|---|---|---|
| Path or garden stake light | 1 full day, 2 in winter | 6-8 hours of direct sun |
| Solar string or fairy lights | 1-2 full days | 6-8 hours of direct sun |
| Solar spotlight or uplighter | 1-2 full days | 6-8 hours of direct sun |
| Motion or sensor flood light | 2-3 full days | 6-10 hours, panel often larger |
| Solar street light | 2-3 full days | 6-10 hours of direct sun |
| Model with a USB port | About 3 hours from flat | 6-8 hours of direct sun |
Do not settle for charging through a window when you have direct sun available. Glass cuts out a meaningful share of the usable light, and a panel sitting under a porch lamp or a grow light gains almost nothing worth the time it takes. If you must charge indoors, put the light right against an open sunny window with the panel square to the glass, and treat it as a partial top-up rather than a full first charge.
Weather matters more than the calendar. A fully overcast day may not reach half the output of a clear one, so an overcast week is not the week to bring your lights out of storage.
How you can tell it worked: after a full day, the panel surface will feel slightly warm to the touch, which tells you it is receiving and converting light. That is the only charge indicator most of these lights have.
Step 5: Test the Light After Dark
Leave the light where it is and check it after sunset. Most fixtures have a photocell dusk sensor, so they should come on on their own within seconds to a minute of darkness. If it stays dark, cover the sensor with your hand or an opaque cloth and it should light up, which tells you the LEDs and battery work and the problem is the sensor or the switch rather than the charge.
Judge brightness over three nights, not one. A light that glows dimly on night one and then steadily improves is behaving normally. One that is still dim by night three needs attention, and the fixes in the next section usually handle it.
What To Do If The First Night Is Dark
Work down this list in order, because it goes from seconds of effort to minutes. First, confirm the switch is in the position your manual asks for and that any battery tab or insulating disc came out. Second, check that the panel has no film, dirt or shade on it. Third, confirm the panel is genuinely in direct sun, not under an eave or beside a wall.
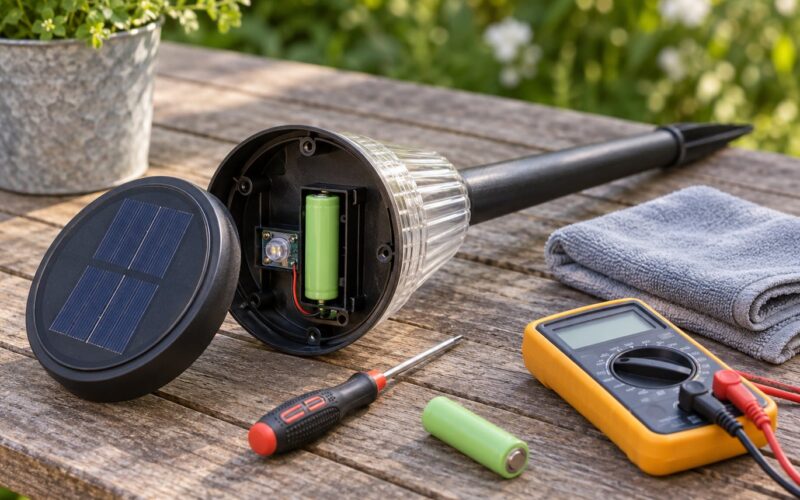
Fourth, test the sensor by covering it in the dark. Fifth, leave the light in full sun for a 72-hour deep charge with the switch off, which is the reconditioning trick that revives an old or half-flat battery. Sixth, if you have a multimeter, check the battery: a healthy nickel-metal hydride cell reads around 1.2-1.4V, and a lithium 18650 cell sits near 3.7V. Anything near zero means the battery is finished, not the light.
Swapping the internal rechargeable battery is usually the fix that works when a panel is still clean and bright but the runtime keeps falling. It revives plenty of otherwise dead lights, so try that before replacing the whole fixture. If the light is brand new and never worked after two or three full days of sun, return it instead of troubleshooting.
Common Mistakes
Almost every charging failure comes down to one of a handful of repeated errors, and each has a quick fix.
- Leaving the switch off for good. On many lights, OFF does not stop charging, it just stops the light running. On others it disconnects the charging circuit entirely. Read the manual, set it as directed, then move the switch to ON before the first night.
- Forgetting the protective film. A film left on the panel can slash output, and this is the single most common fault on new lights.
- Placing the panel in partial shade. Half a day of shade is not half a charge; it is closer to a third, because the light and battery still drain overnight while charging stays weak.
- Charging through glass. A sunny window gives noticeably less usable light than open air, and an indoor lamp gives almost none compared with sunlight.
- Moving the light too soon. Every reposition resets the clock. Pick the spot first, charge second, then stake or mount the light there.
- Expecting one cloudy day to count. Overcast charging is a fraction of a clear day. Give new lights a run of sunny days, or wait.
- Testing indoors under a lamp. This is the most common false conclusion. A new light in a bright room looks broken because a photocell needs real darkness to trigger, and lamp light charges it barely at all. Test it outdoors after dark.
- Judging performance on night one. A partly charged battery gives dim output and short runtime. Give it two or three nights before you decide anything.
One more thing worth knowing: the first charge matters less as folklore than people think. You do not ruin a modern battery by charging it on day one instead of day three. What the initial charge genuinely does is bring a partly shipped battery up to full capacity and let the controller calibrate, which is why skipping it leaves you judging a good light on its worst night.
If your light was stored over winter and has gone flat, the reset is the same routine on a longer clock: switch off, clean the panel, give it 72 hours of direct sun, then switch on.
Frequently Asked Questions
Should solar lights be on or off when charging for the first time?
Most manufacturers say OFF for the first one to two days, so use that as your default. A few newer models say ON because their switch keeps the battery connected to the charging circuit. Your product manual is the authority because only it describes the circuit inside your light. If the manual is unclear, charge with the switch OFF, then move it to ON before the first night.
How long do solar lights take to charge for the first time?
One full day of strong direct sun is the usual minimum for a new light, and one to two full days is safer if you want a deep first charge. A standard fixture needs six to eight hours of unobstructed sunlight for a full charge. Bigger panels on flood lights and street lights often need two to three days, and an overcast day may deliver less than half of a clear one.
How do I know when a solar light is fully charged?
Most solar lights have no charge indicator, so you check behaviour instead. After a full day of sun the panel should feel slightly warm, which shows it is converting light. At night, cover the photocell with your hand to test it, and judge the light over three nights rather than one. Brightness that climbs each night means it was still charging. With a multimeter, a good nickel-metal hydride cell reads 1.2-1.4V.
Why aren’t my new solar lights working?
Work through it in order: battery tab still in, switch in the wrong position, protective film left on the panel, and shade from a fence or eaves. After that comes exposure time, since many lights need one to two full days of sun. Testing indoors under a lamp is the classic false alarm, because a photocell needs real darkness. If two or three sunny days change nothing, return the light.
Can you charge solar lights without sun?
Only partially. If your light has a USB charging port, a cable and power bank will bring a flat battery up in roughly three hours on many models, though you should still give it sun afterwards. Charging under an indoor lamp or grow light takes far longer and delivers very little compared with sunlight. A sunny window works as a top-up but not as a full first charge.
How do you reset a solar light that has stopped working?
Turn the switch OFF, clean the panel, and leave the fixture in direct sun for 72 hours as a deep charge. This reconditioning step revives batteries that have gone flat after months of short days. Then switch to ON and test after dark. If the runtime still drops within an hour, replace the internal rechargeable battery or cells. If the panel is clean and bright but nothing changes, the light is at the end of its life.
Conclusion
Start with the three things that decide the outcome: pull the battery tab, peel the film off the panel, and set the switch the way your manual states. Then leave the light in direct sun for the recommended first charge, which is one full day for most models and one to two for a deeper start, and switch it on before the first night.