Wondering why are my solar lights dim? The answer is almost always one of five things: the battery is not holding a charge, the panel is dirty or shaded, the switch is off, the light sensor is confused, or the fixture itself is simply old. Brightness on a solar light is not a fixed setting. It rises and falls with how much sun the panel collected that day and how long the light has been running, so the same fixture can look great in June and pathetic in January.
That variability is what makes dim solar lights frustrating. You cannot fix it by guessing, but you can narrow it down in about ten minutes with a few tests you would already have on hand. Work through the causes below in order and you will usually find it.
Table of Contents
- Why Are My Solar Lights Dim?
- What Causes Solar Lights to Look Dim?
- Why are my solar lights dim in winter but fine in summer?
- How to Fix Dim Solar Lights
- 1. Test after a full day of direct sun
- 2. Clean the panel
- 3. Check the switch
- 4. Remove any leftover protective film
- 5. Reposition the light
- 6. Replace the battery
- 7. Replace the unit when the panel or battery is done
- 8. Swap a yellowed lens or a hazed panel cover
- Battery Problems
- Solar Panel and Charging Problems
- Switches, Sensors, and Placement
- How to Tell If a Solar Light Is Broken
- Frequently Asked Questions
- How long should solar lights take to charge?
- Do solar lights work on cloudy days?
- Why do my solar lights fade through the night?
- Why are my new solar lights dim or not working at all?
- How often should I replace the batteries in solar lights?
- Can I use regular batteries in a solar light?
- Conclusion
Why Are My Solar Lights Dim?
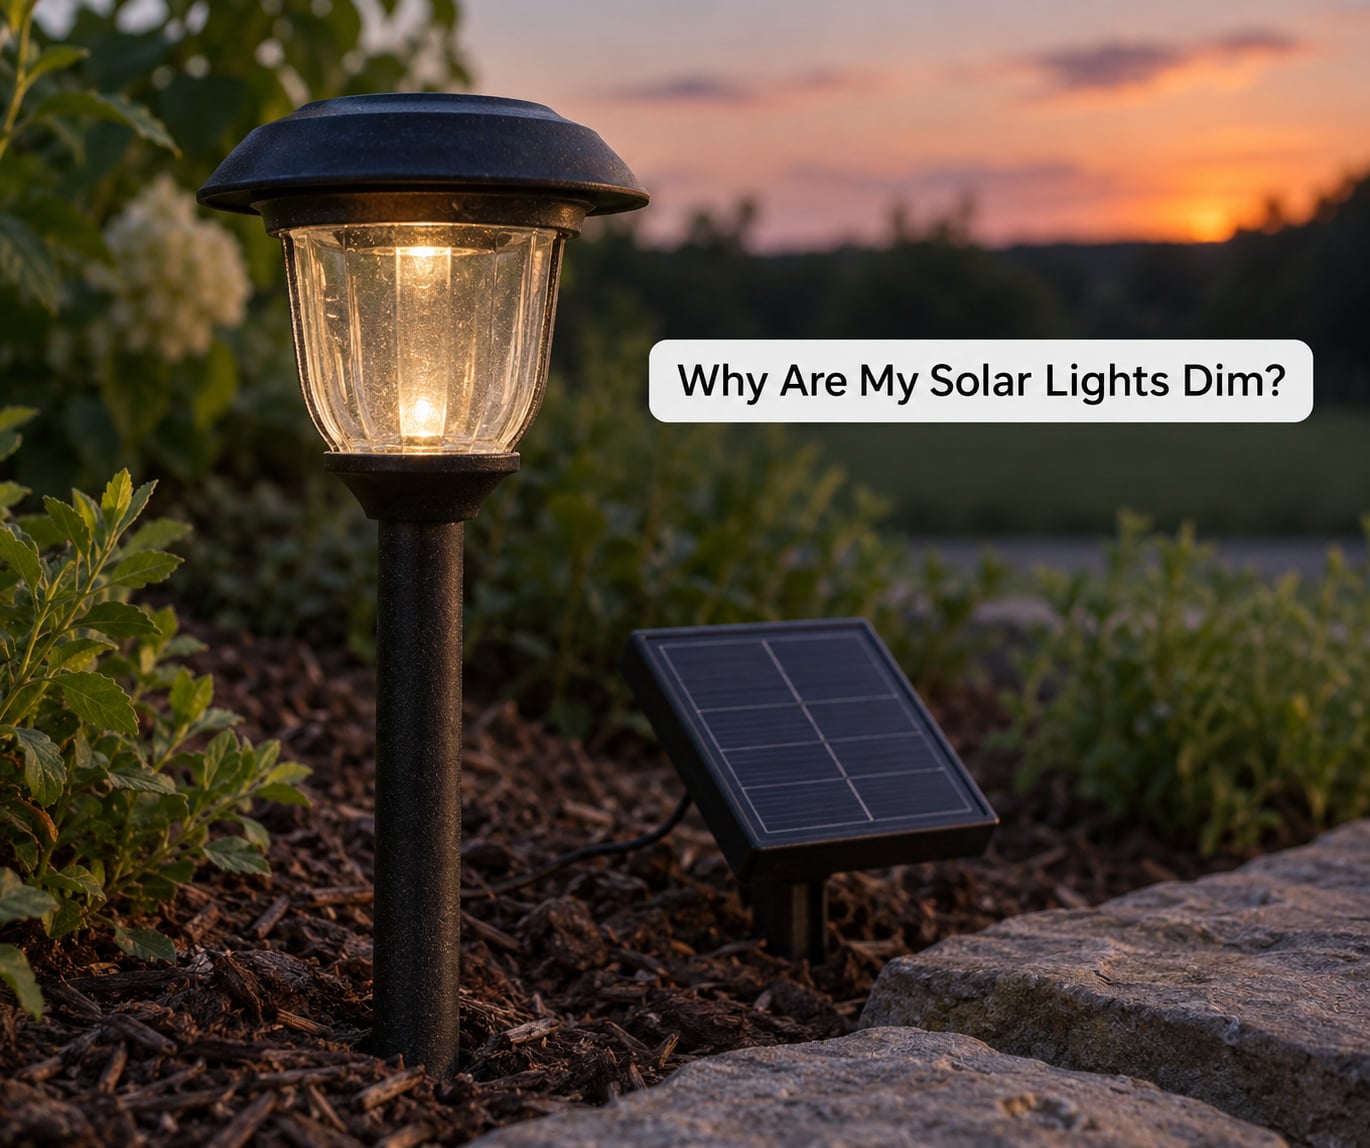
Solar lights are dim because they are running on stored energy rather than a live power source. Dim output usually means inadequate charging, a weak or dirty solar panel, a depleted battery, a switch that is not fully on, or reduced sunlight. Brightness also drops hour by hour as the battery drains, and cloudy stretches leave less charge in the bank than clear ones.
There are two flavours of the problem, and separating them saves time. A light that dims slowly over months is almost always battery age. A light that dropped in brightness overnight, after a storm or after being moved, points to a switch, a sensor, water getting into the compartment, or a cable that came loose.
What Causes Solar Lights to Look Dim?
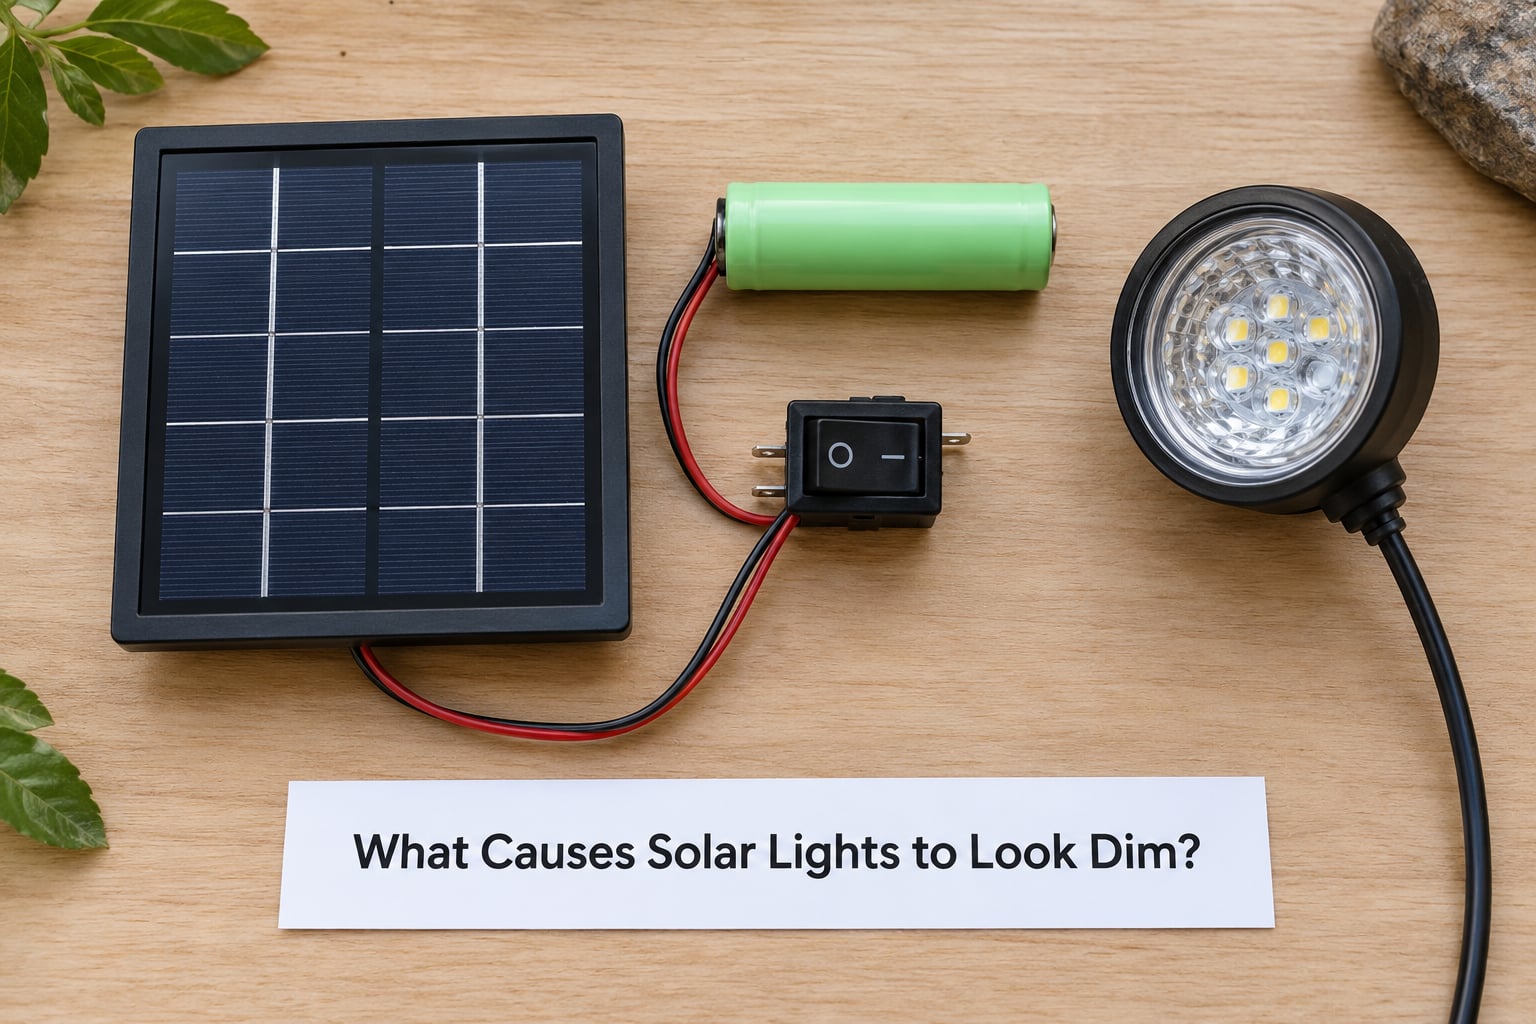
Here is the short list, with the symptom that usually gives each one away.
| Cause | What you see | What to do |
|---|---|---|
| Battery charge | Bright for an hour or two, then dark | Give it a full day of direct sun and test again |
| Panel condition | Dim even after a sunny day | Wipe the panel with a damp cloth |
| Sunlight exposure | Fine in summer, weak in winter | Move the light out of shade |
| Switch position | Never lights up at all | Set the switch to ON |
| Sensor setting | Stays on in daylight or never triggers | Clear and cover the photosensor |
| Battery age | Gradual dimming over months | Replace with the specified battery |
| Water or impact damage | Sudden dimming after rain or a knock | Inspect seals, contacts and the panel |
Yellowing plastic lenses belong on this list too, even though nothing is broken. An old lens scatters light instead of passing it through, so the LED still works while the fixture looks weak.
Why are my solar lights dim in winter but fine in summer?
Seasonal dimming is a charging problem, not a hardware fault. Winter brings shorter days, a lower sun angle and more cloud, so the panel collects far less energy while the cold air makes the battery hold less of what it did collect. A light that runs all night in June might manage three hours in January in the exact same spot. If yours only weakens between October and March, check how many hours of direct sun the spot really gets before you spend money on parts.
How to Fix Dim Solar Lights
Run through this sequence before you buy or swap anything.
1. Test after a full day of direct sun
Leave the light where it is for an entire clear day, then check it after dark. A light that fails this test was never getting a real charge in the first place. Move on to step 2 only if it looks dim even after that.
2. Clean the panel
Dust, pollen, dried bird mess and leaves cut charging more than most people expect. A soft cloth and a little warm soapy water is plenty. Rinse with plain water and let the panel air dry fully in direct sun before reassembling.
3. Check the switch
Nearly every stake light has a small slider or tab on the underside of the panel or inside the battery door. It gets knocked off during weeding, moving or mowing. Set it to ON and cover the panel completely to simulate darkness.
4. Remove any leftover protective film
New lights sometimes ship with a thin plastic sheet over the panel or an opaque sticker over the sensor. It looks like part of the product. Peel it off. This single step fixes a surprising number of brand-new lights that never worked properly.
5. Reposition the light
If the spot looks open in summer, watch it in December. A tree or fence that misses the sun all year can block it entirely once the sun sits lower. Two feet of sideways movement is often enough to double winter runtime.
6. Replace the battery
Swap in a fresh rechargeable cell of the type and voltage the manufacturer specifies. Standard alkaline batteries are not designed for these fixtures and can leak or swell inside the compartment.
7. Replace the unit when the panel or battery is done
If a new battery in a thoroughly cleaned fixture still gives you two hours of dim glow after a clear day, the panel or the electronics have failed. That is the point to replace rather than keep tinkering.
8. Swap a yellowed lens or a hazed panel cover
Cheap stake lights are often sold with a replaceable lamp head under a clear or frosted cover. Once that cover turns yellow from UV exposure it throws away a surprising share of the light. If the fixture takes a standard lamp, swapping it for a new one costs a few dollars and restores output without touching the panel or the battery.
Battery Problems
Batteries are the single most common reason solar lights go dim. Rechargeable cells lose capacity gradually, so the light does not die one night. It gets shorter and dimmer until one evening it barely makes it past dinner.
Most garden lights ship with NiMH cells, which are cheap and tolerate being left partly charged. LiFePO4 cells hold a flatter voltage as they drain, so a light built around them keeps its brightness until close to the end of the night. NiCd cells still turn up in older fixtures and hold a charge poorly in cold weather. Match the chemistry and voltage to what the fixture was designed for rather than dropping in whatever fits.
Corrosion is the other half of the story. Moisture and salt air leave a crust on the contacts that looks like rust or white powder. Clean the metal contacts with a cotton swab and a little baking soda paste, dry everything completely, and reconnect. Never file a contact down to shiny metal if the spring is already weakened.
To test a suspect cell, set your multimeter to DC volts and touch the probes across the terminals. A healthy NiMH cell reads close to its rated voltage when fully charged, somewhere around 1.2V, and well under that by morning if it truly held its charge. A reading near zero means the cell is finished.
Solar Panel and Charging Problems
A panel that is shaded, soiled or physically cracked will quietly cap how much charge the battery ever sees. Because the light still runs, this often gets mistaken for a battery problem, and people replace good batteries for months.
Look at the panel from different angles during the day and note what crosses it. Check for leaves lodged along the top edge, a film of green algae, bird droppings, or a crack running through the cells. Clean it as described in step 2, then leave it in full sun and confirm the battery voltage rises by the next morning. If the panel looks fine and the voltage still sits where it started, the panel itself has failed.
Heavily oxidised panels can sometimes be restored with an automotive headlight restoration kit, which uses a mildly abrasive polish to take haze off the surface. It helps on weathered plastic covers. It will not bring back a cracked cell.
Switches, Sensors, and Placement
The light sensor is a small photo-sensitive disc, usually on the top of the lamp head or on the panel. Dirt on it, or a bug nest, keeps the light from recognising darkness. Wipe it clean and check that it is not shielded by a decorative cap or a sticker.
Plenty of lights also sit close enough to a porch, garage or streetlight that the sensor never gets a proper dark signal. Move them a few feet, or cover the sensor with your hand for a few seconds to test whether the fixture responds at all.
Models with motion sensing and an eco or dim mode behave differently from plain dusk-to-dawn units. Eco mode deliberately reduces output to stretch runtime, so a light in eco mode is not broken. Check which mode the dial or button is set to and put it on full brightness before judging it.
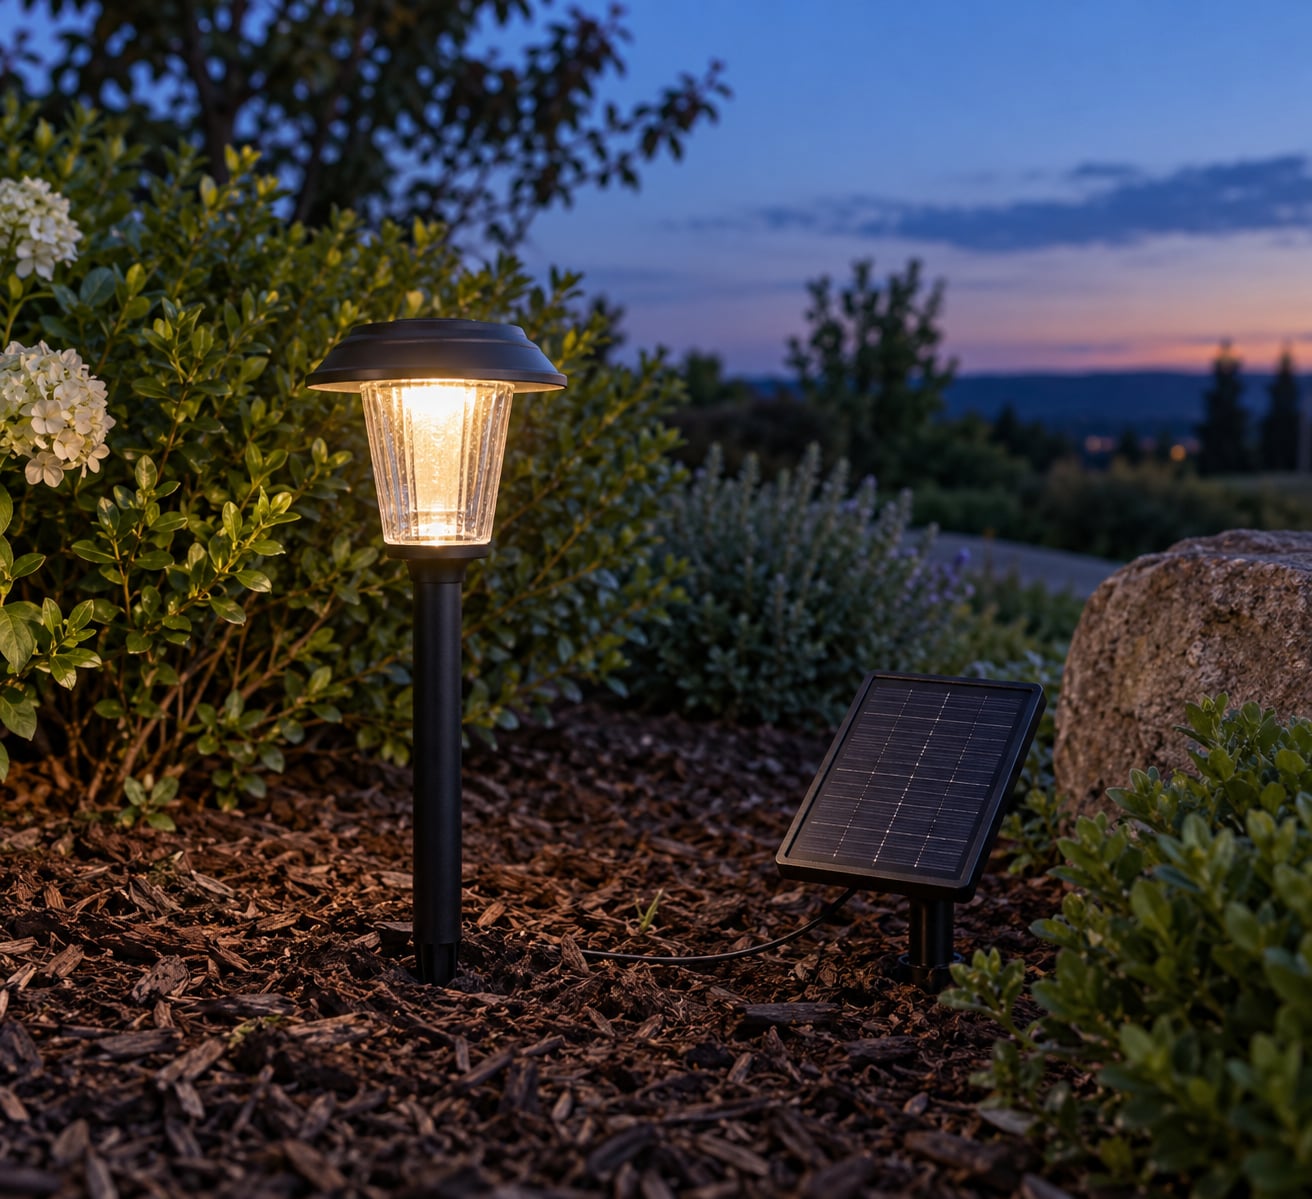
For placement, aim for six hours of unobstructed sun on a typical clear day. Paths and driveways get the most reliable results when the panel sits above the surrounding foliage rather than level with it. Patios and balconies usually work fine as long as nothing tall stands between the panel and open sky.
How to Tell If a Solar Light Is Broken
Troubleshooting has reached its limit when one of these shows up.
- The battery voltage does not rise at all after two or three clear days in full sun
- The panel has a visible crack or a cloudy dead patch across the cells
- The battery is swollen, leaking or hot to the touch
- Corrosion has crept across the battery bay, the switch or the wiring joints
- A known-good, correctly sized new battery still gives you a dull two-hour glow
Do not use a light with a swollen or leaking battery. Take it out of use, keep it away from children and pets, and follow your local rules for battery disposal rather than putting it in household trash. If you want to keep using that style of light, replace the fixture rather than the cell, and match the replacement to the IP rating you need for the spot.
Frequently Asked Questions
How long should solar lights take to charge?
Most solar lights need six to eight hours of direct sunlight to reach a full charge, which means a full day of summer sun or two if the weather is patchy. Anything less and the battery starts the night partly empty, so the light dims early. Test after a full clear day rather than after one afternoon. If brightness still drops after a full day of sun, the problem is not charge time.
Do solar lights work on cloudy days?
Yes, but at reduced output. A panel still generates power under cloud cover, though far less than in direct sun, and a battery that never reaches full charge will not last the night. If your lights were fine last week and dim now, count the cloudy days rather than assuming failure. When a stretch of gray weather is forecast, switching the fixtures off for a day or two preserves the charge for when the sun returns.
Why do my solar lights fade through the night?
All battery-powered LEDs dim as the charge drains, and how gently depends on the battery chemistry. NiMH cells fade gradually, so the light looks weak by midnight. LiFePO4 cells hold a flatter voltage and keep brightness closer to full until late in the night. If yours fade dramatically within an hour or two of switching on, the battery is probably worn and is not holding much of the charge it collects.
Why are my new solar lights dim or not working at all?
Check three things first: the switch is set to ON, any protective film or sticker has been peeled off the panel and sensor, and the light had a full day of sun before its first use. Brand-new lights often ship with a sheet over the panel that blocks charging entirely. If those three check out and it is still dim, the switch or the cell may be faulty from the start.
How often should I replace the batteries in solar lights?
Most rechargeable cells in outdoor solar lights last one to two years before brightness fades noticeably. That window shortens in cold climates and in coastal air, where salt speeds up corrosion at the contacts. Replace with the type and voltage the manufacturer specifies, and never fit standard alkaline batteries, which are not designed for these fixtures. A corroded bay is a signal to replace the whole light.
Can I use regular batteries in a solar light?
No. Solar lights are built for rechargeable cells, usually NiMH or LiFePO4, and charging a non-rechargeable battery in the panel is a fire risk. Standard alkaline cells also tend to leak in a sealed compartment and swell until they crack the housing. If you want a light that runs on ordinary batteries, buy a battery-operated fixture instead of repurposing a solar one.
Conclusion
Start with the easy stuff. Put the light in direct sunlight, clean the panel, confirm the switch is on, peel off any film, and let it run a full charge cycle. That sequence resolves most dim solar lights, often in the space of an afternoon.
If it is still dim after a clear day of charging with a clean panel, the honest answer is usually a tired battery, a failed panel or a fixture that has outlived its useful life. Replacing the whole light at that point is faster and cheaper than further testing, and 2026 is a decent year to spend a little attention on what is already in your yard.