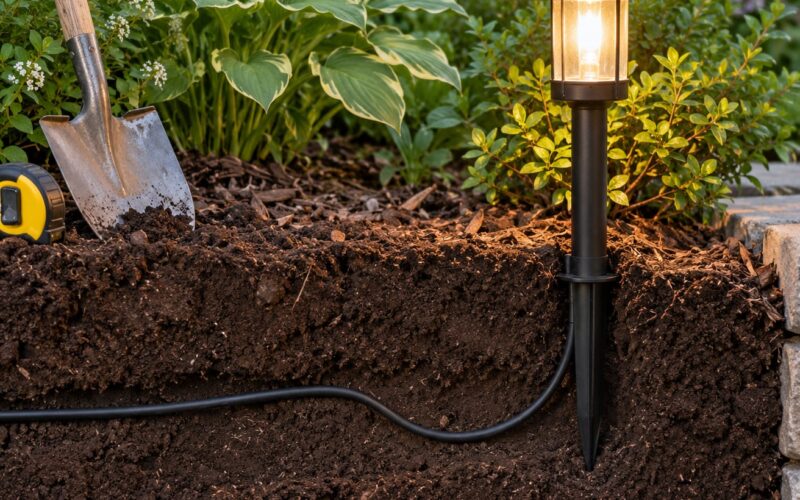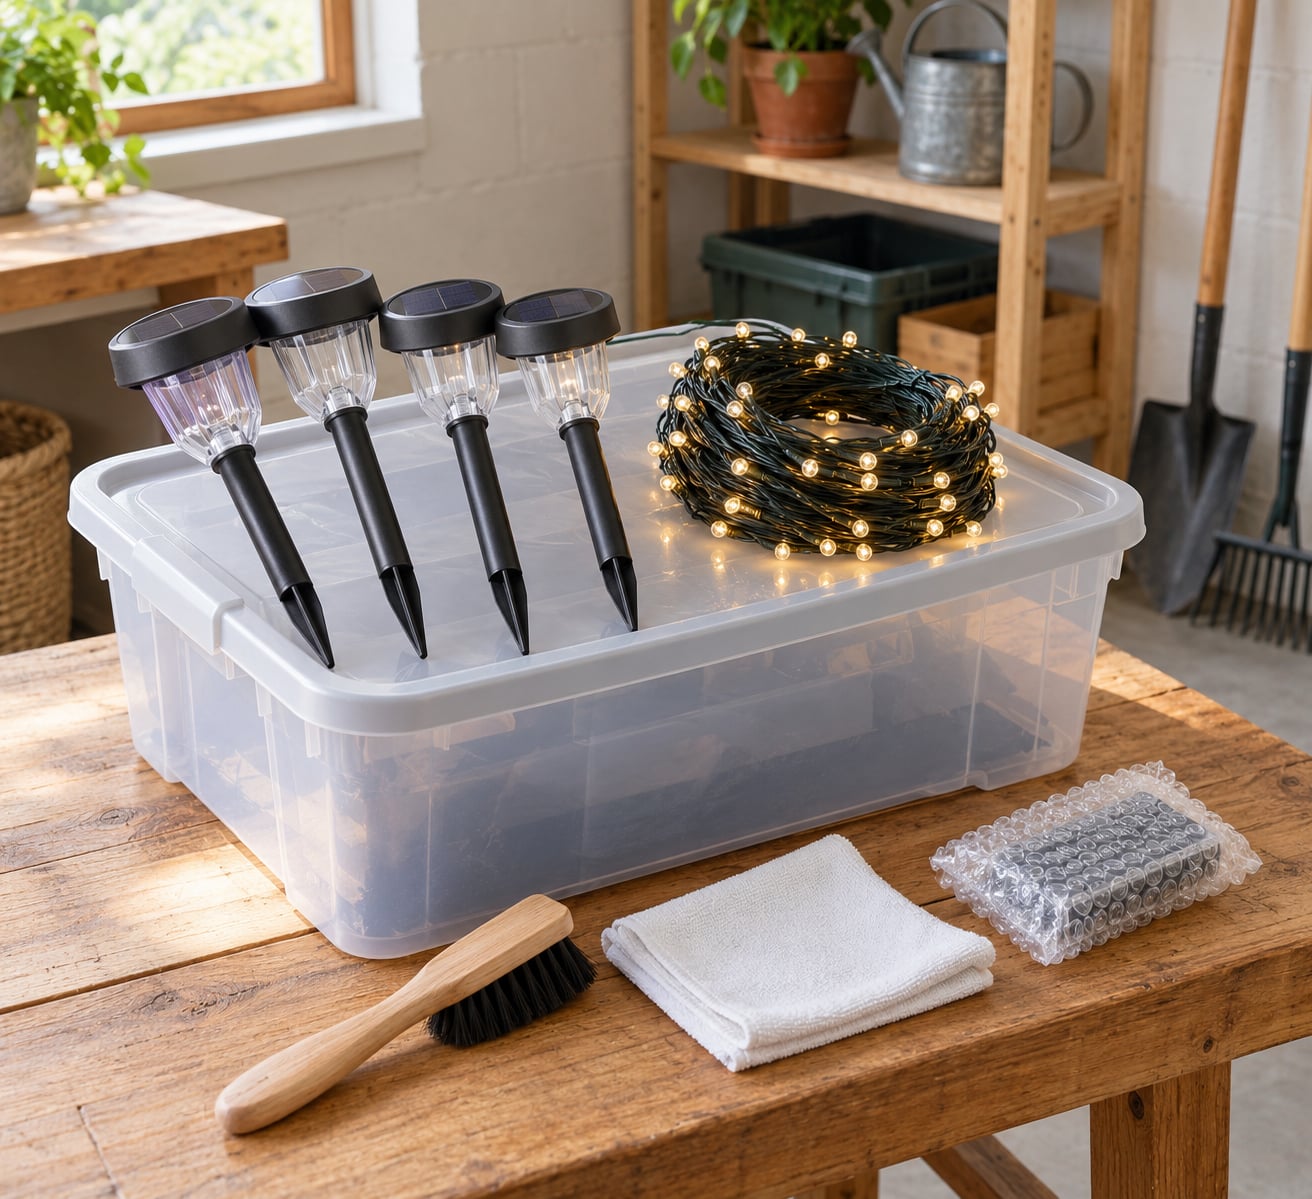
To store solar lights for winter, switch each one off, clean and dry the panel and fixture, pull out the rechargeable batteries, and pack everything into a dry indoor space that stays roughly between 32F and 77F. The whole job takes about 20 minutes for a batch of lights, and it is what keeps a single leaking cell from ruining the circuit board.
The reason this matters is not just cold. Solar batteries keep a slow self-discharge even when nothing is running, so a cell left in a light over winter quietly drains toward empty. A fully drained cell sitting in damp air is the combination that produces corrosion, swelling, and leakage inside the housing.
Most people who skip this in the fall ask the same thing in spring: why did the light work all summer and then stop? Usually the panel was fine. The battery was the weak point.
Table of Contents
- What You Need
- Step-by-Step: How to Store Solar Lights for Winter
- 1. Check the Manufacturer’s Storage Instructions
- 2. Clean and Dry Every Part
- 3. Inspect for Damage Before Storage
- 4. Switch Off and Protect the Battery
- 5. Pack and Label: How to Store Solar Lights Without Crushing Them
- 6. Store Them in a Dry, Stable Indoor Place
- 7. Check and Reactivate Them in Spring
- Common Mistakes
- Frequently Asked Questions
- Can solar lights stay outside during winter?
- Should I remove the battery from a solar light before storing it?
- Should solar lights be fully charged before winter storage?
- What type of rechargeable battery is best for solar lights?
- How long can solar lights be stored without being used?
- Conclusion
What You Need
Gather this before you start pulling lights out of the ground. Having it laid out turns the job into one pass instead of five trips to the shed.
- The manual or care instructions for each light, if you still have them. This tells you the battery type and whether the fixture is allowed to be dismantled.
- A soft brush and a lint-free cloth for the panel and housing.
- Mild soap and water for dirt on the fixture body. Nothing abrasive, and nothing with solvents in it.
- A dry storage container such as a plastic tote with a loose lid, a sturdy cardboard box, or a shelf in a closet. It should be ventilated rather than airtight.
- Masking tape or a label maker to mark each battery pack and each fixture.
- Bubble wrap, crumpled tissue, or foam sleeves for glass globes, stakes, and any string lights with exposed bulbs.
- Towels or a folding mat to lay parts on while they dry.
You do not need much else. What you should not do is skip the manual. Some fixtures have sealed or glued-shut battery compartments, and forcing them open is how people crack a housing they then have to replace.
Step-by-Step: How to Store Solar Lights for Winter
Work through these in order before the first hard freeze, not after. The order matters because cleaning a wet battery contacts can drive moisture straight into the compartment.
1. Check the Manufacturer’s Storage Instructions
Start with the manual, since solar lights range from a plastic garden stake with a single rechargeable AA to a wall lantern with a built-in lithium pack. Look for the battery chemistry, the recommended storage charge level, and any temperature limits printed for storage.
Note also whether the light is designed to come apart. Most pathway stake lights usually have a screw-down base or a tabbed compartment. Wall lanterns and integrated solar floods sometimes have a sealed pack that is not meant to be removed at all, and for those the manual is the only guide that matters.
2. Clean and Dry Every Part
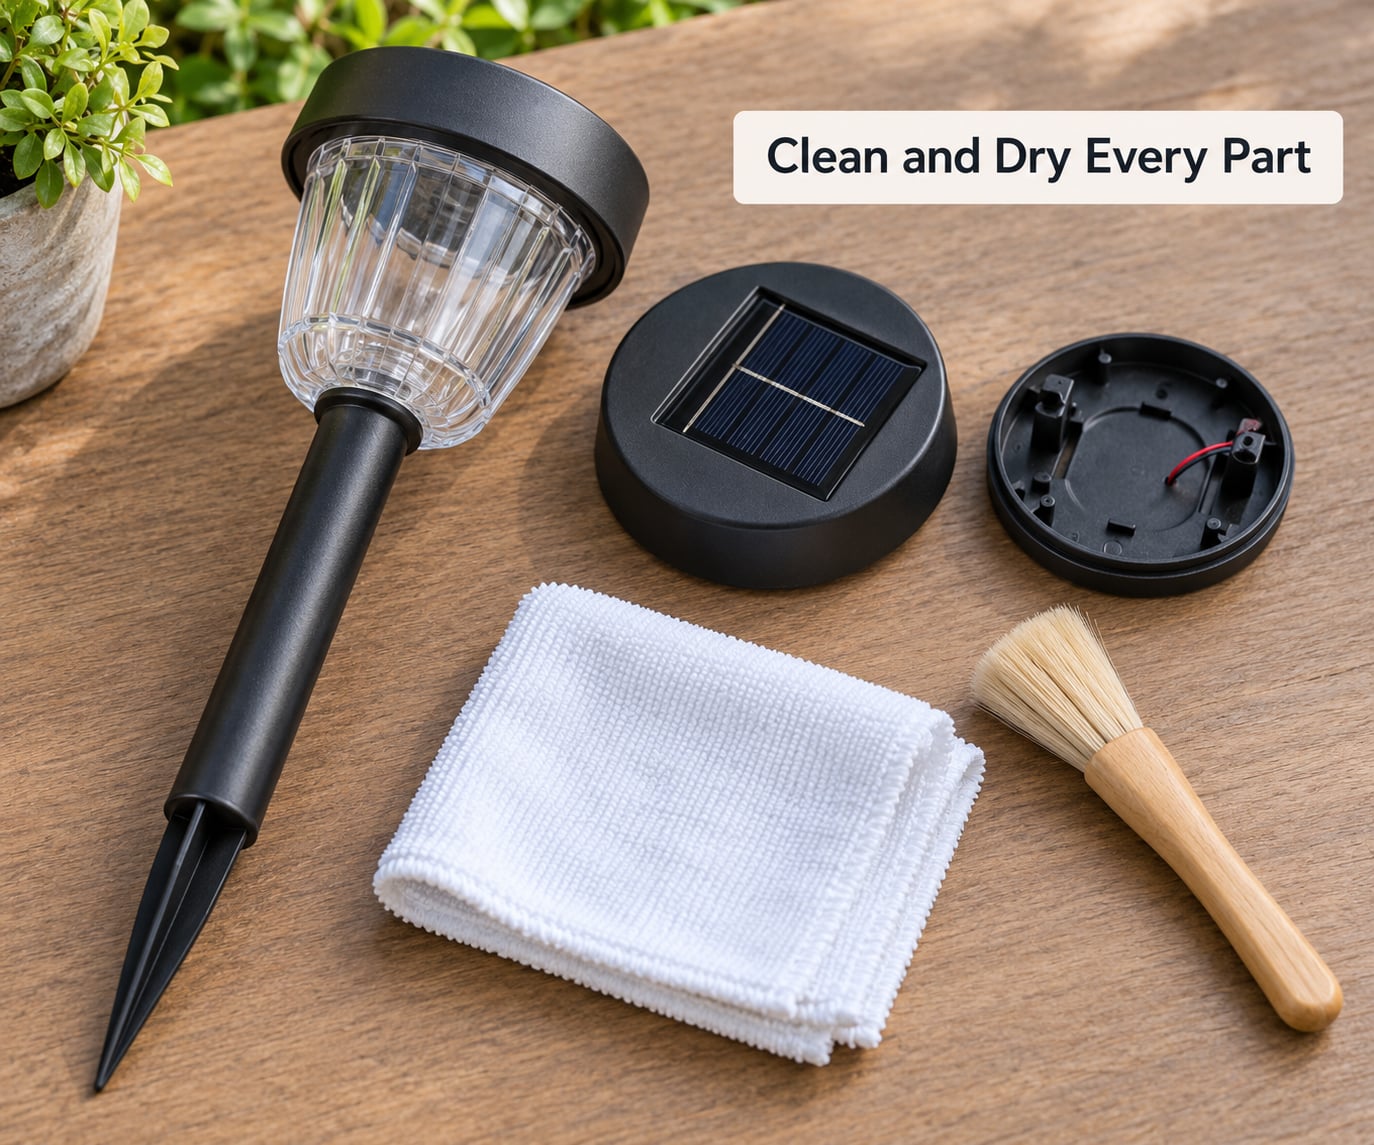
Dirt on the panel cuts charging, and dirt holding moisture against the housing is how corrosion starts. Wipe the solar panel with a barely damp lint-free cloth, then dry it with a second cloth.
Skip abrasive cleaners and window cleaners on the panel. The protective coating on the cells scratches easily, and a scratched panel loses output permanently. Mild soap on the plastic housing is fine.
Open the battery compartment if you can and check it for grime, green or white crusty residue, and dampness. Clean the contacts with a dry cloth, and let every part sit out until it is completely dry to the touch. This is the step people rush, and it is the step that decides whether the fixture survives.
3. Inspect for Damage Before Storage
Look at each light like you are deciding whether it is worth putting back out in spring. Check for cracks in the housing, a solar panel that sits loose or rocks when you press it, exposed or frayed wires at the stake, and any sign of water damage such as a cloudy lens interior or a swollen battery door.
Corrosion is the one to take seriously. Green or white deposits on the terminals mean moisture has already been in there, and a light with corrosion usually needs new cells and a cleaned contact set before it will work again.
Do not store a damaged or damp light. A wet fixture sealed into a box for six months will come out worse than the damage you found. Set damaged ones aside and deal with them separately.
4. Switch Off and Protect the Battery
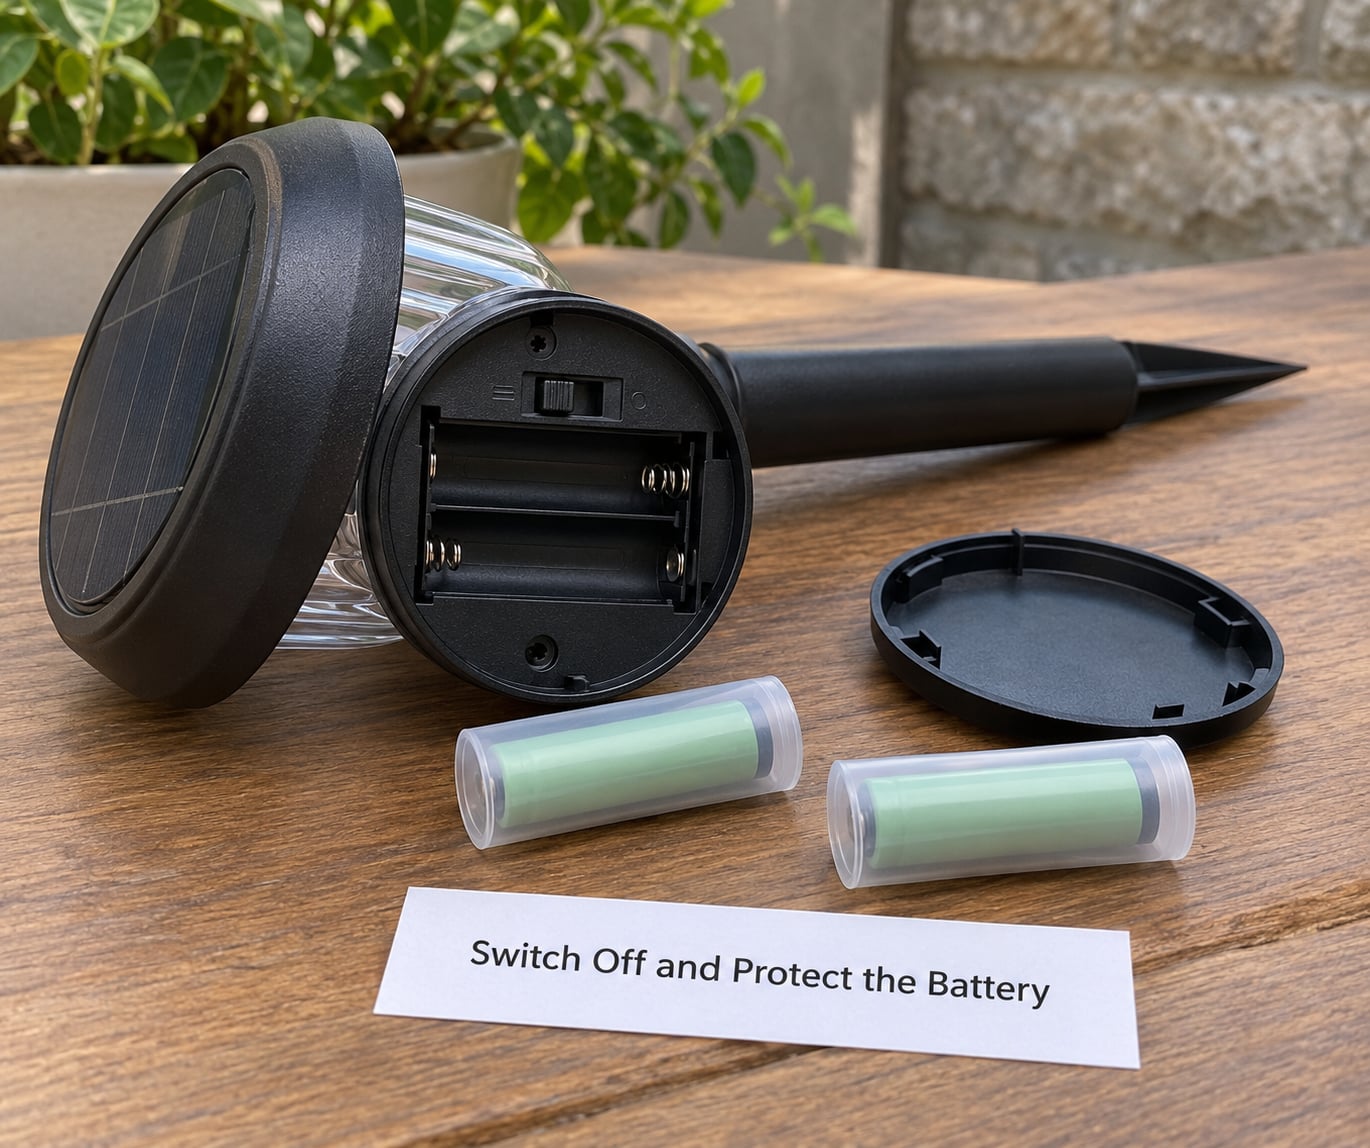
Flip the switch to off, not just to auto. On and off matters more than most guides admit: some fixtures keep a small standby draw through the dusk sensor or a factory disconnect, and over four or five months that trickle is enough to flatten a battery.
Remove replaceable batteries only when the manufacturer permits it. When you take them out, wrap each pack in its own sleeve or a labelled zip bag so you know which light it belongs to in spring. Mixing packs from a dark shed is a genuinely frustrating mistake.
Do not store rechargeable cells empty. A rough partial charge, around 40 to 60 percent, is the sweet spot. At zero, the cell risks deep discharge, which stresses it far more than time alone. At full, the cell sits under sustained internal stress for months. Use a battery tester if you have one, or charge the pack on a bench after a full day of sun and then store it part-used.
If a cell is dead, swollen, or crusty, do not put it back in the light for storage. Take it to a household recycling or battery collection point instead, and keep the new cells out of the fixture until spring.
5. Pack and Label: How to Store Solar Lights Without Crushing Them
Where the design allows it, separate the panel from the fixture so neither piece presses on the other. Wrap glass globes in tissue or bubble wrap, and separate string lights so bulbs do not rest against the fixture housings.
Cushion stakes and poles so they do not take weight from anything stacked on top. A cardboard box works fine for this; the point is that no component carries load.
Label everything. A label on the box saying front step, four lights tells you more in March than anything you will remember in November. Keep the manual with the box if you have it, so the spring recharge instructions are in your hand rather than in your memory.
6. Store Them in a Dry, Stable Indoor Place
Aim for a spot that stays cool, ventilated, and out of direct sun. The range most manufacturers quote for battery storage is about 32F to 77F, and staying inside that band matters more than any one specific number.
A garage or unheated basement works in most climates as long as it does not freeze solid and does not swing damp. A closet shelf on an interior wall is the most stable option you have, and it is where I put mine. An unheated shed is the weakest choice in cold regions, and an attic is the worst: attic heat in winter is severe enough to stress cells while the rest of the house is fine.
Keep lights away from furnace appliances, water heaters, and exterior walls that carry frost. Watch for mice and insects, which find warm plastic housings in a garage quickly and will chew through wires. A vented tote with a loose lid keeps dust off without trapping condensation.
Whatever the location, leave the switch off and the batteries out if you removed them. If the cells stayed in because the manual required it, put the fixture somewhere the temperature stays inside the recommended range.
7. Check and Reactivate Them in Spring
When the nights turn mild again, bring the lights out and give them a full day of direct sun before you judge them. A battery stored at 40 percent will light dimly for a few hours on the first night, and that is normal rather than a fault.
If a light is still dim after two or three full days of charging, replace the cells. Winter storage is where old batteries announce themselves, and swapping them takes a few minutes with the right size.
Clean the panel again if it collected winter grime, reinstall the fixture and stake, and confirm the battery compartment is fully closed. Then walk the path after dark to check the aim and brightness, which is the real test.
Common Mistakes
Most winter storage problems trace back to one of these. None of them are complicated, and every one of them is avoidable an hour before the first freeze.
Storing damp lights. Moisture sealed in a fixture or a tote is the single most damaging mistake. Dry every part properly, and if you pack lights that were out in rain, leave them out overnight first.
Leaving the switch on. Standby draw through the sensor slowly drains a pack that is supposed to sit at a partial charge. Off is the correct setting for storage, and some manuals say so explicitly.
Storing cells loose against metal. A loose cell rolling around a metal tote can short. Keep each pack in its own sleeve or bag, separated from tools and metal parts.
Storing fully charged batteries. A cell held at full charge for months works harder than it needs to. Partial charge is gentler, and it also protects you from deep discharge if something goes wrong.
Putting lights in a hot attic. Attics swing to extremes in both directions. The heat is harder on batteries than the cold, and you lose the option of checking on them.
Sealing lights in a dark, airtight box. Some manufacturer manuals specifically warn against this. Trapped moisture has nowhere to go, and a sealed dark box prevents you from noticing corrosion or a leaking cell.
Discarding sealed batteries without reading the manual. If the compartment is sealed, the fixture is meant to be stored intact. Forcing it open can damage the light. Check first.
Forgetting the cold-charging rule. Lithium packs with a battery management system generally will not charge below roughly 35F, and charging a cold lithium cell can damage it. This is why lights left out through winter often stop producing anything by January.
Frequently Asked Questions
Can solar lights stay outside during winter?
It depends on the light and your climate. In mild areas with few hard freezes, quality lights rated for outdoor use can stay installed, and you mainly need to keep snow off the panel so it still charges. In places with real freezes, take them in. Cold raises a battery’s internal resistance, and a cell that sits discharged in a damp housing can leak and corrode the board, which ends the whole fixture rather than just the battery.
Should I remove the battery from a solar light before storing it?
Remove it when the manufacturer allows it, which is most pathway stakes and string lights with standard cells. Taking the cells out removes the weak point from the cold and stops standby drain. If the compartment is sealed or glued shut, leave the battery installed and store the whole light somewhere that stays inside the recommended temperature range. Never force a sealed compartment open.
Should solar lights be fully charged before winter storage?
No. A partial charge of roughly 40 to 60 percent is the better target. A fully charged cell sits under sustained internal stress for months, while an empty cell risks deep discharge, which is harder on it than time alone. Charge the pack after a day of sun and then store it part-used, or use a battery tester to check where it sits before packing it away.
What type of rechargeable battery is best for solar lights?
For replaceable cells, low-self-discharge NiMH rechargeable AA or AAA batteries are the usual answer because they tolerate months of sitting unused better than older nickel-cadmium cells, which also carry a memory effect. Many newer fixtures use an 18650 lithium-ion cell, which lasts longer but should not be charged below roughly 35F. Match the chemistry and size the manual specifies.
How long can solar lights be stored without being used?
Quality low-self-discharge NiMH cells keep most of their capacity through six months of cool, dry indoor storage, and good lithium-ion packs do considerably better. Old nickel-cadmium cells drain much faster, and cheap stake lights with tiny panels and small packs are the ones that reliably fail by the third season. Expect to replace cells every two to four seasons on entry-level lights regardless of how they were stored.
Start with the manufacturer’s storage guidance, then do a dry inspection. Everything else follows from those two things.
Conclusion
If you do only the first four actions, you will already be ahead of most people. Switch every light off, clean and dry the panel and housing, check for cracks and corrosion, and confirm the right battery-care method for that fixture.
Then pull the replaceable batteries, leave them at a partial charge in their own labelled sleeves, pack the fixtures so nothing is crushed, and put everything in a dry indoor spot that stays between roughly 32F and 77F. Give each box a label for the place it came from, and your spring reinstall takes ten minutes instead of an afternoon.