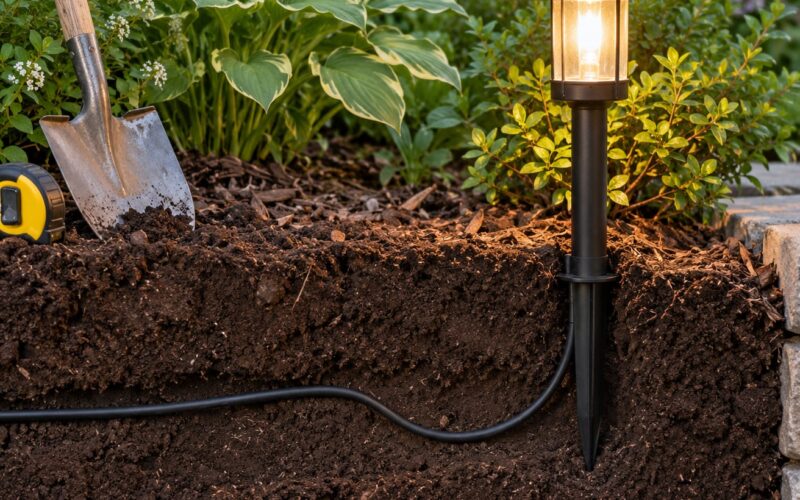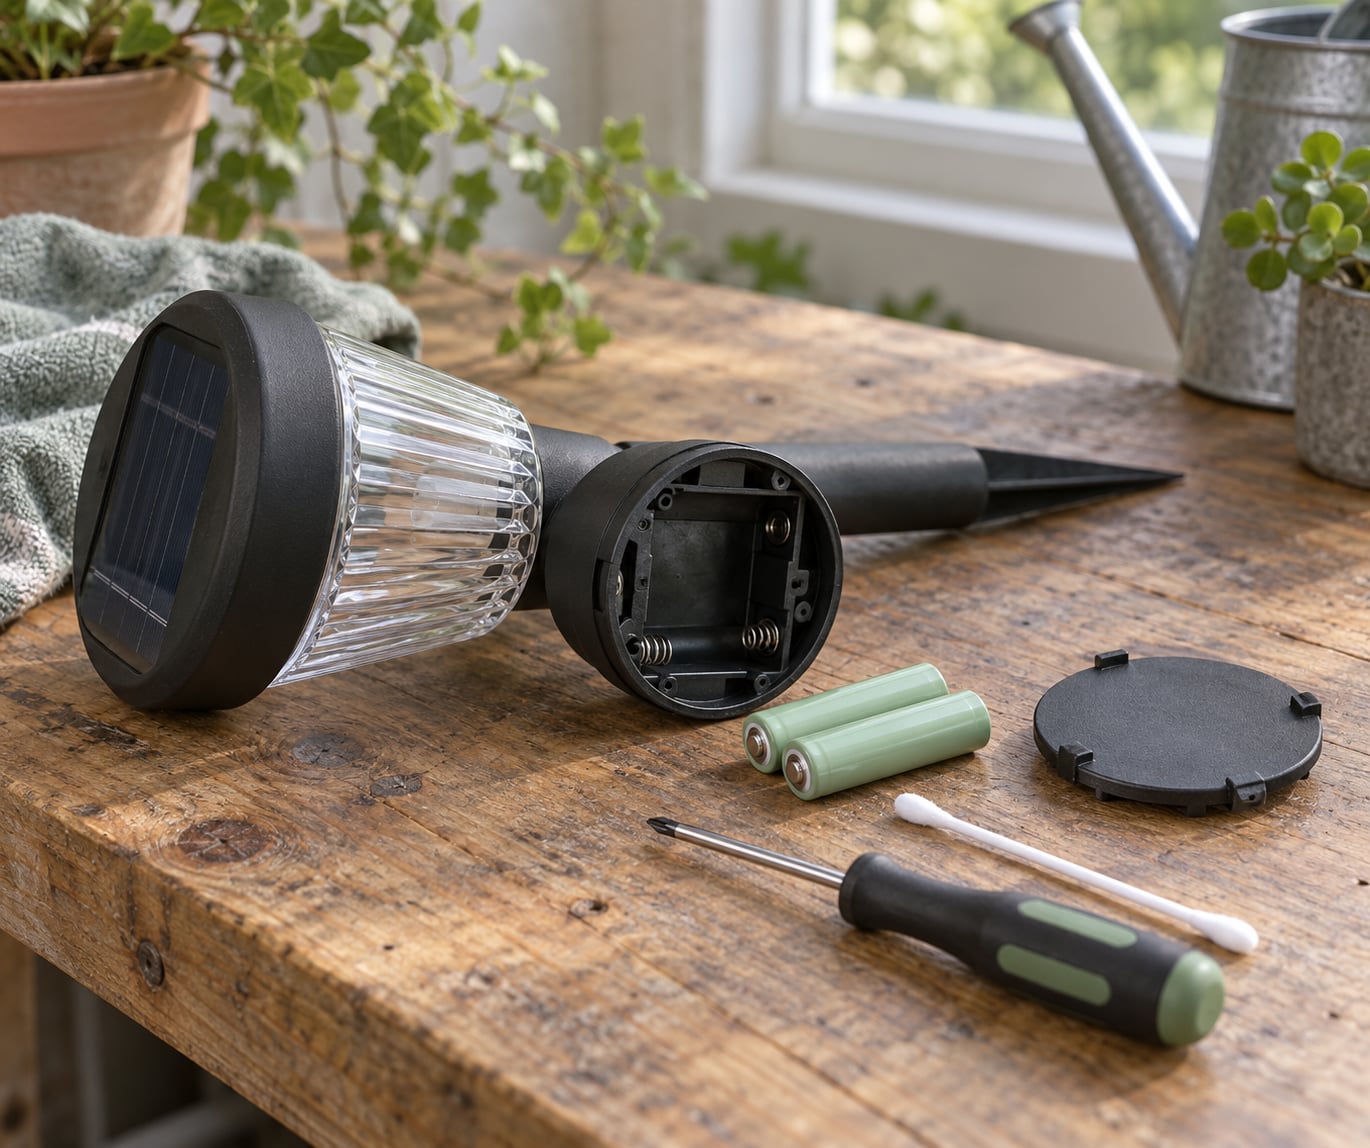
Most solar lights use small rechargeable cells you can swap out in about ten minutes with a screwdriver. Switch the light off, open the battery compartment, match the voltage and chemistry printed on the old cell, install the new one with the polarity lined up, then give it a full day of direct sun before you judge whether the repair worked.
The whole job is simple. The part that goes wrong is fitting the wrong battery, and that is usually down to a label that peeled off or never existed. Get the chemistry right and the light will run for another couple of seasons.
Solar lights fail in a predictable order. The rechargeable cell ages first, usually after two to four years, while the LED inside can keep going for close to a decade. So if your pathway lights have been dimming for weeks or stopped switching on at dusk, the battery is the first thing to test, not the last.
Table of Contents
- What You Need
- Step-by-Step: How to Replace Batteries in Solar Lights
- 1. Check Whether the Light Has a Replaceable Battery
- 2. Turn Off the Light and Let the Battery Settle
- 3. Open the Battery Compartment
- 4. Remove and Inspect the Old Battery
- 5. Choose the Correct Replacement Battery
- 6. Install the New Battery Correctly
- 7. Reassemble and Test the Light
- 8. Check That the Battery Is Charging
- Common Mistakes
- Frequently Asked Questions
- Can you replace any battery in a solar light?
- What type of battery is used in solar garden lights?
- Why won’t my solar light work after replacing the battery?
- How long should a replacement solar-light battery charge?
- Can you use regular alkaline batteries in a solar light?
- Is a leaking or corroded solar-light battery safe to handle?
- Conclusion
What You Need
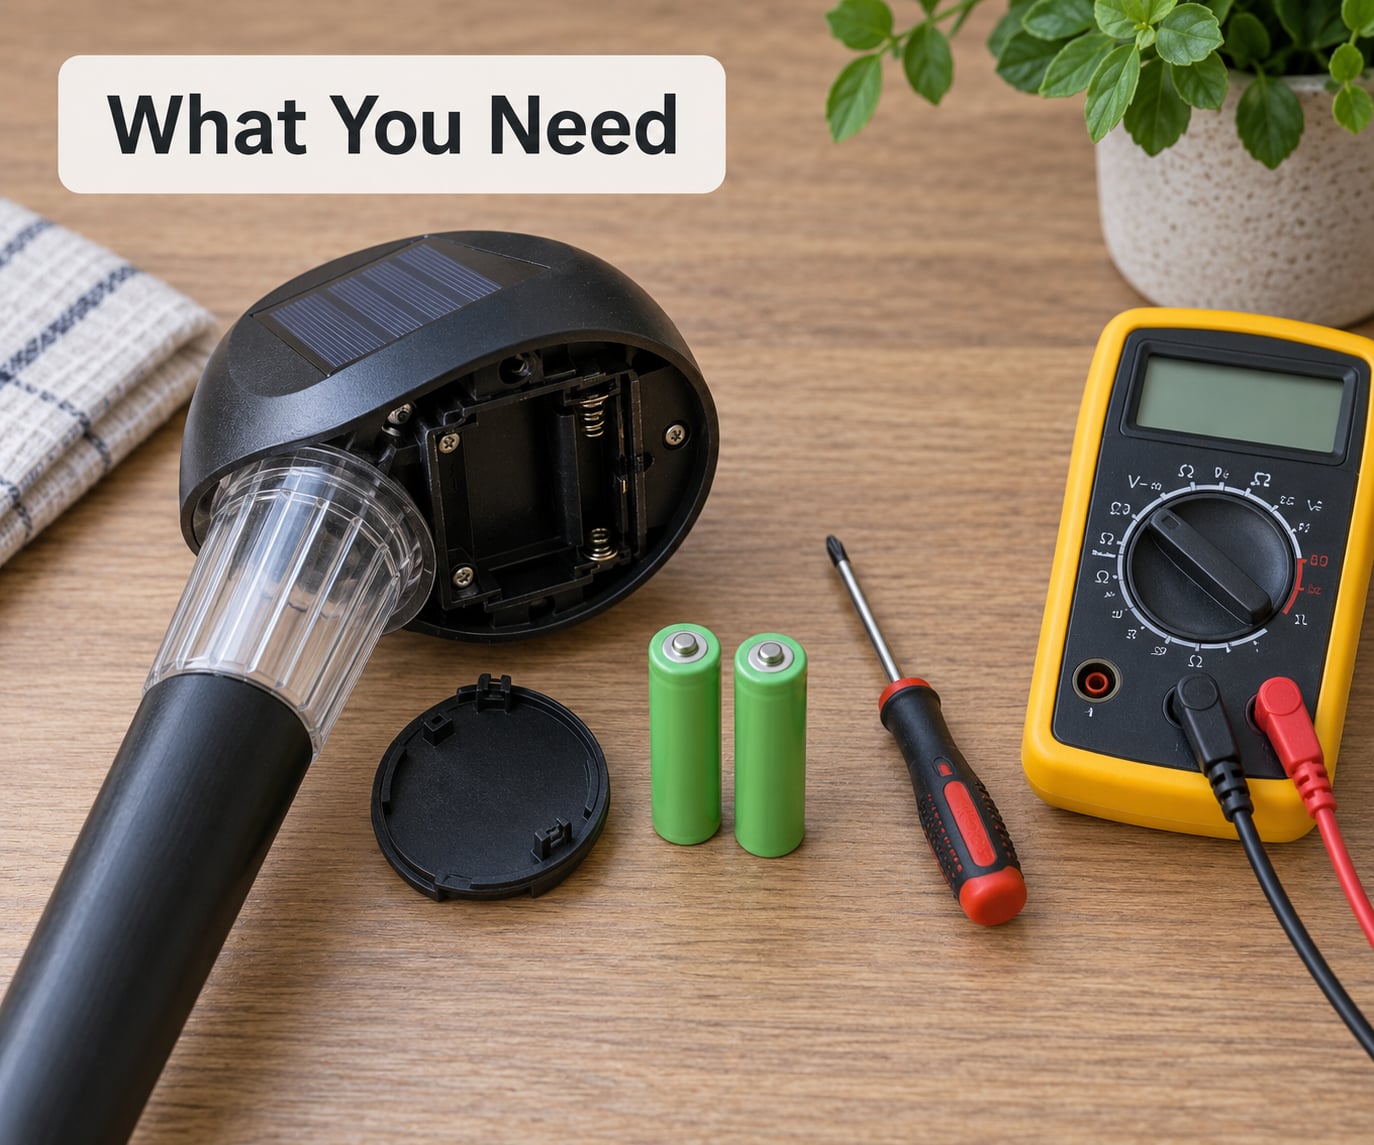
Gather everything before you start, because the most common interruption is realizing halfway through that you do not have the right cell. Bring the light indoors to a dry, flat surface such as a workbench or the kitchen table.
- The replacement battery, matched to the original for size, voltage and chemistry
- A small Phillips or flathead screwdriver, or an eyeglasses screwdriver for tight bayoneted panels
- A clean dry cloth or paper towel
- White vinegar and cotton swabs, in case the contacts are corroded
- The owner’s manual, if you still have it
- A multimeter, optional but worth having if you want to test the old cell before buying a new one
The manual matters more than people expect. It tells you the cell format the fixture was designed around, and that is the one piece of information you cannot reliably guess from the outside of the light.
Step-by-Step: How to Replace Batteries in Solar Lights
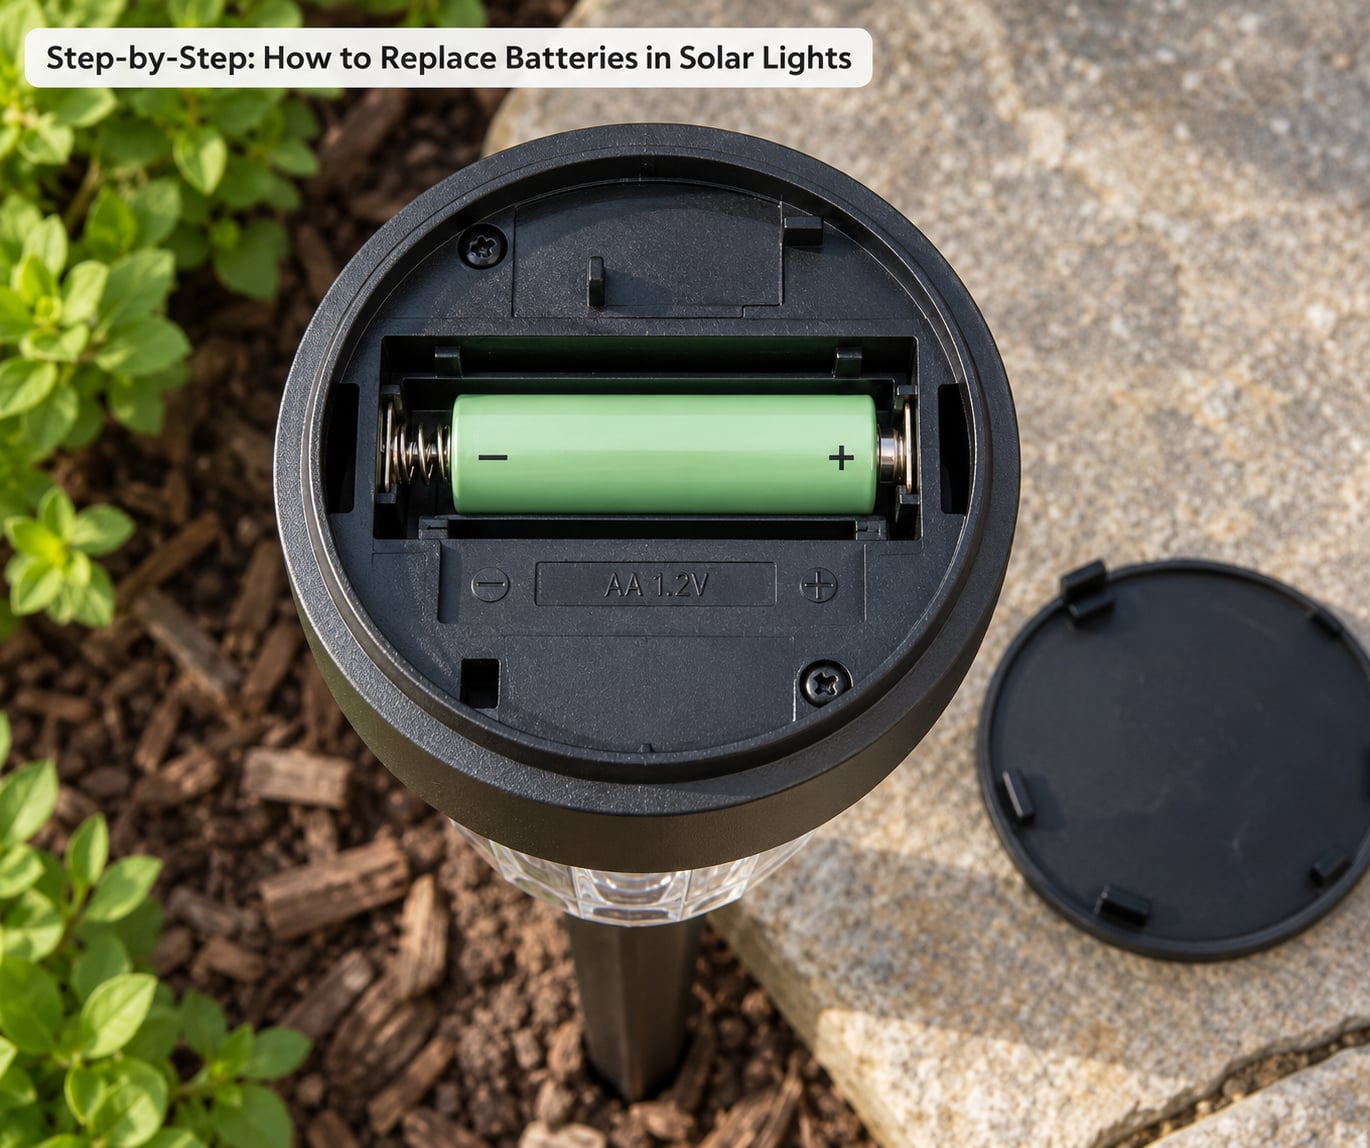
1. Check Whether the Light Has a Replaceable Battery
Some solar lights have a battery compartment you open with a screw or a bayonet twist. Others are sealed, with the cell permanently bonded or screwed inside the housing, and those are not meant to be opened.
You can usually tell in a few seconds. If the bottom or back has a removable panel with a screw, a sliding cover or a twist ring, the battery is replaceable. If the housing is one solid piece with no fastener, screw or seam around a cell-sized section, treat it as sealed. Photocell faces, decorative figurines and integrated LED bollards fall into that second group.
Before forcing anything open, check the manual or the manufacturer’s support page. Opening a sealed housing usually breaks the weather seal permanently, and on a light with an IP65 rating that water-resistance rating is gone for good.
2. Turn Off the Light and Let the Battery Settle
If your light has an on/off switch, bottom panel or stake collar, flip it off. That isolates the charge controller so it is not pushing current while you work, and it stops the LED driver from being live.
Move the light out of direct sunlight as well. Working under a lamp is fine, but direct sun on an open compartment makes it harder to see the polarity markings and heats the cell as you handle it. Let the battery cool down for a few minutes before you touch it.
3. Open the Battery Compartment
Battery access usually lives in one of four places: underneath the base on stake lights, behind a panel on the back of wall lanterns, inside the stake collar on decorative fixtures, or under a screw-on cover on string lights.
Back the screws out into a small cup so they do not disappear into the grass. On fixtures where the compartment is a twist lock, push and turn rather than forcing it, because the plastic collar strips easily once you force it.
Watch the wires. Small solar lights often run two thin leads from the panel straight to the cell, and those leads tear easily if you yank the battery out by the wire instead of gripping the cell body. Take the strain off the solder joint by supporting the wire where it meets the compartment wall.
4. Remove and Inspect the Old Battery
Before the cell comes out, photograph the compartment. A phone photo captures the polarity markings, the cell layout and the wire routing, and it takes five seconds that will save you guessing later.
Note four things: the size (AA, AAA, 18650 or a proprietary pack), the voltage printed on the label, the chemistry (NiMH, NiCd, Li-ion or LiFePO4), and which way round the positive terminal faces.
Then look at what came out. A swollen or bulged cell has been damaged and should not go back in. White powdery residue, green-blue crust or a wet-looking film around the terminals means electrolyte has leaked and the compartment needs cleaning before anything new goes in. On a flooded NiCd cell, that crust is cadmium hydroxide, which is toxic and has to be handled carefully and disposed of properly.
5. Choose the Correct Replacement Battery
This is the step that decides whether the repair holds. Match three things exactly: the physical size, the nominal voltage and the chemistry. A fourth value, capacity in mAh, is where most people go wrong.
Solar light cells are almost always rechargeable, and the most common one by far is 1.2V NiMH in AA or AAA form. NiCd at 1.2V appears in older fixtures and can usually be swapped for NiMH of the same size, which is an upgrade because NiCd suffers from the memory effect where repeated shallow discharge permanently reduces usable capacity.
Do not fit a 3.7V lithium-ion or LiFePO4 cell into a compartment designed for 1.2V cells. A pair of lithium cells in series pushes 7.4V into a charge controller and LED driver built for 2.4V, and both will be destroyed. If you want lithium chemistry, buy a fixture designed around it.
On capacity, aim for the same mAh as the original or modestly higher, and no more. Bigger is not automatically better here, because the panel only supplies a fixed trickle current. An oversized cell simply stays chronically undercharged every winter, and a battery that never reaches full charge dies sooner than the one it replaced. Owners who fit a much larger cell and report worse performance are usually hitting this exact trap.
One more rule: never put a standard alkaline battery in a solar light. Alkaline cells cannot be recharged, so the panel will keep pumping current into them until they leak, corrode the compartment, or in rare cases vent and damage the housing. This applies to the temporary test too, not just the long-term fix.
6. Install the New Battery Correctly
Seat each cell in the same orientation the old one used. The positive terminal is normally marked with a plus sign or a raised nub, and the compartment usually has matching moulded marks. On the tab-style contacts found in many garden lights, the flat tab sits under the positive terminal, so match the pattern rather than guessing.
If you are fitting two cells, use a matched pair from the same brand and the same date code, and replace the whole set. Never leave one old cell in with one new one, and never mix two different capacities in the same compartment. The weaker cell in a pair runs out first and then gets pushed past its limits on every charge cycle, which shortens the life of both.
While the compartment is open, clean any corrosion with a cotton swab dipped in white vinegar, then follow with a swab dipped in clean water, then dry. Work gently around the contacts. Do not use metal tools, and do not let liquid pool inside the housing, because a wet compartment with a live circuit is how the next failure starts.
7. Reassemble and Test the Light
Refit the cover, press the gasket back into its channel if there is one, and tighten the screws until snug. Over-tightening cracks the plastic housing and can warp the seal just as badly as leaving it loose.
Put the light back where it gets direct, unobstructed sunlight, and switch it on so the photocell is in the correct state for tomorrow. A light switched off will not charge properly on most models.
Do the first test at dusk rather than in daylight, because covering the photocell is not the same as a real dusk cycle. If you want to check sooner, cover the sensor completely with your hand or a dark cloth for a full minute.
8. Check That the Battery Is Charging
The first night after a swap will usually be dim. New cells often come partly charged, and the light gives you a full day of sun before its first proper cycle, so give it at least 6 to 8 hours of direct sun before deciding anything.
If you want to know what is happening, use the multimeter. Set it to DC voltage and touch the probes to the battery terminals. A healthy 1.2V NiMH cell sitting in a dark compartment should read roughly 1.2V to 1.25V, and after a full sunny day it should be higher, around 1.3V to 1.4V. A cell that reads under 1.0V is finished.
Compare against the reading from the night before to see the charge rise. If the voltage does not move after a full day in the sun, the fault is upstream: the panel, the charge controller or a wiring break, not the cell.
Common Mistakes
Nearly every failed swap I have seen traces back to one of these, and all of them are avoidable.
- Using alkaline batteries. They cannot take a charge and they will leak inside the compartment. Use 1.2V NiMH rechargeable cells instead, always.
- Reversed polarity. A cell fitted backwards usually does not light at all, and repeated attempts to charge it through the reversed leads can damage the cell. Photo the compartment before removing the old battery.
- Mixing old and new cells. Replace the full set with matched cells of the same age and capacity. One tired cell drags down the pair.
- Testing in bright daylight. The photocell keeps the light switched off, so a daytime test tells you nothing. Test at dusk or with the sensor fully covered.
- Judging too early. A new battery needs a full sunny day to charge properly. Testing the same evening you installed it gives a false failure.
- Leaving residue on the contacts. Corrosion powder left in place stops the new cell from connecting. Clean with vinegar and a cotton swab, rinse with a damp swab, and dry fully.
- Over-sizing the battery. A cell far larger than the original never reaches full charge from the trickle current the panel delivers, and ages early.
- Charging through a sensor-controlled light. Some fixtures only charge with the switch on. Check the switch position before leaving it in the sun.
- Replacing the battery when the real fault is elsewhere. A dirty or shaded panel, a failed photocell, a corroded contact or a cracked housing will keep a brand-new cell from ever charging.
One diagnostic shortcut is worth knowing before you buy anything. Take a known-good cell from a working light of the same model and fit it in the dead one. If the dead light comes alive, the fixture is fine and the battery was the problem. Forum communities on solar lighting treat this swap test as the first move for exactly that reason.
Frequently Asked Questions
Can you replace any battery in a solar light?
Not all of them. Lights with a screw-on panel, sliding cover or twist-lock compartment are designed for user replacement. Sealed fixtures, decorative figurines and integrated LED bollards have the cell bonded inside and are not meant to be opened, because breaking the housing voids the weather seal. Check for a fastener or seam before you start.
What type of battery is used in solar garden lights?
Most take 1.2V NiMH rechargeable cells in AA or AAA sizes, and many fixtures use two of them in series. Older lights may ship with 1.2V NiCd, which can be swapped for NiMH of the same size. Lithium-ion and LiFePO4 packs appear only in fixtures designed for them, because their 3.7V chemistry destroys the charge controller and LED driver in a 1.2V compartment.
Why won’t my solar light work after replacing the battery?
Work through it in order: confirm the new cell is installed with correct polarity, check that the on/off switch is set to on, expose the panel to full sun and clean any dirt or leaves off it, then make sure the photocell is not shaded or stuck on. Then do the swap test with a known-good cell from an identical working light. A new battery will not fix a dead panel, a failed sensor or corroded contacts.
How long should a replacement solar-light battery charge?
Give it 6 to 8 hours of direct, unobstructed sunlight before the first night use, and leave the switch on so the charge controller is active. New cells often arrive only partly charged, so the first night will be dimmer than normal. Two or three full day-and-night cycles will bring a replacement up to full performance and give you a fair read on whether the repair worked.
Can you use regular alkaline batteries in a solar light?
No. The panel keeps supplying current and alkaline cells cannot take a charge, so they will overheat, leak and corrode the compartment, and in rare cases vent and damage the housing. They also drain fast, so the light barely lasts a few hours. Always use rechargeable 1.2V NiMH cells matched to the original size and capacity, ideally as a complete matched set.
Is a leaking or corroded solar-light battery safe to handle?
Handle it with gloves and avoid contact with the residue. On a NiCd cell the white crust is cadmium hydroxide, which is toxic, and alkaline leakage can burn skin. Take the battery out of the compartment, bag it separately and clean the contacts with a cotton swab and white vinegar followed by a damp swab. Do not rinse the whole light under a tap, and never put old cells in household trash.
Conclusion
Start by switching the light off and confirming the battery specification, because everything else depends on getting that right. Most solar lights take 1.2V rechargeable NiMH cells, matched in size and replaced as a complete set, and never a standard alkaline battery.
Fit the new cells with the polarity lined up, reseal the compartment, and leave the light in full sun for a full day before testing at dusk. If it stays dark after that, move on to the charging circuit rather than buying another battery. Check the switch, clean the panel, and try a known-good cell from a matching light to find out whether the fixture or the cell is at fault.
Lastly, dispose of the old cells through a battery take-back point or a household hazardous waste facility rather than the bin. NiCd in particular carries a genuine environmental cost, and it is the one part of a solar light that never goes back into the ground safely.