If you are asking how far apart to space solar path lights, the working number is 6 to 8 feet on a straight walkway, and most people get a better result by tightening that to 4 to 6 feet on curves, steps and grade changes. Each fixture throws a pool of light a few feet wide, so you want those pools to just touch. Plan the layout, then walk it at night before you stake anything in.
Spending an hour with a tape measure and some markers beats buying three extra lights because the first three were wasted on a stretch that never got dark. It also beats the opposite problem, which is a path that looks like an airport runway because nobody staggered the fixtures.
Table of Contents
- What You Need
- Step-by-Step: How Far Apart to Space Solar Path Lights
- Most solar path lights want 6 to 8 ft of space
- Map the route and mark the light positions
- Pick spacing by fixture type and beam spread
- Test the layout at night before you install anything
- Install and fine-tune the spacing
- Common spacing mistakes to avoid
- Frequently Asked Questions
- How far apart should solar pathway lights be?
- Should pathway lights be staggered or paired?
- How long do solar pathway lights stay on?
- How many solar path lights do I need for my walkway?
- What are common outdoor lighting mistakes?
- Conclusion
What You Need
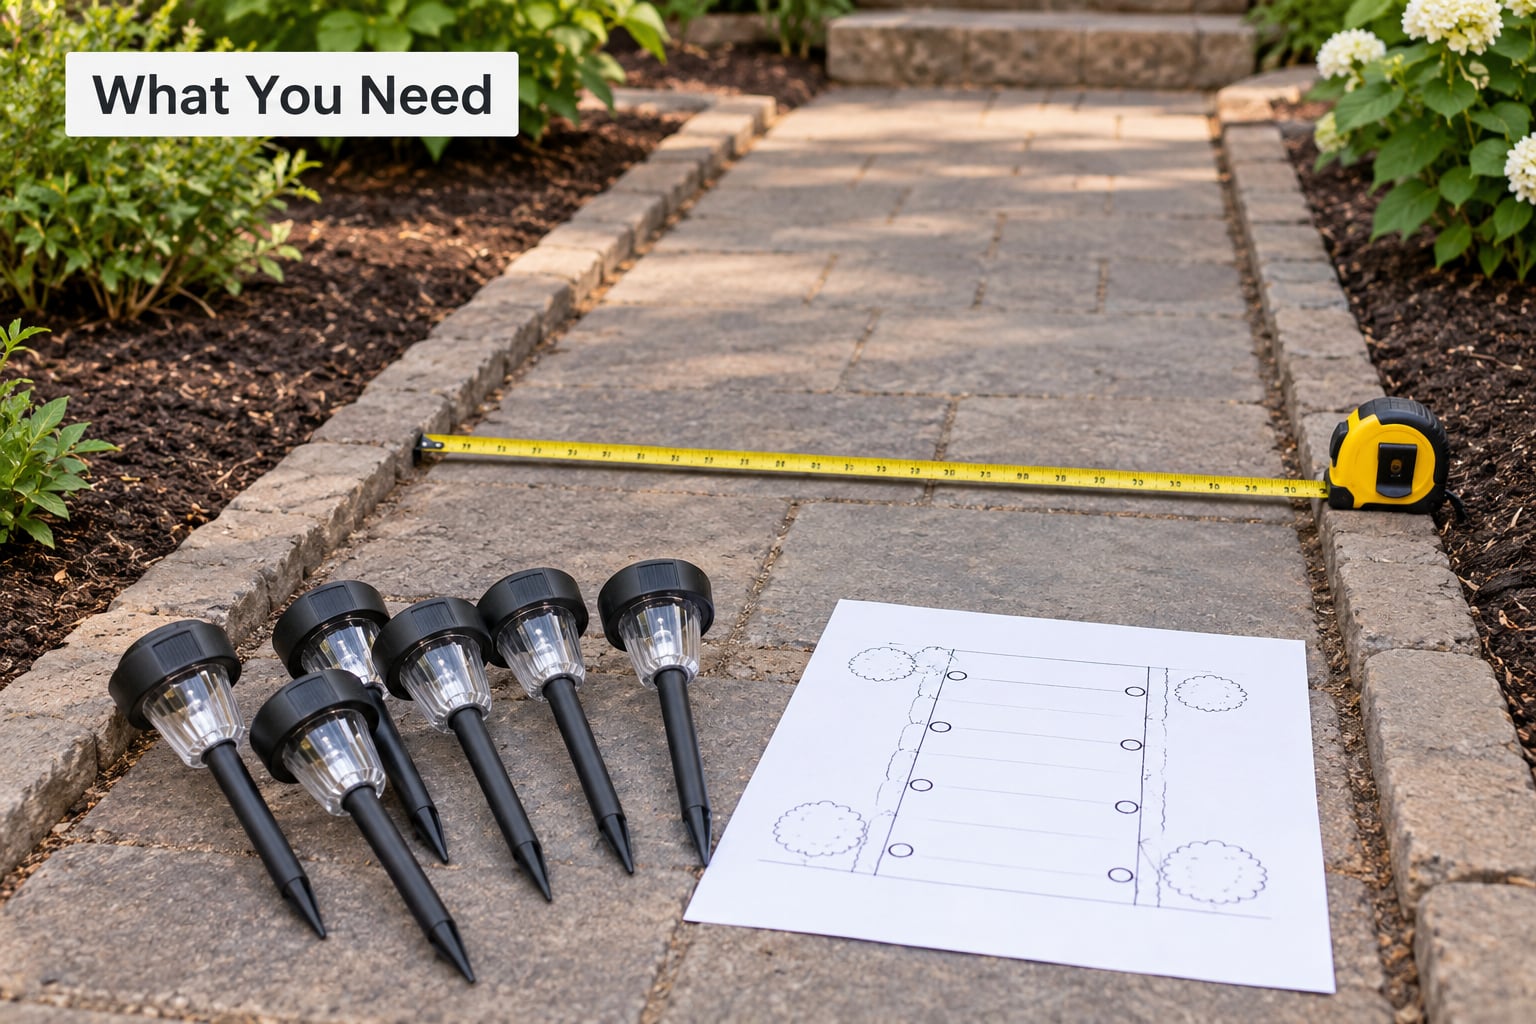
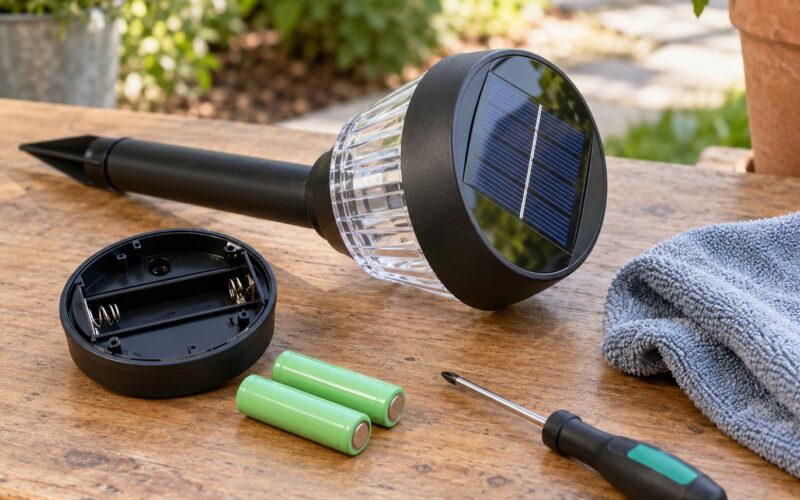
A tape measure or a long piece of string and some chalk is the whole tool list. You also want a flashlight, a marker or two for stakes, and the light output listed on the boxes you plan to buy.
- Tape measure, or string and chalk for marking positions
- Spray paint markers or garden stakes for each position
- A flashlight for checking beam spread before you buy
- The lumen rating and beam angle for each fixture you are considering
- A rough length and width of the path, and where the sun falls
The last item matters more than people expect. On a solar fixture the panel and the light share the same stake, so a position that gives you perfect light coverage can still leave the panel sitting in a plant’s shadow all afternoon. You cannot fix that later with tighter spacing.
Step-by-Step: How Far Apart to Space Solar Path Lights
Most solar path lights want 6 to 8 ft of space
Start there and adjust from it. Six to eight feet is the interval most solar path and solar pathway lights are designed for, and in metric terms that is roughly 1.8 to 2.4 metres. The garden-lighting rule of thumb you will see elsewhere, about one metre for a soft glow and two metres for a stronger beam, describes the same range from the other direction.
Here is how far apart to space them by location:
- Straight front walkway: 6 to 8 ft (1.8 to 2.4 m)
- Curved or winding garden path: 4 to 6 ft (1.2 to 1.8 m)
- Steps and stair runs: 4 to 6 ft, with one light per step or per change in direction
- Narrow walkway under 3 ft wide: 4 to 5 ft, alternating sides
- Driveway edge: 8 to 12 ft (2.4 to 3.6 m), since you are marking the edge, not lighting a walkway
- Wide path or patio border: 8 to 10 ft, or move to bollard-style fixtures that throw a wider pool
- Shaded run with weak charging: 4 to 6 ft, but read the solar section below before you commit
| Path situation | Spacing (feet) | Spacing (metres) | What changes it |
|---|---|---|---|
| Straight walkway | 6 to 8 ft | 1.8 to 2.4 m | Standard stake lights, one side |
| Curved garden path | 4 to 6 ft | 1.2 to 1.8 m | Pools narrow off the inside of the bend |
| Steps or grade change | 4 to 6 ft | 1.2 to 1.8 m | One fixture per step or per landing |
| Narrow walkway | 4 to 5 ft | 1.2 to 1.5 m | Alternating sides widens coverage |
| Driveway edge | 8 to 12 ft | 2.4 to 3.6 m | Guidance lighting, not task lighting |
| Wide path or patio border | 8 to 10 ft | 2.4 to 3 m | Bollard or wider-beam fixtures |
| Paver or in-ground lights | 2 to 3 ft | 0.6 to 0.9 m | Low output, needs overlap |
| Bright high-lumen fixture | 10 to 12 ft | 3 to 3.6 m | Wide beam spread carries further |
The last two rows explain most of the conflicting advice online. Paver and in-ground solar lights are low-output and nearly flush with the ground, so they need to be close together to build any coverage at all. Stake lights throw a cone of light several feet wide and have no business sitting 3 feet apart. Judge the fixture in front of you, not the category it belongs to.
Map the route and mark the light positions
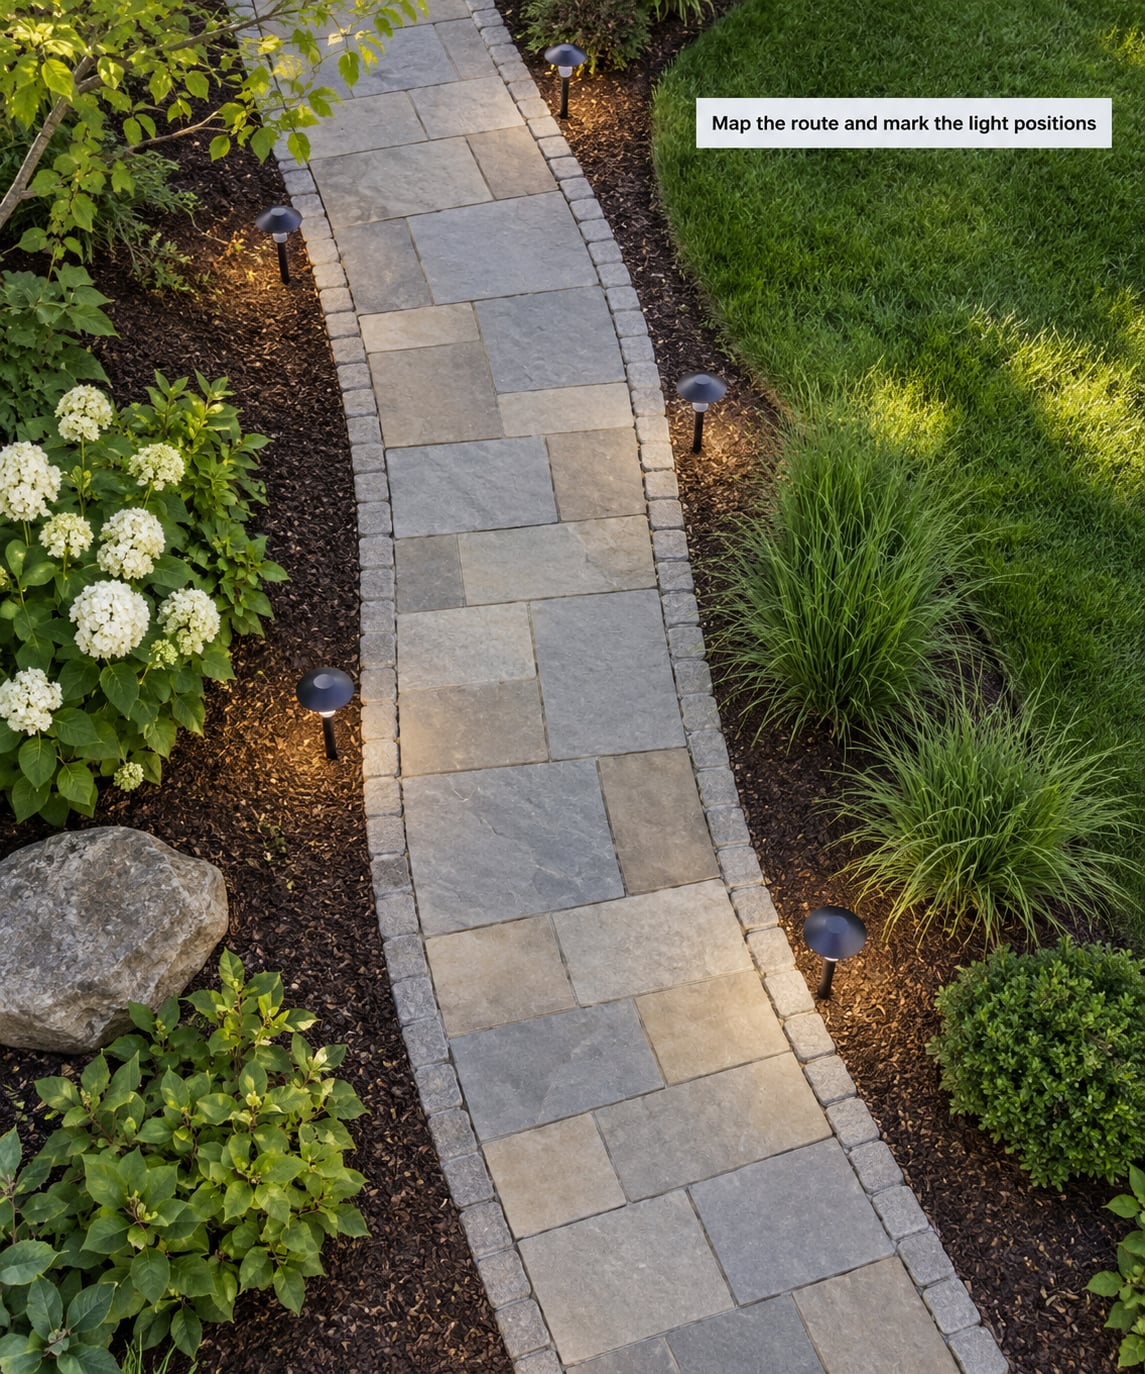
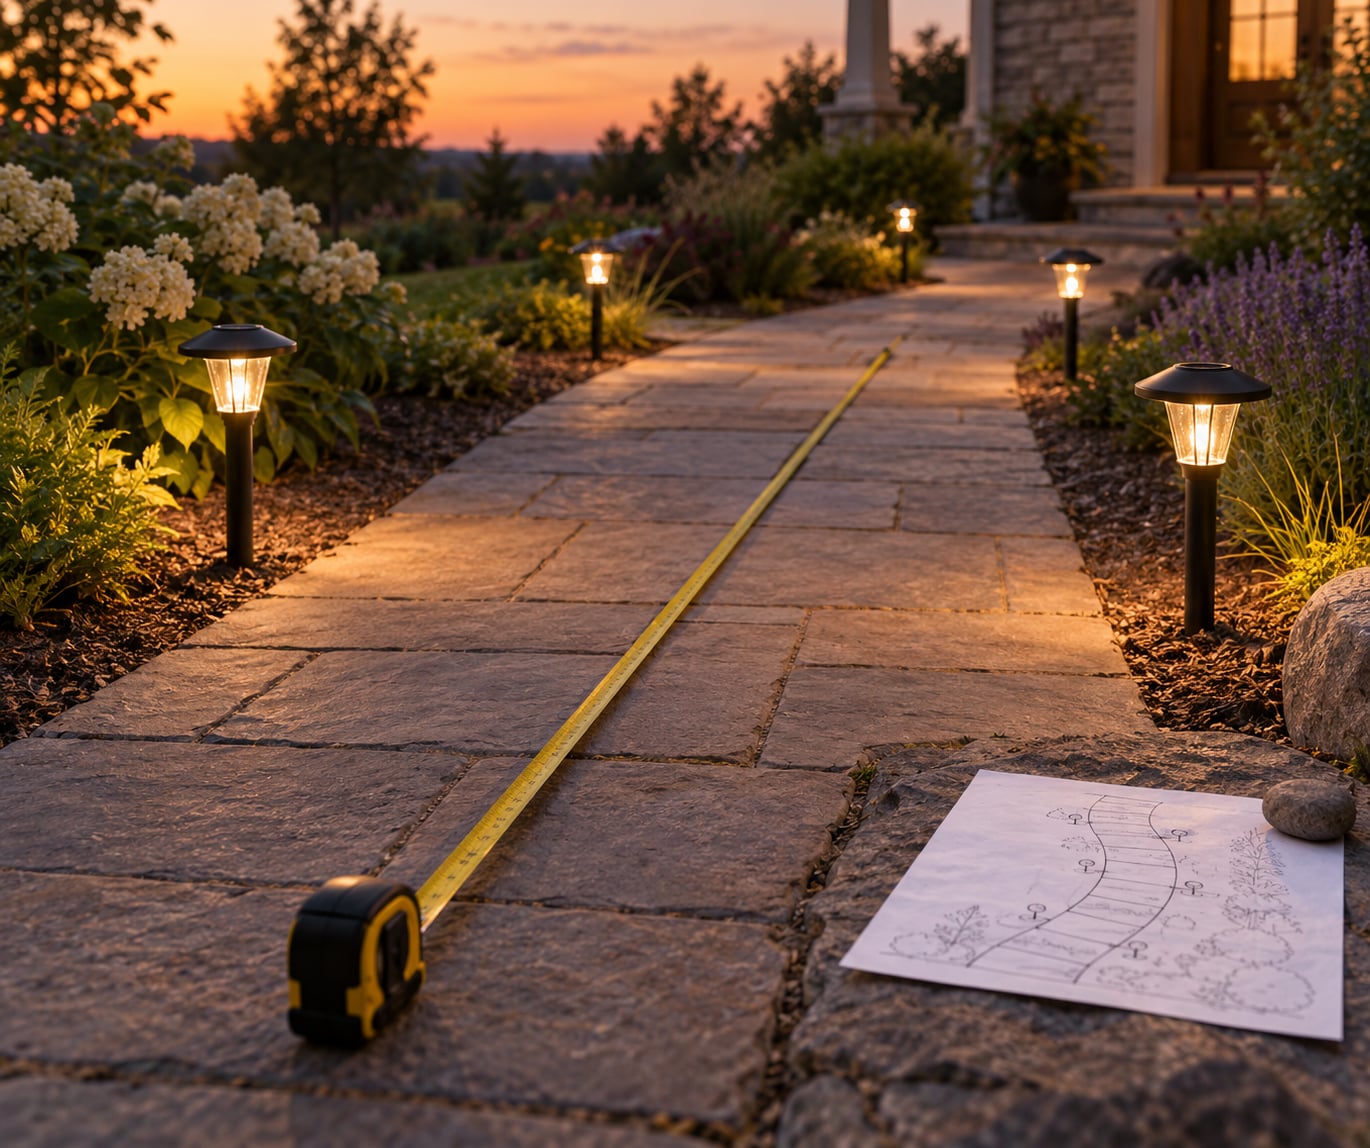
Walk the path end to end with the tape measure and note its length, then mark the start and the end. Divide the length by your chosen spacing and round up. A 40-foot walkway at 7 feet needs six fixtures, not five and a half.
Add one or two spares to that number. Solar fixtures get knocked over by mowers and dogs, and a spare makes a future replacement match the rest of the run instead of looking like a repair.
Now place the marks. If the path has a bend, mark positions along the curve itself rather than measuring straight across it, because the chord is always shorter than the arc and your spacing will drift tighter than you planned. Identify every step, threshold and change of direction, and put a fixture at each one regardless of the general interval.
Stagger as you go. Alternating sides of the path doubles the effective coverage distance without adding a single light, and it is the single change that most reliably kills the runway look people complain about. On a narrow walkway, stagger is not optional.
Mark each position 6 to 12 inches off the path edge so the stake goes into soil rather than into a paver joint or a strip of gravel. A stake driven into a hardscape edge will lean, and a leaning light throws its pool at an angle where nobody walks.
Pick spacing by fixture type and beam spread
Beam spread decides the interval more than lumens do. A wide-beam fixture at the same lumen rating covers twice the ground of a narrow-beam one, so it can sit further away. Ask for the beam angle, or do a simple test: hold the fixture at arm’s length in a dark room and see how wide the circle on the far wall actually gets.
Rough brightness tiers for solar walkway fixtures:
- Low output, under 20 lumens: decorative only. Space at 3 to 4 ft and accept it will not light the walking surface.
- Mid range, 20 to 60 lumens: the common solar stake light. Space at 6 to 8 ft.
- High output, 60 lumens and above: space at 10 to 12 ft, and watch for glare at eye level.
Bollard lights are the exception to the height rule. Because they sit low and throw light sideways and down, a path wider than about 4 feet needs either a bollard on each side or a spacing at the short end of the range.
For wall-mounted and step lights the interval tightens further, usually 4 to 6 feet, because the fixture is closer to the surface it lights and a shadow from any plant or railing shows up immediately.
Test the layout at night before you install anything
This step takes twenty minutes and it is where the real layout gets decided. Walk your marked positions after dark with a flashlight and note which gaps read as black holes at walking height. Anything wider than a foot is a spot where someone would misstep.
Homeowners who do this consistently find the same three things: plant shadows are longer than expected, so a fixture that looked fine in daylight leaves a hard shadow edge; glare happens when a light sits directly in the line of sight from the door; and the pools from paired fixtures merge into one bright stripe, which is what makes a path look like a runway rather than a garden.
Move the marks, do not add lights, unless the gap is severe. Shifting one position by a foot and a half often closes a dark patch that a whole extra fixture would have been bought for.
Install and fine-tune the spacing
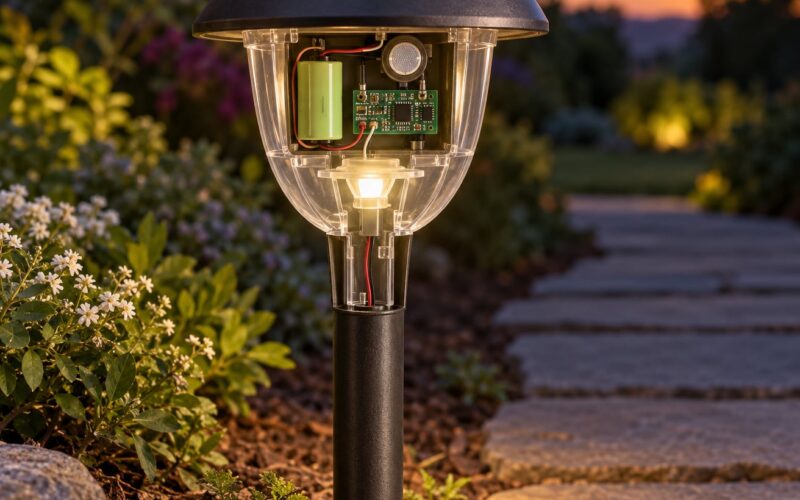
Set the panels where they get the longest stretch of unobstructed sun, ideally facing south if you are in the northern hemisphere. A panel pressed against a north-facing wall or tucked between a house and a garage will charge poorly no matter how good the spacing is.
Homeowners report the same pattern on shaded runs: lights out in the open stay lit through most of the night, while fixtures in the shaded stretch burn out a few hours after dusk. Forum threads on solar lighting turn up this complaint more than any other. If that is your path, tighter spacing helps a little with visibility, but the charging problem is the real limit.
A full charge needs roughly 6 to 8 hours of direct sun to deliver a usable 8 to 12 hour night, and cloudy stretches cut that sharply. Leave the switch in the on position during the day so the panel charges, and check the fixture after two or three overcast days before you judge the layout.
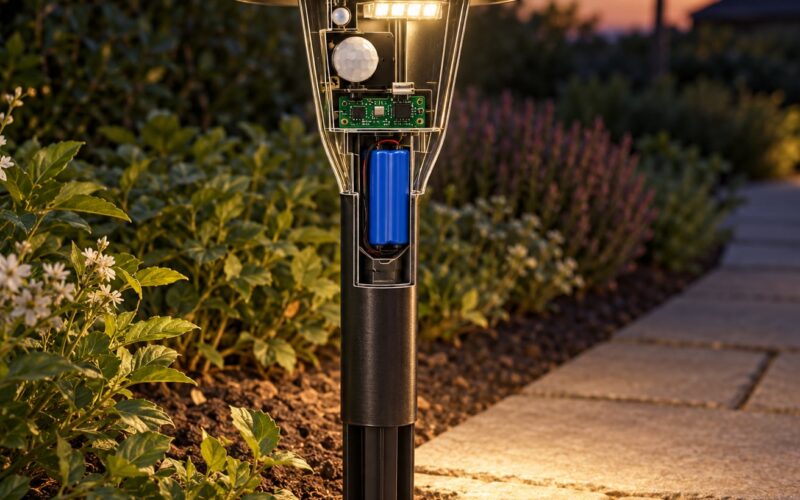
If the run is genuinely too shaded for panels, battery or motion-activated fixtures last years there because they do not depend on daylight at all. Low-voltage wired lighting is the other option when the lighting is decorative rather than purely functional.
Finally, watch for restrictions on how many fixtures you may place and whether uplighting is allowed, since some communities ban both. Downward-only path lighting usually clears those rules where accent lighting does not.
Common spacing mistakes to avoid
- Spacing from the fixture count instead of the path length. Buying a set of eight and squeezing them along a 90-foot path produces the runway look with gaps at the far end.
- Pairing lights opposite each other. Two fixtures facing one another merge their pools into a bright band. Staggering spreads the same light further and looks better in daylight.
- Putting the panel in shade to improve the light angle. Rotating a stake to aim the beam often rotates the panel away from the sun.
- Crowding narrow stake lights at 2 to 3 ft. That spacing belongs to flush paver lights. On a stake light it wastes output and creates glare at head height.
- Ignoring steps and turns. A rule of thumb applied evenly along a path leaves the exact spots where people catch their foot unlit.
- Assuming a brighter light solves a spacing problem. If the gap is dark, more lumens at the same interval just move the dark spot.
- Testing only on a sunny evening. Layouts that look fine in clear weather can fall apart after three cloudy days of reduced charge.
Frequently Asked Questions
How far apart should solar pathway lights be?
On a straight residential walkway, space solar pathway lights 6 to 8 feet apart, roughly 1.8 to 2.4 metres. The goal is for the pools of light to just overlap so there is no dark gap between fixtures. Tighten that to 4 to 6 feet on curves, steps and grade changes, where light falls off faster and footing matters most.
Should pathway lights be staggered or paired?
Stagger them. Alternating sides of the path extends coverage for the same number of fixtures and removes the runway effect that paired lights create, where two opposing pools merge into one bright stripe. Staggering is close to mandatory on narrow walkways under 3 feet wide, because a single side leaves half the surface dark.
How long do solar pathway lights stay on?
With a full charge, most solar pathway lights deliver a usable 8 to 12 hours of light, and the brighter fixtures manage that on a couple of hours of strong sun. A full charge generally needs 6 to 8 hours of direct sunlight. Fixtures in shade or facing away from the sun often fade after two to four hours, which is a charging problem rather than a spacing problem.
How many solar path lights do I need for my walkway?
Divide the walkway length by your spacing interval and round up. A 40-foot path at 7 feet needs six fixtures, and one at 6 feet needs seven. Add one or two spares so a replacement later matches the run, and remember that staggering on both sides does not change the count, only where each fixture sits.
What are common outdoor lighting mistakes?
The most frequent mistakes are spacing lights from the fixture count instead of the path length, pairing lights opposite each other, and placing panels in shade while trying to aim the beam. Others include using 2 to 3 foot spacing meant for flush paver lights on stake lights, and skipping a nighttime test before installation. Each is cheap to avoid and awkward to fix later.
Conclusion
The short version of how far apart to space solar path lights is 6 to 8 feet, pulled in to 4 to 6 feet wherever the path curves, steps or sits in shade. Measure your route, stagger the fixtures from one side to the other, keep the panel in full sun, and walk the layout after dark before you buy anything.
If you do those three things, the number of lights you need will match the number that actually does something.