Most solar lights that stopped lighting up have not actually broken. To reset a solar light, switch it off, pull the rechargeable batteries out for 30 to 60 seconds so the control circuit drains, put them back in the right way round, and then give the panel a full day of direct sun. The hands-on part takes about five minutes and costs nothing.
The full day of sunlight afterwards is where most people give up too early. A light that has been sitting under a patio table or through three cloudy weeks can look dead when it just needs one bright afternoon on the panel.
I have fixed more of these than I care to admit, and the pattern is almost always the same: the switch was in OFF, a strip of shipping film was still across the panel, or the light spent all summer under a tree canopy. Rarely is the solar panel the culprit. This guide is written for garden path, stake, wall, and string lights as well as small residential solar street lights, and it is current as of 2026.
Table of Contents
- What You Need
- Step-by-Step: How to Reset a Solar Light
- 1. Turn the Light Off and Check the Power Switch
- 2. Clean the Solar Panel and Sensor
- 3. Remove, Inspect, and Reconnect the Battery
- 4. Test the Light in Darkness by Simulating Night
- 5. Give the Light a Full Charge in Direct Sun
- Common Mistakes That Prevent a Solar Light Reset
- When the Reset Does Not Work
- Frequently Asked Questions
- Why is my solar light not working after I reset it?
- Can I replace the battery in a solar garden light?
- How long should a solar light charge before testing it?
- Why does my solar light work during the day but not at night?
- Do all solar lights have a reset button?
- Can I turn on a solar light while it is charging?
- What to Do First
What You Need
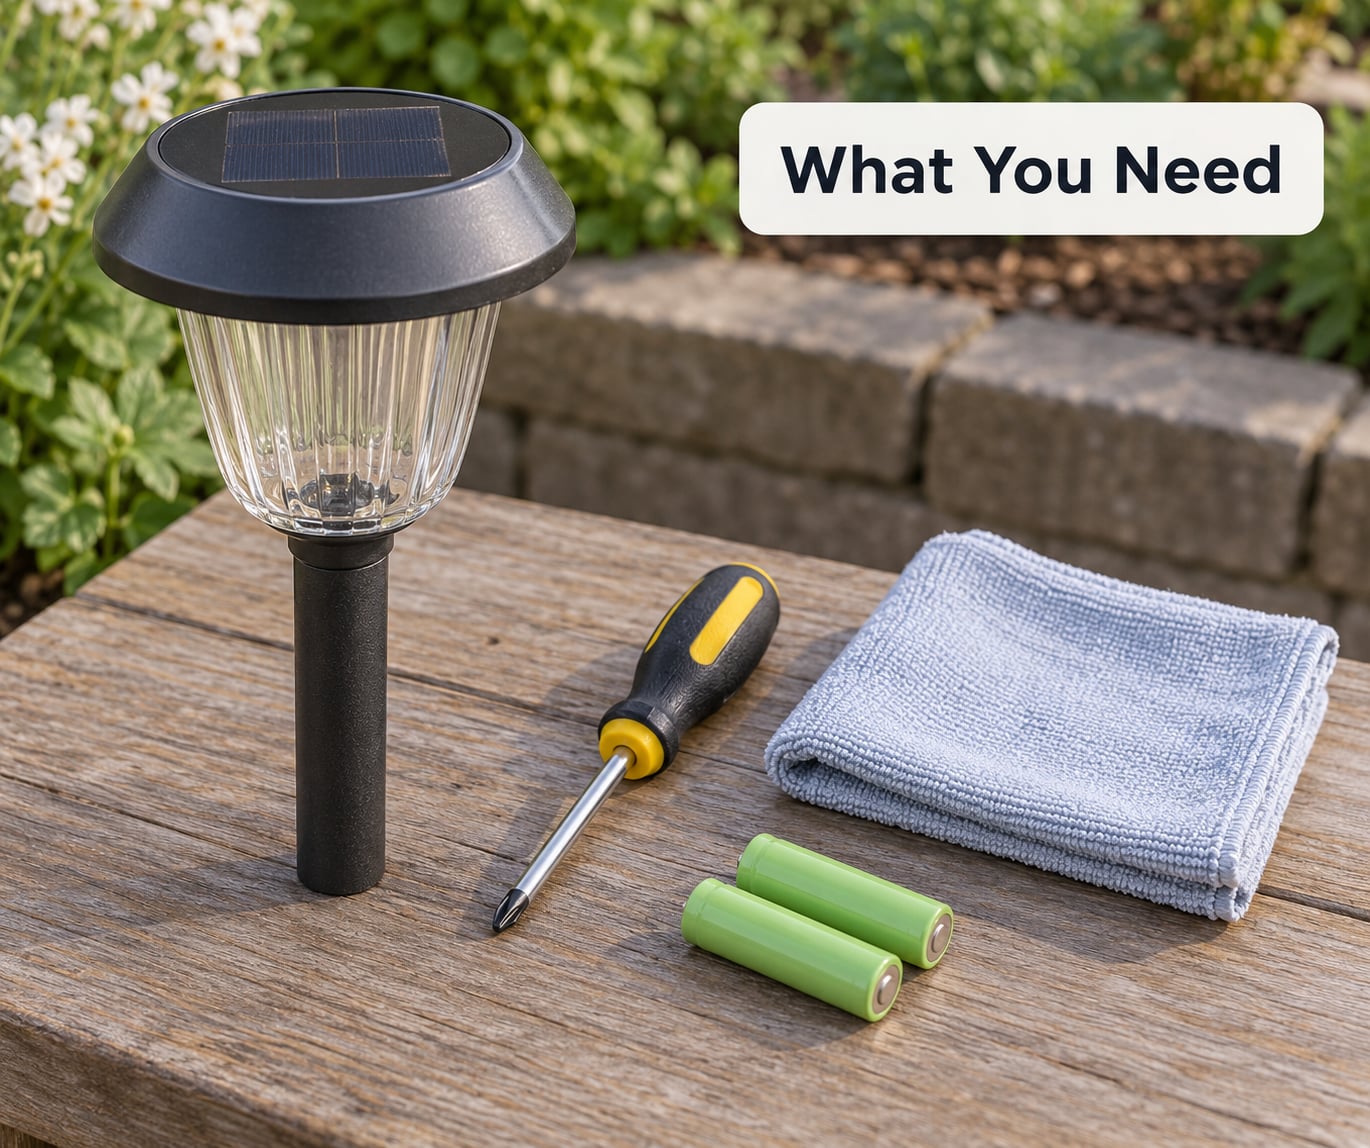
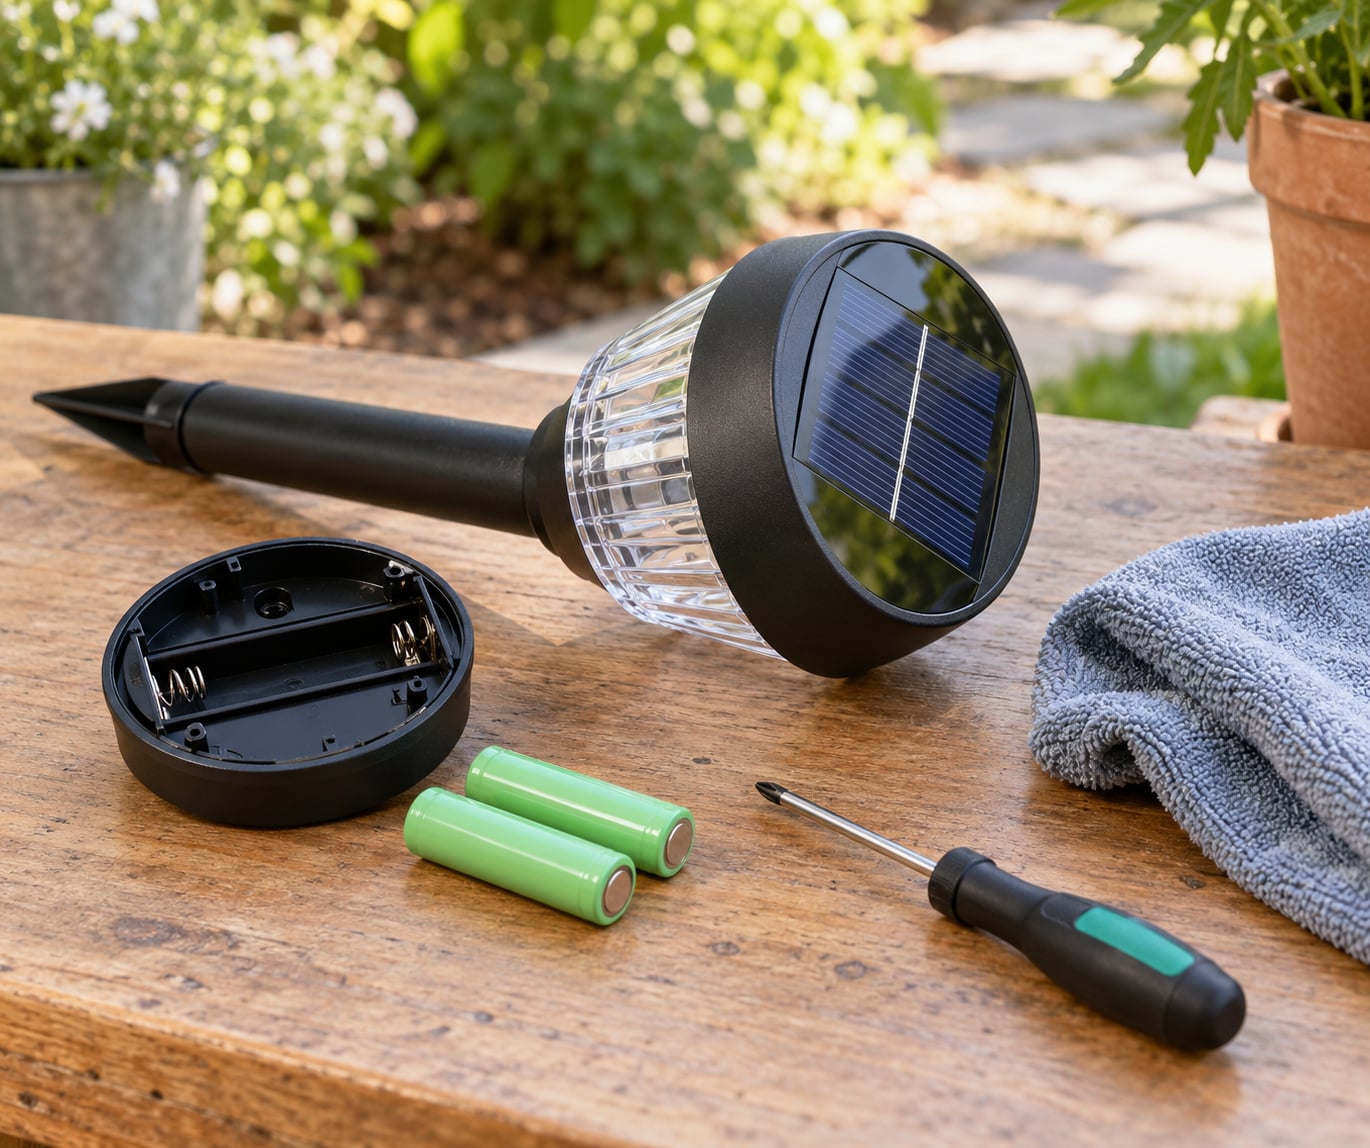
- A small Phillips or flat-head screwdriver. Most stake and path lights secure the battery door with one or two screws. Some snap open, no tool required.
- A soft cloth or cotton pad, plus a little warm water if the panel is grimy.
- A spare rechargeable battery of the correct size, if you already know yours takes one. You do not need it for the reset itself, but it saves a second teardown later.
- A spot of direct sunlight — an open driveway, a south-facing patio, a clear stretch of garden path. Not a windowsill.
- The manufacturer’s instructions, if you still have them. Battery chemistry and switch position vary more than most people expect.
That is the whole kit. No special tools, no electrician, no wiring. If your light is hardwired to a mains circuit rather than a battery and panel, stop and read the manual instead — that is a different job.
Step-by-Step: How to Reset a Solar Light
1. Turn the Light Off and Check the Power Switch
Find the ON/OFF switch first. This is the single biggest stumbling block, because stake lights hide it on the underside of the cap, under the solar panel, or behind the battery door. Wall lights often put it on the bottom edge. It is a tiny slider or rocker, usually black on black.
Slide it fully to OFF. Leave it there for about 30 seconds, then slide it back to ON. While you are there, make sure the switch is not partly obstructed by soil, a leaf, or a stake pushed too deep into the ground.
If the switch feels stuck or does not click into a firm position, the whole test is meaningless. Gently free it, check that the panel above it is not pressing down on the actuator, and only continue once it seats properly.
2. Clean the Solar Panel and Sensor
A film of dirt, bird mess, or a leaf sitting on the panel can cut charging enough that the light barely survives a night. Wipe it with a damp soft cloth and dry it fully. No solvent, no abrasive pad, no running water into the housing.
While you are at it, check the photocell. The light sensor is usually a small dome or a clear window on the front or top of the unit, separate from the panel. Give it the same gentle wipe. A sensor smeared with pollen will keep the light switched off no matter how good the battery is.
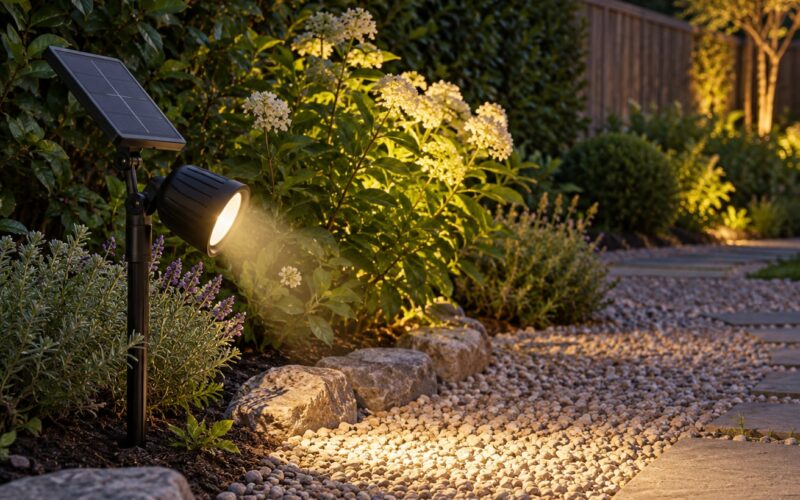
Look at where the light actually sits. If a shrub, a wall, a fence, or a patio cover blocks it for most of the day, move it before you do anything else — a shaded light will fail the reset every single time.
3. Remove, Inspect, and Reconnect the Battery
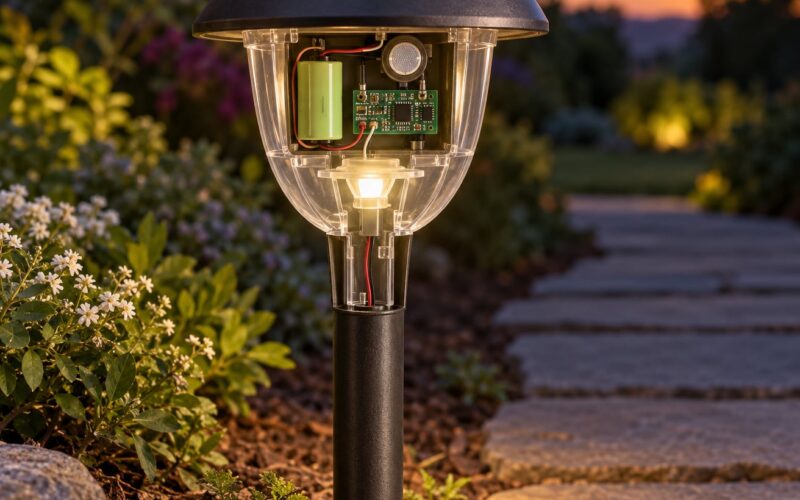
Open the battery compartment and take out every cell. This is the reset: with the batteries out for 30 to 60 seconds, residual charge drains from the small control board, and putting power back wakes it up properly.
Look at the cells and the contacts before you reinstall them. Greenish or whitish crust on a terminal means corrosion — wipe it with a dry cloth, and a little baking soda paste on a cotton swab works if it is stubborn. A battery that bulges, leaks, or feels soft must not go back in; take it to a household recycling drop-off.
Reinstall the cells matching the plus and minus markings on both the holder and the cell. A reversed cell is the reason some “reset” lights still refuse to light, and it can stress the controller.
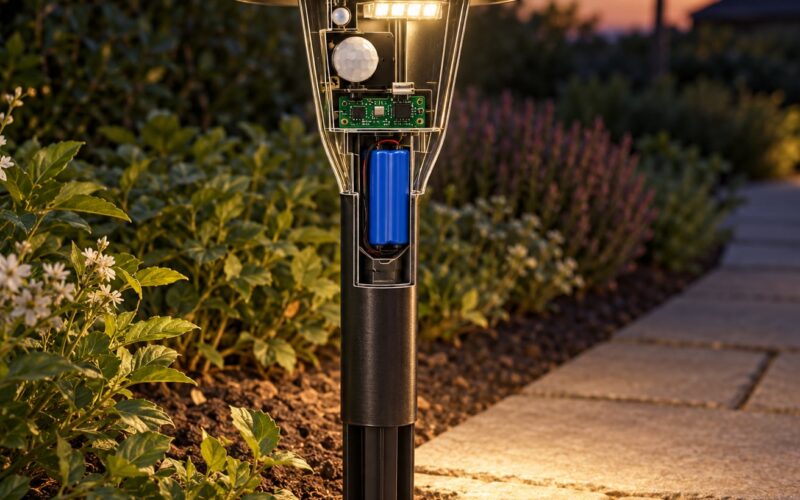
If the manufacturer specifies rechargeable cells, keep to that type. Most small garden lights take 1.2V NiMH AA or AAA. Some larger solar street light heads use an 18650 lithium-ion cell or a sealed pack, and those are not interchangeable.
4. Test the Light in Darkness by Simulating Night
Solar lights do not have a reset button. They read darkness through the photocell, so you reset the sensor by showing the sensor darkness. Cover the entire solar panel with your hand, or better, with an opaque cloth or a piece of cardboard, and hold it there for about five seconds.
The light should click on within a second or two, then keep running while the panel stays covered. Release the cover and it should shut off again in daylight. That on-off-on response tells you the sensor, the switch, and the LEDs are all alive.
If nothing happens with the panel covered, the light is not getting power. Back to step 3 and check polarity and contacts. If it lights up but never shuts off again, the sensor is stuck in night mode and a clean plus a longer cover usually fixes it.
5. Give the Light a Full Charge in Direct Sun
Put the light back where the panel gets unobstructed sun all day. Leave the switch on ON, which is how most manufacturers intend it to sit, and leave it there for one full sunny day. Most manuals leave the switch position to you, so if yours says otherwise, follow the manual.
Test it that night. If it lights but only for a short stretch before dimming, the panel and controller are fine and the battery is simply worn out. That is a battery replacement, not another reset.
Cloudy weeks work the same way in reverse: a light left outside through several grey days may need two or three full sunny days before it behaves normally again. Do not judge it on one dull afternoon.
Common Mistakes That Prevent a Solar Light Reset
Leaving the switch in OFF. The reset works, then nothing happens because the light is powered down. This is the number one cause of a “dead out of the box” light, usually combined with a shipping film still stuck to the panel.
Testing in daylight instead of covering the panel. A working light will stay off in the sun, so a daytime test tells you nothing. Cover the panel or take the light into a dark garage or closet.
Using the wrong battery type. Alkaline cells, mixed old and new rechargeable cells, or a standard AA where a 1.2V NiMH belongs will cause dim output and early shutdown. Match the chemistry and the size, and replace the whole set rather than one cell.
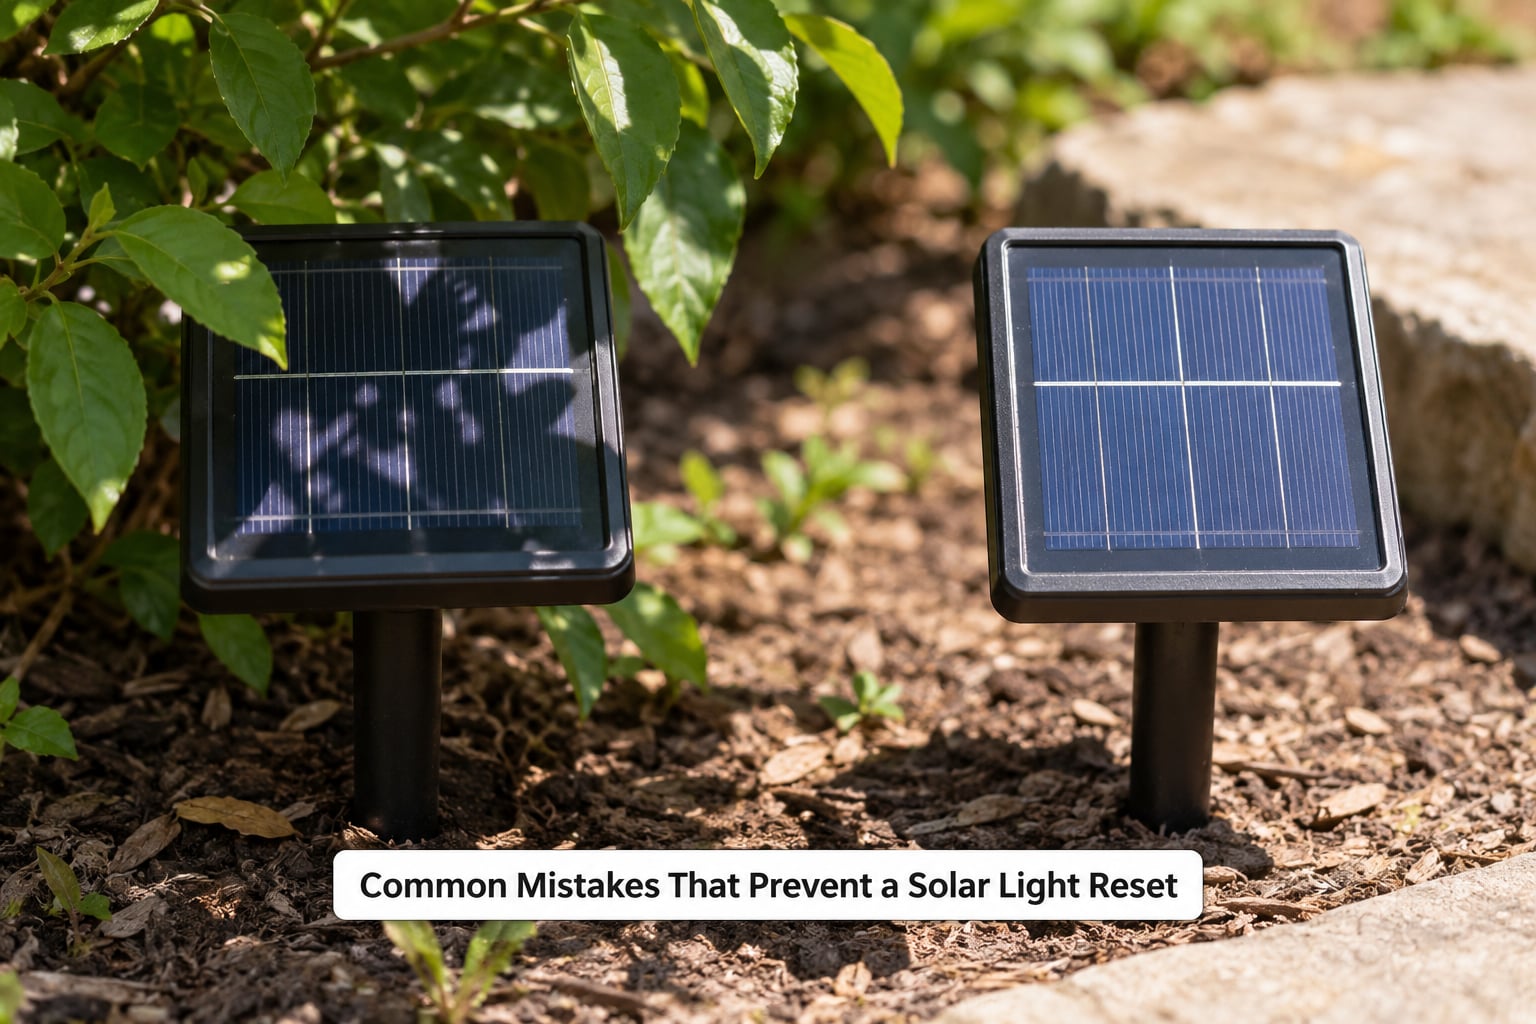
Placing the light in shade. Under a tree, beside a fence, or on a covered patio, a panel gathers too little energy to recover. Move it into open sun before you decide the light is faulty.
Replacing a battery backwards. It fits, so it looks right. The polarity markings inside the compartment are the authority, not the shape of the cell.
Forcing a sealed compartment. Some units are glued shut or riveted. If the screws strip or the clip snaps, stop — a housing full of water will not fix itself, and forcing it usually ends the light’s life.
One more worth knowing: on smart lights with a remote, a hold-button reset is manufacturer-specific. Some brands document holding a button on the remote for five seconds and waiting for five red flashes before the light rejoins the network. Check your own brand’s instructions before improvising a button combo.
When the Reset Does Not Work
If the light is still dead after a clean, a battery pull, and a full day of sun, work down this table. It maps what you see to the likely cause and the fix.
| Symptom | Likely cause | Fix |
|---|---|---|
| Dead at night, panel clean and in sun | Battery worn out after a season or two | Replace with the specified rechargeable cells, full set at once |
| On during the day, off at night | Photocell covered, dirty, or failed | Clean the sensor window; test with the panel covered for five seconds |
| Lights faintly, then dies early | Deep discharge, or partial shade on the panel | Two to three full sunny days in open sun, then retest |
| Never lights, cover test fails | Reversed cell, corroded contacts, broken switch | Check polarity, clean contacts, confirm the switch clicks |
| Flashers, flicker, or reset on its own | Swollen or damaged cell | Replace the battery and recycle the old cell properly |
| Charges all day, still no light | Failed controller or LED board | Beyond a home reset — check the warranty, then replace the unit |
| Smart light not visible in the app | Pairing lost after a battery swap or update | Manufacturer’s button-combo reset, then re-pair in the app |
Worth knowing before you buy anything, here is what common light styles take. Sizing mistakes are why so many replacement cells go straight back in the box.
| Light style | Where the switch sits | Battery type and size |
|---|---|---|
| Garden stake or path light | Underside of the panel cap, or behind the battery door | 1.2V NiMH AAA or AA, often 1 to 3 cells |
| Wall-mounted lantern | Bottom edge or back plate | 1.2V NiMH AAA or AA |
| Decorative string lights | On the battery box or the first solar node | Often a small sealed pack or AAA cells |
| Small solar street light | On the controller box or lamp head | 18650 lithium-ion, or a sealed pack — check the label |
If a full reset, a proper charge, and a correct battery all fail, the controller or the panel itself has gone. There is no consumer repair for either, and a cracked or hazed panel will never charge properly no matter how long it sits in the sun. At that point, replace the fixture or check whether it is still under warranty.
Frequently Asked Questions
Why is my solar light not working after I reset it?
Usually because the reset worked but the battery is finished, or the panel is getting too little sun. A worn cell will charge weakly and shut the light off early. Move the light into open sun for two or three full days, then test again. If it still barely glows, replace the rechargeable cells with the correct size and chemistry.
Can I replace the battery in a solar garden light?
Usually yes, if the compartment opens. Most garden lights take 1.2V NiMH AA or AAA cells, and larger solar street light heads may take an 18650 lithium-ion cell or a sealed pack. Check the markings inside the door and match both size and chemistry. Replace the whole set rather than mixing old and new cells. Some units are sealed or riveted shut, and those are not meant to be opened.
How long should a solar light charge before testing it?
Give it one full day of direct, unobstructed sunlight with the switch on ON, then test it that night. After several cloudy weeks, allow two or three full sunny days, because the battery needs to recover before the runtime is representative. Avoid windowsills and covered patios, since glass and shade cut the charging current even when the spot looks bright.
Why does my solar light work during the day but not at night?
That usually means the photocell never registers darkness, so the controller thinks it is daytime. Clean the small sensor window on the light, not just the solar panel, and make sure something opaque like a leaf or tape is not stuck over it. Test by covering the panel for about five seconds. If it stays lit when you uncover it, the sensor has failed.
Do all solar lights have a reset button?
No. Most garden and path lights have no reset button at all. The reset is a power cycle: switch off, remove the rechargeable batteries for 30 to 60 seconds, reinstall them with correct polarity, then cover the panel for five seconds to reset the light sensor. Smart lights with a remote sometimes do have a documented hold-button reset, such as a five-second button hold confirmed by flashing lights.
Can I turn on a solar light while it is charging?
Yes, most models are designed to run with the switch on during charging, and that is normal operating position for many lights. A few manuals ask for the light to be switched off while charging, so check your instructions. Leaving the switch off in permanent sun can overheat the battery on some models, and leaving it on in cold weather drains the stored charge instead.
What to Do First
Start with the switch, then the film and the dirt. Five of the lights people swear are dead are sitting on a patio table with the panel covered, switched off, in a spot that gets two hours of evening sun.
Once you know how to reset a solar light and none of that applies, do the 30-to-60-second battery pull, cover the panel to test the sensor, and leave the unit in full sun for a whole day. If it is still dim after that, the battery is the part that failed, and replacing the cells costs a fraction of a new fixture.