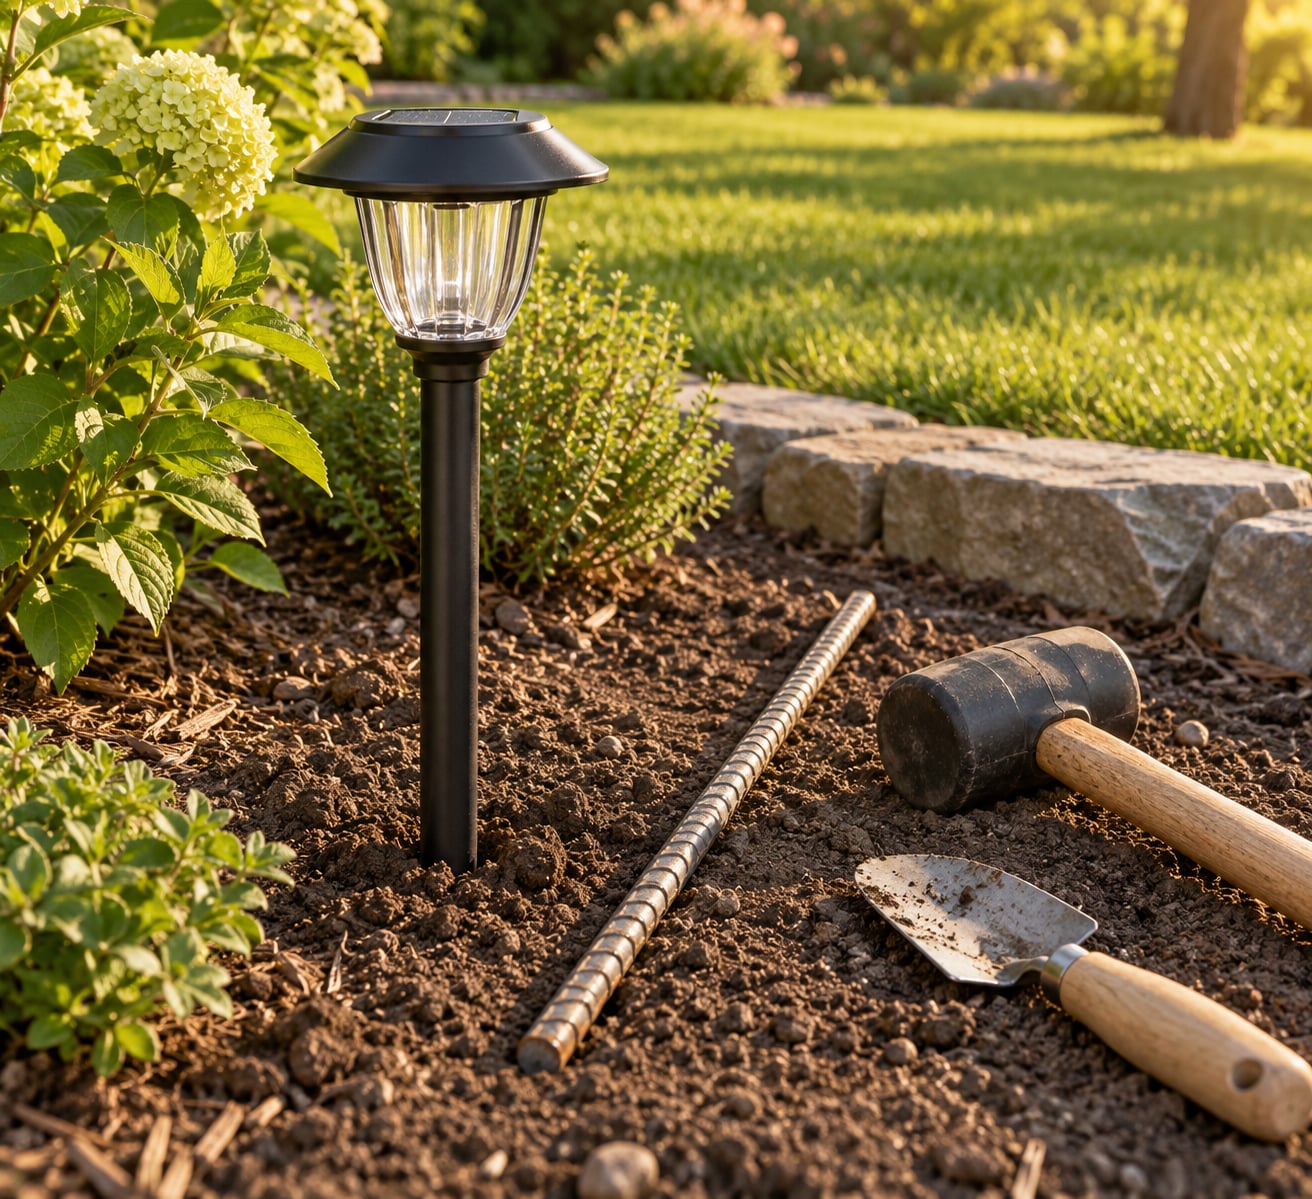
The fastest way to keep solar lights from falling over is to drive a 12-to-18 inch length of rebar or half-inch metal pipe into the soil and slide the light’s hollow stake down over it. The metal shaft grips the ground far better than a short plastic spike, and it takes about two minutes per light. If the stake is not hollow, set the light next to the rod and tie the two together with zip ties.
That answer only works if you know why the light fell. A light blown over by wind needs a deeper anchor. One hit by the mower needs to move out of the path entirely. One leaning in soggy clay needs firmer, better-drained soil rather than more hardware. Diagnose first, anchor second.
For most yards this is a 30-minute job with a rubber mallet and a length of rebar, and it costs very little. The trick is matching the anchor to the surface you actually have.
Table of Contents
- What You Need
- Step-by-Step: How to Keep Solar Lights from Falling Over
- Step 1: Find the Main Cause of the Toppling Light
- Step 2: Choose an Anchor That Matches the Surface
- Step 3: Secure the Pole or Base Properly
- Step 4: Improve Drainage and Reduce Wind Leverage
- Step 5: Test and Maintain the Fix
- Common Mistakes
- Frequently Asked Questions
- How do I keep my solar lights from falling over?
- Will solar lights fall over in the wind?
- How do I anchor a solar light on a hard surface like a paver or concrete step?
- Why does my solar light keep leaning a few weeks after rain?
- Can I remove solar lights for winter without breaking the panel?
- How deep should a solar light stake go in the ground?
- Conclusion
What You Need
The right anchor depends on two things: how the light is held, and what you are holding it in. Before you start, gather the basics.
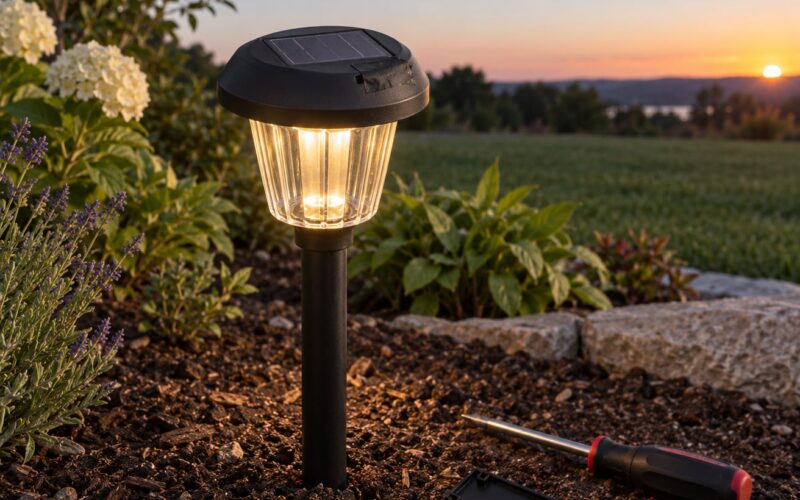
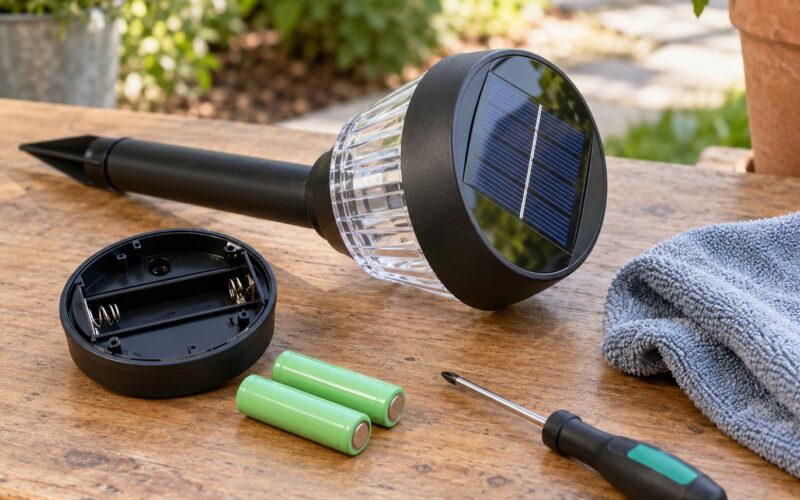
- A screwdriver — most solar lights have a small panel or battery cover that comes off first, and you don’t want to pry it with a knife.
- A 12-to-18 inch piece of rebar or half-inch metal pipe. This is the anchor most tops over lights need.
- A rubber mallet for driving the anchor and the factory stake without cracking the plastic body.
- A soil anchor, wedge stake or heavy-duty metal ground stake for hard or stony soil where the factory spike will not bite.
- A short length of 3/4 inch wooden dowel as a gentler alternative in soil you do not want to drive metal into.
- Outdoor-rated removable adhesive or a mounting plate for lights that sit on pavers, decking or concrete.
- A spirit level, so a light corrected after a storm does not go back into a permanent lean.
- A replacement ground spike if the original one has snapped off but the light body still works.
Zip ties, a tape measure and a bucket of water for pre-wetting hard soil round out the kit. Follow the light manufacturer’s instructions if they give them, and skip any step that involves drilling or cutting a part that was never meant to be modified.
Step-by-Step: How to Keep Solar Lights from Falling Over
Step 1: Find the Main Cause of the Toppling Light
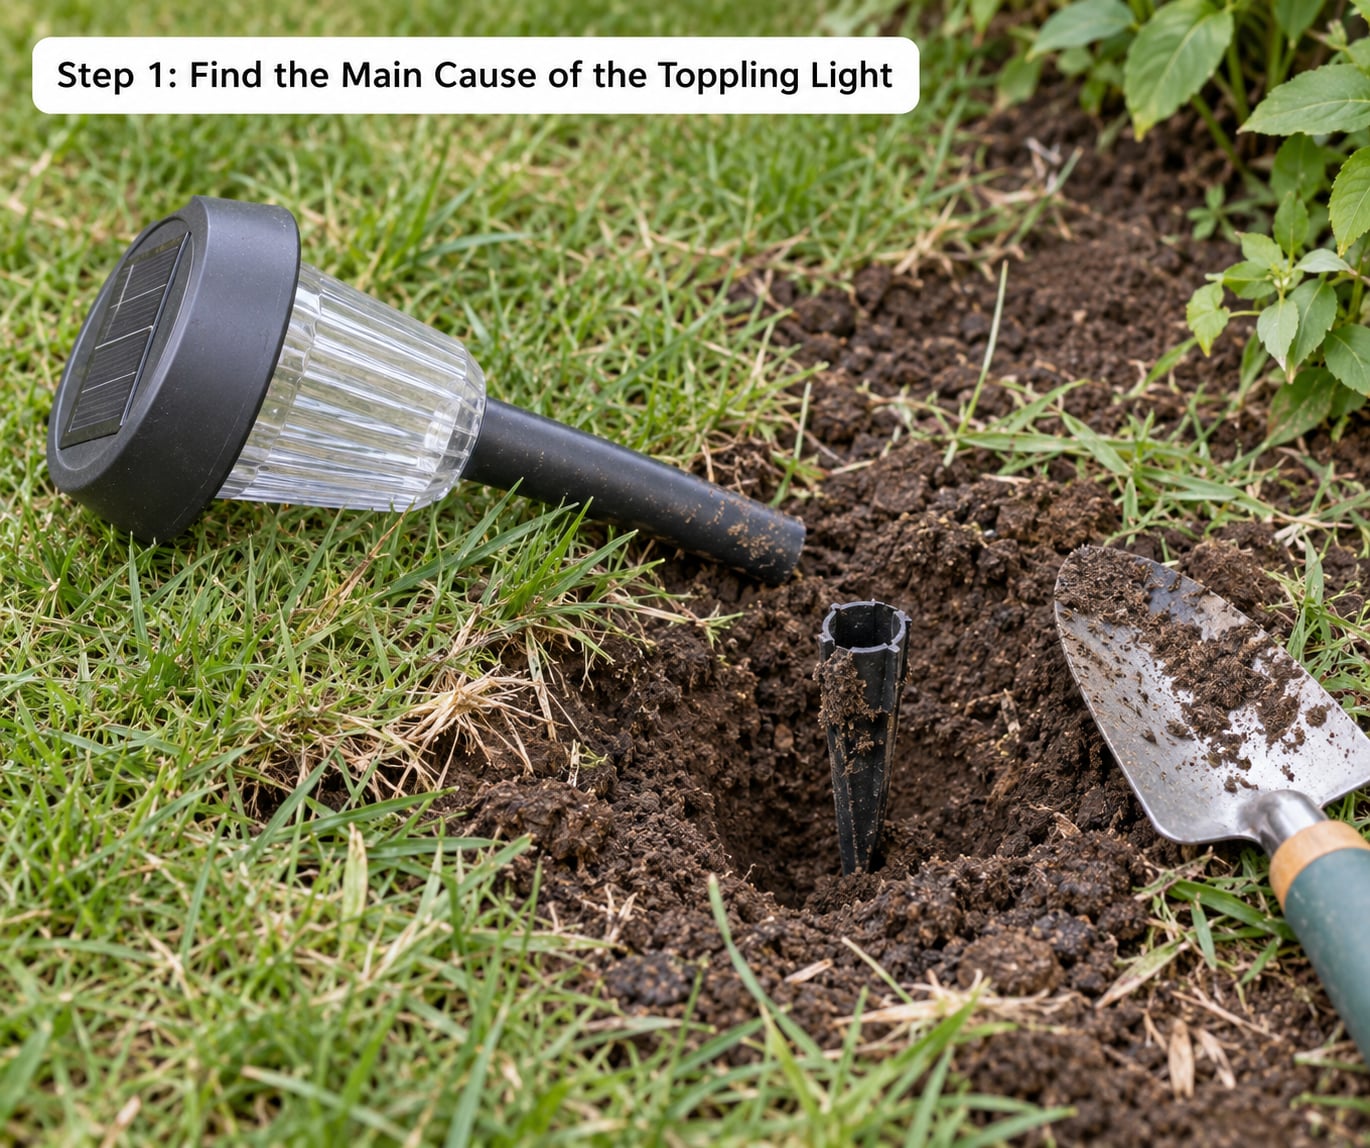
Lay the light down and look at how it failed, not just where it ended up. Four things tell you most of what you need.
- Soft or wet soil — the ground around the hole is dark, spongy or smeared, and the stake lifts out easily with your fingers.
- Hard, stony or clay-packed soil — the stake only went in about an inch and the light rocks when you touch it.
- Wind exposure — the light sits in an open gap between fences or buildings, and neighbours on the same street stayed put.
- Physical damage — the ground spike is snapped, bent or split, or the pole is cracked above the ground line.
Check the underside too. If a light has been lying on its side in the sun for days, the panel face may be scratched against the soil, and the battery has been sitting in a heat-prone position with no shade.
Step 2: Choose an Anchor That Matches the Surface
Match the method to what is under the light, because the same rebar that works in a lawn will just spin in gravel.
- Loam or lawn soil — the rebar or pipe sleeve. Drive it 12 to 18 inches, leaving 4 to 6 inches proud of the surface.
- Gravel or decomposed granite — a longer, heavier metal ground stake, or rebar driven into a pilot hole you work between the stones.
- Rocky or hard-packed clay — pre-wet the soil the day before, or use a hand auger to make a pilot hole, then tamp soil back around the anchor.
- Paving, flagstone or concrete — a base plate with screws, or an outdoor-rated removable adhesive pad on a clean, dry surface.
- Timber decking — a base plate screwed into the board with a spacer so the panel clears the wood.
- Raised beds and planters — a dowel driven beside the light, or simply a heavier pot as ballast if the bed is deep enough.
Avoid drilling into the light body or panel housing to make a hole for a rod. It splits the housing, and moisture gets in from there.
Step 3: Secure the Pole or Base Properly
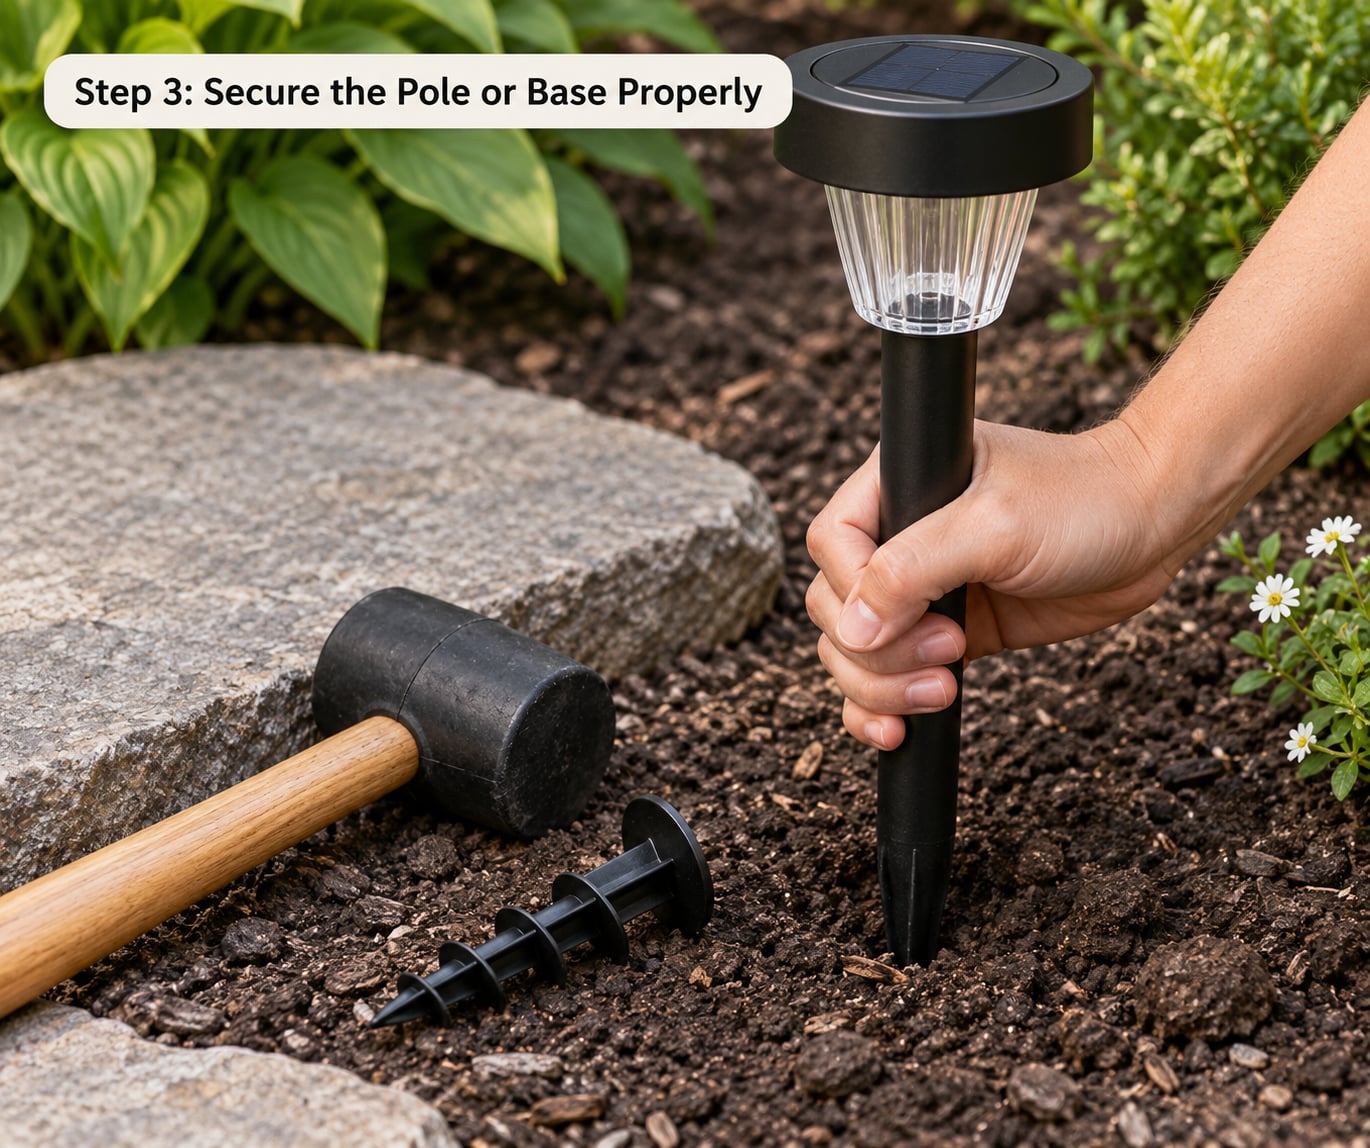
For the rebar method, mark the spot first so you do not end up with a crooked line of lights. Drive the rebar with a rubber mallet, rotating it a quarter turn between blows so it does not buckle in hard ground. Leave the top 4 to 6 inches above the soil line, slide the hollow stake of the light down over it, then press and twist until the stake bottoms out on the rebar’s end.
If the stake is solid rather than hollow, sit the light directly against the rod and zip-tie the two together at two heights. That is the version most people post on r/DIY, and it works because the two supports share the load instead of one thin spike carrying it.
For gravel, tap the light’s stake into the gap between stones and pack a few handfuls of soil around it. For hard surfaces, screw a base plate down with exterior-rated screws and set the light on top, then fill the gap around the plate with a clear exterior sealant.
If you are driving metal more than about 12 inches into soft ground anywhere near a known utility run, call 811 first and let the line be marked. It takes a phone call and a short wait.
Step 4: Improve Drainage and Reduce Wind Leverage
Anchors work longer when the ground around them stays dry and settled. Firm up the soil by tamping it around the stake, or water it in and let it settle overnight before the final push.
Where water regularly pools, raise the spot slightly with compacted soil and grit, or move the light to a raised position a few inches higher. Do not bury the solar panel, and keep mulch a couple of inches away from the base so it does not hold moisture against the housing — mulch sitting against a warm solar panel is also a fire concern in dry spells.
Wind leverage comes from height. A light with a wide top on a tall pole catches far more load than the same head held low. Where you can, move lights out of the corridor between two fences or off the open edge of a slope, rather than trying to anchor against gusts that no stake survives.
Step 5: Test and Maintain the Fix
Push the top of the light firmly with one hand. It should not shift, rotate or scrape. Rock it side to side and give it a firm tug at the head — a light that moves at the ground line means the anchor is not deep enough, so drive it further rather than adding a collar on top.
Then check it again after the first real storm and after a week of watering. Watch for a ring of loose soil building up around the stake, and for the light leaning a degree more each month. Retighten any fittings, brush soil and mulch off the base, and clear leaves from under the panel.
If the original ground spike has snapped but the light still works, swap it for a heavier metal stake instead of gluing the plastic back on. Most replacements are a two-minute swap and cost very little.
Common Mistakes
- The stake goes in two inches and stops. Pre-wet hard soil the day before, or use an auger to make a pilot hole. A light that rocks in its hole will always end up on its side.
- Anchoring only the top. A collar or zip tie near the light head does nothing if the stake itself is loose in the ground. The fix has to happen below the soil line.
- Smooth adhesive on porous surfaces. Standard construction adhesive lifts off pavers and porous stone within a few weeks. Use something rated for outdoor use on porous material, and clean the surface first.
- Leaving the light in a low spot. Waterlogged soil loosens the hole over time no matter what you drive into it. Drainage fixes more lights than hardware does.
- Tightening fittings past the manufacturer’s limit. Over-torquing cracks thin plastic housings and can crack a panel lens. Tighten until snug, then stop.
- Ignoring a damaged base. A split pole or a snapped spike is a tipping light waiting for the next gust. Replace the base rather than adding a second stake beside a broken one.
- Leaving lights on the ground after they fall. A panel lying flat on soil scratches, and the light stops charging correctly. Pick them back up the same day you find them.
Frequently Asked Questions
How do I keep my solar lights from falling over?
Drive a 12-to-18 inch piece of rebar or half-inch pipe into the ground, then slide the light’s hollow stake down over it. If the stake is not hollow, sit the light against the rod and zip-tie them together at two heights. In soft or rocky soil, pre-wet the ground first or use a pilot hole, and make sure at least 8 to 12 inches of anchor is buried.
Will solar lights fall over in the wind?
Yes, a stake-mounted light will tip in a gust if it is shallow-seated, and top-heavy heads catch far more load than most people expect. The single biggest cause is a short plastic spike sitting in soft soil. Deeper anchor, firmer surrounding soil and moving the light out of an open wind corridor fix most cases without any other change.
How do I anchor a solar light on a hard surface like a paver or concrete step?
Use a small base plate fastened with exterior-rated screws, then set the light on top and seal the plate edge with an exterior sealant. Where drilling is not possible, an outdoor-rated removable adhesive pad works on clean, dry pavers, though it needs reapplying in hot weather. Keep the panel clear of the surface so it still gets direct sun.
Why does my solar light keep leaning a few weeks after rain?
Soggy or clay soil expands and then shrinks as it dries, which slowly widens the hole around the stake. Pack the soil back in and tamp it down firmly, or raise the light slightly with compacted soil and grit. An anchor set in clay should go deeper than one set in loam, because clay loses support as it dries out.
Can I remove solar lights for winter without breaking the panel?
Yes. Switch each light off, remove any battery pull tab or tab covering the panel, then pull the stake straight up with a twisting motion rather than rocking it side to side. If an anchor rod was driven into the soil, leave it in place and pull the light off it. Store the lights indoors in a dry spot, and do not store them with the battery fully drained.
How deep should a solar light stake go in the ground?
Most factory stakes only grip 4 to 6 inches of soil, which is not enough in soft ground. With a rod or pipe anchor, bury 12 to 18 inches and leave 4 to 6 inches showing. In clay or rocky ground, go deeper rather than shallower. Check your depth by pushing the top of the light — no movement at the soil line means it is seated properly.
Conclusion
Start by looking at the hole the light left behind. Soft, wet, stony or newly disturbed soil each point to a different fix, and a snapped spike means the base needs replacing rather than reinforcing.
Then install the deepest anchor the surface allows, tamp the surrounding soil back, and test the light with a hard push. Check it again after rain and after the first windy night. Most lights that keep tipping over are not badly built — they were just set too shallow, in the wrong place.