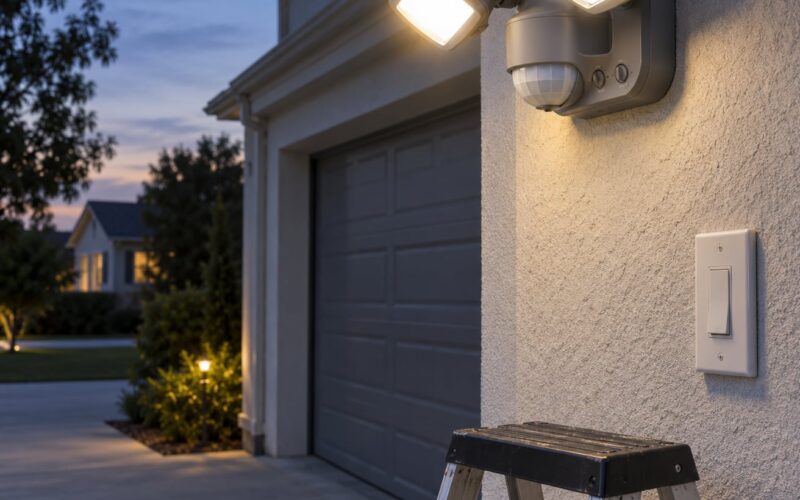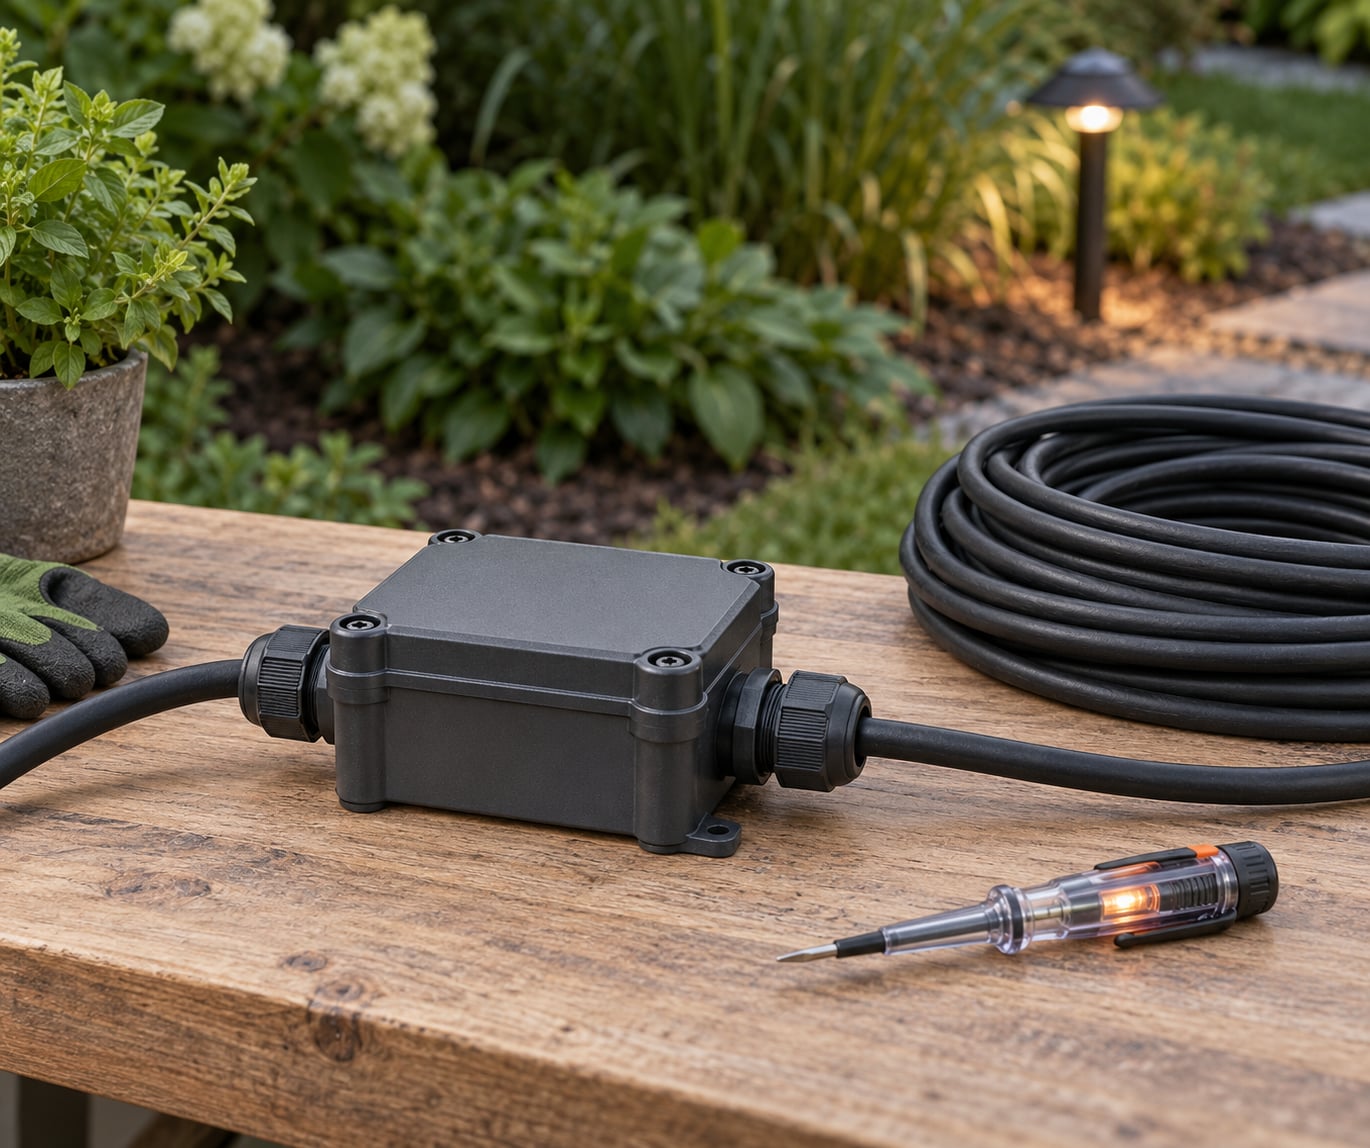
Waterproofing an outdoor light connection means enclosing every wire, splice and cable entry in a sealed, IP-rated assembly so water, humidity and corrosion never reach the conductors. You do it by switching off the circuit at the breaker, matching outdoor-rated connectors and glands to the cable, and sealing every seam until the whole joint is dry inside. Most people need an hour per run and a few basic tools.
Low-voltage landscape lighting is forgiving if you stay inside the manufacturer’s instructions. Mains-voltage fixtures, anything on a circuit you cannot isolate confidently, and any sign of damaged insulation are the point to stop and call a licensed electrician.
Table of Contents
- What You Need
- Safety prerequisites
- Materials
- Tools
- Step-by-Step: How to Waterproof Outdoor Light Connections
- 1. Turn Off and Verify the Power
- 2. Check That the Light Is Rated for Outdoor Use
- 3. Prepare the Cable and Connection
- 4. Use a Compatible Weatherproof Connection
- 5. Seal Every Entry and Joint
- 6. Reassemble and Secure the Connection
- 7. Test the Installation
- Common Mistakes and How to Fix Them
- Extra Tips for Outdoor Light Connections
- Frequently Asked Questions
- How to waterproof outdoor electrical connections?
- Are waterproof connectors really needed for outdoor lights?
- What IP rating do outdoor lights need?
- Is heat shrink tubing safe outdoors compared with waterproof cable glands?
- When should I call an electrician instead of doing it myself?
- Conclusion
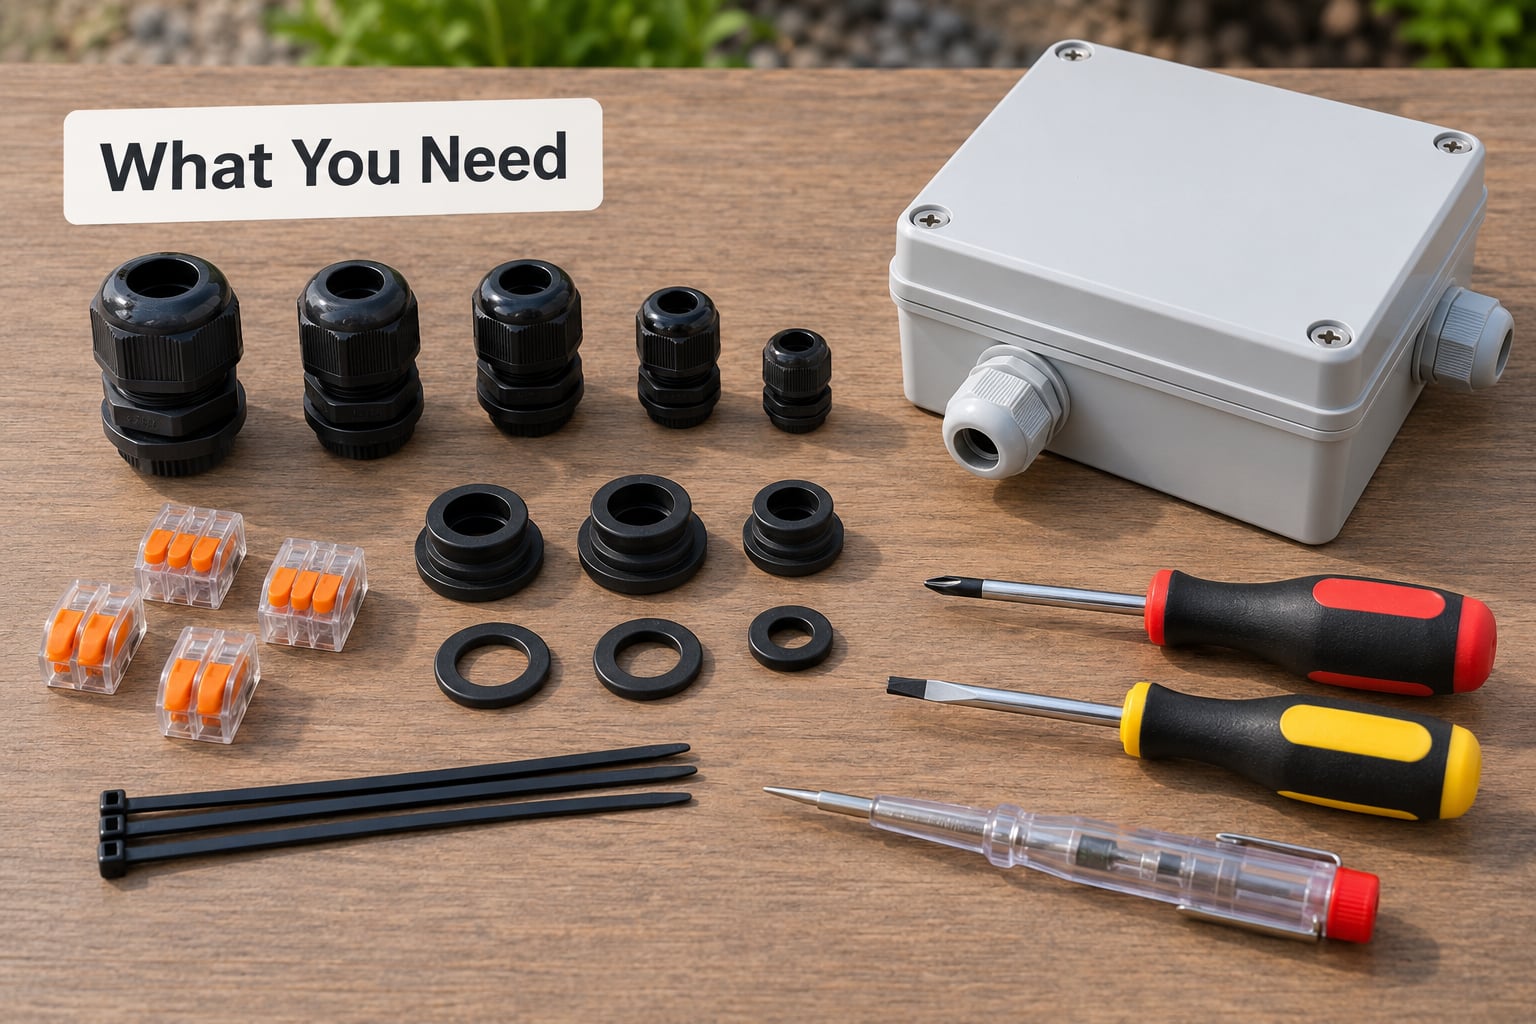
What You Need
The single most important prerequisite is not a tool. It is knowing which breaker feeds the circuit and being certain the power is off before you touch a conductor. A wall switch only tells you the lamp is unpowered at the switch, not that the cable at the fixture is dead.
Safety prerequisites
- A tested non-contact voltage tester, plus a multimeter if you plan to check continuity or voltage at the fixture.
- Breaker access and a way to label it so nobody flips it back on while you work.
- GFCI or RCD protection on any outlet feeding an outdoor light. If the circuit has none, that is a job for an electrician before you go further.
- Wet-location rated covers and fittings anywhere a plug or in-line connection sits outside.
Materials
- Outdoor-rated sealed connectors sized to your conductor count and gauge. Low-voltage runs commonly use silicone-potted or prefilled sealed connectors; mains runs need connectors marked for the voltage and listed for the application.
- Cable glands and grommets matched to the cable outside diameter, so the entry compresses onto the jacket rather than leaving a gap.
- A weather-rated junction box with a lid, gasket and enough internal volume for the conductors to sit without being crushed.
- Neutral-cure outdoor silicone sealant or the sealant named by the fixture maker. Some adhesives attack plastics and some silicones never cure, so match the product to the housing.
- Dielectric grease for any exposed terminal or lug that will sit inside a sealed but non-potted joint.
- Heat-shrink tubing with an adhesive lining, where the connector design calls for it.
Tools
Wire strippers in the gauge you are working with, a proper crimping tool if your connectors are crimped rather than screw or twist type, a small screwdriver set, a torque-free hand feel is fine for glands but never use pliers as a wrench on fittings, and a bucket to keep splices off the ground while you work.
One note on wire itself. Low-voltage landscape runs usually run on 14 AWG or 16 AWG outdoor-rated cable, and mains runs use 14 AWG or 12 AWG. Anything that will be buried needs direct-burial rated jacket, marked as such on the outer sheath. Ordinary garden hose or patio cable has no business underground.
Step-by-Step: How to Waterproof Outdoor Light Connections
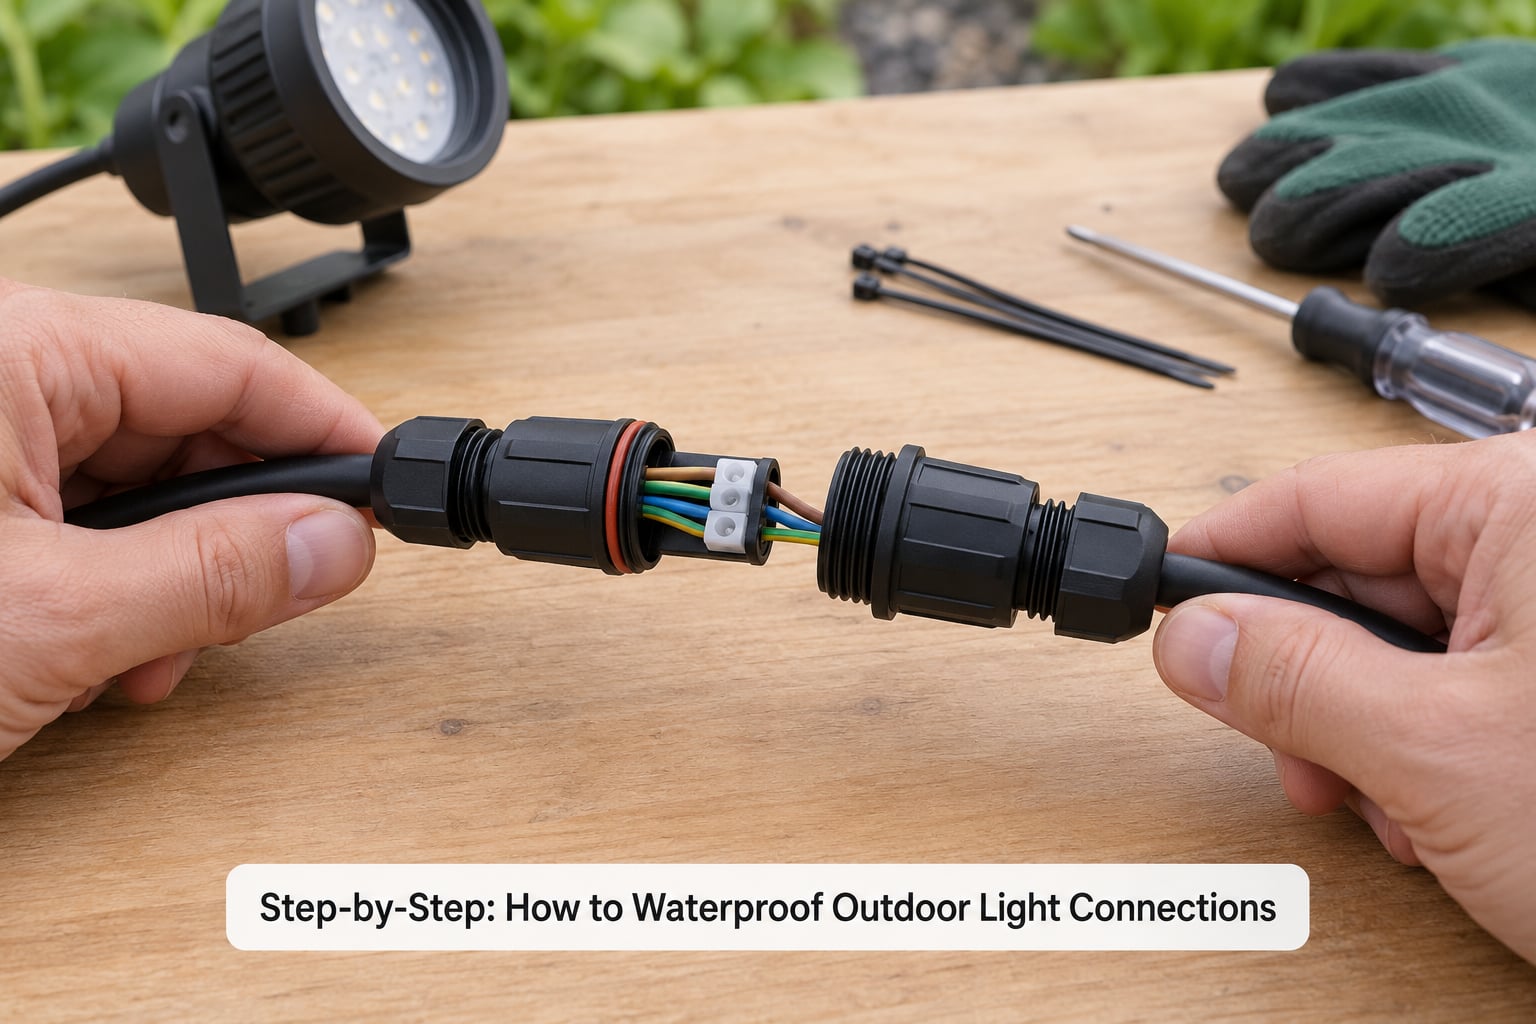
Work in dry conditions and finish each joint before moving to the next. If rain starts, stop and cover the open conductors rather than rushing a seal.
1. Turn Off and Verify the Power
Switch off the breaker for the circuit, not just the wall switch, and confirm which breaker it is by testing each one with the voltage tester until the fixture shows dead. Verify with a multimeter at the conductors you intend to work on, treating any reading as live until proven otherwise.
When to call a qualified electrician: the breaker cannot be positively identified, the circuit is shared with something you cannot disconnect, the conductors are aluminium or of unknown type, the cable is nicked or crushed, or you find tape-wrapped splices from a previous job that nobody documented.
2. Check That the Light Is Rated for Outdoor Use
Read the fixture label or manual for its IP rating before assuming it can stand in the rain. The first digit rates solids, the second rates water, so IP65 means dust-tight and protected against water jets, while IP67 survives temporary immersion. Fit an IP-rated part only; a fixture that is IP67 but fed through an unsealed cable entry is exactly how water gets in.
| Rating | Dust | Water | Typical outdoor use |
|---|---|---|---|
| IP44 | Large solids only | Splashing water | Sheltered eaves and covered soffits |
| IP54 | Limited dust | Splashing water | Under-deck and wall-mounted fittings |
| IP65 | Dust-tight | Water jets from any direction | Path lights, bollards, exposed string lights |
| IP67 | Dust-tight | Temporary immersion | Ground-level spots, fountain and poolside lighting |
| IP68 | Dust-tight | Continuous immersion | Submerged fountain and pond fittings |
For strips and fixtures mounted below a deck or close to soil, treat IP65 as the minimum and IP67 if rain drives straight at them. Buyers on forums repeatedly ask whether connectors sold as waterproof are genuinely submersible, and the honest answer is that the printed rating on the housing is the only reliable clue.
3. Prepare the Cable and Connection
Cut only sound cable. If you find cracked insulation, a flattened section or a conductor that will not stop twisting back into place, cut back past the damage and re-terminate there rather than trying to reuse it.
Strip just enough jacket to reach the connector body, keeping the jacket inside the gland or connector where it belongs. Leave the outer jacket long enough that the seal clamps onto jacket rather than bare conductor. Keep conductors clean, dry and straight; a hard twist or a nick with a blade puts a break point exactly where water will sit.
4. Use a Compatible Weatherproof Connection
Match the method to the fixture, the cable and where the joint will sit. A sealed plug-and-socket connection that the manufacturer designed for the fixture is usually the strongest option, because the housing compresses onto the cable jacket as it latches.
- Sealed plug-and-socket connectors latch closed and trap a seal around the cable. Best for accessible joints on low-voltage runs.
- Silicone-potted or prefilled wire connectors are the standard professional method for landscape runs. They fill the void around the conductors so there is no air gap for water to travel through.
- Cable glands seal the point where a cable passes through an enclosure wall. They do nothing for a splice inside the enclosure, so you still need a box or a sealed connector.
- Junction boxes with gasketed lids are the answer for mains voltage and for any joint with more conductors than a small connector accepts.
Check pin count and brand before you buy. Three-pin, four-pin and five-pin strip connectors are not interchangeable, and a mismatch that almost fits is the classic way to end up with an open joint.
Skip piercing and fast-lock style connectors where you can. They are sold as waterproof, but electricians and DIYers report them as the first thing to fail on a run, because they rely on a sharp contact rather than a sealed conductor joint. If a manufacturer includes them, use them only where that manual says, and never as the only barrier between a live conductor and a wet environment.
5. Seal Every Entry and Joint
Water gets in through three paths: the outer jacket, the cable entry hole and the seam between mated parts. Seal all three in that order.
Seat gaskets evenly with no folds or pinching, then close the enclosure fully so the lid compresses the gasket around its whole perimeter. Tighten cable glands to the maker’s instruction; under-tightening leaves a gap, over-tightening cracks the housing or damages the seal. A little dielectric grease on any bare terminal or lug keeps moisture out of the metal itself.
Run a continuous bead of the specified sealant around the closed joint and each cable entry, letting it slump and cure fully before the fixture goes back up. Do not layer different sealants and hope; incompatible products cure unpredictably and can trap water against the cable.
A correctly sealed connection looks like this: cable in, gland compressed on jacket, sealed connector body, gasket closed evenly, bead of sealant over the seam, and a drip path so water runs off rather than sitting on top.
6. Reassemble and Secure the Connection
Route the cable so it has no sharp bends, no tension pulling on the terminals and no resting weight on the connector. Support the run with clips at sensible intervals and leave a little slack at the joint so thermal movement in summer does not pull against the seal.
Keep every connection off the ground and above the zone where water pools. Low points in a run collect water even when nothing is directly above them, so raise joints a few centimetres or route them behind a fixture body where a drip path exists. Close the enclosure fully before applying sealant, and check that no cable entry faces upward.
7. Test the Installation
Restore power at the breaker, then confirm the light operates normally with no flicker, no warm smell at the fixture and no dimming on other fixtures on the same circuit. Switch it off and on again to confirm a clean connection.
Perform a controlled water test only if the product instructions permit it: a short spray at the joint from a hose, then power down, open the enclosure and check for water inside. If the maker advises against field testing, trust that and rely on the rating instead. After the first heavy rain, walk the run and look for water sitting on top of the sealed joints, because pooling on a connector is the early warning that the drain path is blocked.
Common Mistakes and How to Fix Them
Most outdoor lighting failures trace back to one of a handful of shortcuts, and they are almost always at the same place: the cable entry or the splice itself. Here is what goes wrong and what to do about it.
- Indoor tape or a plastic bag over the joint. Neither is a seal. Condensation collects inside and sits on the conductor. Replace it with a connector rated for the environment.
- Unsealed cable entries. A gland sized too large for the cable, or none at all, leaves a gap that wicks water along the jacket. Match the gland to the actual outside diameter.
- Overtightened or undertightened glands. One cracks the housing, the other never compresses the seal. Follow the maker’s torque instruction and hand-tighten fully.
- Burying a splice in ordinary soil. Only direct-burial rated junction boxes belong underground, and only at the depth local code requires. Otherwise raise the joint into a sealed box.
- Ignored damaged insulation. A nicked conductor under a connector is a future short. Cut back to sound cable and re-terminate.
- An indoor-only fixture in a splash zone. No amount of sealant on the joint rescues a lamp that was never rated for water. Replace the fixture.
Symptoms tell you where to look. This table maps the usual complaints to their cause.
| Symptom | Likely cause | Fix |
|---|---|---|
| Flickering after rain | Water inside the connector or an entry that wicks | Isolate, dry the joint, reseal or replace the connector |
| Green or white corrosion on terminals | Long-term moisture ingress | Cut back to clean conductor and re-terminate in a sealed connector |
| Intermittent light on one section | Loose terminal or a partly mated connector | Retest with a multimeter, refit or replace the connector |
| Breaker trips when the light is switched on | Water bridging live conductors | Power down, inspect for a wet joint, replace sealed parts |
| One run is dim or warm | Voltage drop from too many lights on one circuit | Split the run or move it to its own transformer |
| Light works dry, fails in the rain | Connector only splash-rated, not submersible | Replace with IP67 or IP68 parts |
Homeowners also hit a practical snag with boxes: retail weatherproof junction boxes frequently have pass-through openings too small for a standard two-prong plug or a thick landscape cable. Check the entry size against your cable before you buy, and look for a box with a larger knock-out or a screw-on gland fitting.
Extra Tips for Outdoor Light Connections
Check on a schedule. Walk the run twice a year, once before winter and once after the wettest season. Look for standing water on sealed joints, sealant that has cracked or lifted, cable pulled out of a gland, and any fixture that has started flickering. Ten minutes in the autumn prevents a wet connector failure in January.
Build drainage into the layout. Slope the run away from the fixture where you can, keep joints above the lowest point of the bed, and avoid routing cable through a dip where water collects. A connector that sheds water will survive far longer than an identical one that sits in a puddle.
Keep connectors accessible. Burying a joint to hide it is how people end up digging it up damaged later. Use a sealed box, mount it on a wall or post, and leave enough slack to service it later.
Replace failed seals, never stack new ones. When a gasket or bead has failed, take the joint apart and start clean. Layers of old and new sealant trap water against the jacket and make the next repair harder.
Know your voltage class. Low-voltage landscape runs at 12 or 24 volts, which limits shock risk but not corrosion, and they still need outdoor-rated connectors. Mains voltage fixtures are a different job entirely: they need a listed enclosure, correct connectors and a GFCI-protected circuit, and they should be left to a licensed electrician if you are not experienced.
Solar garden lights follow the same rules with one difference. The panel and battery are outdoors by design, and their leads are thin, so the weak point is the small connector between them. Use sealed low-voltage connectors sized for the conductor, keep them off the soil where irrigation runs, and expect the cheaper factory leads to need replacing sooner than the lights themselves. Anything hard-wired into mains for those same lights goes back to the mains rules above.
Set a lifespan expectation. A properly sealed low-voltage connection in a well-drained location commonly runs five to ten years or more. An unsealed splice often lasts one wet season. Cheap indoor tape in a buried box rarely survives a season, and it can void the fixture warranty at the same time.
Frequently Asked Questions
How to waterproof outdoor electrical connections?
Switch off the circuit at the breaker and confirm it is dead with a tester. Use connectors and glands rated for the IP rating of the fixture, match the gland to the cable diameter, seat gaskets evenly and seal every cable entry and seam with the sealant the manufacturer specifies. Keep the joint above pooling level with a drip path, and never rely on tape or a plastic bag.
Are waterproof connectors really needed for outdoor lights?
Yes, for any fixture exposed to rain, irrigation or damp ground. An outdoor-rated connector keeps water out of the terminal block, which is where corrosion starts and where the flicker and failure come from. Waterproofing matters most at ground level, under decks and anywhere water pools, since those places stay wet longest and dry slowest.
What IP rating do outdoor lights need?
For sheltered spots under an eave, IP44 or IP54 is usually enough. For exposed path lights, bollards and string lights, use IP65 or better. Ground-level spots, fountain and poolside fittings need IP67, and anything actually submerged needs IP68. Remember that the rating applies to the cable entry and connector too, not just the lamp housing.
Is heat shrink tubing safe outdoors compared with waterproof cable glands?
Heat shrink with an adhesive lining is fine as a secondary layer over a joint, but on its own it is not a seal. A cable gland does one job properly: compressing a seal onto the cable jacket at an enclosure wall. For a splice you still need a sealed connector or a gasketed box. Use heat shrink where the connector maker specifies it, and let it cure fully before the joint gets wet.
When should I call an electrician instead of doing it myself?
Call a licensed electrician if you cannot identify the breaker with certainty, the run is mains voltage, there is no GFCI or RCD protection, the cable is nicked or of unknown type, or you find undocumented splices from a previous job. Replacing a failed sealed connector on a low-voltage landscape run is well within a careful DIYer’s ability; adding protection to an unprotected outdoor circuit is not.
Conclusion
To waterproof outdoor light connections, work in this order every time. Switch off at the breaker and verify with a tester, use components genuinely rated for outdoor exposure at the IP level the location needs, seal every cable entry and seam rather than just the splice, keep the joint above standing water with a clear drain path, and follow the manufacturer’s instructions on tightening and curing.
If any part of that feels uncertain, especially on mains voltage or a circuit without GFCI protection, stop and bring in a licensed electrician. The sealing itself is straightforward; it only works when the part before it is safe.