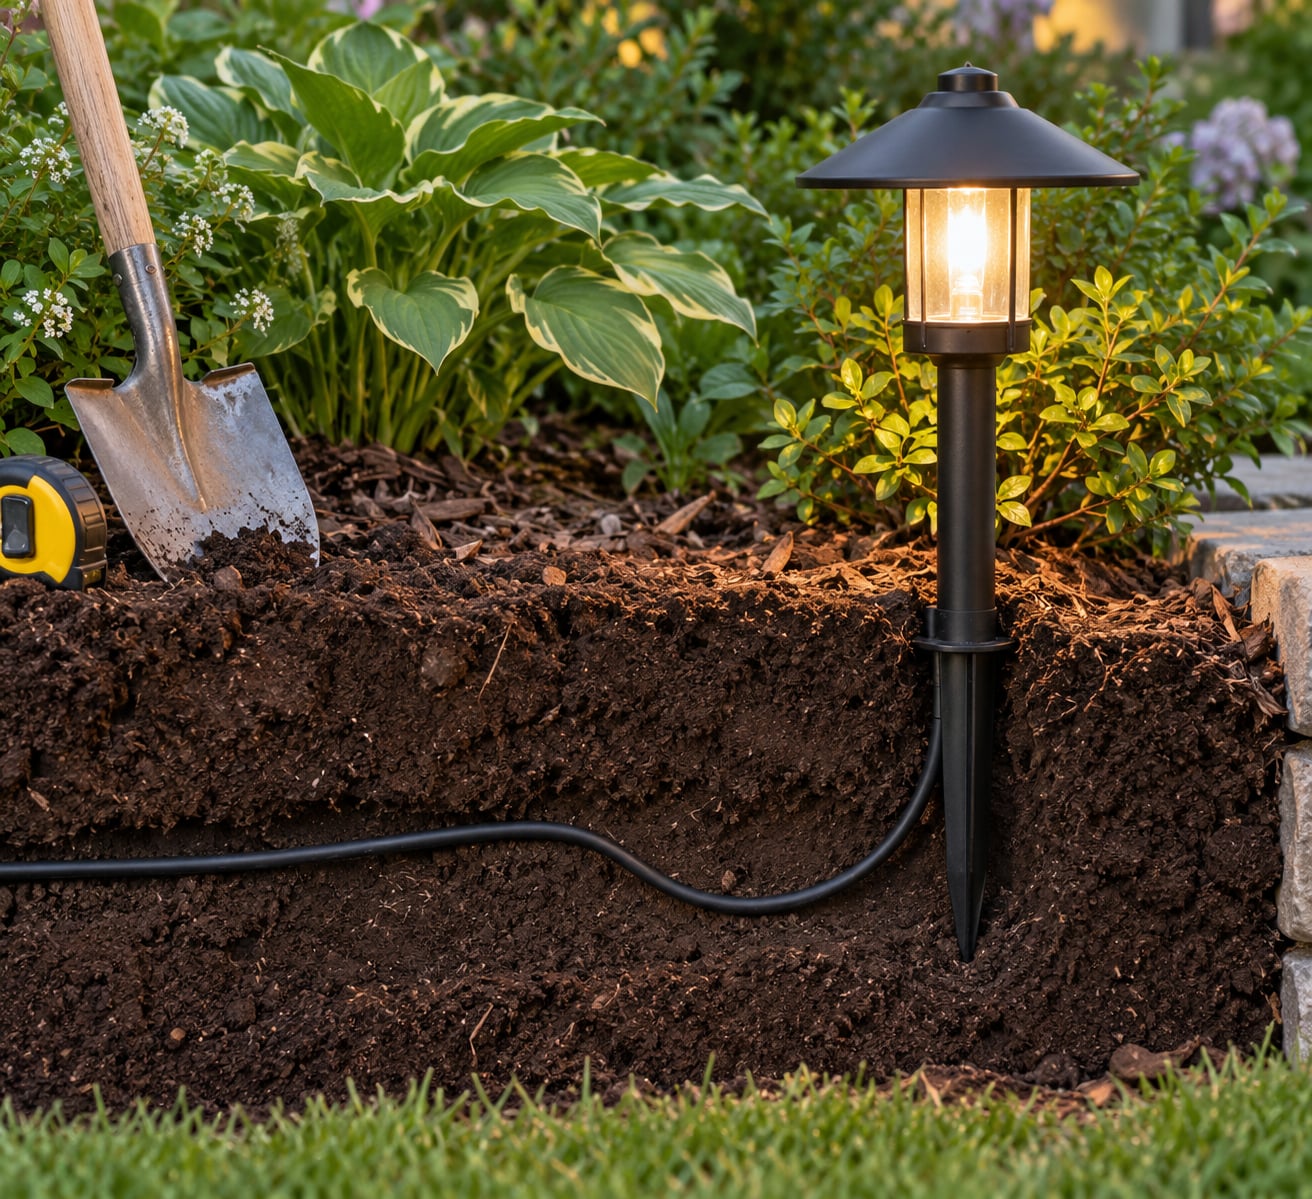
If you are wondering how deep to install landscape light stakes, aim for 6 to 8 inches of embedment in firm, undisturbed soil, and leave 3 to 4 inches of stake above the finished grade line. Go deeper in sand or freshly turned beds, shallower in clay, and never deeper than the fixture maker allows.
That is the short version. The details matter more than most guides admit, because the stake and the wire follow two different rules and plenty of installations get them backwards.
A typical path light job takes an afternoon once the transformer is mounted. The hard part is not driving the stakes, it is judging the soil before you do.
Table of Contents
- What You Need
- Step-by-Step
- How Deep to Install Landscape Light Stakes in Each Soil Type
- Step 1: Check the Fixture and Call Before Digging
- Step 2: Mark the Layout and Avoid Underground Services
- Step 3: Dig the Hole to the Correct Depth
- Step 4: Set, Level, and Backfill the Light Stake
- Step 5: Test the Light and Finish the Area
- Common Mistakes
- Frequently Asked Questions
- How deep should landscape lighting wire be buried?
- How much of the light stake should stick out of the ground?
- How deep do landscape light stakes go in clay soil?
- How deep to install landscape lighting stakes in rocky soil?
- Do solar landscape lights need the same burial depth?
- Why won’t my landscape light stake stay upright?
- Conclusion
What You Need
A rubber mallet, not a claw hammer. A mattock or a narrow post-hole digger for the holes you cannot drive into. A tape measure, a torpedo level, a tamper or the handle end of your mattock, a water bottle, work gloves, and the installation instructions that came with the fixtures.
Add a marker paint or a handful of sticks for flagging the layout, and a small hand trowel for the wire trench. If you have a socket set and a voltage tester, bring those too for the connection work.
Before anything else, know what is under the route. Irrigation lines, buried cable and gas lines are the three things homeowners hit most often, and a damaged line turns a Sunday project into an excavation bill. Mark the run, and use your local utility locate service before you drive anything metal into the ground.
Step-by-Step
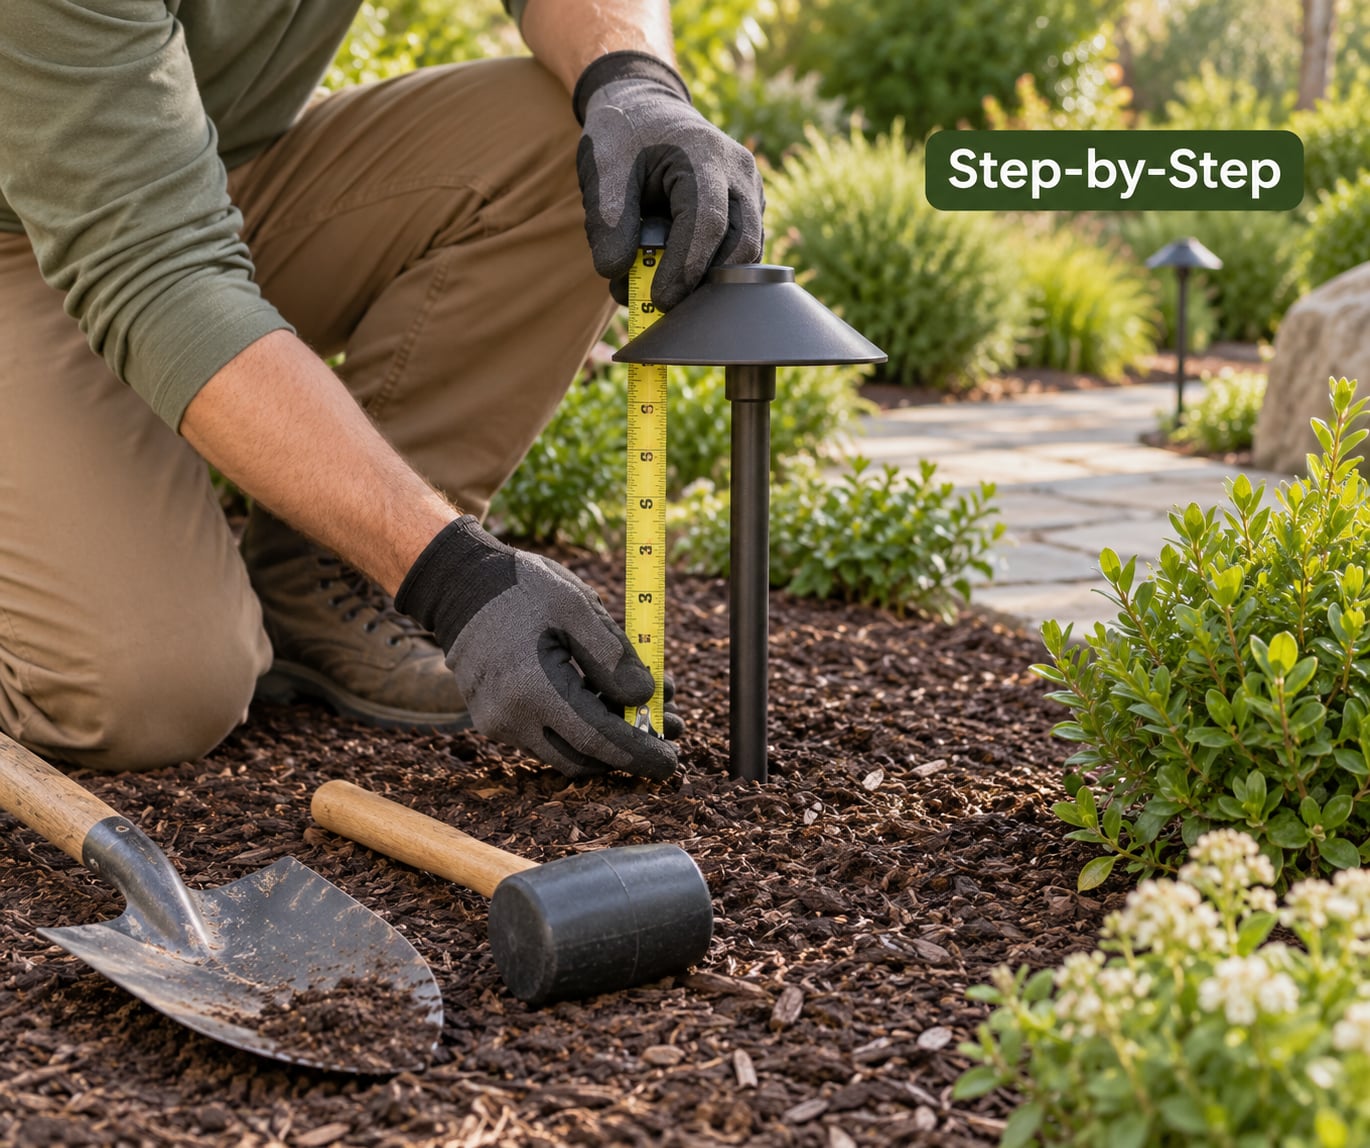
How Deep to Install Landscape Light Stakes in Each Soil Type
Firm soil holds a light with 6 to 8 inches of embedment. Loose or recently disturbed soil needs 8 to 12 inches, and sand can need a longer stake rather than a deeper hole. Drainage and stability decide the number, not a single rule.
| Soil type | Minimum | Typical | Maximum before switching approach |
|---|---|---|---|
| Clay, packed ground | 5 in | 6 in | 8 in |
| Firm loam / packed lawn | 6 in | 7 in | 10 in |
| Mulched planting bed, settled | 4 in | 6 in | 8 in |
| Recently disturbed or backfilled soil | 8 in | 10 in | 12 in |
| Sandy soil | 8 in | 10 in | 12 in, then change mount |
| Rocky or shallow soil over hardpan | 4 in | 6 in | Stop at the rock, use a ground screw or mount |
| High-traffic or mower path | 6 in | 8 in | Relocate before you go deeper |
Two things push the numbers rather than the hole size. Frozen or snow-packed ground will not accept a drive until it thaws, and mulch compacts over a season, so a stake that felt tight on install day can be loose by spring.
Clay drains poorly. If a bed holds water in winter, bury the wire no deeper than the wet season needs and keep the fixture body above the saturated zone, or the housing fills with water and cracks.
Step 1: Check the Fixture and Call Before Digging
Read the fixture spec sheet first, because several manufacturers cap installation depth at 6 inches to keep the housing above grade. Exceeding that limit can bury the fixture body, block its light output or trap water around the sealed base.
Look at how the wire enters the fixture. A bottom-entry fixture with a strain relief and a lead you can loop wants more embedment, since the loop lives below the line. A side-entry hub on a riser assembly needs the wire coming up alongside the stake rather than straight into the base.
Then find out what is buried. Your local utility locate service marks public lines, and private lines like irrigation and landscape cable need your own check. Photograph the marked spots on your phone, because flags get knocked over by the time you finish the run.
Step 2: Mark the Layout and Avoid Underground Services
Walk the route and mark each fixture position with paint or a stick before you dig anything. Spacing matters as much as depth: path lights read best at 6 to 10 feet apart, alternating sides, and spotlights need a clear aim line before the hole exists, not after.
Keep stakes clear of tree and shrub roots. Driving a stake through a root plate stresses the plant and gives the fixture a sideways push, and a stake right against edging or a paver edge has no shoulder of soil to grip.
Mark the cable route at the same time, following the base of the house or the edge of a bed rather than cutting diagonally across a lawn. Runs under turf are the ones you will hit with an aerator or a mower tine in two years.
Step 3: Dig the Hole to the Correct Depth
Dig a hole slightly wider than the stake, roughly 1 inch of clearance on each side, and no deeper than the table calls for. The extra width gives you room to plumb the fixture straight and to tamp soil back in around it.
Do not excavate more than you need. Deep holes in the wrong spot mean carrying spoil back out, and every inch of disturbance around a root is damage you cannot undo.
This is also where the wire depth gets settled, because it is a separate measurement from the stake depth:
| What you are setting | Typical depth | What governs it |
|---|---|---|
| Landscape light stake (fixture anchor) | 6 to 8 in below grade in firm soil | Fixture stability in the soil you have |
| Low-voltage landscape cable | 6 in below grade | Standard low-voltage burial guidance; less is allowed under certain conditions |
| Direct-burial cable under turf or driveways | Follow the cable spec, usually deeper than 6 in | Cable rating and load over the run |
| Stake above finished grade | 3 to 4 in exposed | Keeps the housing dry and reachable |
Homeowners who get an answer of 2 to 6 inches have usually mixed those two numbers together. The stake and the cable do not need the same hole, and neither one needs to be deeper than its own requirement.
Step 4: Set, Level, and Backfill the Light Stake
Assemble the fixture and stake on a work bench first, then carry the whole assembly out. This is a bench trick that makes a visible difference in straightness, because you are setting the aim angle once at a comfortable height instead of wrestling it in the ground.
Set the stake in the hole and plumb it with the torpedo level before you backfill. Aim the beam where you want it, not where it points out of the box.
If the soil is dry and hard, water it the night before or work it with the mattock first. Wet-but-not-saturated ground grips the stake far better than dust, and it tells you something useful: if the hole fills with water as you dig, you have found a drainage problem worth knowing about before you set the fixture.
Backfill in two or three layers, working loose soil around the stake by hand first so nothing hits the housing. Water each layer and tamp with the tamper end of your tool, using a light touch. Hard packing squeezes water out of the soil and lets the hole settle, which is exactly what makes a light lean a few months later.
Leave the backfill a touch proud of the surrounding grade to allow for settling, and keep 3 to 4 inches of stake above that line. More than that exposed and the fixture looks like it is floating on a pole; buried any deeper and you are hiding part of the fixture that was designed to stay dry.
For stake lengths, the common sizes run 8 inch, 10 inch and 14 inch. Use the 8 inch in firm ground, the 10 inch as a default for beds, and reach for the 14 inch when the soil is loose, the location is exposed or the fixture carries a heavy riser. A longer stake adds insertion depth, which is a real gain in bad soil, and it is not a fix for traffic or for a badly chosen location.
Step 5: Test the Light and Finish the Area
Reconnect the transformer or power source with the power off at the breaker, then turn it on and check each fixture individually. A dark fixture usually means a loose waterproof connector rather than a depth problem.
Test at night, because the aim angle only shows up against dark foliage. A path light pointed at the walkway washes it out, and a spotlight aimed too high sends most of its beam into a neighbour’s tree.
Give every stake a firm hand pull at the top. It should not move or twist at all, and any that do get re-tamped with more soil and a firmer pack.
Tidy the bed, sweep the spoil back, and water the area if you disturbed it. Then note the date. In areas with freeze-thaw cycles, come back after the first winter and re-level anything that shifted, because the heave loosens the tamp that felt solid on install day.
Common Mistakes
Most leaning lights come down to one of six things, and each has a specific fix rather than “add more dirt”.
Setting the stake too shallow. A stake that shows 6 or 7 inches above grade in loose soil has almost no embedment. Pull it, dig deeper to the table range, and replumb before backfilling.
Ignoring soil type. The same 6 inches that holds in a packed clay lawn does nothing in a bed that was re-digged last spring. Test by pushing a screwdriver into the ground; if it goes in with a twist, assume loose soil and go deeper or use a longer stake.
Burying the fixture body. Going deep because it feels more secure is the most common over-correction. Respect the maker’s depth limit, and if you need more hold, change the stake rather than the hole.
Over-compacting the backfill. Packing hard squeezes water out of the soil and the hole settles, taking the fixture with it. Water in layers and tamp lightly, leaving the fill slightly proud.
Ignoring the wire. A lead that is pinched between the stake and the hole wall, or pulled tight at the connector, fails later. Leave a service loop of a few inches at the base, and use waterproof connectors rated for wet locations.
Putting the light where equipment hits it. A stake driven next to a mower path gets knocked flat no matter how deep it is. Placement first, stake size second.
If a light is already leaning, the repair order is: re-tamp the existing hole and test it, then swap to a longer stake, then consider a different mount. A ground screw anchor works where soil is shallow or rocky, and a hardscape or deck mount is the right answer on a paved surface where a stake has nothing to grip.
Frequently Asked Questions
How deep should landscape lighting wire be buried?
Low-voltage landscape cable is generally buried 6 inches below grade, and direct-burial cable rated for the job goes deeper under turf or where vehicles pass. This is a separate measurement from stake depth. Stakes typically need 6 to 8 inches of embedment for stability, while the cable follows its own burial rule and its own rating.
How much of the light stake should stick out of the ground?
Leave 3 to 4 inches of stake above the finished grade line. That keeps the fixture housing above soil and standing water while still giving you enough buried length to hold it steady. Backfill slightly proud of the surrounding grade because the soil will settle, and check the maker’s maximum depth before you go any further.
How deep do landscape light stakes go in clay soil?
Clay is firm, so a path light usually only needs 5 to 6 inches of embedment, and going deeper adds little stability while making the hole harder to drain. Set the stake slightly proud of grade, because clay expands when it freezes. In heavy clay, keep the housing above the saturated zone so water does not sit inside the fixture.
How deep to install landscape lighting stakes in rocky soil?
Stop as soon as you hit rock rather than forcing the stake, since a bent or snapped spike means a new fixture. Where soil is only a few inches deep over hardpan, use a ground screw anchor driven into the firm layer below, or mount the fixture to a wall, deck or hardscape edge. A stake needs friction, and rock gives none.
Do solar landscape lights need the same burial depth?
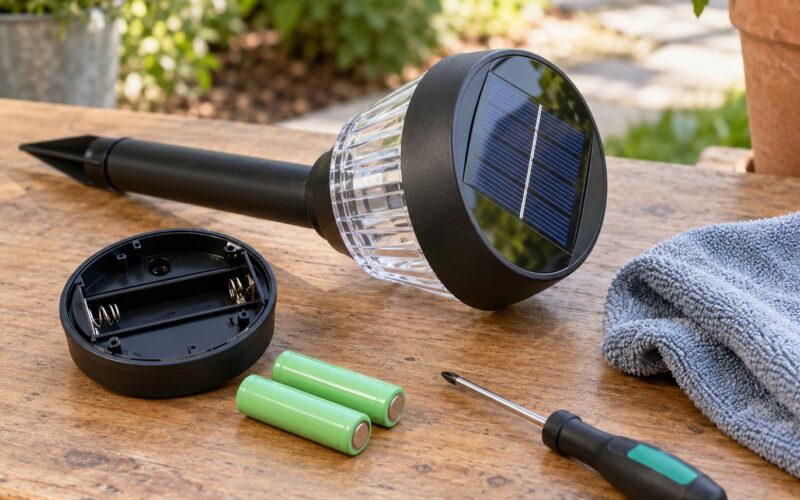
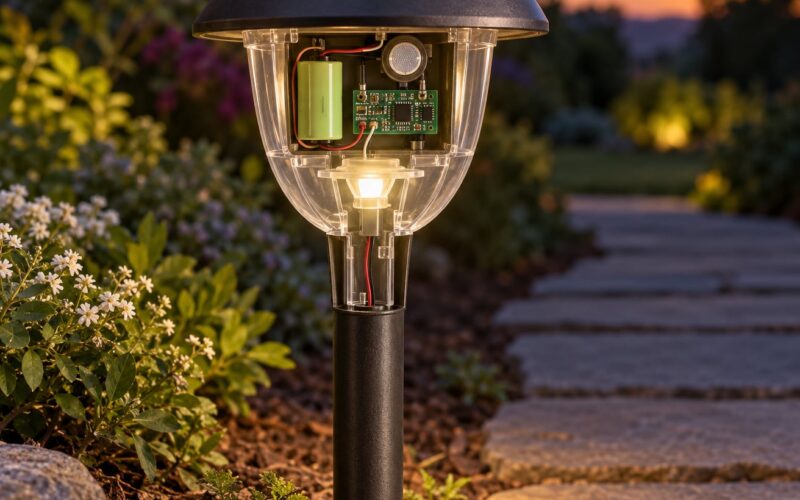
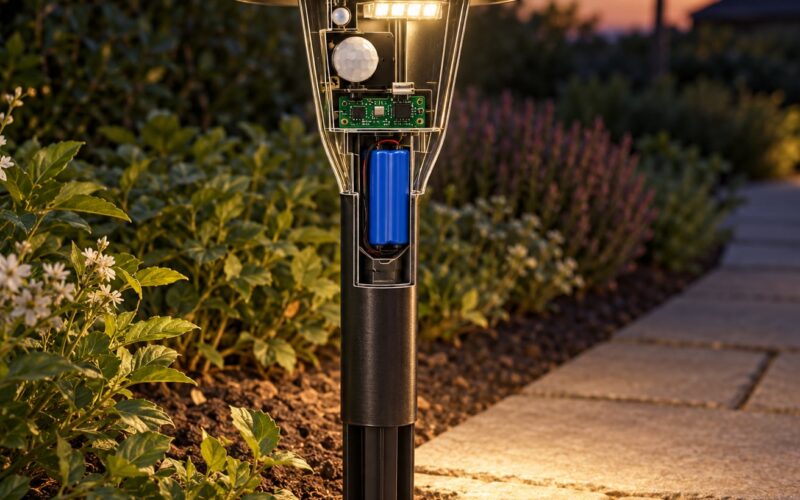
No. Solar lights carry no cable, so only the stake matters, and their shallow panels mean most need just enough embedment to resist wind, usually 3 to 5 inches. Place the panel where it gets several hours of direct sun, keep the sensor clear of shrub shadow, and check the light again after a season since freeze-thaw loosens the fill.
Why won’t my landscape light stake stay upright?
Working in order: re-tamp the hole and test, then swap to a longer stake for looser soil, then change the mount. Most leaning lights sit in recently disturbed or sandy ground, or in a mower and trimmer path where the fixture gets clipped. An extra 14 inch stake solves loose soil, but no stake length fixes traffic, so relocate those fixtures.
Conclusion
Start by reading the fixture instructions for the maximum installation depth, then judge the soil: firm ground takes 6 to 8 inches, loose or sandy beds need 8 to 12 or a longer stake, and clay needs less plus good drainage.
Mark your layout and check for buried services before the first hole. Assemble at the bench, plumb the fixture, backfill in watered layers, leave 3 to 4 inches of stake above grade, and test the run after dark. Add a pull test at the top of every stake, and plan to re-level once after your first winter.