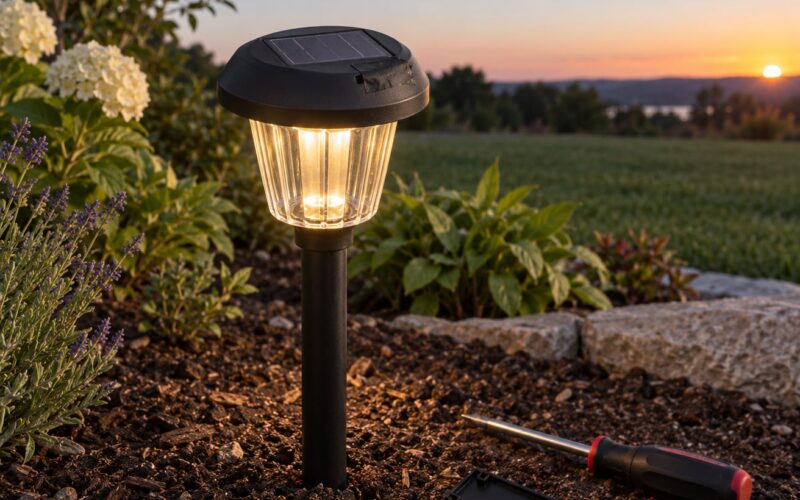
Solar garden lights charge fastest when the panel points at the sun’s midday path: roughly 30 to 45 degrees of tilt, facing south in the northern hemisphere and north in the southern one. Learning how to angle solar panels for garden lights takes about fifteen minutes per light, and the only tools you need are a phone compass and a piece of stiff cardboard.
Most lights are moulded into whatever angle the factory chose, and most are planted wherever the path looked best rather than wherever the sun is. That is usually the whole problem. Set the light first, then fix the tilt, and it will charge properly from the first full day of sun.
Short answer: aim for 30-45 degrees in summer and 45-60 degrees in winter, point the panel at the equator side of the sky, keep it clear of fences, sheds, eaves and shrubs, and give it six to eight hours of direct sun before you judge it on a single evening.
What follows is the method I use on our own beds: survey the spot, mark the direction, set the tilt, mount, test, clear the shade, then look again at the turn of each season. Last reviewed for 2026.
Table of Contents
- What You Need
- Step-by-Step
- Step 1: Find the sunniest spot
- Step 2: Set the direction
- Step 3: Choose the right tilt
- Step 4: Mount the panel securely
- Step 5: Test charging before leaving
- Step 6: Remove shading and reflectors
- Step 7: Recheck through the year
- Common Mistakes
- How to Fine-Tune the Angle
- Tips for Different Locations
- Frequently Asked Questions
- Should a garden light’s solar panel face south?
- What angle is best for a solar garden light?
- Can I put a solar garden light in a shady yard?
- Do solar garden light panels need to be tilted?
- Why does my solar light charge but turn off early?
What You Need
None of this is specialist kit. Everything below is either already in a drawer or inside the box the light arrived in.
- The light itself, with the stake, bracket and fixing screws supplied by the manufacturer
- A phone compass, or a physical compass if you prefer one
- A pencil or marker for marking the ground and the stake line
- A short level or a ruler, for checking the stake sits plumb before you firm the soil
- A wedge, a shim, or a piece of stiff cardboard to alter the panel angle
- A soft cloth and a little water for cleaning the panel surface
- The manual’s battery or charge test, usually a small indicator light or an on-off switch
Two safety notes. If you use a ladder, set it on firm level ground and have someone hold the base; never lean a ladder while holding a light in the other hand. And if you have to move a light by digging, assume there is a buried cable or an irrigation line nearby, so hand-dig shallowly and away from obvious service routes.
Solar garden lights run on low-voltage direct current sealed inside the fixture, so there is no mains connection to worry about. Keep any replacement fittings weatherproof, and follow the manufacturer’s instructions wherever they conflict with the general advice below.
Step-by-Step
Seven steps, in this order. The order matters because moving a light after mounting wastes the mounting work, and testing before clearing the shade gives you a false reading.
Step 1: Find the sunniest spot
Stand where the light will go and watch it for a full day. Note when direct sun reaches it and, just as importantly, what blocks it. A garden is full of quiet obstacles: a six-foot fence, a shed wall, the house eave, a dense evergreen, a neighbouring lamp post.
In the northern hemisphere, a spot that faces north gets the weakest light of the day. In the southern hemisphere it is the reverse, and a north-facing panel is the one to aim for. Trees matter twice: bare branches in winter still cut the low sun, and leaf cover in summer blocks far more.
Write down what shadows the spot at midday and again in the late afternoon, because evening sun is what the lamp will actually use to top up tomorrow’s charge.
Step 2: Set the direction
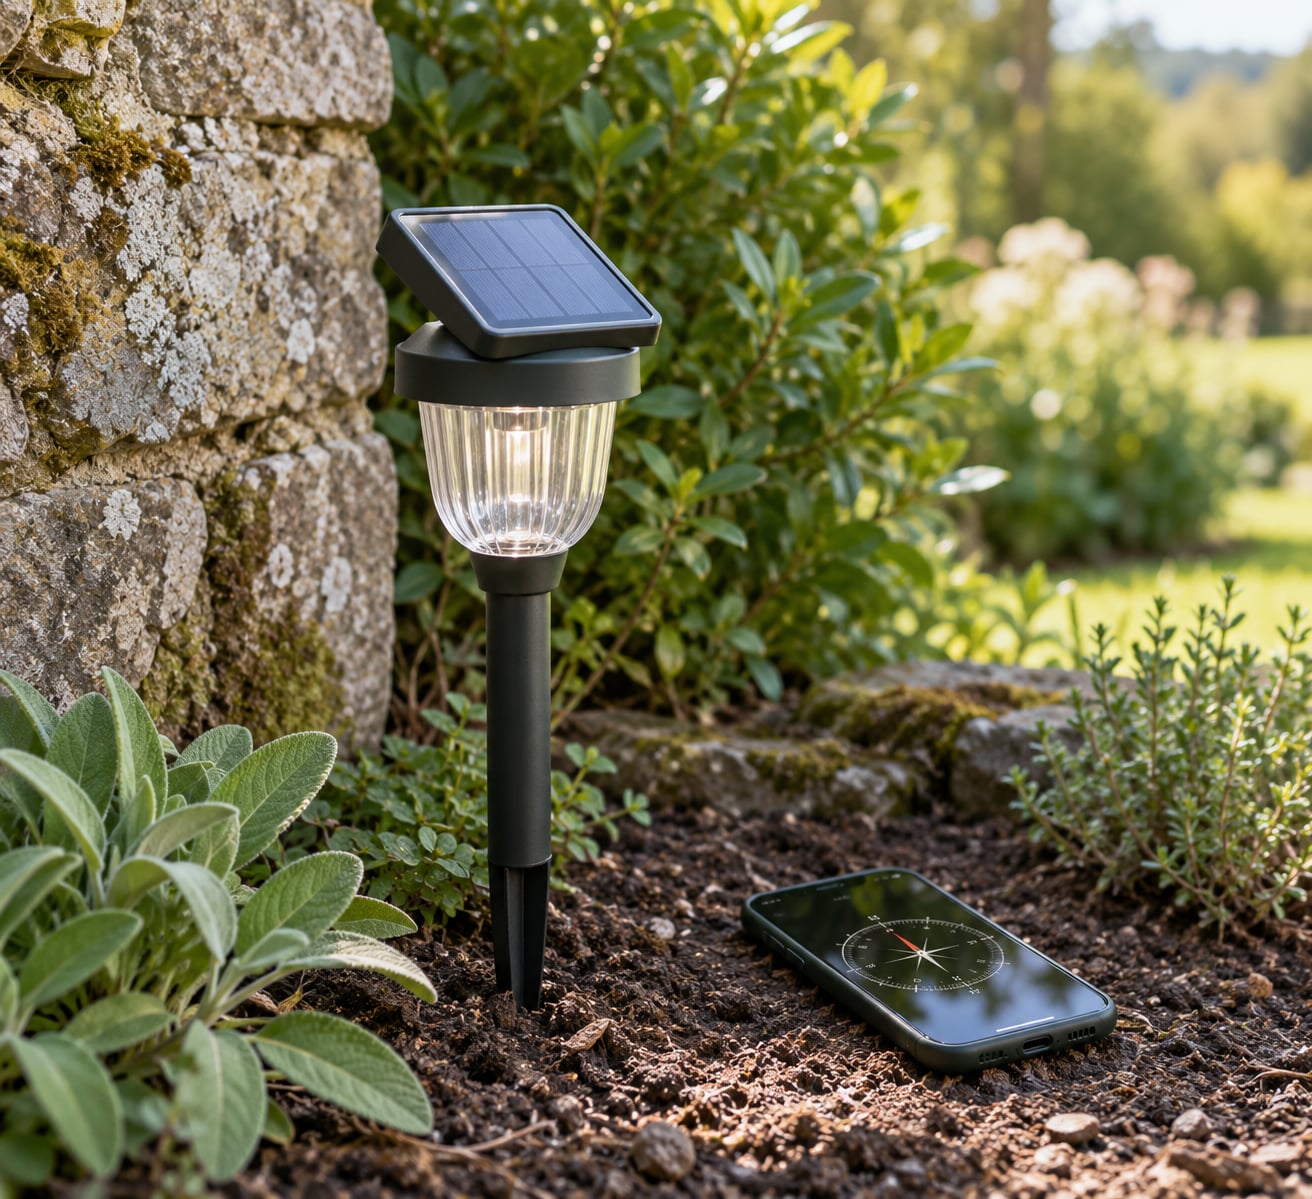
Open the compass app and stand back from the light, since the metal stake and the lamp body can pull the needle around. In the northern hemisphere you are aiming the panel at true south; in the southern hemisphere, true north.
A phone compass points at magnetic north, not true north. The gap is small in most places, but in some regions of northern Canada and the western United States it is large enough to matter, so check the magnetic declination for your area or set the compass to true north before you rely on it.
Mark the facing line on the soil with your marker before mounting anything. Once the stake is in the ground you can still adjust the panel, but changing the direction means pulling the light out again.
Step 3: Choose the right tilt
The purpose of tilting is to reduce the angle at which sunlight strikes the panel. A panel lying flat in summer catches the sun almost overhead and wastes most of its output; the same panel tipped back toward the sun collects far more.
Latitude is the usual starting point, and your latitude is a close enough guide for a light this small. Use the table as a starting range rather than a fixed rule, and keep in mind that a garden panel gains very little above roughly 60 degrees, because the extra tilt costs more in lost summer output than it returns in winter.
| Latitude band (northern hemisphere) | Summer tilt | Winter tilt |
|---|---|---|
| 25-30 degrees | 15-25 degrees | 40-50 degrees |
| 30-35 degrees | 20-30 degrees | 45-55 degrees |
| 35-40 degrees | 25-35 degrees | 50-60 degrees |
| 40-45 degrees | 30-40 degrees | 55-65 degrees |
| 45-50 degrees | 35-45 degrees | 60-70 degrees |
| 50 degrees and above | 40-45 degrees | 65-75 degrees |
Southern hemisphere latitudes give the same tilt numbers, because what matters is the distance from the equator, not which side of it you are on. Only the direction flips.
Step 4: Mount the panel securely
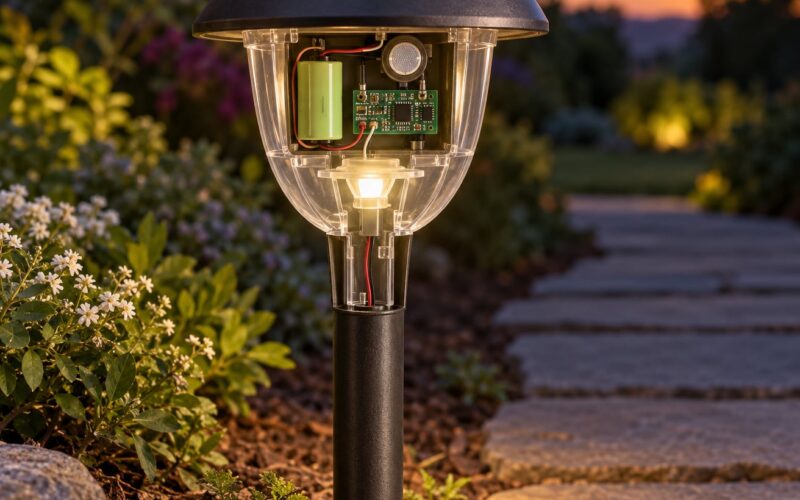
Fit the panel using the holes and instructions the manufacturer supplied, and keep the light sensor clear. On lights with a motion or dusk sensor, the sensor is a small dark dome on the housing, and a panel or wedge pressed over it will switch the lamp off at sunset.
Seat the wiring so it cannot be pinched between the panel and the body, and leave the fixing points a little slack so rainwater runs off instead of tracking into the joint. Leave a gap under the panel so water on the surface drains rather than pools and turns to ice.
Pack the soil around the stake firmly and check the light sits plumb with your level or ruler. A leaning stake tilts the panel off line and looks wrong from the path.
Step 5: Test charging before leaving
Set the switch to on, and remove any pull tab, film or insulating strip from the panel or the battery compartment. Then leave the light in full sun for a complete day. Six to eight hours of direct sun is the minimum for a full first charge, and one afternoon is not enough to draw a fair conclusion.
Check the charging indicator behaves as the manual describes: many lights show a coloured light beside the switch while they are charging. If your model has a battery test or output check described in the manual, use that instead of guessing.
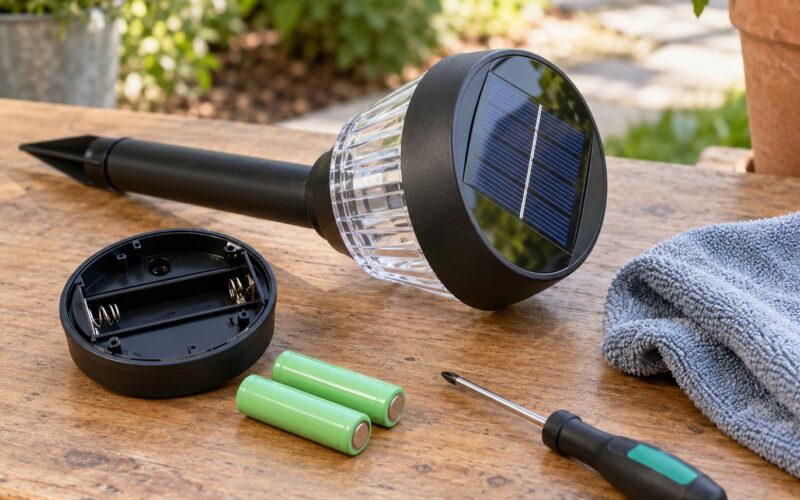
Do not open the housing. Sealed units are not user-serviceable, and opening them usually voids the warranty as well as letting moisture in.
Step 6: Remove shading and reflectors
Even a well-aimed panel loses output when something sits in front of it. Decorative reflectors, adhesive labels left on new panels, ivy, and the lamp’s own housing lip are the usual culprits.
Trim back leaves and grass that have grown across the panel, and clear bird debris and snow in winter. Wipe the surface with a damp cloth; dust and dried algae film can quietly cut a surprising share of the charging current.
If a reflector is meant to be there, leave it. If it is a sticker or a mounting template, take it off.
Step 7: Recheck through the year
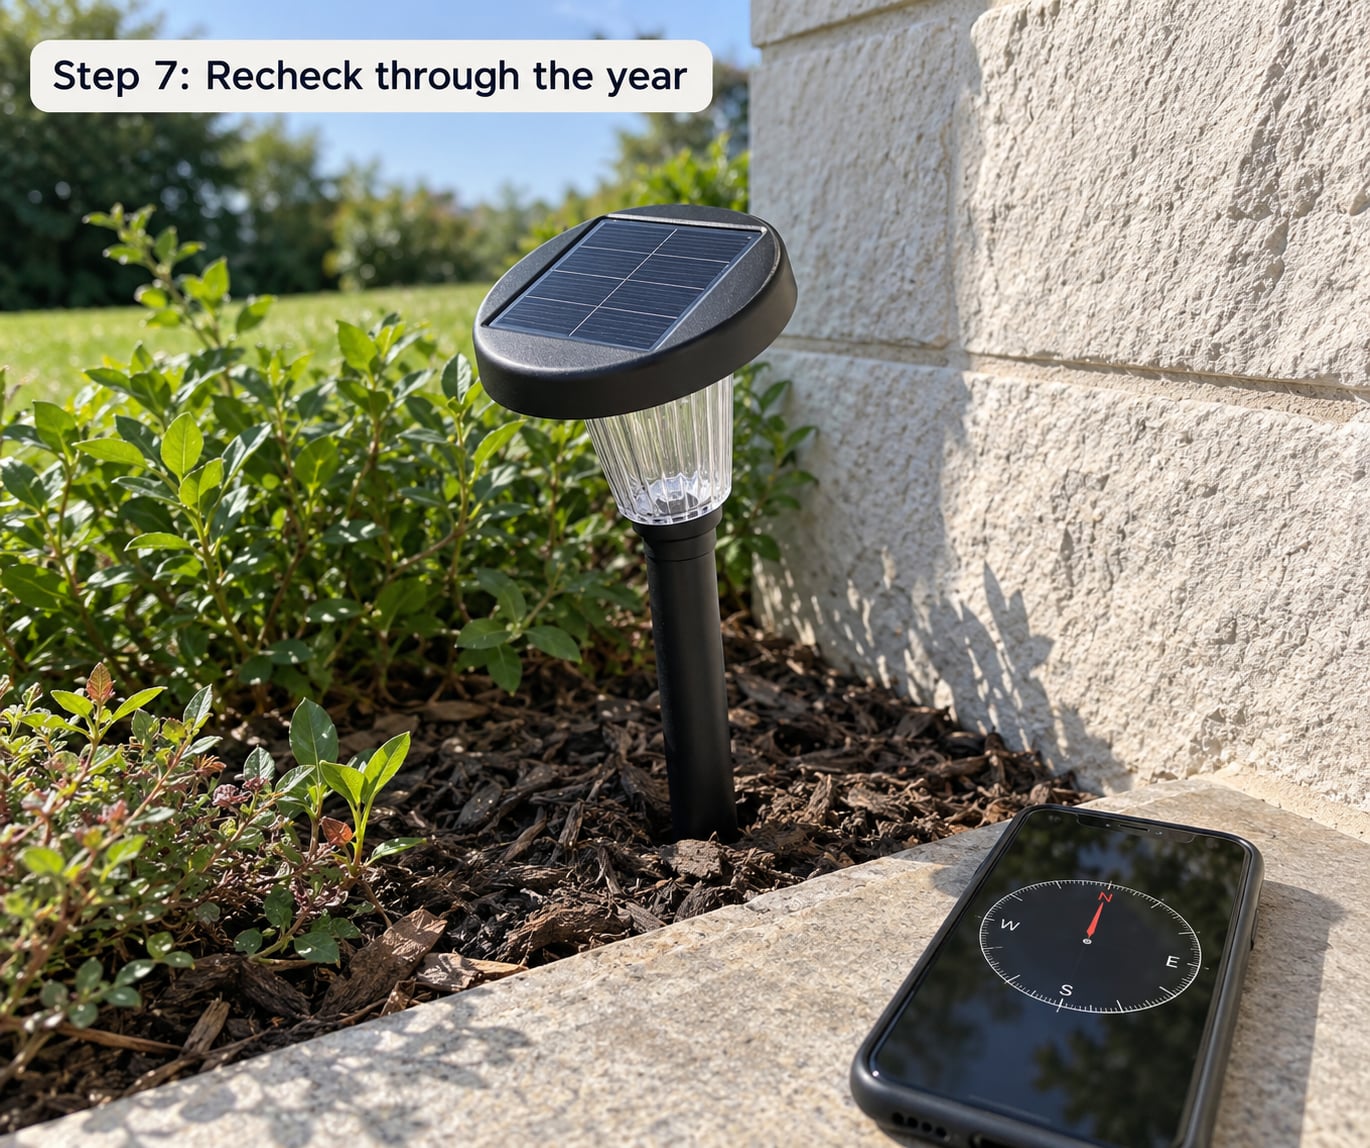
Sun paths move twice a year. Around the spring and autumn equinoxes the sun climbs high enough that the summer tilt still works; by midwinter the same panel is being struck at a shallow angle and needs a steeper set.
Make small corrections rather than large ones. A cardboard wedge under the lower edge is usually enough, and it is far easier than pulling the stake out of firm soil. If the light is performing badly through every season, stop adjusting the angle and work through the manufacturer’s troubleshooting steps instead.
Common Mistakes
Aiming at the brightest patch of visible sky is the most common error. The sun at solar noon may be behind a cloud or behind your own roofline from where you stand, yet it still delivers the most energy.
Trusting a magnetic reading as true south is the second. The error is small in many gardens and obvious in others.
Using an arbitrary fixed tilt such as 45 degrees forever is the third. It is a reasonable compromise, not an optimum, and it costs you summer charging in the north.
Mounting so the panel sits over the motion or dusk sensor disables the light entirely, and it looks like a dead battery.
Allowing tree shade is the fourth. Trees grow, so a spot that was fine in the first season may not be in the third.
Judging the light on a single evening wastes the work. Some lights simply need two or three full days of charging before they hold anything, and most last far less on a short winter night.
How to Fine-Tune the Angle
Match the symptom to the fix rather than guessing. Most complaints fall into one of these five patterns.
| Symptom | Likely cause | Corrective action |
|---|---|---|
| Panel looks dark, light dims after a couple of hours | Panel aimed at the wrong part of the sky, or sitting in partial shade | Re-aim toward the open sky, or move the whole light to a clearer spot |
| Never lights at all | Switch off, pull tab still fitted, or loose battery connector | Set the switch to on, remove the tab, reseat the connector, then charge a full day |
| Bright all summer, gone by mid-evening in winter | Winter sun path is too low for the current tilt | Steepen the tilt by 10 to 15 degrees and clear any fence or eave shadow |
| Flickers or pulses on and off | Foliage moving across the panel, or a loose connection | Trim nearby growth and reseat the panel and battery connections |
| Charges well in some seasons only | Set once at installation and never revisited | Recheck the tilt at the spring and autumn equinox dates |
Tips for Different Locations
In the northern hemisphere, face south; in the southern hemisphere, face north. That single change fixes more lights than any tilt adjustment.
In a shaded garden, relocation beats angling. If you have a light with a separate panel on a lead, run the lead to the sunniest place you can reach and leave the lamp where it looks good.
For pots and containers, push the stake into the compost rather than resting it on the rim, and turn the pot a quarter turn every month or two so the light does not bake against a wall.
Along paths and driveways, the fence line is usually the problem. Sit the light on the sunward side of the fence and steepen the tilt rather than tucking it into the gap.
On post-mounted lights, the panel often has a bracket or two fixing screws that let you set the angle in fixed steps. Use them, and choose the steepest step that still lets the panel see open sky.
Frequently Asked Questions
Should a garden light’s solar panel face south?
Yes, in the northern hemisphere south gives you the strongest and most reliable light of the day. In the southern hemisphere the answer is north. The difference matters most in winter, when the sun stays low and the equator-facing side of the sky receives far more usable light. East and west facing panels still work, but they lose output in both summer and winter. Check with a compass rather than by eye, and aim the panel at the equator rather than at the brightest patch of sky you can see from your door.
What angle is best for a solar garden light?
Roughly 30 to 45 degrees through summer, increasing to 45 to 60 degrees in winter, with your latitude as the starting point. A garden panel gains very little above about 60 degrees because the steeper angle costs more summer output than it returns in winter. Small panels differ from rooftop arrays here: they are cheap, they sit in pockets of shade, and they have no budget for wasted light, so getting them out of full shade matters more than hitting an exact number.
Can I put a solar garden light in a shady yard?
You can, but expect shorter runtimes and dimmer output. Partial shade for part of the day is workable as long as the panel gets six to eight hours of direct sun. Constant shade from a fence, shed or dense planting is not workable, and no angle setting fixes it. The better moves are to relocate the light, to use a model with a separate panel on a lead, or to switch that spot to a mains-fed or rechargeable lamp instead.
Do solar garden light panels need to be tilted?
On many lights, no. The panel is moulded into the housing at a fixed angle and cannot be moved without damaging it, which is true of a lot of cheaper stake lights. If yours is integrated, tilting is not available to you, so your options are to change the angle of the whole stake, move the light somewhere brighter, or fit a shim that lifts the entire housing. Lights with a bracket, a separate panel or adjustable fixing screws are the ones you can actually re-angle.
Why does my solar light charge but turn off early?
Early cut-off usually means the battery is only part full, not that the light is broken. Short winter days, a panel in partial shade, a dusty or leaf-covered surface, or one evening of testing on a new light all produce the same symptom. Give it three full days of direct sun after setting the switch to on and removing any pull tab. If it still fades early, the rechargeable battery is probably spent after a couple of seasons and is the part worth replacing.
Start with the compass, not the wedge. Check which way the panel faces, move the light out of any fence or shrub shadow if you can, set the tilt near the latitude figure for your band, and then leave it alone for three full days of sun before deciding whether anything is wrong.