Knowing how to turn off solar lights is easier than most people expect: a small slider, rocker, or mode button on the housing does the job. The trick is that the photocell, the little light sensor that normally flips the LED on at dusk, will wake the light back up in the dark unless you either move the switch out of its automatic position or block that sensor. Here is the short version before the detail.
- Flip the power switch: most solar garden and path lights have a small ON/OFF switch on the back of the panel, under the top cap, or beside the battery door.
- Cycle the mode button: on lights with a single push button, keep pressing until the indicator shows OFF rather than AUTO, or press and hold for a few seconds.
- Block the light sensor: cover the photocell, dusk sensor, or motion lens with opaque tape so the light never reads darkness.
- Remove the battery: if your light has no switch at all, open the battery compartment and take the cell out.
Read on and you will find each method below, plus what to do when a light refuses to switch off, which is usually a different problem entirely.
Table of Contents
- What You Need
- Step-by-Step
- Use the Built-In Switch
- Block the Light Sensor
- Remove the Battery
- Disconnect the Panel or Internal Wiring
- Common Mistakes
- Troubleshooting Lights That Stay On
- Safety Tips
- Frequently Asked Questions
- Why do my solar lights turn on during the day?
- Can I cover the solar panel to turn off a solar light?
- How do I stop a solar light from sensing motion?
- Do solar lights need a switch to be turned off?
- Can I turn off a solar light and still leave its battery inside?
- What should I do if a solar light will not switch off?
- Conclusion
What You Need
Most solar lights need nothing more than your hands. A few need a cloth, a strip of tape, or a screwdriver, and a handful need the manual.
- The light’s manual or spec sheet if you still have it. It names the switch location for your exact model, and it is the only authority on what is safe to open.
- Access to the switch on the light, or the battery compartment if the light has no switch.
- A clean, dry cloth for wiping the panel and sensor lens while you work.
- A strip of opaque tape or a small removable cap if you plan to block the sensor rather than open the housing.
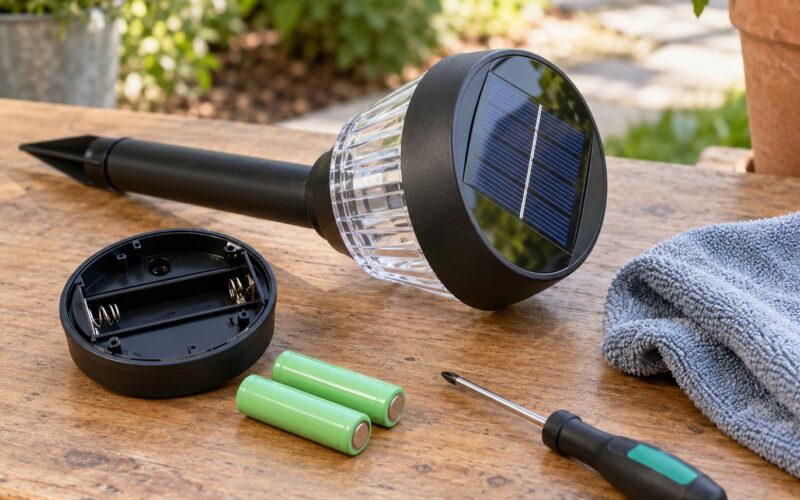
- Basic hand tools only where the manufacturer approves them, usually a small Phillips screwdriver for a battery door or the screws under a top cap.
Which method applies depends entirely on the design of the light. Some cheap fixtures have no switch and no removable battery, and those only give you the sensor-cover option.
Step-by-Step
Use the Built-In Switch
The first thing to do is find the switch, because most lights ship with one set to OFF so the battery survives the trip from the factory.
Switch positions vary by housing. A slider or rocker switch is usually on the back of the solar panel, on the underside of the top cap, or on the base near the battery door. On decorative solar lanterns the switch is often underneath the cap, and on string lights it sits in a small plastic box along the cable.
Slide it to OFF or, on a rocker, press the side marked O. If the light has a mode button instead of a switch, treat the next method as the same step done differently.
How you verify it worked: cover the entire solar panel with your hand or an opaque cloth, or take the light into a dark closet, and wait about ten seconds. A properly switched-off light stays dark in total darkness. If it comes on anyway, jump ahead to the troubleshooting section, because that tells you the switch did not actually change the circuit.
Block the Light Sensor
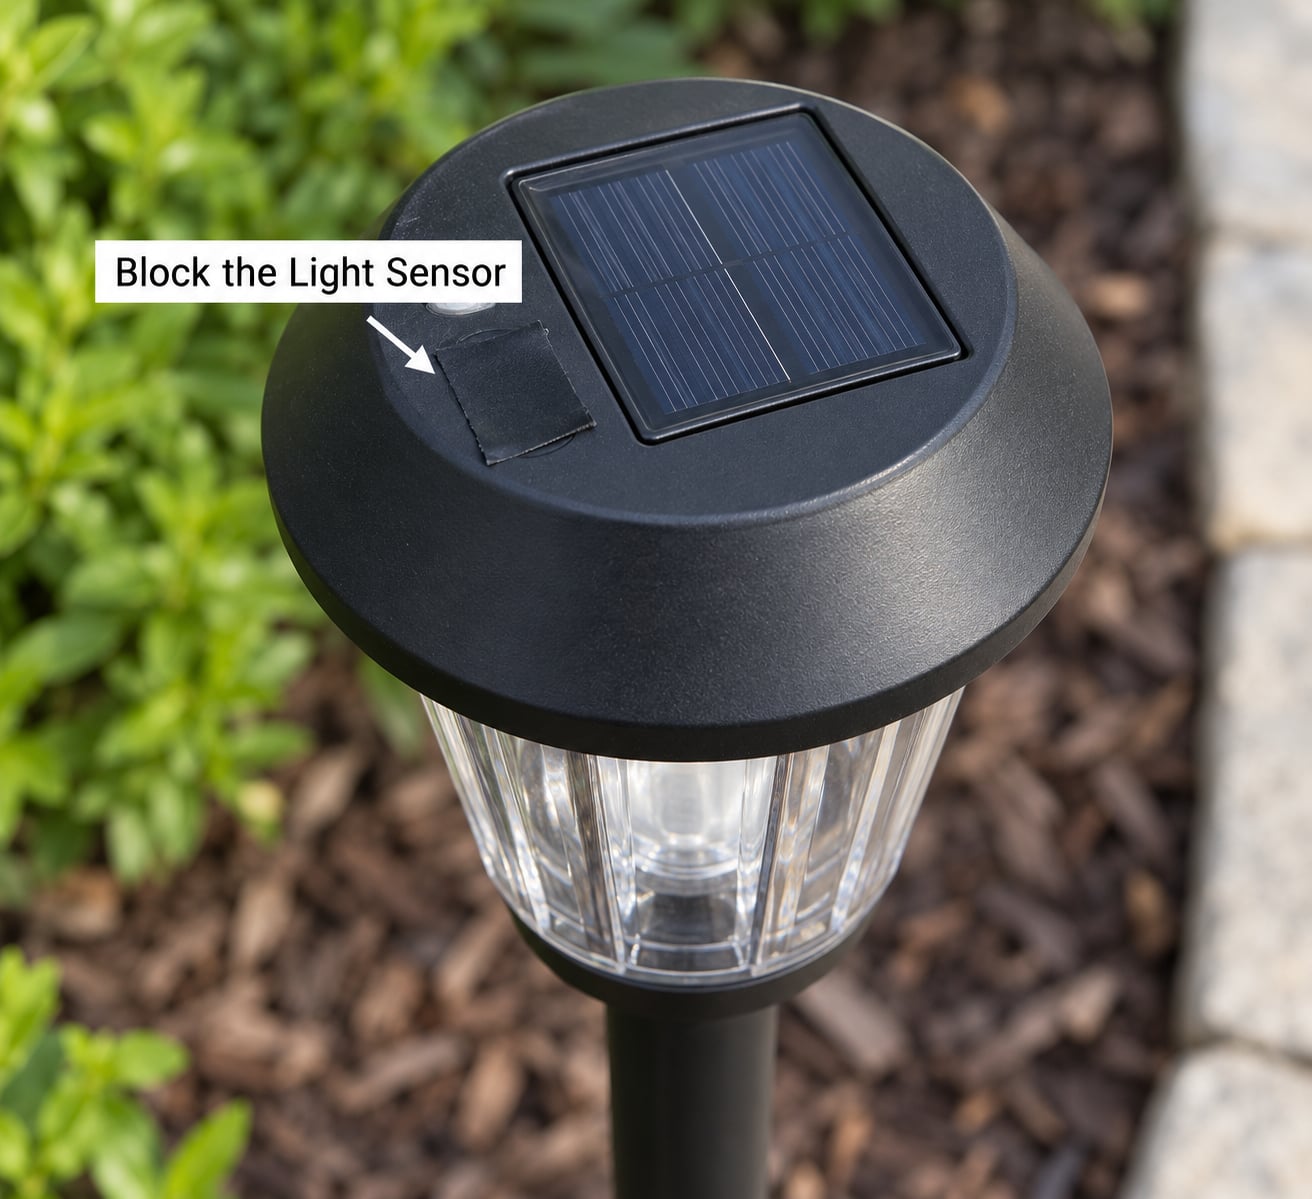
Covering the light sensor works because the photocell, a small photosensitive eye that decides whether it is day or night, only switches the LED on when it reads darkness. Paint that eye out and the light has no reason to turn on.
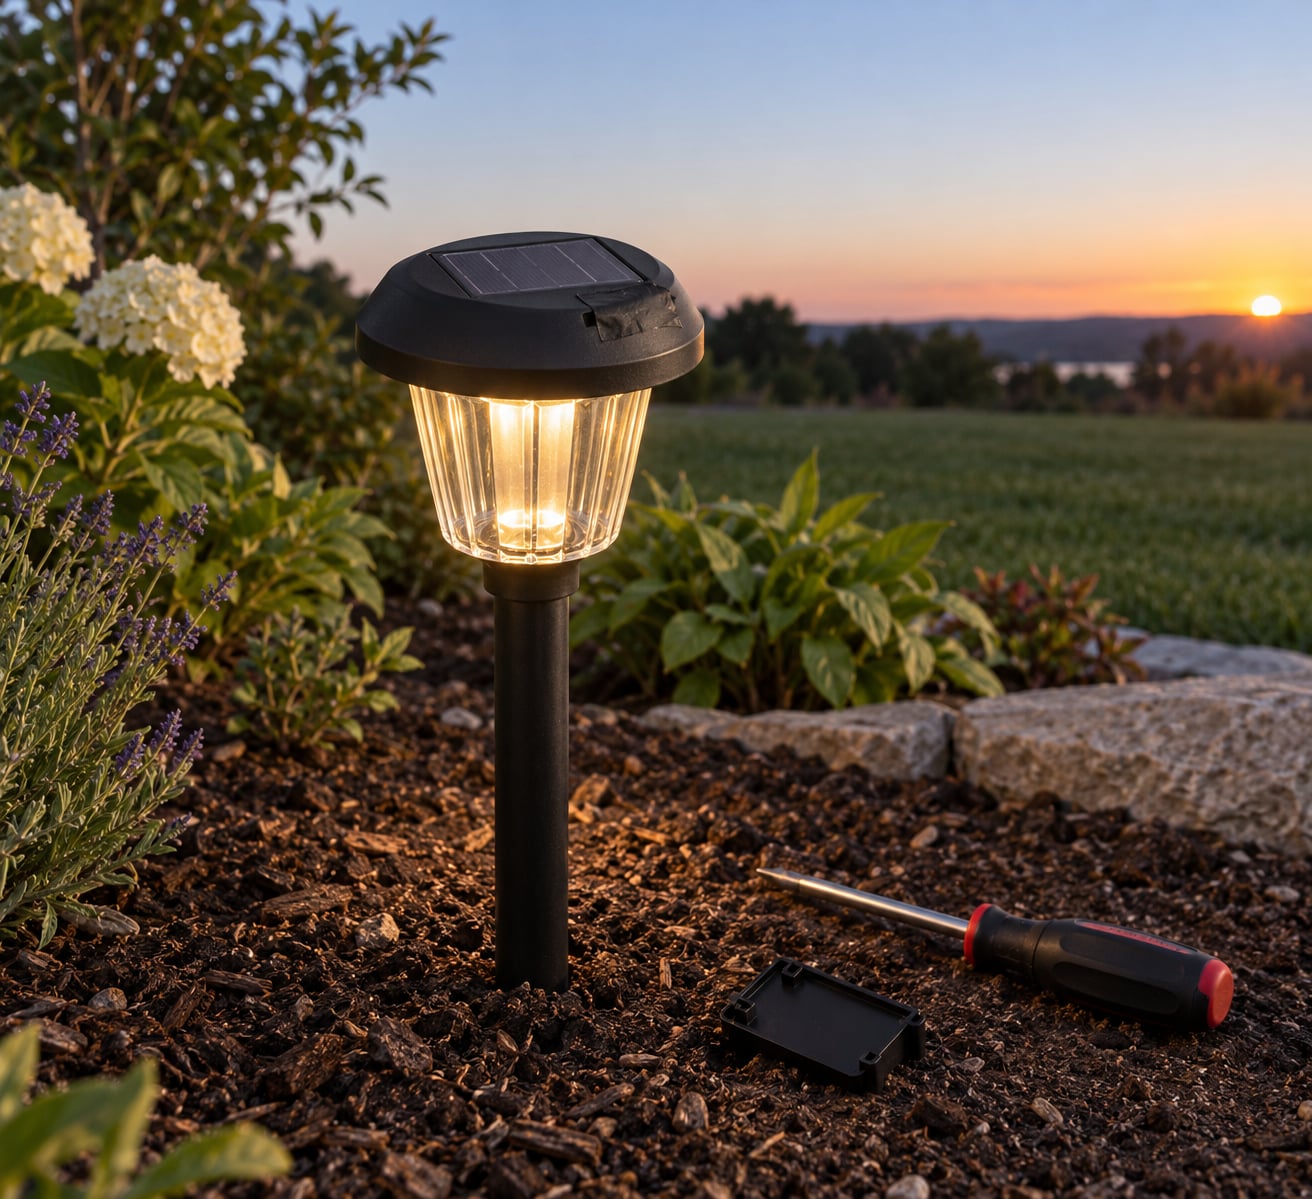
Put a strip of matte black electrical tape over the sensor window and press the edges down so no light leaks around it. Some fixtures put the sensor as a separate lens beside the panel, others share one window with the panel itself, and a few use the panel surface as the sensor with no separate eye at all.
That shared-window case is why covering only part of the panel can fail. If the photocell sits in the same window as the panel, half-covering it leaves the sensor half-visible and the light may keep firing.
Treat this as a temporary way to turn off solar lights rather than a permanent setting. Tape degrades in sun and rain, grime creeps under the edges, and some charge controllers behave oddly when their sensor never sees daylight. It is also the wrong fix if you want the lamp to work again tomorrow without a trip to the garden bed.
Remove the Battery
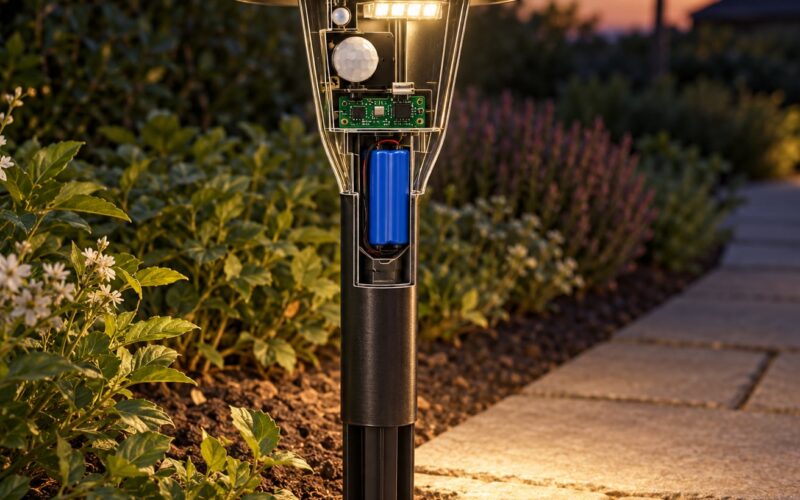
For lights with no switch and a removable cell, pulling the battery is the only clean shutdown. It also stops a stuck-on light from draining itself flat in daylight.
Open the battery compartment on the back or bottom of the light, usually behind a sliding cover held by a small screw. Before you lift the cell out, look at how it sits so you can put it back the right way round, since the contacts are keyed and a reversed battery will not charge.
Keep the terminals from touching anything metal on the way out, and store the cell separately in a cool, dry place for the winter. Do not drop it, and do not leave the compartment open in a damp shed where condensation can sit on the contacts.
When you put it back, the light normally needs a full day of direct sun before it behaves like it used to, so expect one disappointing night.
Disconnect the Panel or Internal Wiring
This one is for lights whose manual describes a removable panel lead or an internal disconnect. For everything else, stop here.
Some string lights and larger fixtures have a plug between the panel and the controller, so you can separate them without touching a screwdriver. Where the manual supports it, unplug the lead, or open the housing and unclip the connector as described.
Do not cut wires, do not probe terminals with anything metal, and do not dismantle a sealed or glued-shut fixture. Those housings are weather sealed, and opening them usually voids whatever protection the light had against rain. If the manual says nothing about a disconnect, battery removal or sensor blocking are your two options.
Common Mistakes
Most reports of a solar light that will not turn off come down to one of four things, and each has a simple fix.
- Covering only part of the panel. If the panel doubles as the photosensor, half-covering it does nothing. Cover the whole window, or use the switch.
- Confusing a failed sensor with a switched-off light. A light with a dead photocell can sit on in broad daylight because it never sees bright enough. Cleaning the lens fixes a dirty one; a dead sensor means the light is not off, it is broken.
- Reinstalling the battery backward. Keyed contacts will not seat properly, and some lights will not charge or run from a reversed cell. Match the plus mark to the marking in the compartment.
- Ignoring automatic modes. On a button light, the default position is usually AUTO or sensor mode, so the light comes on by itself at dusk no matter what you did earlier. Cycle past AUTO until the indicator reads OFF.
Troubleshooting Lights That Stay On
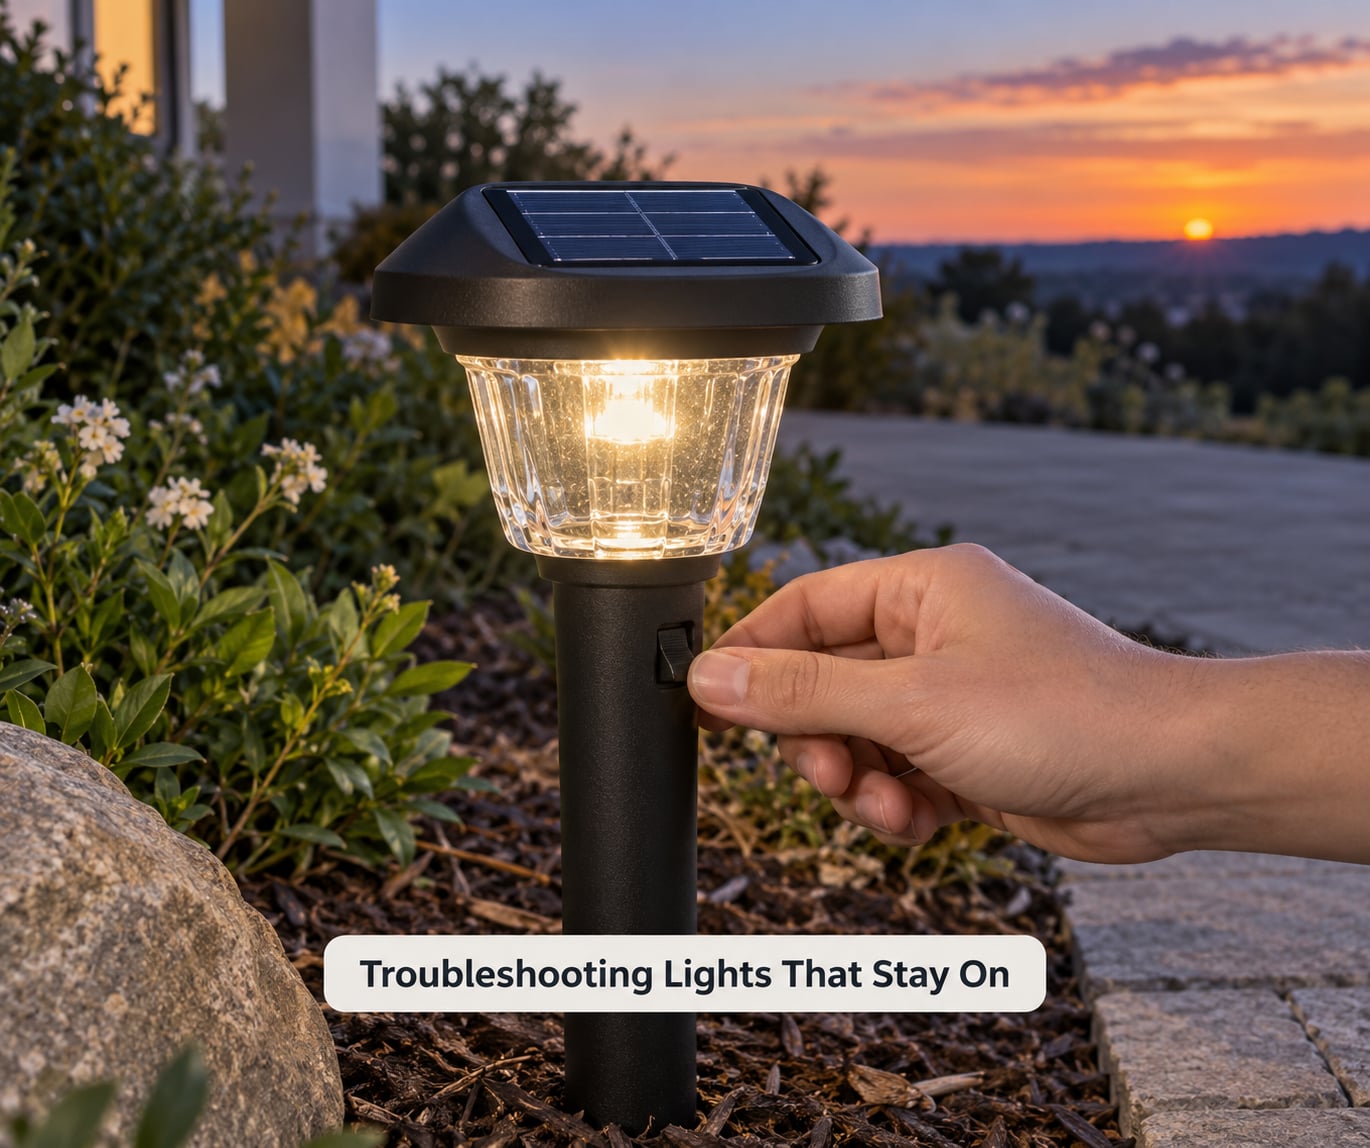
Work through these in order. It takes about five minutes and finds the cause most of the time.
- Check the switch position. Feel for the slider or rocker and confirm it sits on O. Toggle it off, wait a few seconds, then on again. That reset cycle wakes a controller that was latched on.
- Look for an obstruction over the sensor. A leaf, a spiderweb strand, a splash of mud, or a growing plant shading the lens keeps the photocell in permanent dusk. Wipe the lens with a clean cloth.
- Check what is bouncing light onto the sensor. A wall, a window, a security camera light, or a neighbour’s lamp can be enough for the photocell to read day and hold the lamp off, or enough to trigger it and hold it on. Reposition or block that source.
- Confirm it is actually charging. Look for the charge indicator or the panel’s own indicator light where the manual describes it. A light that has sat in shade for days will behave strangely no matter which switch you use.
- Test the battery. A cell that has been flat for weeks may refuse to hold a charge, and a tired controller will behave oddly with it. Swap in a compatible rechargeable cell of the same chemistry and size.
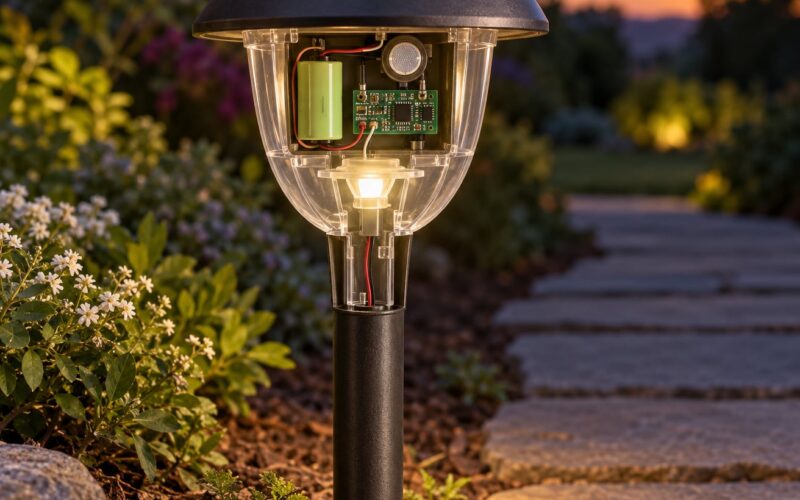
- Look for moisture. Water inside the housing causes phantom triggers and corrosion. If the seal is broken or the housing is cracked, stop and replace the fixture rather than drying it out with heat.
- Check model-specific controls. A sensitivity dial or a remote control on some lights overrides the sensor entirely, and the setting you need lives there instead of on the housing.
Once you have run out of ideas that the manual supports, replacing the fixture is the sensible move. Solar lights are inexpensive relative to the time spent troubleshooting one.
Safety Tips
Solar lighting is low voltage and forgiving, but the battery still deserves care.
- Follow the manufacturer’s guide for anything involving opening the housing. If the manual says sealed, treat it as sealed.
- Never short the terminals. A coin, a screwdriver tip, or a length of wire across the contacts can heat up fast enough to hurt.
- Use only compatible replacement cells. Match the chemistry and the physical size. Mixing battery types in a light designed for one of them causes swelling and venting.
- Stop if the housing is swollen, wet inside, cracked, or fused shut. A swollen battery is a replacement signal, not a repair signal, and a cracked housing means water gets in and shorts the board.
- Keep long ladders and metal tools away from overhead power lines when you are working at height on a garden light.
Frequently Asked Questions
Why do my solar lights turn on during the day?
A light that stays lit in daylight is usually reading the wrong conditions, not sitting in a wrong switch position. Common causes are a dirty or shaded photocell, another light source bouncing off a wall or window, a dead sensor, or a controller using the solar panel itself to detect darkness. Clean the lens with a soft cloth, remove any shade, and reset the switch off and on. If it still burns in full sun with a clean sensor, the photocell or board has failed.
Can I cover the solar panel to turn off a solar light?
Covering the panel only works if the sensor is what you cover. On lights with a separate photocell window, taping that window out stops the light from ever reading dark, which is a decent short-term trick. On budget fixtures the panel doubles as the photosensor, so partial coverage changes nothing and full coverage also stops the battery charging. Use the switch or remove the battery when you want a real shutdown.
How do I stop a solar light from sensing motion?
Most motion lights have a sensitivity dial, a light-level setting, or a mode button that disables the PIR sensor and leaves the lamp on continuously. If your model has no such control, opaque tape over the motion lens stops it registering movement, though it will still switch on at dusk. Removing the battery is the only approach that stops it completely and costs you nothing but a screwdriver.
Do solar lights need a switch to be turned off?
No. Plenty of solar lights ship with no switch at all, especially inexpensive string lights and basic stake lights. For those, your realistic options are blocking the light sensor with opaque tape, or removing the rechargeable battery if the compartment opens. Check the back, the underside of the top cap, and the base first, since an undocumented switch is common and often left in the OFF position from the factory.
Can I turn off a solar light and still leave its battery inside?
Yes, as long as you use the switch or the mode button. The switch cuts power to the LED output only, so the panel keeps charging the battery in the background and the light is ready the moment you flip it back on. That is the usual reason people leave the switch off through the day, to build up a deeper charge before a cloudy stretch or a storm. Taking the battery out stops charging, so store it separately.
What should I do if a solar light will not switch off?
Start by confirming which state you are actually in. Move the slider to O or cycle the button past AUTO until the indicator reads OFF, then cover the panel and wait ten seconds to test. If it lights up in full darkness anyway, check for a shaded or dirty sensor, another light source nearby, and moisture inside the housing. Reset the switch off then on. If none of that works, the photocell or controller has failed and the fixture is due for replacement.
Conclusion
Start with the switch. Flip it to OFF, or cycle the mode button until the indicator reads OFF instead of AUTO, and confirm it by covering the panel and checking the lamp stays dark in total darkness.
If the light has no switch, block the light sensor with opaque tape for a short-term fix, or open the battery compartment and take the cell out for a genuine shutdown. Anything past that, including panel wiring, only applies where the manual says it does.
And if the lamp keeps coming on no matter what you do, that is a fault rather than a switch position. Clean the sensor, clear the shade, reset the switch, and if it still misbehaves, replace it. The safest long-term way to turn off solar lights really does come down to what your particular model’s manual says, so keep it somewhere you will find it in 2026 when the light misbehaves.