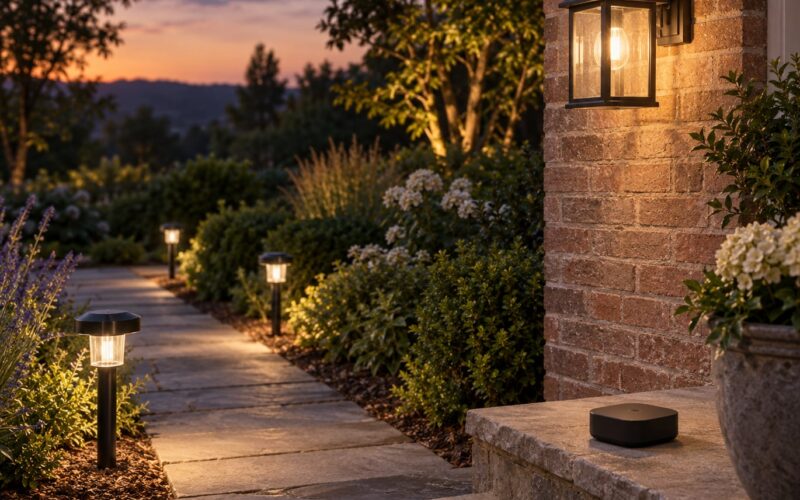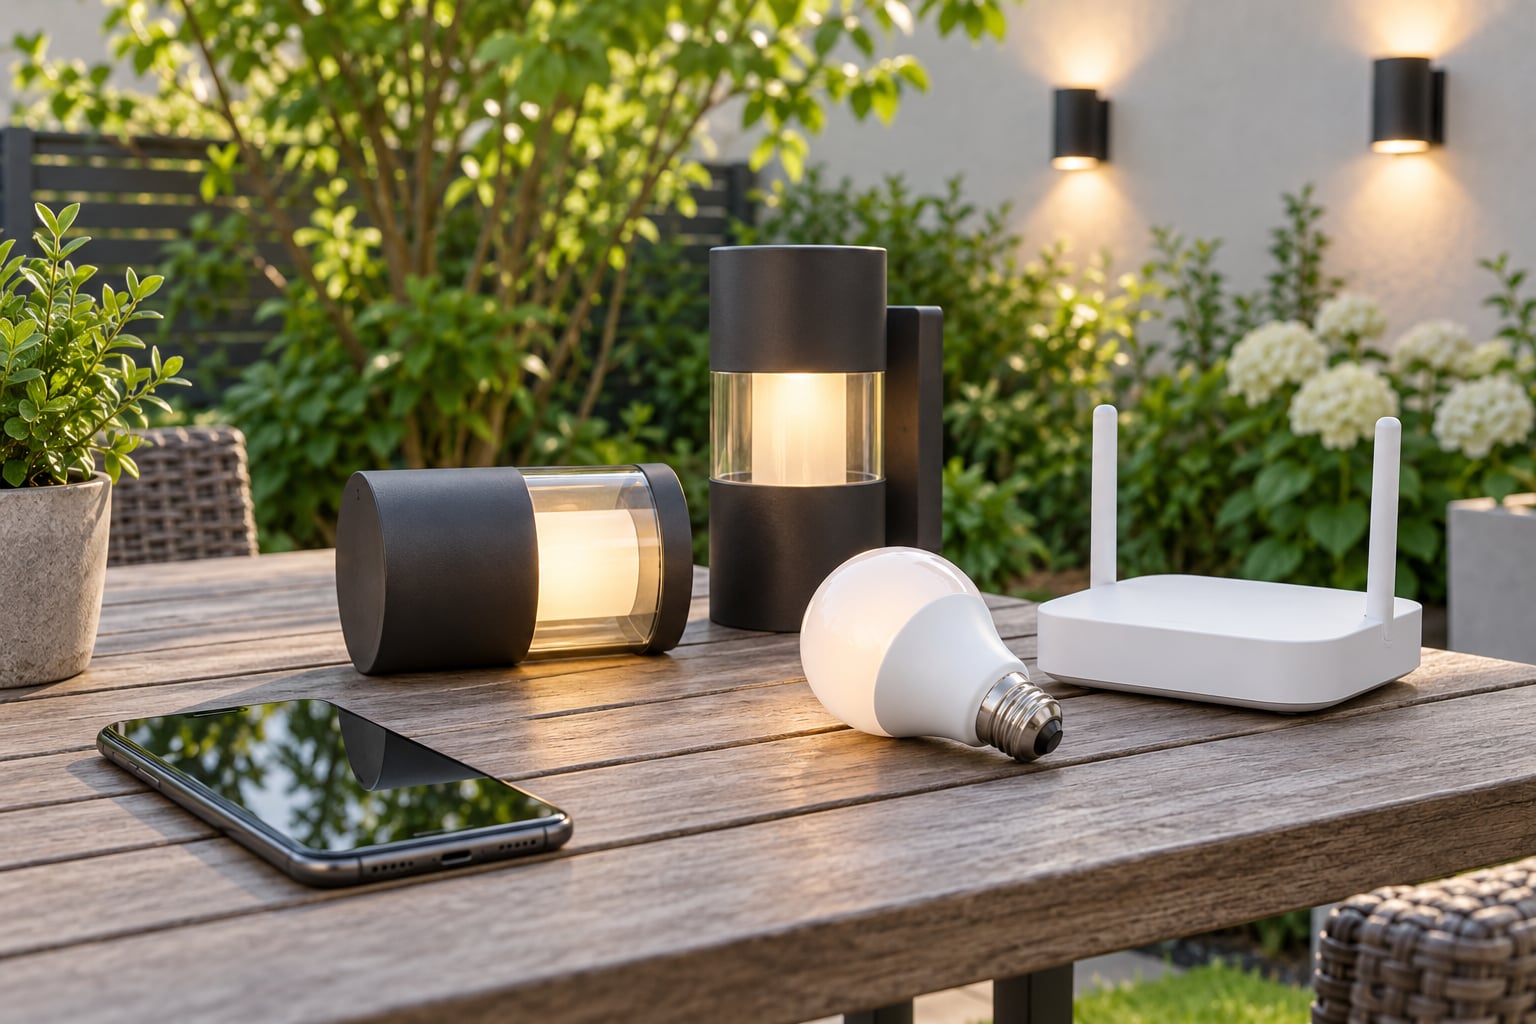
You control outdoor lights from your phone by putting smart bulbs, smart switches, or a lighting controller on your home network, then adding them to the manufacturer’s app. Once they are in the app, you tap to switch them on, dim them, group them by area, and set schedules. Most people finish in 30 to 60 minutes.
The easy version is a handful of smart bulbs or an outdoor-rated smart plug. The harder version is a hub, a new low-voltage lighting run, or hardwired fixtures, and that is where people get stuck for a weekend.
This guide covers how to control outdoor lights with a phone from unboxing to the first evening scene, plus the connection problems that cause most of the frustration afterward.
Table of Contents
- What You Need
- Step-by-Step Setup: How to Control Outdoor Lights with a Phone
- Step 1: Choose Compatible Outdoor Lights
- Step 2: Install the Manufacturer’s App and Create an Account
- Step 3: Connect the Lights to Wi-Fi
- Step 4: Name and Group the Lights
- Step 5: Confirm You Can Control Outdoor Lights with a Phone
- Step 6: Set Schedules, Timers, and Automations
- Step 7: Secure the Setup for Outdoor Use
- Common Mistakes and the Fix for Each
- Frequently Asked Questions
- Can I control my existing outdoor lights with a phone?
- Do smart outdoor lights work without Wi-Fi?
- Can I control outdoor lights from multiple phones?
- Can I control solar garden lights with a phone?
- Why are my outdoor smart lights offline?
- Is it safe to use smart bulbs outside?
- Start With One Light, Not Six
What You Need
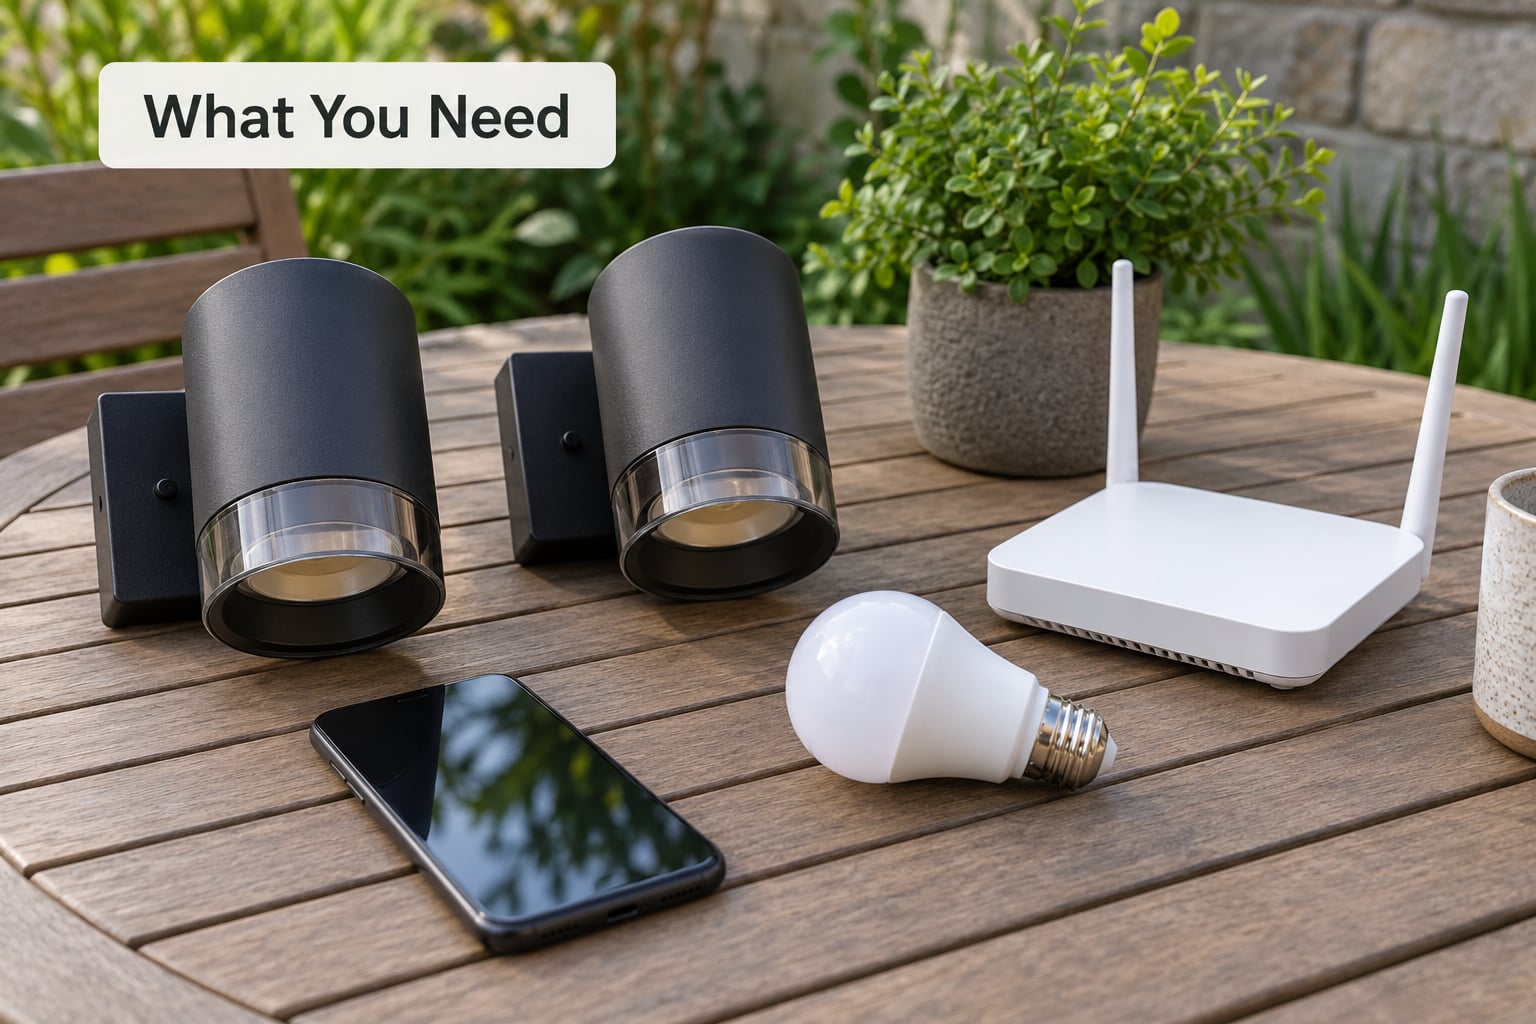
There are four realistic ways to get phone control outside, and the hardware you pick in this first ten minutes decides how much trouble the rest of the setup causes.
- Smart bulbs. Screw-in bulbs that replace your existing ones. Cheapest to install, but bulbs rated for outdoor use are a narrower category than indoor bulbs, and the wall switch has to stay on.
- Smart switches. A switch that replaces the ordinary wall switch inside, controlling the outdoor fixtures wired to it. Good when you already have hardwired porch or garden lights.
- Smart plugs and smart bulbs in sockets. Outdoor-rated plugs or sockets give you remote control over string lights and landscape lamps without touching wiring.
- Integrated controllers. A low-voltage lighting controller with an app, often with zones, used for larger garden and pathway lighting.
Your phone needs a recent version of iOS or Android and the exact app the manufacturer lists, since some lights are added through a separate hub app and some through the platform’s own Home app. Most apps scan a QR code on the bulb or bridge, so the phone’s camera has to work.
Your network matters more than anything else on this list. Almost every smart bulb connects on the 2.4 GHz band, so a router that broadcasts only on 5 GHz will never see it. You also need the network name and password ready, because most apps ask for them during setup. If your router splits the two bands onto separate names, choose the 2.4 GHz one and keep the phone on it while you pair.
Optional pieces: a hub or bridge for systems on Zigbee, Z-Wave, Thread, or Matter, and a voice assistant if you want hands-free control. A hub keeps working when your internet drops, which cloud-only bulbs do not.
For anything hardwired, new circuits, or fixtures inside a soffit or above a deck, use a licensed electrician and outdoor-rated equipment with a suitable IP rating. IP65 means dust-tight and protected against water jets; IP67 also handles brief submersion.
Step-by-Step Setup: How to Control Outdoor Lights with a Phone
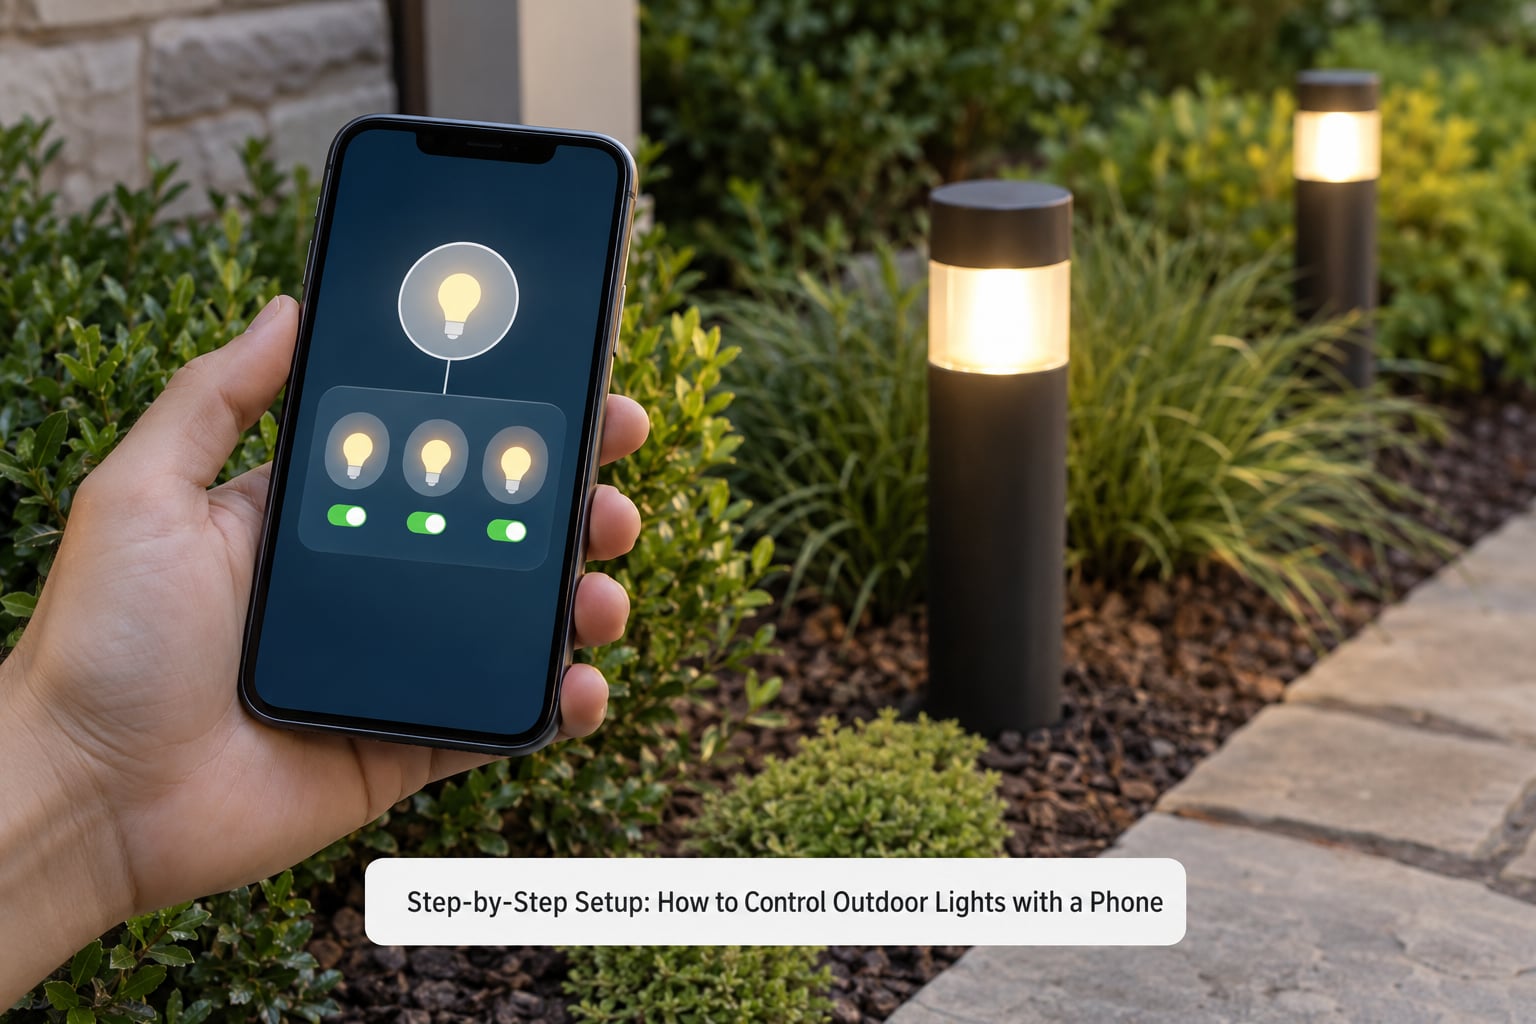
Work through these in order. Each step assumes the previous one worked, and each ends with a quick test so you know the setup is solid before you move on.
Step 1: Choose Compatible Outdoor Lights
Start by confirming what your lights can become. If the fixture has a standard socket, a bulb is the simplest swap. If it is wired to a switch, a smart switch or a controller handles the whole run.
Check three things before buying: the app that controls it, whether that app works on your phone, and the fixture’s weather rating. A bulb sold for indoor use will fail on a covered porch sooner or later, and a fixture with a rubber gasket that has gone hard and cracked is worth replacing while you are up there.
You can tell it worked if the packaging or product page lists an app name, a hub requirement, and an IP rating. If the page says “works with Alexa” or “Works with Matter” and nothing else, that is a single ecosystem lock rather than a general smart light.
Step 2: Install the Manufacturer’s App and Create an Account
Download the app from the App Store or Google Play, create the account with a unique password, and turn on the permission prompts for Bluetooth, camera, and local network access. Those prompts look alarming and are needed for pairing.
Sign in before you touch any hardware. Pairing flows tend to time out while an app is still loading its dashboard, and you end up restarting the light instead of the app.
It worked when your account shows an empty home and the app asks you to add a device. Some apps also prompt for your location, which matters later for sunrise and sunset automations.
Step 3: Connect the Lights to Wi-Fi
This is where most setups fail, and the cause is almost always the network band or the password.
- Put the phone on the 2.4 GHz Wi-Fi network. Some bulbs will only join a network on that band, and your phone has to be on the same one during pairing.
- Fit the bulb or switch and power it on. Leaving the bulb unpowered is the number one cause of a “device not found” message.
- Put the light in pairing mode. Most bulbs need three or four fast on-off cycles from the wall switch in a few seconds; switches and bridges usually hold a small reset button until a light blinks.
- In the app, choose Add Device and scan the QR code on the bulb, bridge, or box.
- Type the network name and password exactly as they appear in your router settings, case included.
If a hub is part of the system, power the hub first and wait for its own light to settle, then add the bulbs to the hub in the app rather than to the network. Hub bulbs pair with the bridge, not with your router.
You know it worked when the app plays a confirmation sound and the new light appears in your device list with an on-off toggle.
Step 4: Name and Group the Lights
Rename each light for the place it is, not for the model. “Patio,” “Driveway,” “Path Left,” and “Front Door” are names you will actually use with voice commands later.
Then group them. One group per area works better than one group per room, because you usually want the whole patio on or off rather than two sconces alone. Landscape runs with zones can have four or more zones on one controller, which is a different kind of grouping: the app shows each zone separately and you can run all of them at once.
It worked when you tap a group and every light in it changes together.
Step 5: Confirm You Can Control Outdoor Lights with a Phone
Now test properly, in stages. Tap one light on from the app while you stand next to it. Then step back, walk to the far side of the garden, and tap again to prove the signal reaches.
Adjust brightness and colour where the fixture supports it. Dimming that fades smoothly across the range tells you the fixture is a dimmable type rather than an on-off bulb in a smart socket.
The last test is the useful one: turn your phone’s Wi-Fi off and try the light. If the hub is local, the light still responds. If the app reports the device as unreachable, the system is talking to a cloud server and your control stops when your internet does.
Step 6: Set Schedules, Timers, and Automations
Start with one schedule: lights on at sunset and off at 11 pm. Most apps calculate sunset from your location rather than a fixed clock time, so the schedule shifts with the season instead of drifting.
Add a few situations after that. A timer for the porch light, a sunset trigger for the path lights, a motion sensor routine for the driveway, and a vacation mode that leaves a couple of lights on a random evening pattern while you are away.
Keep the controls shallow. A schedule with five trigger conditions is hard to debug at 8 pm, and guests will not be able to override it. Two or three routines that anyone can find beats one clever rule nobody touches.
It worked when you leave home without touching anything and the lights come on after dark.
Step 7: Secure the Setup for Outdoor Use
Work to the manufacturer’s instructions, and treat anything hardwired as electrician territory rather than a weekend project.
- Fit outdoor-rated fixtures and bulbs with the right IP rating for the spot. Covered porches are a different job from open garden fixtures.
- Keep every connection dry and sealed. Drip loops on low-voltage cable and properly sealed connectors stop most water problems.
- Do not run extension cords or power strips outside to feed lights. Use equipment rated for outdoor use.
- Give the smart devices unique passwords and keep firmware updates on. A smart bulb on your main network is a small connected computer, and shared passwords are how people get locked out.
Common Mistakes and the Fix for Each
- The light is offline or “device not found.” Power-cycle it: three or four fast off-on cycles from the switch. If it keeps dropping off, it is a Wi-Fi signal problem rather than a bulb problem.
- Setup fails and no device appears. Check the band and the password first. Your phone must be on 2.4 GHz during pairing, and home Wi-Fi often splits the bands onto different names.
- The app says connected but the light will not turn on. Turn off the wall switch and leave it off for a few seconds, then use the app. Many bulbs stay powered by the switch and lose their state after a power cut.
- The light loses its memory when someone flips the wall switch. That is the switch cutting power to a bulb that expects to stay powered. Keep the switch on and control everything from the app, or install a smart switch that handles it.
- Nothing responds from the far end of the garden. The light is fine at the house and not at the fence post. Move the router, add a mesh node outdoors, or move the light closer.
- Schedules fire at the wrong time. Sunset automations depend on location access and network time. Set the location manually if the app is not reading it, and check the time zone in your phone settings.
- Two apps control the same lights and disagree. One light imported into two platforms drifts out of sync. Pick the app or voice assistant you will actually use and remove the duplicate.
One last habit worth keeping: a plain wall switch or a smart plug near the door as a fallback. When an app update breaks something at 9 pm, you do not want to be walking to a breaker in the dark.
Frequently Asked Questions
Can I control my existing outdoor lights with a phone?
Yes, in most cases. If your fixtures have standard sockets, swap in smart bulbs or add outdoor-rated smart plugs or sockets. If they are wired to a wall switch, replace that switch with a smart one or move the run to a controller with an app. Hardwired work on new circuits belongs with a licensed electrician.
Do smart outdoor lights work without Wi-Fi?
Only some of them. Lights that connect through a Zigbee, Z-Wave, or Matter hub keep working when your internet drops, because the hub talks to them locally and your phone talks to the hub. Bulbs that connect straight to your router over Wi-Fi stop responding during an outage until the connection returns.
Can I control outdoor lights from multiple phones?
Usually, yes. Most apps let you invite family members or guests from a settings or sharing screen and set what they can do, such as viewing only. Everyone uses the same account or a linked household, so there is one set of schedules instead of competing ones. Shared access is useful when someone else looks after the house while you are away.
Can I control solar garden lights with a phone?
Only the models built for it. Most solar path lights run on a dusk-to-dawn sensor with no radio at all, so there is nothing to connect. Smart solar lights that do have app control let you check battery level, pick colours, and switch the panel’s sensor off so the light stays on when you want it.
Why are my outdoor smart lights offline?
Range and power are the usual reasons. A bulb at the end of a long garden or behind a brick wall may simply be out of reach of your 2.4 GHz signal, and a bulb whose wall switch is off looks offline because it has no power. Power-cycling from the switch and moving the router or adding a mesh node fixes most cases.
Is it safe to use smart bulbs outside?
It is safe when you match the equipment to the location. Use bulbs and fixtures with an outdoor rating such as IP65 for covered areas, keep connections dry and sealed, and never use indoor extension cords or power strips outdoors. Follow the manufacturer’s instructions, and leave new circuits or hardwired fixtures to a licensed electrician.
Start With One Light, Not Six
Pick a single porch or path light, get it pairing on 2.4 GHz, and put it on a sunset schedule. Once that one behaves for a week, adding the rest is copying the same four steps, and you will already know what your signal reaches outside.