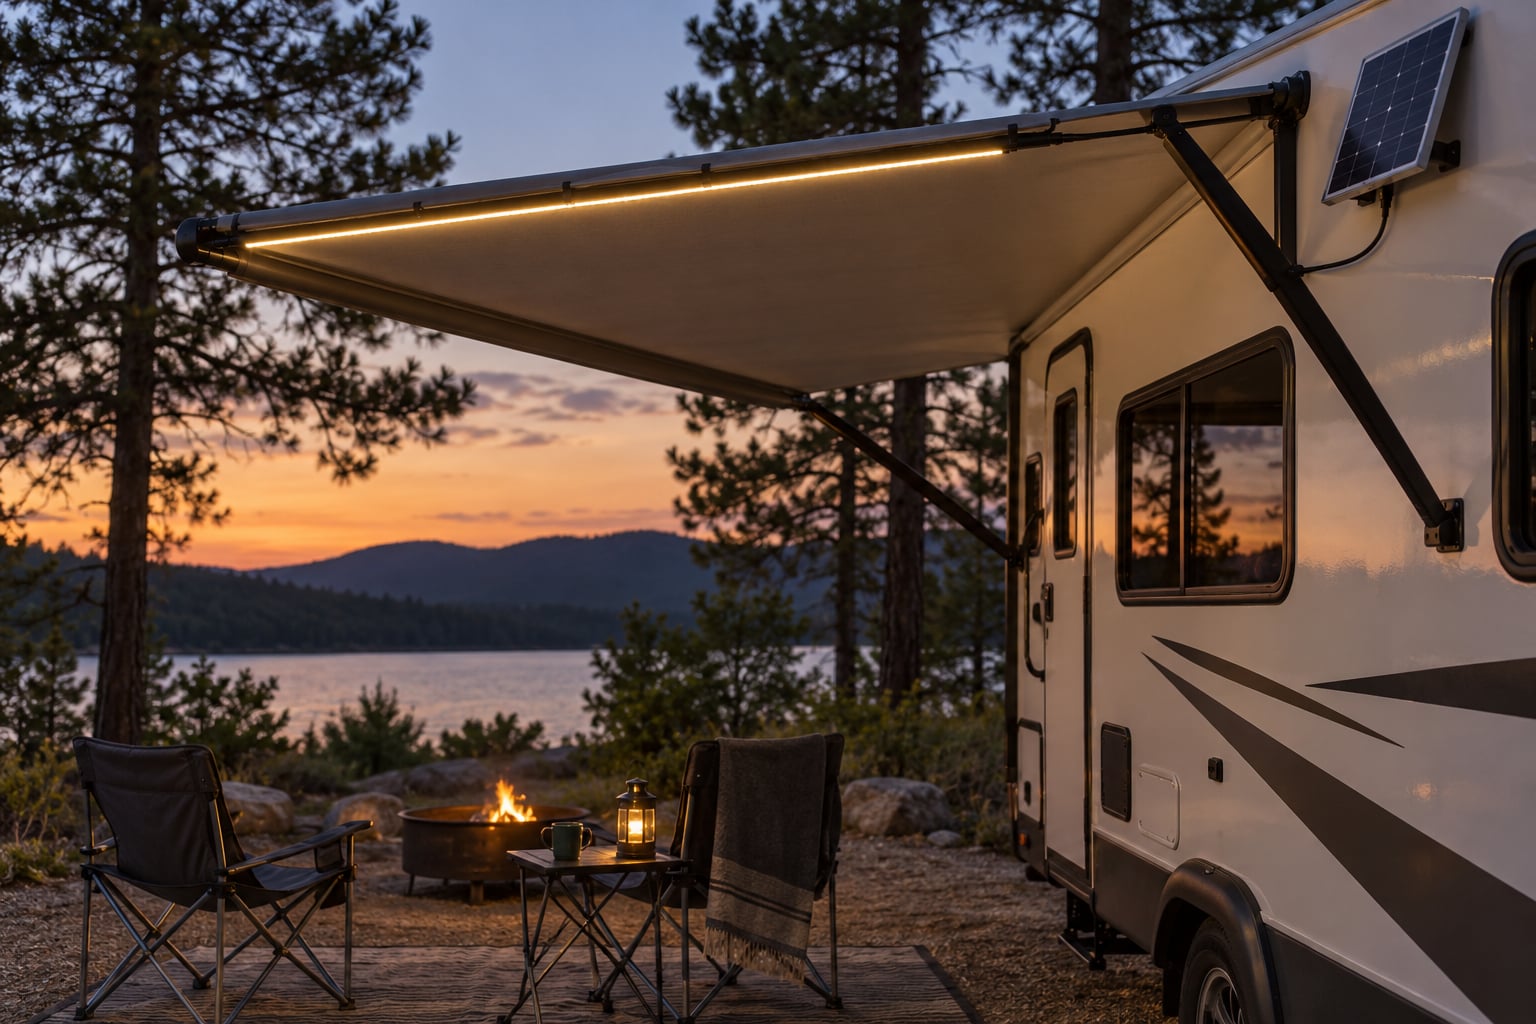
To light an RV awning with solar, put the panel somewhere the awning fabric cannot shade, hang the light on the rail or a clip, and let it charge all day. At dusk a photocell switches it on and you have light under the awning with no shore power, no generator and no house battery drain.
A first setup takes about an hour. The part that trips people up is not the wiring, it is the sun: a panel mounted under the canopy sits in its own shadow and never charges, so the lights go dark at exactly the hour you needed them.
Once you get that right, the awning stops being a dark cave after sunset. You can cook, you can find your shoes, and the entry steps stop being the thing somebody trips over in the morning.
Table of Contents
- What You Need
- Step-by-Step
- Choose the Right Lighting Method
- Plan the Mounting Location
- Connect and Secure the Lighting
- Test the Setup at Dusk
- Common Mistakes
- Maintain the System
- Frequently Asked Questions
- Where do I mount the solar panel so the awning doesn’t shade it?
- Do solar string lights for an RV awning work on cloudy days?
- How do I attach string lights to a camper awning without drilling?
- How long do solar awning lights last at night?
- Can solar awning lights charge from my RV’s 12V battery bank?
- What size solar panel do I need for awning lights?
- Conclusion
What You Need
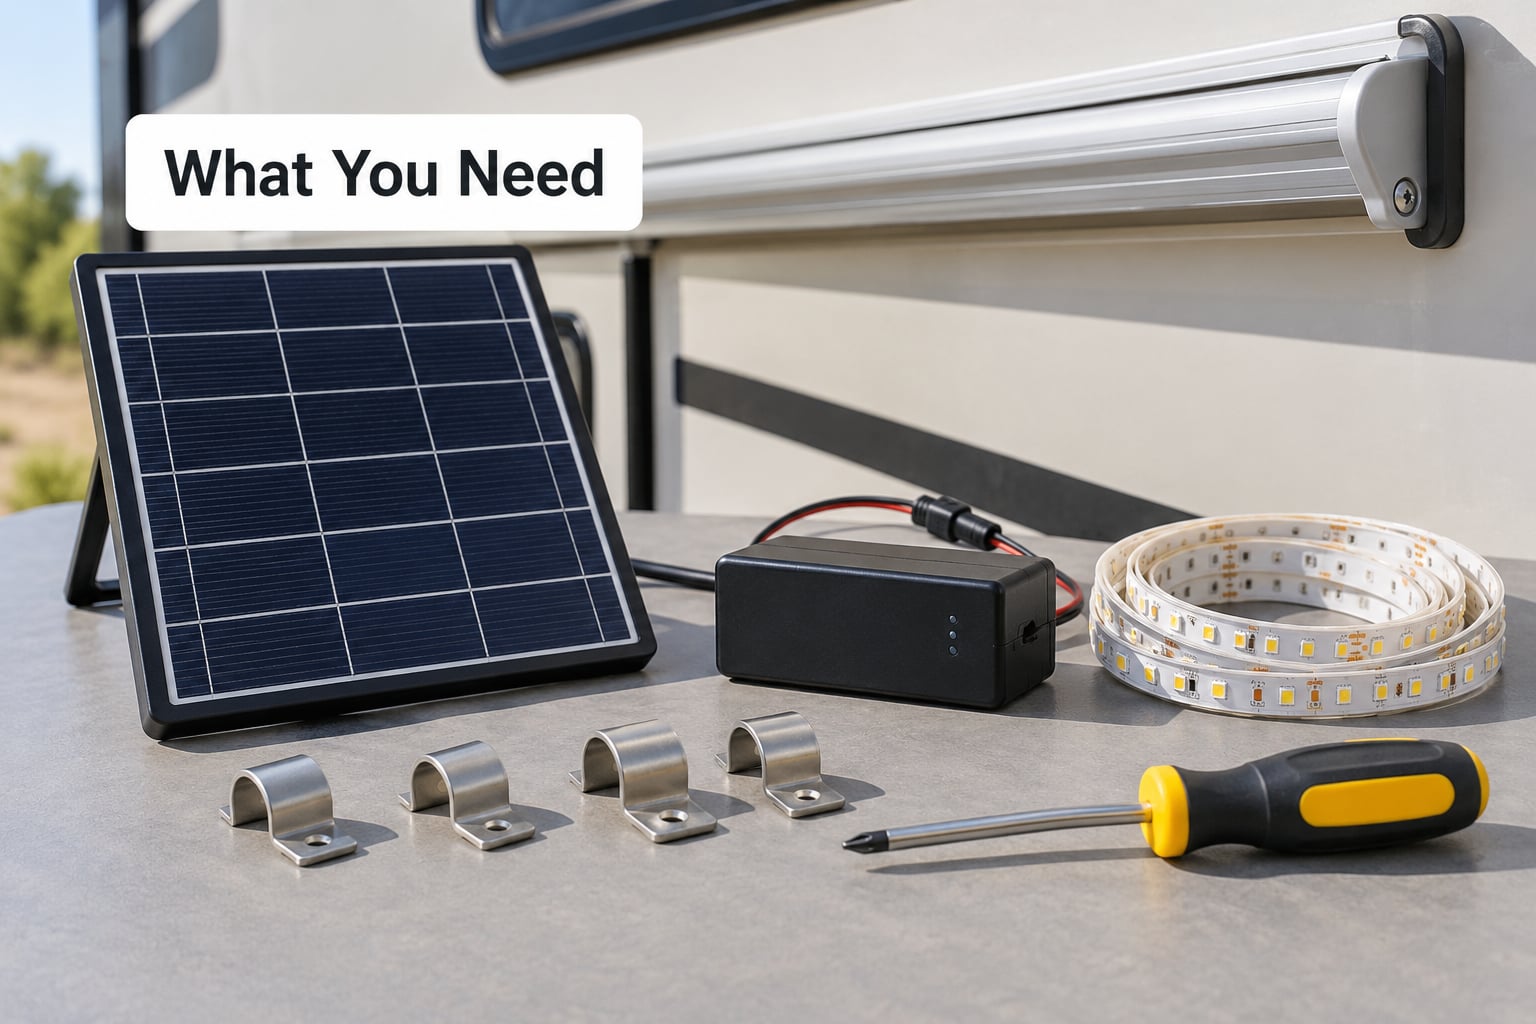
Every version of this job needs the same four pieces: a light, a power source, something to hold the light up, and a way to connect them. Most of the choosing happens in the first two.
- The light. A solar string or rope light for ambience and even coverage, a solar spotlight if you need one bright pool for cooking, a solar lantern if you want something you can carry to the steps, or a fixed LED strip for a full-length install.
- The power source. Either a panel with the battery built in, a separate panel feeding a charge controller and a battery, or a portable power station you charge during the day.
- Mounting hardware. Clips, S-hooks, magnet mounts, or zip ties. Awning utility slots need nothing at all.
- Cable and connections. Outdoor-rated cable, an inline fuse, and whatever connectors your charge controller uses.
- Tools. A screwdriver, a wrench, and a clean cloth for the panel surface.
Two specs matter more than the rest. Check the water rating, which is usually printed as IP65 or IP66, because an awning sheds rain in gusts rather than letting it fall straight off. Then check voltage: anything you wire into your RV needs to match 12V DC and have its own charge controller so the battery is not overcharged.
A built-in rechargeable battery pack is the easiest option and by far the most common. A separate panel and controller is the more capable one, and it is the only version that scales past a single string.
Step-by-Step
Choose the Right Lighting Method
There are five ways to do this, and the right one depends on how big the awning is and whether you cook under it. Here is how they compare.
| Method | Brightness and runtime | Install effort | Best for |
|---|---|---|---|
| Clip-on solar lights | Low; a few hours of glow | Almost none, clip them on as you arrive | Ambience, small rigs, quick set-up |
| Solar string with an awning LED strip | Medium, spreads along the whole edge | Strip into the utility slot, panel on the sidewall | Everyday use on most travel trailers |
| Solar spotlight aimed at the awning | High, one bright pool | Clamp to the awning bar and aim it down | Cooking after dark |
| Solar lantern on the rail | Medium, and portable | Hang it, then move it as needed | One light for several jobs |
| Fixed solar system on a charge controller | Highest, runs most of the night | Wire to the 12V bank, route a cable | Frequent campers and larger rigs |
If you are still working out how to light an RV awning with solar, start with a string or a strip in the utility slot. It gives even light across the whole awning and it is the one method that survives being rolled up and taken home at the end of the night.
Quantity beats brightness, too. Campers running off-grid typically use three or four small solar lights together for cooking and place four around the corners of the awning for ambience, rather than chasing a single bright fixture.
Plan the Mounting Location
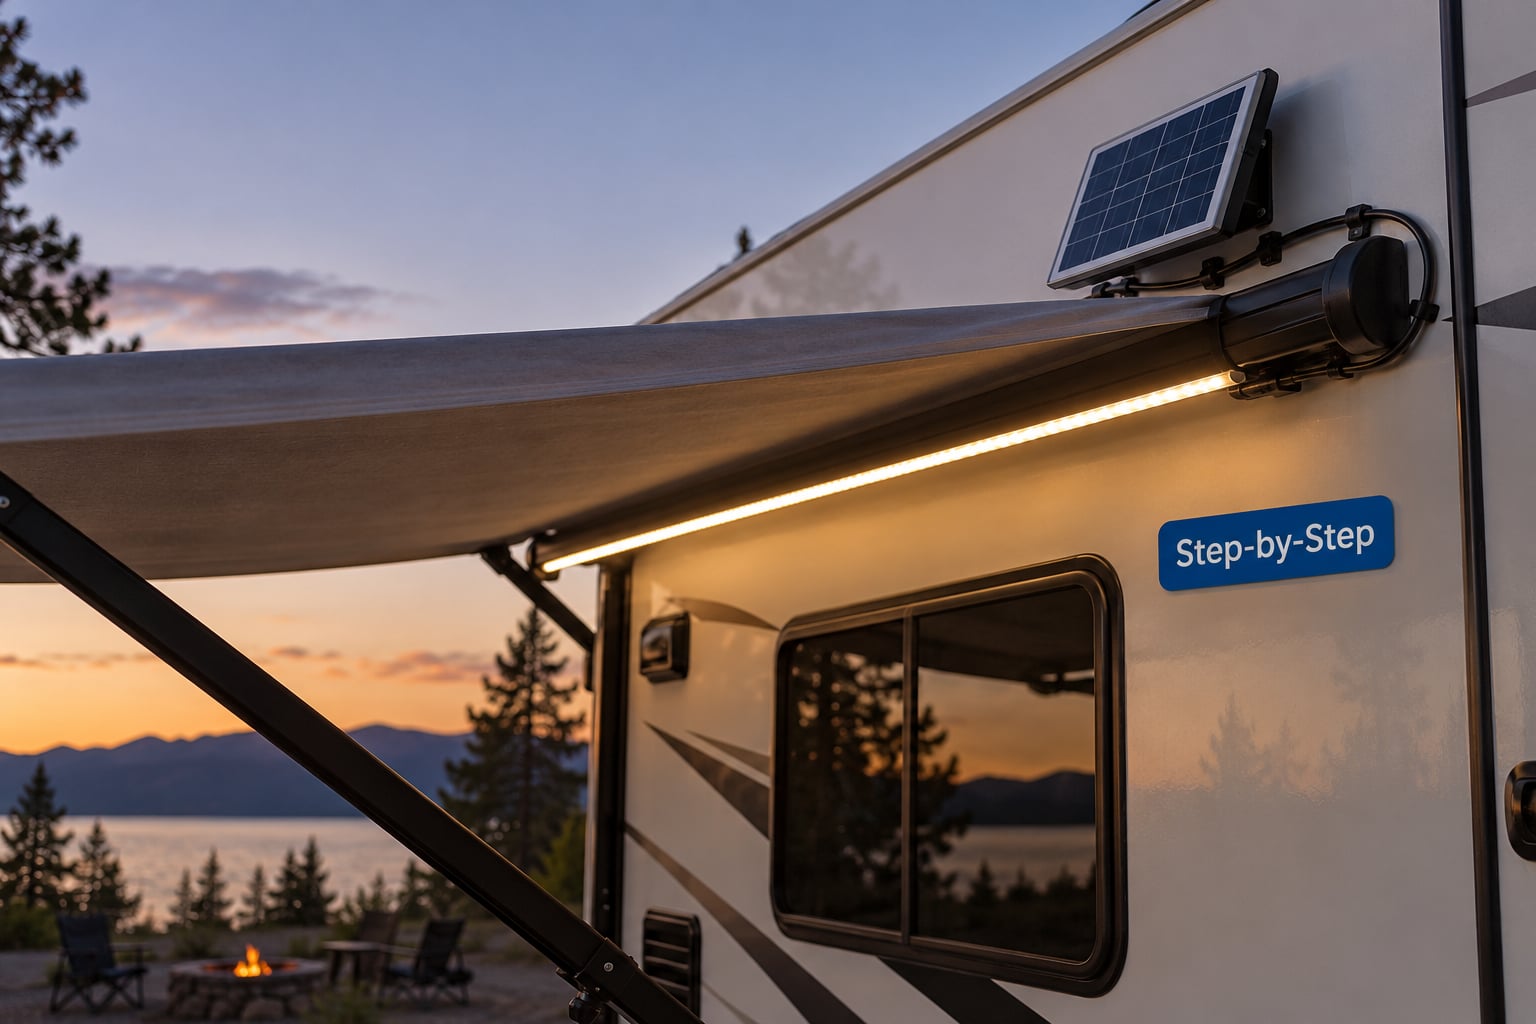
The panel placement is the whole problem. A panel bolted to the awning bar, or taped to the canopy, is shaded by the canopy from the moment you open it.
- Mount the panel on the RV sidewall above the awning line, where it sees sun whether the awning is out or in.
- Or fix it to the end cap of the awning bar, angled outward.
- Or set it on a short telescoping pole in the ground beside the rig, which is the best option in a campsite with no good wall to use.
Run the cable from the panel to the light outside the awning’s swing path. Keep it clear of the hinge, the ratchet, and anywhere the fabric rolls up, because those are the points that pinch wires.
Walk the perimeter before you clip anything. Nothing should hang lower than head height, and nothing should block the roller or catch rainwater as it runs off the canopy edge.
Connect and Secure the Lighting
Follow the equipment manual and change nothing on the RV itself. If a fixture has no instructions about polarity or fusing, treat it as a project you need to read up on before you wire it, not a Saturday afternoon one.
Outdoors, every joint matters. Use outdoor-rated cable, keep connectors above the ground line where runoff passes, and add an inline fuse on anything feeding from your 12V bank. Match polarity, because a reversed solar input can damage a small charge controller faster than most people expect.
Secure the light every 12 inches or so. Zip ties around the awning bar are the strongest option against wind, and a taut run will not flap; a loose catenary will. The fabric itself should never carry the weight of a hanging lantern.
Test the Setup at Dusk
Give the panel a full day of sun before you trust it. Then cover the panel with your hand or a jacket at dusk and the lights should come on within a second or two if the photocell is working.
Stand under the awning and check coverage, not brightness. If you can read a book at the edge, you are done; if you can only read it in the middle, add a second string or angle the spotlight differently. Re-aim anything that sends light into the next site over.
Finally, walk it in the dark for a minute. Any step or dip in the ground you trip on tonight is a step you will trip on tomorrow.
Common Mistakes
- Panel under the canopy. The most common failure by a wide margin, and it always looks like a dead battery.
- Undersized battery. A small pack on a long string drains by midnight. Match the battery to the total load, not to the number of bulbs.
- Adhesive on awning fabric. Tape strips are nearly impossible to remove without leaving residue on the vinyl. Use the utility slot or clips.
- Exposed wiring. Cable across a walking surface is a trip hazard and a chafe point in a crosswind.
- Short lead wires. Many string lights ship with about 6 feet between panel and first bulb, which rarely reaches the rail. Plan to extend rather than stretch the wire.
- Assuming everything is waterproof. A rating on the box covers the fixture, not the battery door or the USB port flap you left open.
- Hanging too much weight. Awnings are not hanging structures. A lantern or a light string is fine; a car battery is not.
Maintain the System
Wipe the panel glass every few weeks with a damp cloth. A layer of dust, pollen or bug film will quietly cut charging, and this is the single most useful five seconds of maintenance you can spend.
Check the battery pack before a long trip. If the lights dim within an hour of switching on, the cells have aged and a replacement pack is cheaper than a new string.
Store portable fixtures with the switch off and the panel covered, in a dry place where they cannot freeze solid in a bin. For a fixed install, check the cable routing each season for chafing at the hinge and confirm the charge controller indicator is still normal.
Frequently Asked Questions
Where do I mount the solar panel so the awning doesn’t shade it?
Never on the canopy or the awning bar, because the fabric shades the panel for most of the day and it will barely charge. Mount it on the RV sidewall above the awning line, on the end cap of the awning bar angled outward, or on a short pole in the ground beside the rig. All three see direct sun while the lights stay on the awning.
Do solar string lights for an RV awning work on cloudy days?
One bright day is usually enough for a night of ambience lighting, because LED strings draw so little. Overcast skies cut output sharply and a shaded campsite can halve it again. For a multi-day cloudy trip, bring a second panel or feed the light from your RV’s 12V bank so the house batteries act as a reserve.
How do I attach string lights to a camper awning without drilling?
The awning utility slot, that channel built into most RV awning rails, is the cleanest option. The wire slides in and pulls tight with no tools and no holes. Clips and S-hooks suit spotlights and lanterns. Avoid adhesive on awning fabric, since tape strips are close to impossible to remove without leaving residue in the vinyl.
How long do solar awning lights last at night?
Expect three to six hours from a full day of direct sun for most string lights, and closer to eight with a larger panel feeding a fixed strip. Output holds steady and then dims as the battery drains rather than cutting out suddenly. Test at dusk before you depend on it, and keep a small handheld light for the last hour.
Can solar awning lights charge from my RV’s 12V battery bank?
Yes, with a small charge controller between the panel and the battery so the panel cannot overcharge it. This is the upgrade path for anyone who camps often: the light runs off the bank at night and the bank refills during the day. Use an inline fuse, match polarity, and follow the controller’s instructions.
What size solar panel do I need for awning lights?
Match the panel to the load, not to the panel’s headline wattage. A 5-watt panel covers a short string of 20 to 40 LEDs, while a 10- to 20-watt panel handles a full awning strip or a spotlight. If you plan to add lights later, size for the total load and buy the charge controller with some headroom built in.
Conclusion
Most campers should start with a solar string or LED strip seated in the awning utility slot and a panel mounted on the sidewall above the awning line. It is the least fiddly method, it rolls up with the awning, and it lights the whole edge evenly. Small rigs that cook outside can get more from a solar spotlight clamped to the awning bar, and anyone camping often can step up to a fixed system on a charge controller feeding the RV’s 12V bank.
Whichever way you light an RV awning with solar, pick something rated for outdoor water exposure with a battery sized to your total load, put the panel where it gets full sun, and test it at dusk before the first night you count on it. That last habit is the difference between a lit awning and a dark one with a dead panel in it.