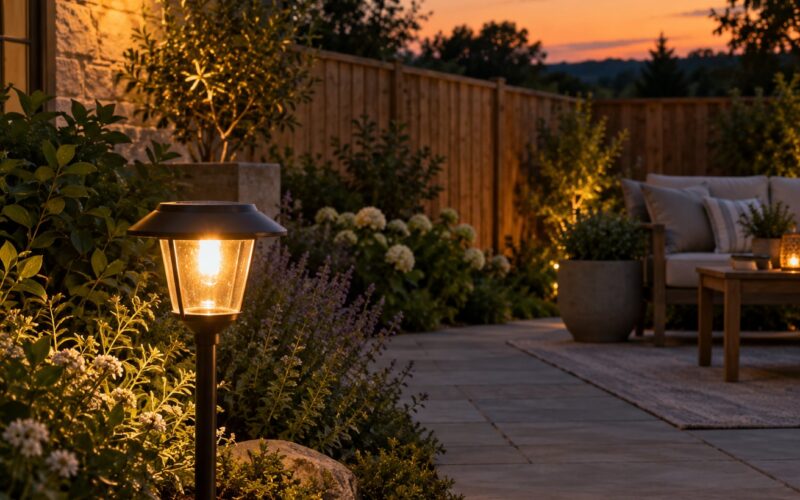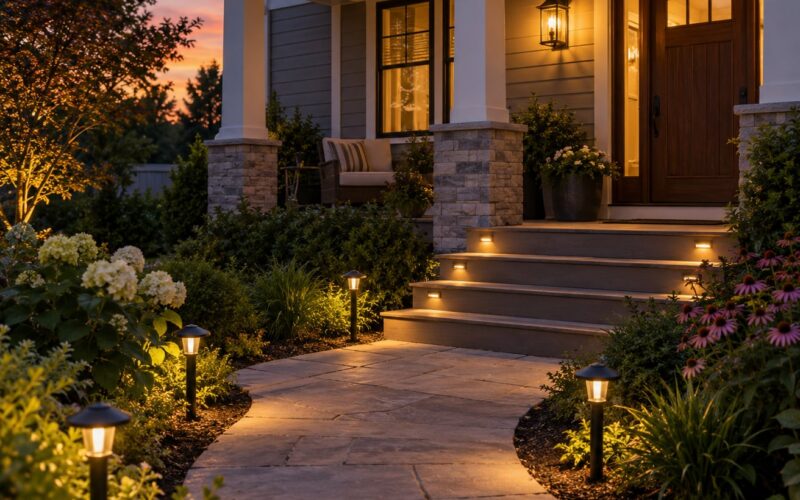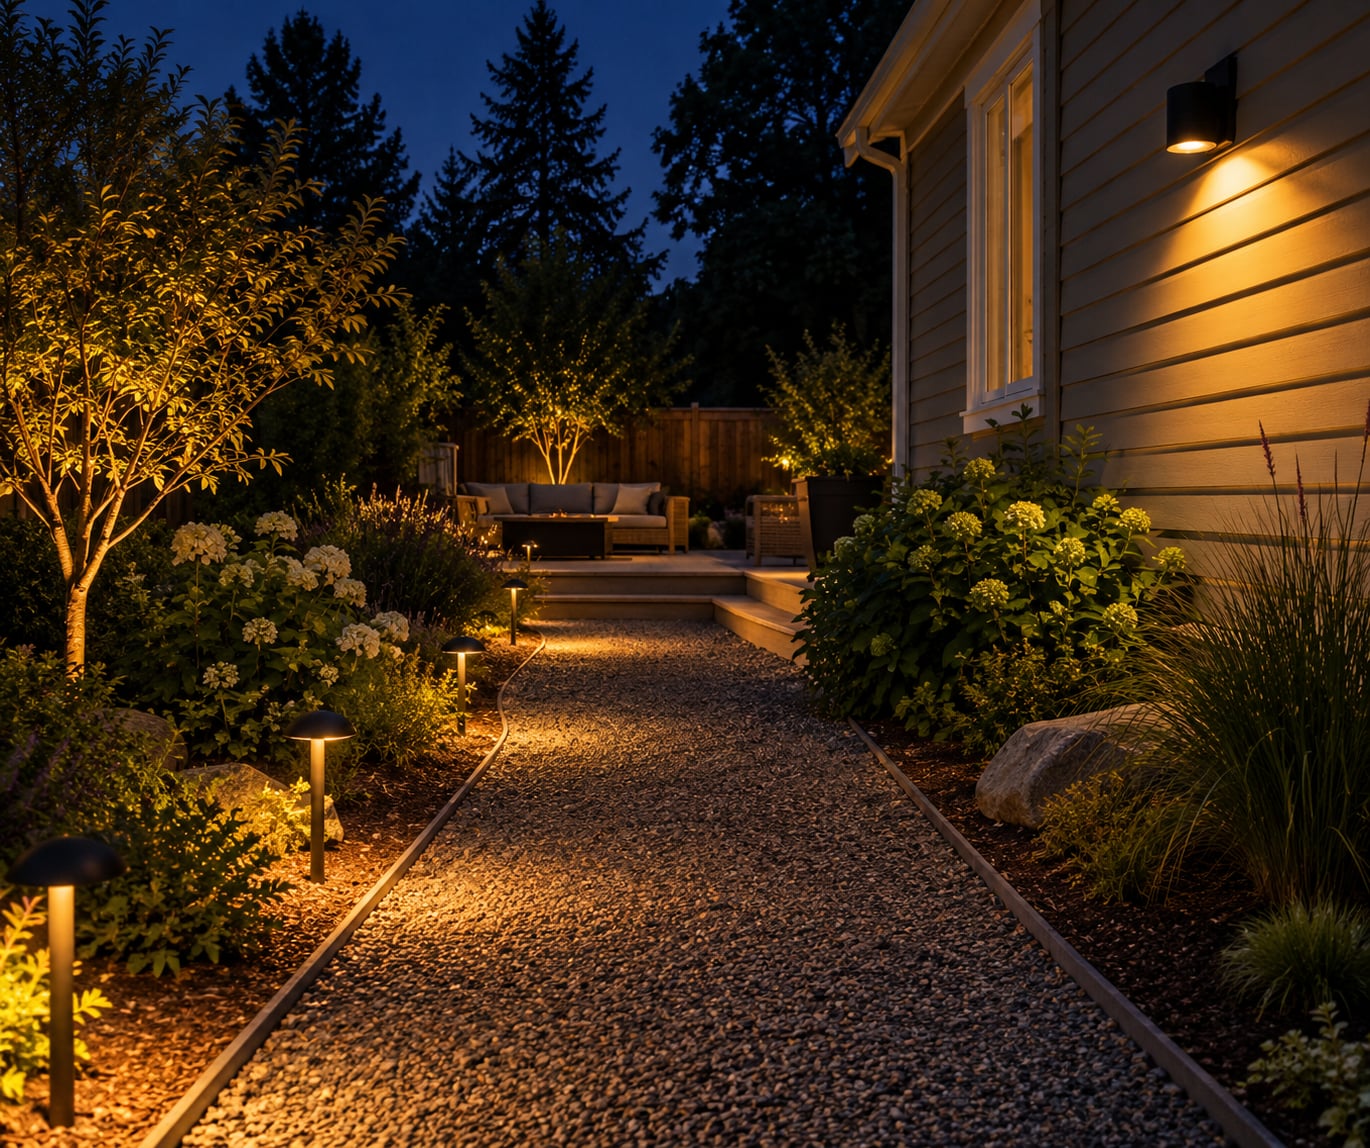
To reduce light pollution in your yard, start by switching off what you do not need, then aim every remaining fixture downward, shield the bulb, warm the colour and put the remaining lights on timers or motion sensors. Most of the improvement comes from aiming and shielding, which cost nothing, and the rest from swapping a handful of bulbs.
Light pollution is artificial light at night that brightens the sky, spills onto other people’s property and blinds anyone standing near it. The four types to look for in your own yard are skyglow (upward light bouncing off dust and aerosols to wash out stars), glare (light coming straight at your eyes), light trespass (light crossing your property line) and light clutter (a cluster of small fixtures that reads as one bright blob). You will have all four if you have a yard with a security floodlight and a row of solar stakes.
This is a home and garden topic with an electrical edge, so a note before you start: any work on a hard-wired fixture, any rewiring and anything involving the panel or a ladder near power lines belongs to a licensed electrician. Swapping a bulb, tilting a stake light and adding a hood are homeowner jobs.
Table of Contents
- What You Need
- Step-by-Step: Five Changes That Cut Your Yard’s Glare
- Step 1: Audit the Light Sources After Dark
- Step 2: Replace or Dim the Brightest Fixtures
- Step 3: Aim Lights Downward
- Step 4: Add Shields, Timers and Motion Controls
- Step 5: Check the Result from the Boundary
- Common Mistakes That Make It Worse
- Frequently Asked Questions
- What can I do if my neighbour’s light is too bright?
- What makes an outdoor light dark sky compliant?
- What is the best LED color temperature for outdoor lighting?
- How many lumens do I need for a dark-sky friendly yard?
- Are solar garden lights bad for light pollution?
- Will light pollution ever go away?
- Conclusion: Start With One Fixture Tonight
What You Need
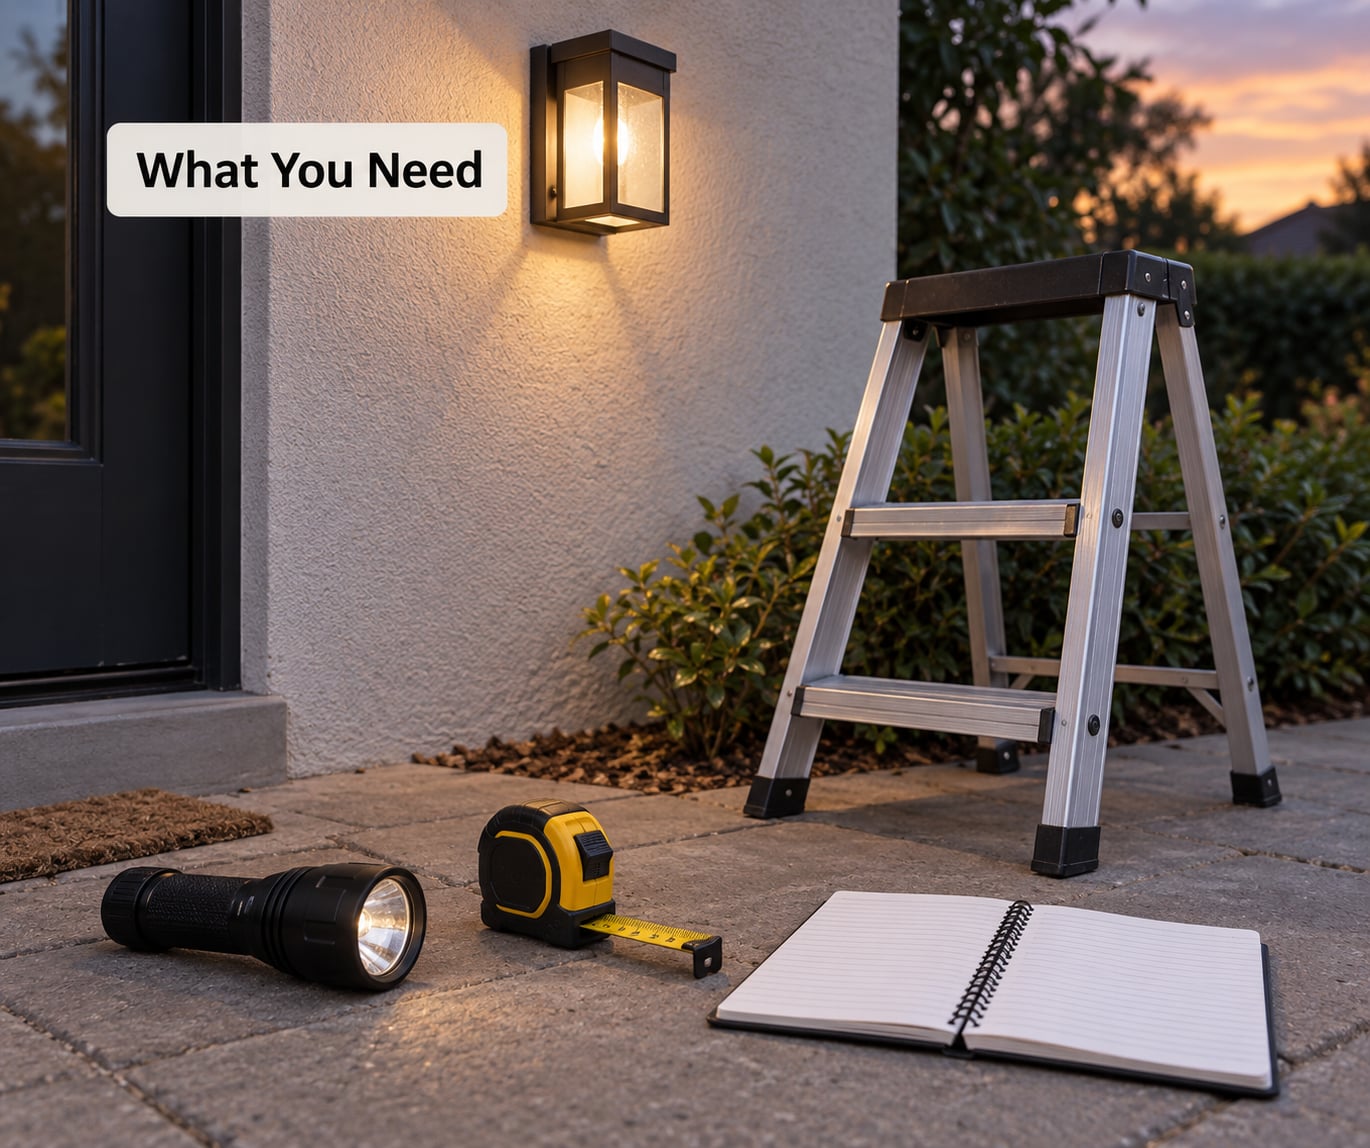
Almost nothing. Grab a flashlight, a tape measure, a step ladder and something to write on, and you have enough to run the whole audit.
- A flashlight for checking a fixture’s beam after dark without standing in its own glare.
- A tape measure to note how far each light throws and how high it sits above the fence line.
- A stable step ladder for anything over head height. Do not improvise with a chair or a fence post.
- A notebook or your phone to record for each fixture: where it is, how bright it is, how long it stays on, and where the beam lands.
- The manufacturer’s manual for any fixture you plan to dim, swap or re-aim. It tells you what is dimmable and how far the head tilts.
You do not need a light meter, though a cheap phone lux-meter app gives you a rough before-and-after number at ground level. You also do not need to replace anything on day one. The audit in Step 1 usually shows that two or three fixtures cause most of the problem.
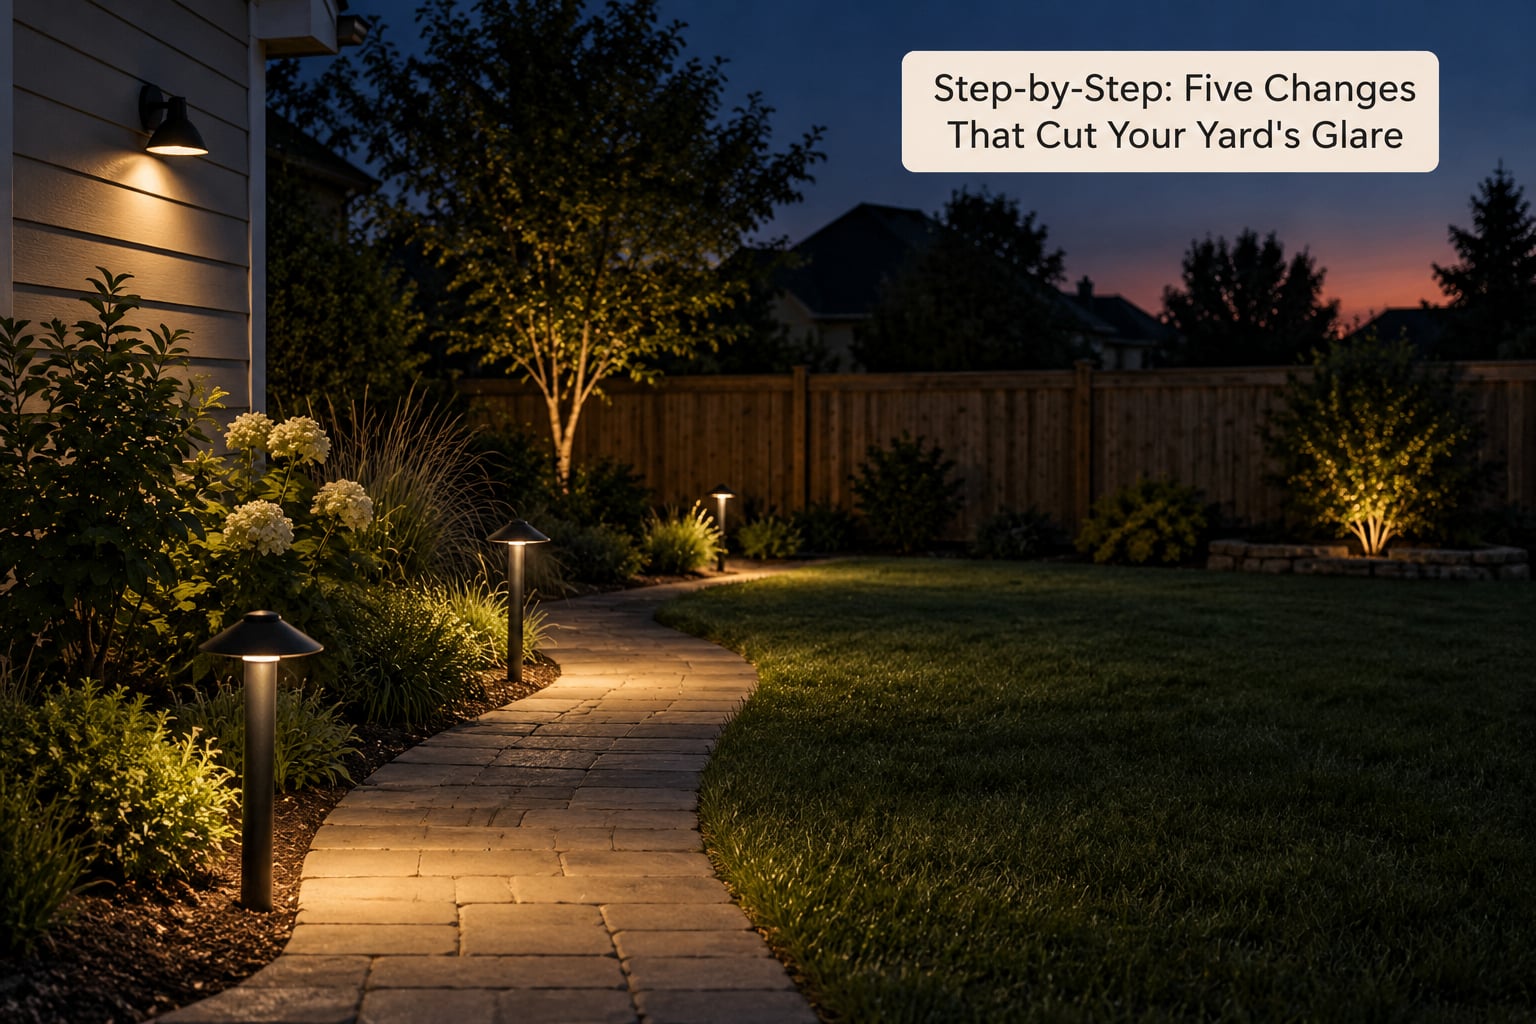
Step-by-Step: Five Changes That Cut Your Yard’s Glare
Step 1: Audit the Light Sources After Dark
Walk your yard after sunset with the flashlight and notebook, and look at every fixture the way a neighbour would. Note where the beam goes, whether you can see the bulb from where you’re standing, and whether any light crosses the fence line.
Four things to record per fixture: beam direction (down, sideways or up), glare (can you see the bulb source from standing height?), brightness (does it wash out the colour of your lawn or path?), and hours (does it switch off, dim, or burn until a neighbour turns it off?).
Light visible above the fence line is your fastest clue. If you can see a glow behind the hedge from the sidewalk, the fixture is putting light into the sky, and that is skyglow you are responsible for. Write it down and move on.
Step 2: Replace or Dim the Brightest Fixtures
Match output to the task instead of copying the old bulb. A path or step light rarely needs more than a few hundred lumens; a driveway or back door does.
For most yards, a large floodlight rated as a 300W-equivalent can drop to a 75W LED equivalent and still cover the same area with less spill and a truer beam. Cutting power this way also saves on the electricity bill, and motion control on top of it typically uses 30% to 50% less energy than an always-on fixture of the same type.
On colour, lower colour temperature means less blue light, and less blue light means less skyglow and less disturbance for insects and birds.
| Colour temperature | What it looks like | Outdoor effect |
|---|---|---|
| 2200K | Warm amber | Best for skyglow and wildlife; dimmer to see by |
| 2700K | Soft warm white | Good balance for paths and steps |
| 3000K | Warm white | Bright enough for security fixtures |
| 4000K and above | Cool or daylight | Most skyglow and blue light; keep indoors |
If a fixture is dimmable, set it to the lowest level that still lets you see the step edge or the door lock from the street. Most drivers have a low-end trim you can adjust at the fixture itself.
Step 3: Aim Lights Downward
Direction beats every other trick. Any light that leaves a fixture above horizontal is going somewhere useful to nobody.
Path lights should tilt down so the pool of light sits on the path, not in your eyes. Wall packs should point at the wall or ground at roughly a 45-degree down angle so the wall washes and stops. Security floodlights should point across and slightly down at the area you want covered, never across the yard into a neighbour’s window or up into a tree canopy.
Uplighting a tree is the single worst thing you can do to the night sky. The light has to travel up through the branches, which is exactly the path that ends up as skyglow, and it also drags moths and other insects up off the plants. If you love the effect, use one narrow spotlight on a small ornamental tree, aimed at the trunk from a short distance, with a hood on the front so no light escapes past the tree.
Solar stake lights need the same attention. They ship with the head angled up in the box, and most people leave it that way. Tilt the head down until the panel still gets a few hours of sun but the light lands on the ground.
Step 4: Add Shields, Timers and Motion Controls
A shield is anything opaque that sits between the bulb and anything taller than your head. If you cannot see the bulb itself from standing height on your property, the fixture is effectively shielded.
Three cheap retrofits cover most cases. Slide a barn-door or light-director shield onto a floodlight head to cut the sides. Add a hood or visor to a wall pack so it stops washing up the siding. Snap a shroud onto an exposed-bulb fixture so the glass face is hidden and only the ground is lit.
On timing, the options stack. A photocell switches lights off at dawn, which solves the single most common complaint about a neighbour’s yard. An astronomical timer follows sunset and sunrise through the year, so you do not have to reset a weekly timer that drifts. A timer switch on the circuit handles zones you never touch, like the back of the garage. A dimmer or a smart bulb on a schedule lets the brightest setting run for twenty minutes and then drop to a low level. A motion sensor (PIR) turns the light on only when something moves through the detection zone.
Sensors need aiming too. A sensor pointed at a busy sidewalk will fire all night and give you none of the benefit. Point it at the gate or the step you actually use, narrow the detection zone if the sensor allows it, and set the hold time to the shortest useful figure.
Step 5: Check the Result from the Boundary
Stand on your sidewalk at night and look back at the house, then walk the property line while someone watches from the yard. Direct glare means you can see the bulb or a hot white patch; light above the fence line means uplight is still escaping.
Then check from inside: does the path read clearly at your lowest dim setting, and can you see the door lock from the street? If yes, the balance is right. Repeat the walk a week later, because glare that looked fine on a calm first night often shows up when a neighbour leaves a security camera on all night.
| Fixture type | Uplight | Glare risk | Best use |
|---|---|---|---|
| Full cutoff | None | Low | Paths, steps, driveways where light must stay down |
| Cutoff | Minimal, within the cut-off angle | Low | Wall packs and soffit lights aimed at the wall |
| Shielded | Blocked by the shield | Medium | Floodlights, retrofits with barn doors or hoods |
| Unshielded globe or lantern | High | High | Best kept low, under a porch roof, facing down |
| Tall decorative post | Depends on the hood | Medium | Add a hood or replace the bulb with a low-output one |
A full cutoff fixture sends zero light above horizontal. Cutoff fixtures allow a small amount inside the cut-off angle, which is why wall packs still work. If a fixture’s specification sheet says zero uplight or full cutoff, that is the specification to look for when you replace it.
Common Mistakes That Make It Worse
Overly bright bulbs. Swapping a dimmable 60W-equivalent LED for the brightest bulb the socket accepts is the most common self-inflicted upgrade. Keep output matched to the task.
Leaving lights on all night. A porch light burning until sunrise helps nobody and is the reason most neighbour complaints happen. A photocell or astronomical timer ends this in one part.
Aiming fixtures across the yard. A floodlight pointed at the far fence throws light sideways into the next property and washes out your own view. Turn it until the beam lands where you need to see.
Improvised shields. Wrapping a bulb in cloth, foil, tape or a paint can is a fire risk and usually blocks the bulb’s cooling airflow. Use a made-for-the-purpose shroud, hood or barn door rated for the fixture.
Assuming solar lights are automatically low-glare. Many solar fixtures are bright white and aim up out of the box, and the whole set reads as one glow. Tilt them down, replace the bulb with a warm low-lumen one, and thin the spacing.
Uplighting tall trees. Nothing beats a canopy floodlight for making skyglow worse. If the tree matters, light the trunk from low and short.
Adding more lights instead of fixing existing ones. Every extra fixture is more clutter, more wiring and more output. Fix what you have first, then add only where you still cannot see a step edge.
One more worth naming: doing nothing and assuming your neighbours will go first. Light trespass is easier to prevent than to undo, and a polite conversation about a specific fixture goes a long way.
Frequently Asked Questions
What can I do if my neighbour’s light is too bright?
Start with a direct, specific request rather than a complaint about their yard: name the fixture, the time and how it reaches you, and ask whether it can be aimed down or switched off before bed. If that goes nowhere, screen it physically with a dense hedge, a tree block or a berm, keeping screening height above the light’s height. A light trespass ordinance or HOA rule may apply, and a lighting retailer can sell a hood or barn-door shield.
What makes an outdoor light dark sky compliant?
A dark-sky friendly fixture sends zero light above horizontal, shields the bulb from view at normal eye level, and runs a warm colour temperature with only the output the task needs. In specification terms, look for a full cutoff rating, a zero uplight rating and a correlated colour temperature of 3000K or lower. Pair it with a shield, a downward aim, a timer or motion control, and the same fixture stops contributing to skyglow and trespass.
What is the best LED color temperature for outdoor lighting?
For outdoor paths, decks and steps, 2200K to 3000K is the range most dark-sky guidance points to. 2700K is the easiest compromise because it is warm without being so amber that it strains your eyes, and 3000K works for brighter security fixtures. Anything at 4000K or above carries more blue light, which contributes more to skyglow and disturbs insects and birds more, so keep those bulbs indoors.
How many lumens do I need for a dark-sky friendly yard?
Less than most fixtures ship with. Path and step lights work well in the few-hundred-lumen range, a wall pack over a door usually sits in the mid range, and a driveway or driveway-entrance light needs the most. The old rule of thumb is that if you can read a newspaper at the spot, the light is brighter than the task requires. Dimming after dark does more for glare than another few hundred lumens would.
Are solar garden lights bad for light pollution?
They can be, because most ship with cool-white LEDs aimed upward and a fixed brightness you cannot dim. That combination reads as clutter when several are spaced close together. Aim the head down until it lights the ground, warm the bulb if the fixture accepts a replacement, and space the fixtures further apart so each one has a job. Used that way, solar path lights are a reasonable low-output choice.
Will light pollution ever go away?
Not on its own, because the biggest source is street and city lighting rather than individual yards, and it keeps rising as outdoor lighting spreads. What does improve locally is sky quality near you: when the brightest fixtures around your home switch off, aim down and warm up, the darkest horizon in your view changes noticeably within a single evening. Reducing your own contribution is the part you fully control.
Conclusion: Start With One Fixture Tonight
Walk the yard after dark, find the fixture throwing the most light above the fence line, and fix that one first. Aim it down, add a shield, warm the bulb and put it on a timer or motion sensor, then check from the sidewalk and from your neighbour’s side of the line.
Most yards need two evenings and a handful of bulbs rather than a rewire. Work outward from the brightest fixture, and reduce light pollution in your yard one light at a time instead of all at once, so you can tell which change actually helped.