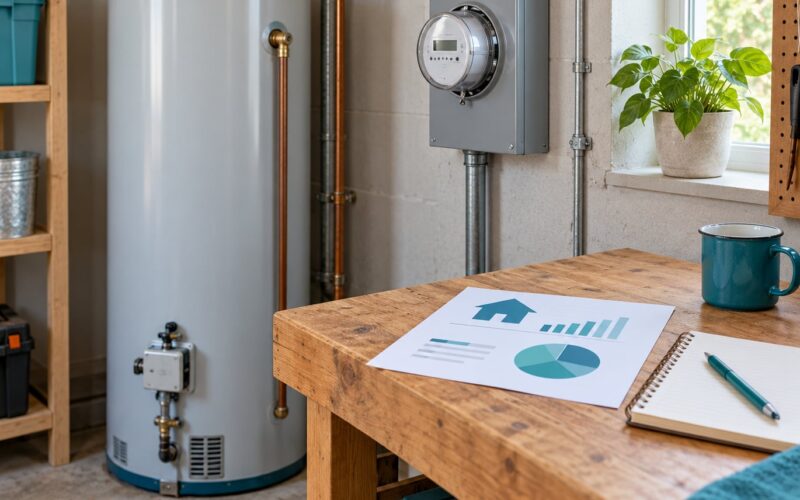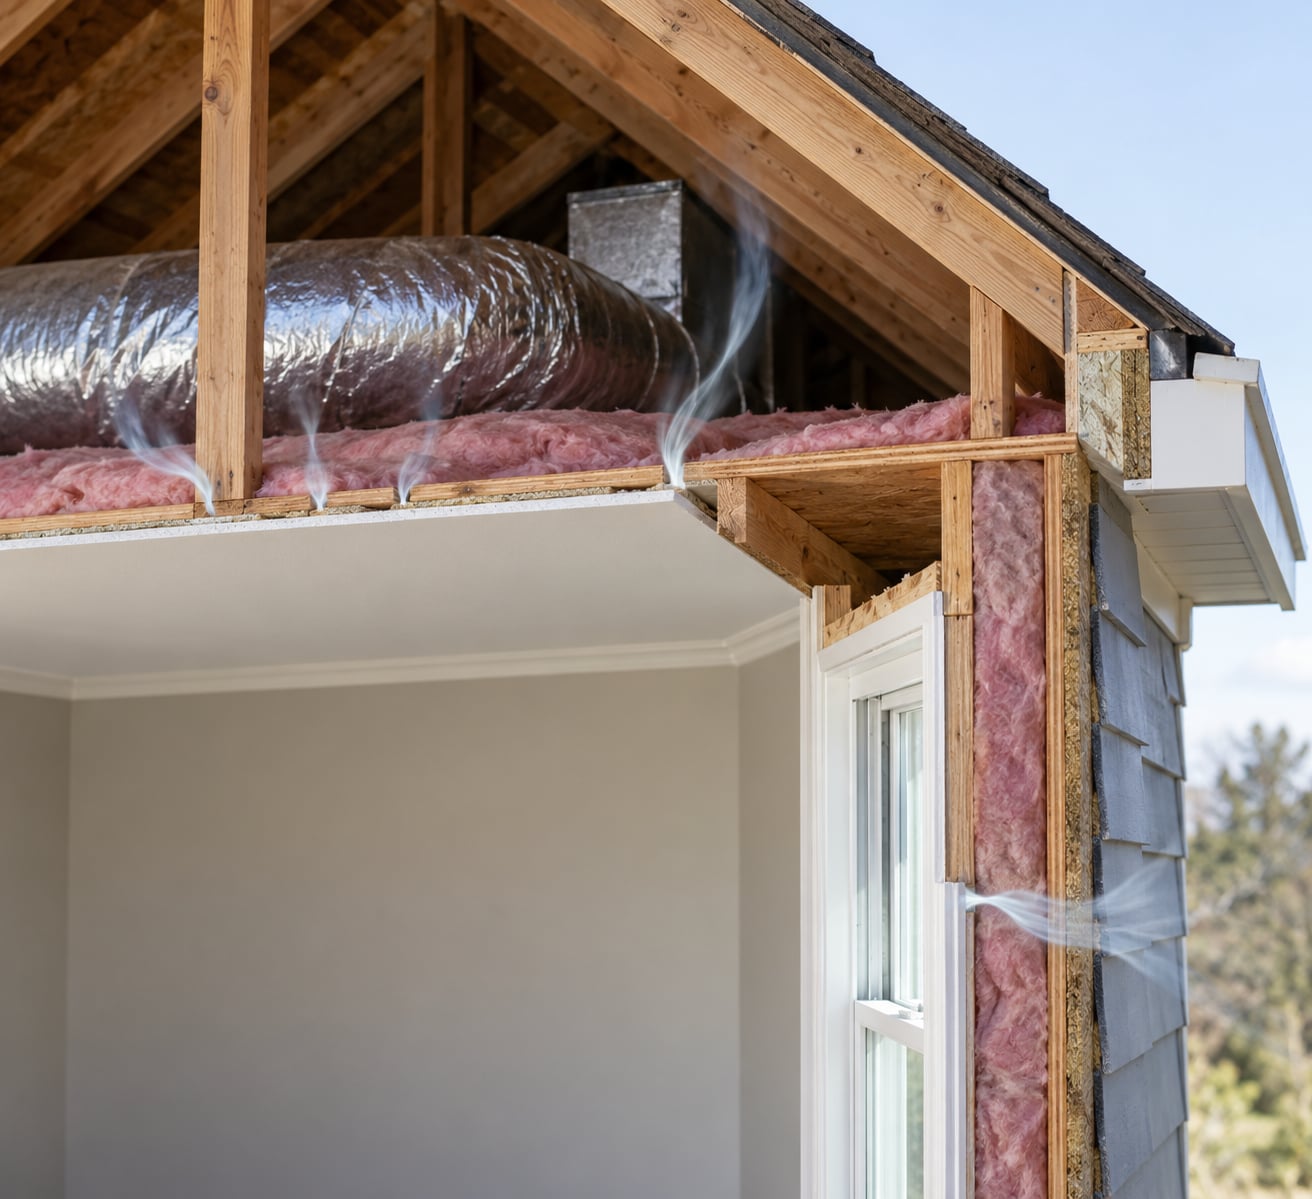
Air sealing lowers energy bills because gaps in your building envelope let heated and cooled air escape, so your HVAC system runs longer and burns more fuel to hold the same temperature. ENERGY STAR estimates that sealing those gaps can cut heating and cooling costs by about 15%, or roughly 11% of total household energy costs.
The five things that make air leakage expensive:
- Conditioned air you paid to heat or cool leaves the house through gaps you never see.
- Outside air pushes back in, so the equipment runs longer to recover the temperature.
- Warm air rises and exits through ceiling and attic leaks, a loss driven by the stack effect.
- Higher peak demand during the coldest and hottest hours of the year.
- Extra cycling wears out furnaces, air conditioners and their fans sooner.
Two different problems get tangled together in most write-ups about this, and only one of them is about how air moves. Insulation slows heat from conducting through materials. Air sealing stops air from carrying heat from one side to the other. A wall can hold excellent insulation and still leak badly, and the cheapest fix depends entirely on which problem you actually have.
Table of Contents
- What Is Air Sealing and Why Does It Lower Energy Bills?
- The mechanism behind how air sealing lowers energy bills
- How Air Sealing Lowers Energy Use in Your Home
- Why your savings will land somewhere different
- Where Do Homes Lose the Most Air
- How to Find Air Leaks in Your Home
- What Materials Work Best for Air Sealing
- How Air Sealing Differs From Adding Insulation
- Can You Air Seal Your Home Yourself
- How to Measure the Results
- Frequently Asked Questions
- Does air sealing always reduce energy bills?
- Can air sealing make a house too tight?
- What is the difference between air sealing and adding insulation?
- Which air leaks should I fix first?
- Can renters air seal their home?
- How can I tell if a professional air-sealing job is working?
- Start With the Biggest Safe Upgrade
What Is Air Sealing and Why Does It Lower Energy Bills?
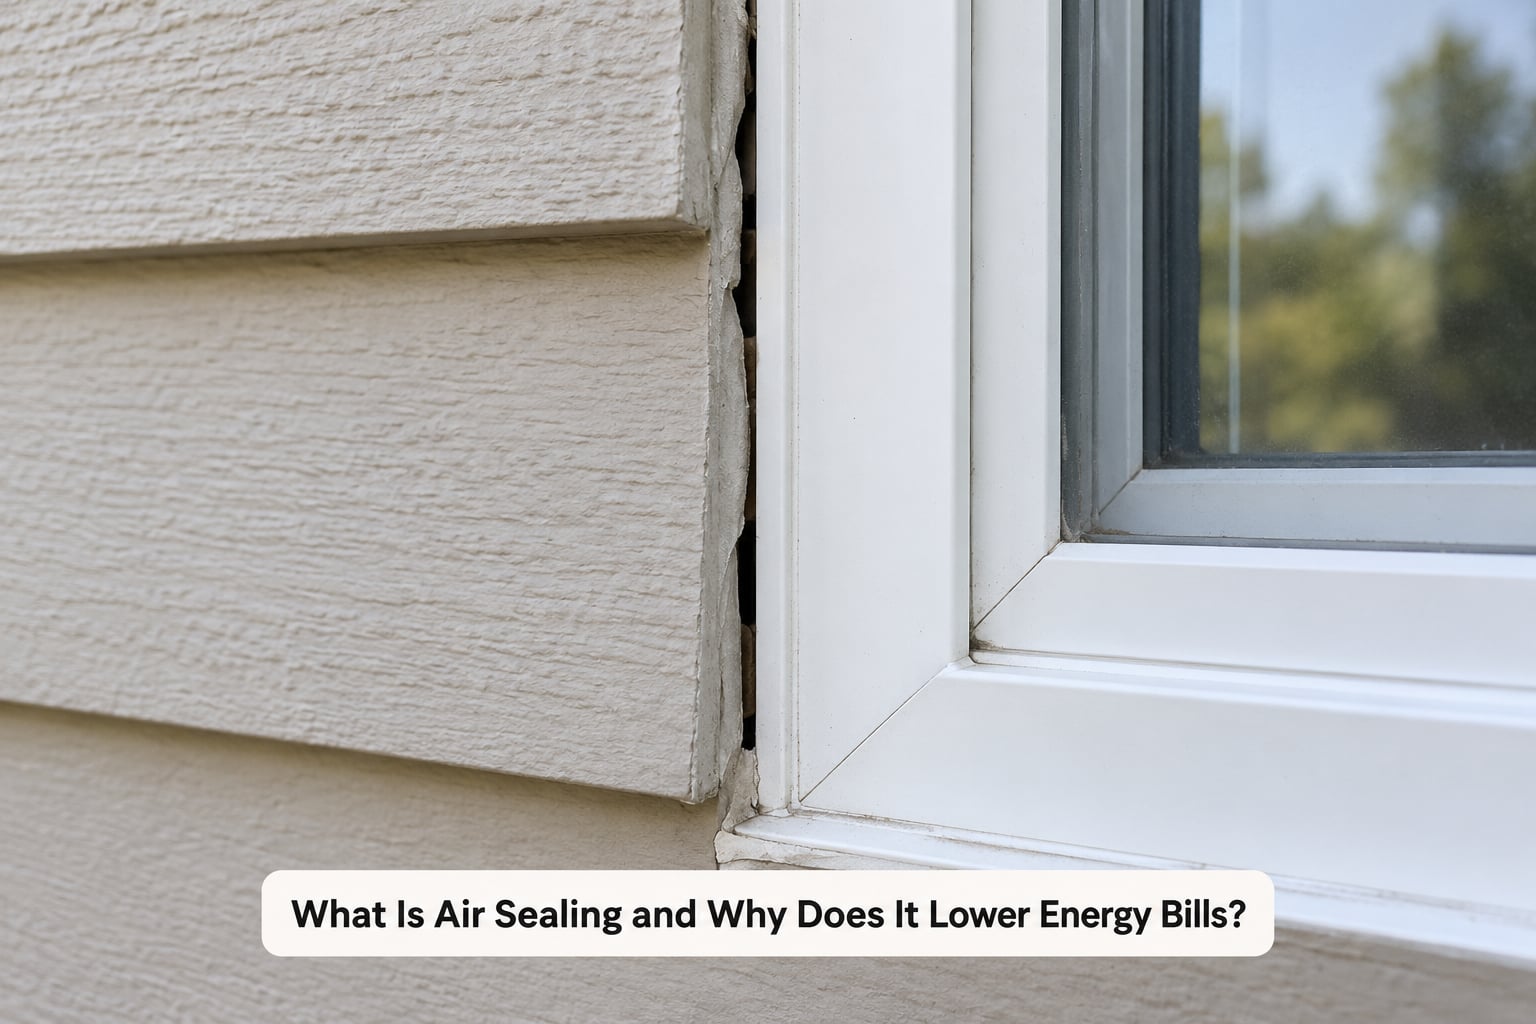
The building envelope is the boundary between the air you condition and the air outside. Walls, roof, windows, doors, floors and every hole punched through them make up that boundary. Air sealing closes the unintended gaps in it so the air stays put.
Word to keep straight: infiltration is air leaking in or out by itself. Ventilation is air you deliberately move, usually through a ducted system, to keep the indoor air fresh. Sealing targets the first and never the second.
The mechanism behind how air sealing lowers energy bills
Warm air is lighter than cool air, so it rises. That simple fact drives a loop through your home called the stack effect. Warm air climbs to the attic and exits through any gap in the ceiling plane, and cool outdoor air enters through a lower opening to replace it, often at a rim joist or a foundation edge.
Follow the money on that loop. You paid to heat every cubic foot of air that went out the top, and you pay again to cool the replacement air coming in the bottom. A leak high in the house is expensive precisely because the air leaving it is the air you just paid for.
Then the equipment pays a second time. Because air is leaving and entering continuously, the thermostat reads normal while the system quietly works against the loss. Longer run time, more start-up cycles, and shorter off periods between cycles. The furnace or heat pump runs its compressor more often, which is why the same house can feel fine and still cost what it costs.
Leak location matters more than most marketing suggests. A hole in the middle of a wall is mostly a comfort and dust problem. A hole at the ceiling plane or the foundation edge is a direct fuel expense, because it sits exactly where the stack effect works hardest.
How Air Sealing Lowers Energy Use in Your Home
The figures usually quoted come from the U.S. Environmental Protection Agency’s ENERGY STAR program, which estimates that air sealing saves homeowners about 15% on heating and cooling costs, or an average of 11% on total energy costs. Those are averages across housing stock and climates, not a promise about your house.
Lawrence Berkeley National Laboratory has modelled airtightness against energy use for decades. Its work, including a 2013 California study, found a home brought to Passive House airtightness levels used roughly 2,000 kWh a year, a large step down from a typical code-minimum new build. Different states and years give different numbers, but the direction holds: tighten the envelope and consumption falls.
| Measure | What it covers | Why the gap matters |
|---|---|---|
| ENERGY STAR, heating and cooling | About 15% average savings | Counts only the fuel your HVAC equipment burns |
| ENERGY STAR, total energy | About 11% average savings | Adds water heating, appliances and plugged-in loads |
| LBNL modelling | Consumption falls as the envelope tightens | Supports the direction even when the percentage varies |
| Forum reports of bills | Varies widely by home and climate | Anecdotal, but useful as a sanity check |
Note the distinction between a lower bill and lower energy use. A lower bill can also come from a rate change, a milder season or a thermostat you stopped fighting with. Lower energy use shows up as less fuel consumed for the same comfort, which is the number worth tracking.
Why your savings will land somewhere different
Four things swing the result. Your climate sets how long the heating and cooling season runs, so a heating-dominated cold region and a cooling-dominated hot region feel the same work very differently. Your fuel price decides what a saved unit is worth. Your starting airtightness decides how much leakage there was to remove. And the size and condition of the house set how many cubic feet per hour were moving.
There is also a hidden variable people forget: how much leakage ran through the ducts. Air pushed through a return duct and out a supply register travels through the attic, the walls and back out again, and it costs you to move it. Practitioners on home performance forums make the point that the penalty is for air going outdoors, not for the fan that moved it.
A workable way to estimate without a calculator full of assumptions is to use the 15% figure as a ceiling, then discount it by judgment. Already-tight new construction earns a fraction of it. A 1970s house with daylight visible around a window and an attic hatch that swings open earns most of it. Run your own numbers like this: annual heating and cooling spend multiplied by 0.15 gives the high end, then halve it for a modest job and quarter it for a thorough one.
Homeowners comparing numbers across sources should be skeptical of any claim that ignores climate. Practitioners on green building forums point out that airtightness economics depend heavily on local energy prices, and that in states with cheap power, extreme airtightness is hard to justify on dollars alone.
Where Do Homes Lose the Most Air
The table below ranks common locations by what the leak actually costs you. Symptoms come first, because a draft you can feel usually has a cause you can find without a ladder.
| Location | Why it costs you money | Clue it is there | Typical fix |
|---|---|---|---|
| Attic hatch | Sits exactly at the ceiling plane, so the stack effect pulls air through it | Hot air rising into the attic, a dirty hatch gasket | Gasket plus rigid insulated cover screwed to the ceiling |
| Rim joist and attic floor joints | The seam where the attic floor meets the wall plate leaks on both top and bottom edges | Cold streaks along the top of upstairs walls in winter | Long strips of sealant or tape at the framing joints |
| Chimney and flue chase | A large framed hole around a masonry feature, often passing through all floor levels | Daylight visible around the chimney in an unfinished attic | Sheet metal and fire-rated sealant at the chase top |
| Pipe and wiring penetrations | Many small round holes, each one a path straight to outdoors | Light through small holes, noise in the wall | Fire-rated caulk or foam plus a gasketed plate |
| Electrical boxes | Boxes behind drywall often connect to the exterior with no backer | Cold or hot spots around switches on exterior walls | Air-sealing putty or foam gaskets at the box edge |
| Window and door frames | Large openings, old and worn, and the most obvious drafts in the house | Curtains moving, cold glass, sound that gets louder at night | Caulk at static joints plus weatherstripping on moving parts |
| Duct connections and registers | Leaking ducts move conditioned air into the attic or crawlspace first | Rooms inconsistent with the thermostat setting | Duct mastic on connections, sealed register collars |
| Garage interface | A wall between conditioned space and an unconditioned room loses a lot at the door | Cool garage air spilling into a hallway or utility room | Insulate and seal the door, seal the drywall penetrations |
Attic work comes up constantly in homeowner forums because the attic is where the payoff concentrates. It is also where the discovery usually happens: people open the hatch expecting insulation and find bare fiberglass, barely a foot of it, in the wrong material. Professionals note that fiberglass mesh does nothing to stop air moving, which is a costly and persistent misconception.
Professionals working in this field also report that homes range from roughly 0.7 to 2 air changes per hour after professional air sealing, with 0.7 treated as the healthier sealed-and-ventilated target. A home in that range needed a lot of work to get there.
How to Find Air Leaks in Your Home
Work in an order that goes from free to expensive. Most of the information you need in the first hour costs nothing.
Start with your senses. Walk the interior of exterior walls on a windy, cold day and touch for cold spots. Look for daylight around window and door frames, a flashlight glowing around a rim joist seam, or visible water staining on the attic side of the ceiling.
Next comes the smoke test, which is the fastest way to find moving air. Light a stick of incense or a small amount of solid incense, crack a window to create a slight pressure difference, and hold the smoke near suspect joints. Airflow shows up as a ribbon of smoke pointing at you through the gap.
Safety first with that method. Skip it if anyone in the home has asthma or a respiratory condition, keep well away from open flame and pilot lights, and do not run smoke near electrical panels, ceiling fans or anything you cannot see clearly.
Thermal imaging makes the invisible visible. An infrared camera on a cold morning shows temperature differences across a wall or ceiling, so an air leak reads as a cold streak against warm drywall. This is a screening tool, not a diagnosis. Expect to pay for the service or the camera, and expect it to point you at places worth checking by hand.
The blower door test is the measured version. A door-mounted fan pressurizes or depressurizes the house to 50 pascals, and a gauge reports how many cubic feet per minute move through at that pressure. Practitioners use it both to quantify the house and to locate specific spots by zonal pressurisation with temporary covers, not just to produce a pass or fail number.
What Materials Work Best for Air Sealing
Matching the material to the joint is most of the job. Sealants fill static gaps and tolerate movement. Weatherstripping handles moving parts. Tapes bridge odd shapes that caulk will not hold to.
| Material | Best for | Limit to know about |
|---|---|---|
| Caulk | Small static joints: window and door trim, baseboards, plumbing escutcheons | Mostly paintable and cheap, but many interior formulas harden or crumble with joint movement |
| Exterior-grade sealant | Perimeter joints that flex with temperature swings, trim edges, siding interfaces | Costs more per tube and needs a clean, dry, weather-appropriate surface |
| Weatherstripping | Moving parts: door sweeps, window sash seals, V-strips, hinge-side strips | Wears out in a few years and must match the profile of the moving edge |
| Adhesive foam tape | Rim joist seams, odd-shaped framing joints, undersized gaps | Must be exactly the gap width to seal; oversized foam tapes are mostly filler, not an air barrier |
| Fire-rated caulk or foam | Any penetration near a chimney, flue or wiring chase | Using ordinary sealant on a rated penetration can be a real safety problem |
| Duct mastic | Supply and return duct joints, register collars, plenum seams | Designed for ducts, not general gaps, and it cures slowly |
Two rules keep most DIY attempts working. The surface has to be clean, dry and free of loose old material, and the gap should be small enough that a rigid material could block it. Sealant bridges holes. Foam fills. Neither replaces a solid surface in a wide gap.
How Air Sealing Differs From Adding Insulation
Insulation slows the transfer of heat through a material by adding resistance, measured in R-value. Air sealing stops the movement of air, which carries heat far more effectively than conduction through the same material.
That difference explains the most common wasted money in this work. Blanket of fiberglass in an attic keeps radiant and conductive heat down, but air rising through cracks in the ceiling bypasses it completely. Professionals say it plainly: fiberglass does not stop infiltration.
The order of operations has a fairly settled answer in colder regions, though forums argue about it anyway. Seal the air barrier first, then add insulation. Sealing after blow-in insulation means the crew has to work around loose material, and blowing over a leaky ceiling pushes more air into the space before anything is blocked.
In cooling-dominated regions, insulation in a hot attic still matters, since the attic becomes the roof’s heat reservoir. The sequence holds there too, but the size of the prize depends on whether you are fighting heat coming down or heat coming up.
The two measures also protect each other. Insulation keeps the sheathing and framing of a wall warm, which reduces the chance of condensation forming inside the assembly. Air sealing stops the moisture-laden indoor air from travelling into that same cold assembly.
Can You Air Seal Your Home Yourself
Some of it is well within reach and some of it is genuinely risky. Sorting those two groups is the first decision.
Sensible DIY work includes weatherstripping doors and windows, sealing trim joints with an appropriate caulk or sealant, gasketing and covering an attic hatch, sealing accessible basement rim joist seams, and closing gaps around accessible pipe penetrations. Renters on home improvement forums report that weatherstripping and a silicone sweep give them a measurable comfort gain in an afternoon.
Leave these to a qualified professional: anything involving combustion appliances, structural changes, complex roof penetrations, a large duct job, or anything that reduces ventilation without a plan to replace it. Combustion safety is not negotiable. A furnace or water heater that relies on indoor air for combustion needs adequate supply air, and tightening the house changes the pressure it draws from. Any code-required combustion safety check belongs with a licensed professional.
Read a blower door result like this:
| ACH50 result | Plain-English meaning |
|---|---|
| Above 6 | Leaky by code standards; a retrofit usually has real money in it |
| 3 to 5 | Around the minimum in the model energy codes; typical for houses that have not been sealed |
| 1.5 to 3 | Reasonably tight for a retrofit; much of the low-hanging work is done |
| 1 to 1.5 | Good airtightness, often what a well-run retrofit programme aims for |
| 0.4 to 1 | New-construction or Passive House territory, and only sensible with mechanical ventilation designed in |
One forum answer worth remembering: home performance insiders commonly treat 0.7 air changes per hour as the healthy sealed-and-ventilated target. Getting there in an existing home takes serious work and is usually approached along with a ventilation system rather than after it.
Do not seal a home into an indoor air quality problem. As the envelope tightens, the house needs a deliberate path for fresh air. That may mean a ducted heat recovery ventilator or energy recovery ventilator, a code-required minimum flow rate, or continuous exhaust fans in bathrooms and kitchen. Homeowners who seal without addressing this end up with stuffiness, elevated humidity and, in cold climates, a condensation risk in the assembly. Insulating a leaky wall without sealing it is how that condensation gets created in the first place.
Before hiring anyone, check the certification, not the sales pitch. Building Performance Institute certified and RESNET certified professionals are the names homeowners on forums repeat most often when they feel they got a real diagnosis rather than a quote for a system the installer already sells. One Connecticut user put the frustration plainly: everyone they talk to sells whatever they happen to have.
Utility rebates are the most-praised route in homeowner discussions. A recurring line in the r/homeowners threads is simply to check with the utility first, because many offer rebates for air sealing that made it affordable and effective. Homeowners also describe multi-hour BPI audits arranged through a utility partnership, and a late surge of attic sealing ahead of a federal credit deadline. Rebate programmes, tax rules and eligible scope change from year to year, so confirm what your utility and your tax adviser are offering in 2026 before signing anything.
How to Measure the Results
Measurement is what separates a project you can evaluate from one you can only hope about.
Photograph every repair before and after, note the date and the material used, and keep the receipts. When a bill arrives eighteen months later you will not remember which joint you sealed.
Compare energy use, not bill totals, and only across similar weather. Utility portals usually offer monthly or hourly consumption, so a cold month this year against a cold month last year is a fair read. A mild winter against a brutal one proves nothing about your caulk.
Re-run the blower door test if you used one. Comparing the before and after CFM50 or ACH50 is the cleanest single measurement you can have, and practitioners treat the change in the number as the proof of the work.
Watch the comfort markers too. Fewer drafts at a doorway, more even temperatures between rooms, a bathroom fan running less because the house holds humidity better, and fewer cold streaks along an interior wall on the same cold morning. These show up before the data does.
A useful final check is the furnace or air handler itself. Shorter run cycles, fewer start-stops and less noise on cold mornings all point the same direction. It is not a precise instrument, but it registers.
Frequently Asked Questions
Does air sealing always reduce energy bills?
Usually, but not in every house. Air sealing pays off most in homes with real leakage, cold or hot climates with long heating and cooling seasons, and expensive fuel. A new build that is already tight gains little. A bill can also fall or rise for reasons that have nothing to do with leaks, such as rate changes, weather or a different thermostat setting, so track energy use rather than the bill total.
Can air sealing make a house too tight?
Yes, if you seal it and never replace the fresh air you removed. Tightened homes need a deliberate ventilation path, either a ducted heat recovery or energy recovery ventilator or a code-required flow with continuous exhaust fans in the kitchen and bathrooms. Without one you can get stuffiness, elevated humidity and, in cold weather, condensation inside walls and ceilings. Sealing and ventilation are planned together, never separately.
What is the difference between air sealing and adding insulation?
Insulation adds resistance to heat moving through a material, measured in R-value. Air sealing blocks air from carrying heat through gaps. A wall can be well insulated and leak heavily at the same time, because air bypasses the insulation entirely. In most homes the correct order is to seal the air barrier first, then add insulation, since blowing loose insulation over a leaky ceiling first just fills a space that is still moving air.
Which air leaks should I fix first?
Start with gaps at the top and bottom of the house rather than the ones you can feel. The attic hatch, rim joist seams, chimney chase and foundation edges sit where the stack effect drives the biggest losses of already-heated air. Then handle windows, doors and duct connections. If your house has a combustion furnace or water heater, get the combustion safety side checked before you tighten anything at all.
Can renters air seal their home?
You can do the cheap, reversible parts yourself: door sweeps, weatherstripping on window sash, removable caulk or sealant on drafty trim, and sealing an attic hatch you are allowed to touch. You cannot do envelope work that involves the roof, structure or the heating system. Report persistent drafts, failed weatherstripping or visible gaps to your landlord in writing and ask for a home energy audit through the utility, which many programmes make available to tenants.
How can I tell if a professional air-sealing job is working?
Ask for the before and after blower door results in writing, expressed as CFM50 or ACH50, rather than a general claim about being tighter. Photograph the work, and keep the receipts and materials list. Then compare energy use across similar weather, and notice the comfort changes: fewer drafts, more even room temperatures and less cold streaking on interior walls. A number you can check beats a promise every time.
Start With the Biggest Safe Upgrade
For most homeowners the first move is cheap and diagnostic rather than expensive and permanent. Walk the house on a windy night, note every draft you can feel, then spend an afternoon on the attic hatch, the door sweeps and the trim joints you can reach safely.
After that, order the work like this:
- Handle combustion safety first if you have a gas furnace or water heater, through a licensed professional.
- Ask your utility about rebates and an audit before you request quotes, so the work gets measured rather than guessed.
- Seal the air barrier at the ceiling plane and the foundation edge, where the stack effect costs you the most.
- Plan the ventilation at the same time as the sealing, never afterward.
- Measure the result with a blower door number and comparable-weather energy use, then decide about insulation.
That sequence keeps the reversible work early and the expensive work evidence-based, which is exactly how homeowners in the forums avoid paying twice for the same problem.