The short answer to how to protect solar panels from wind is simpler than most people expect: the glass modules almost never fail first. What fails is the racking, the fasteners and the roof attachment underneath them, and a panel that has lost its mount becomes a sheet of glass sailing off a roof. Get the attachment right and the panel takes care of itself.
Most of the useful work happens at installation or during a scheduled service visit, not in the hours before a storm. A homeowner can handle the checks below, the storm prep, and the ground-level look afterwards. Anything involving torque on a roof attachment, live DC wiring or a structural change belongs to a qualified installer or electrician.
This guide covers rooftop arrays, DIY ground mounts, carports, and the small 12V panels on an RV, boat, cabin or garden lighting run, because the failure mode is the same on all of them even though the hardware is not.
Table of Contents
- What You Need
- Step-by-Step: How to Protect Solar Panels from Wind
- How to Protect Solar Panels from Wind at the Right Location
- Secure the Mounting and Frame
- Keep Cables and Connectors Strain-Free
- Prepare the Array Before Severe Weather
- Reduce Wind Pressure and Abrasion
- Inspect After Gusts and High Winds
- Schedule Preventive Maintenance
- Common Mistakes to Avoid Before a Storm
- Common Mistakes and How to Fix Them
- Frequently Asked Questions
- Do solar panels need extra brackets to survive strong winds?
- Should I remove solar panels before a severe storm?
- How do I know if my solar panels are rated for local wind speeds?
- What signs mean wind may have damaged my solar panel system?
- Can a homeowner safely tighten solar-panel mounting hardware?
- Conclusion
What You Need
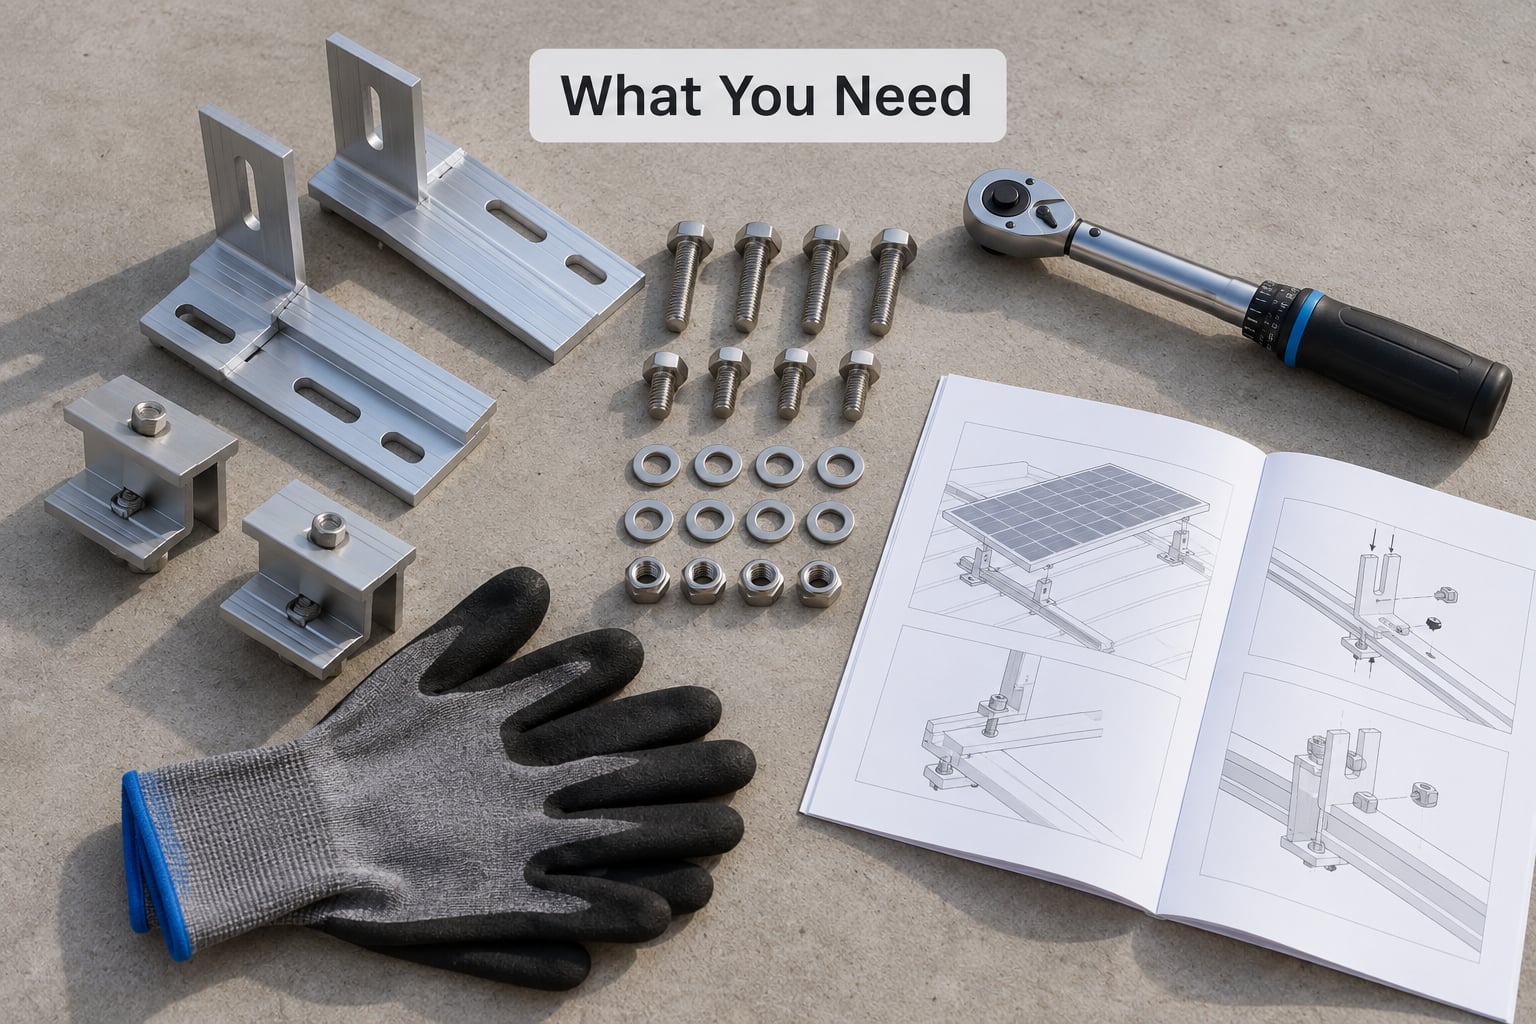
Start with documents rather than tools. The panel and inverter manuals tell you the wind load rating the system was designed for, and the fastening pattern that rating assumes. If you cannot find those documents, the mounting system’s installation instructions are the next best source.
Then get the local requirements. Your building department publishes the wind speed your jurisdiction designs for, expressed as an ultimate wind speed, which is a three-second gust at a stated height and exposure. That number, not a rule of thumb, is what your array should be built to.
You will also need fasteners and mounting hardware that match the manufacturer specification. This is where DIY jobs go wrong most often. A bolt from a leftover hardware bin, a clamp from a different rail profile, or a bracket that was never rated for uplift can look perfectly fine and still be the weak link that lets go at 40 mph.
For inspection, keep it non-contact. Binoculars, a pair of sturdy shoes and a phone on a zoom lens are enough to spot displaced panels, scraped flashing or sagging cable from the ground. Anything that needs hands-on the roof is an installer job.
Access matters too. If the system is roof-mounted or grid-connected, arrange for a qualified installer to do anything physical. Wet, icy, steep and high roofs are exactly where a routine tightening turns into an ER visit.
Step-by-Step: How to Protect Solar Panels from Wind
How to Protect Solar Panels from Wind at the Right Location
Wind damage is a site problem before it is a hardware problem. The edges of a roof, the corners of a building, and the gap around a chimney or parapet create the suction and turbulence that peel array corners upward first. Taller buildings and exposed ground give the wind a cleaner run at the array, and a nearby tree can either shelter it or drop limbs onto it depending on where it sits.
Compare what you have against the manufacturer’s wind load specification for that racking system and your local code requirement. Mounting systems in the residential market are commonly published with a rating near 2,400 pascals, which works out to roughly 140 mph of three-second gust in a typical configuration. Some vendors market panels as handling winds up to 165 mph, but that figure describes the module, not the attachment holding it up.
As a rough reference for what a system actually experiences:
| Storm category | Typical three-second gust | What usually shows up on an array |
|---|---|---|
| Severe thunderstorm | 60 to 75 mph | Loose fasteners working loose, small debris strikes, cable chafing |
| Tropical storm | 74 to 95 mph | Edge-zone uplift on unclamped corners, flashing lifted, branches across modules |
| Category 1 hurricane | 95 to 115 mph | Rail movement, panel displacement on poorly clamped rails, conduit and junction box strain |
| Category 3 and above | 130 mph and up | System loss, roof damage, and debris impact that no panel design solves |
The step is working when you can point to a document, not an opinion, that says the array at that location was designed for the wind your county actually sees. The scale breaks down at the top end, which is worth knowing: once a storm damages the roof deck itself, no amount of panel hardware keeps the system attached.
Secure the Mounting and Frame
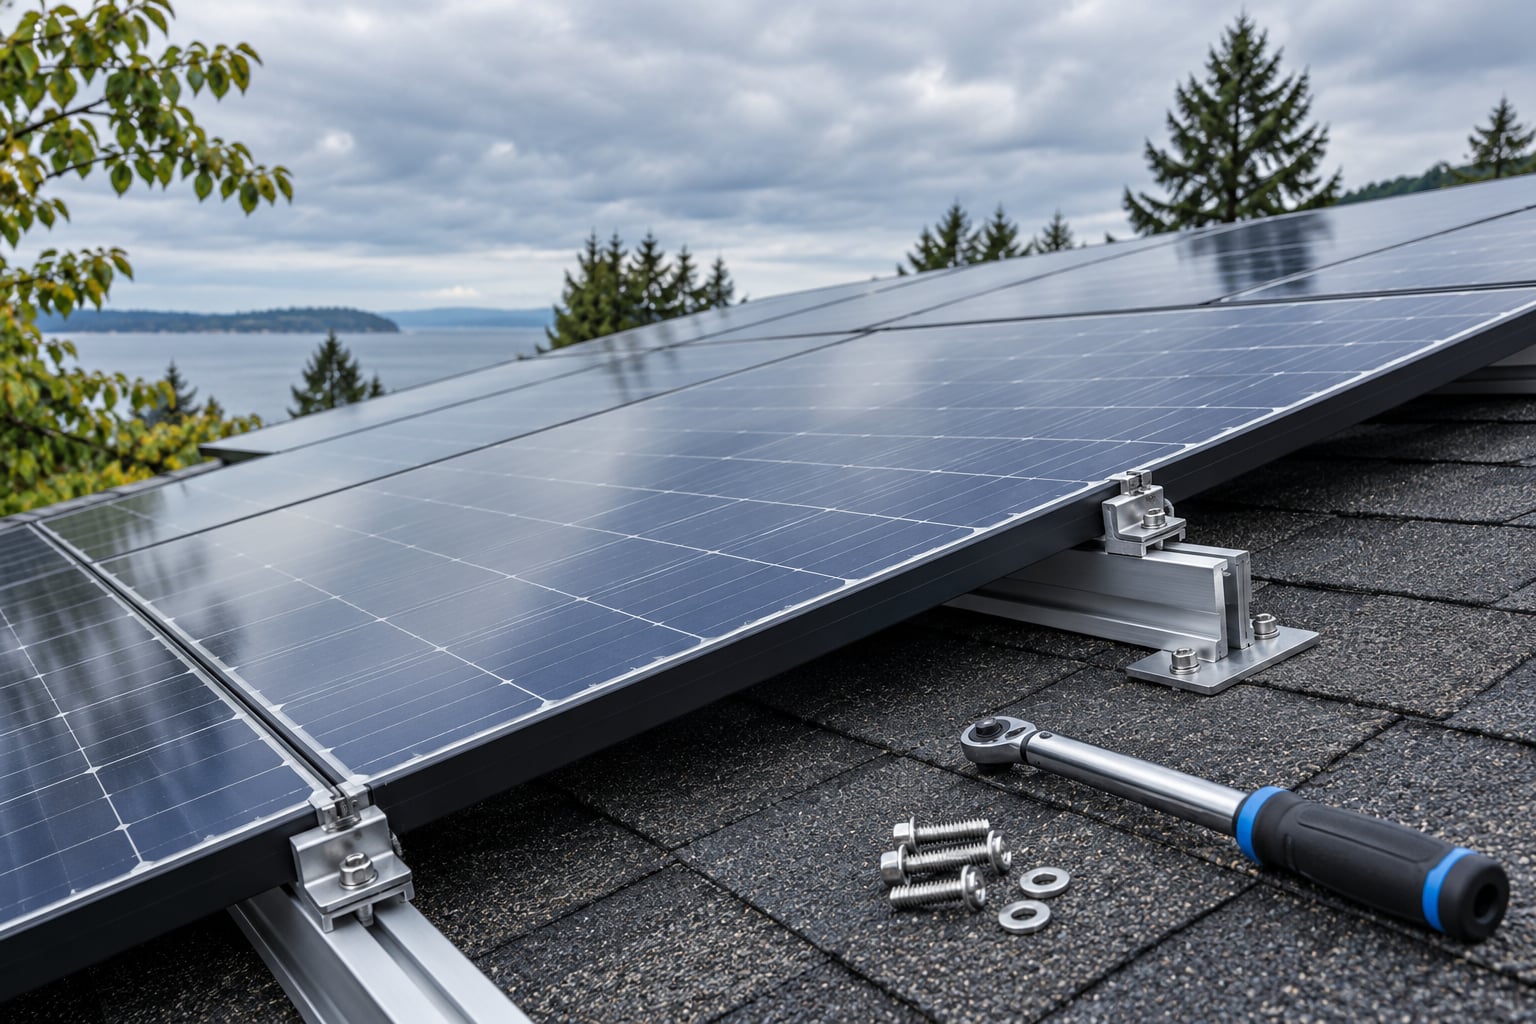
This is where the how to protect solar panels from wind work really happens, and where a professional earns their fee. Every rail, bracket, clamp, lag or fastener, and the flashing that seals each penetration gets checked for looseness, corrosion, cracking and movement.
Clamps matter more than most people expect. The outer corners and edges of an array see the highest suction, which is why the engineering places extra fasteners in the edge and corner zones. If a clamp has backed off or a rail is sitting slightly proud of where it should be, that is a real finding, not a cosmetic one.
You will not find a correct answer by guessing. Do not apply a universal torque figure or swap in a longer fastener because the hole feels short. Follow the mounting system’s instructions, and have the installer retorque, replace or reinforce what they find. An overtightened fastener can crush its own threads or crush the roof deck underneath, which weakens the next storm’s hold instead of improving it.
You will know this step worked when a technician can torque-check a sample of fasteners and find them all within the manufacturer’s stated range, with the flashing intact and the rail ends properly terminated.
Keep Cables and Connectors Strain-Free
A panel moves in the wind. Every few millimeters of that movement pulls on a DC cable, and a cable under cyclical tension eventually fatigues, pulls free of a connector, or wears through its insulation at a bend. Cables are the quietest failure in the whole system because nothing dramatic happens on the day it lets go.
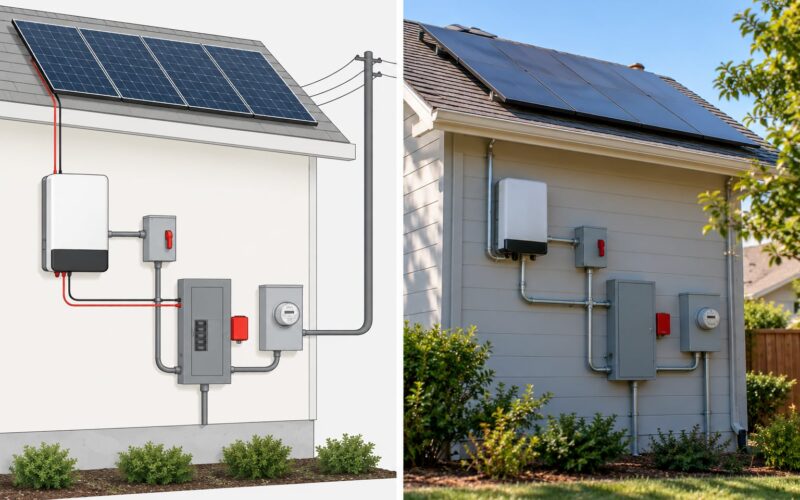
The fix is generous slack. Leave a gentle service loop so the panel can shift without loading the run, support conduit along its length rather than letting it hang between clips, keep entry points into the roof watertight, and respect the manufacturer’s minimum bend radius so you do not create a stress point in the first place. All connections and enclosures should be rated for outdoor exposure, which in coastal areas really means corrosion resistance. Salt air eats fasteners quietly.
One line to be strict about: do not open junction boxes, unplug MC4-style connectors or handle wiring that may be energized. Panels generate voltage in daylight, and the string stays live as long as light hits it. Cable condition is something to report to an electrician, not to fix yourself.
This measure is working when you can see that no cable is taut between two fixed points, and where a run crosses a rail or a roof edge it is protected from abrasion rather than resting on a sharp edge.
Prepare the Array Before Severe Weather
Keep this list short and do it well before the weather arrives, not during the warning.
Clear loose objects near the array. Tools, planters, patio furniture, fencing panels, buckets and a bike leaning against the wall all become projectiles, and the ones that hit a module are what turn a mounting problem into a glass problem.
Close any accessible covers and secure doors, vents and loose roof items that could rattle. Check for temporary objects you added yourself, a ladder left out, a tarp over equipment, a satellite dish, a temporary antenna mount. Any of those can catch wind the array handles fine and change the outcome entirely.
Follow the manufacturer’s storm procedure if your system documents one, and switch the system off only using the approved procedure, which usually means the disconnect or the app rather than touching the roof.
Do not climb up to prepare the array. Not on a wet roof, not on ice, not on a steep pitch, not on a day when gusts arrive early. There is no storm preparation worth a fall, and a homeowner on a roof during a wind event is more dangerous to the people below than the panels are.
Reduce Wind Pressure and Abrasion
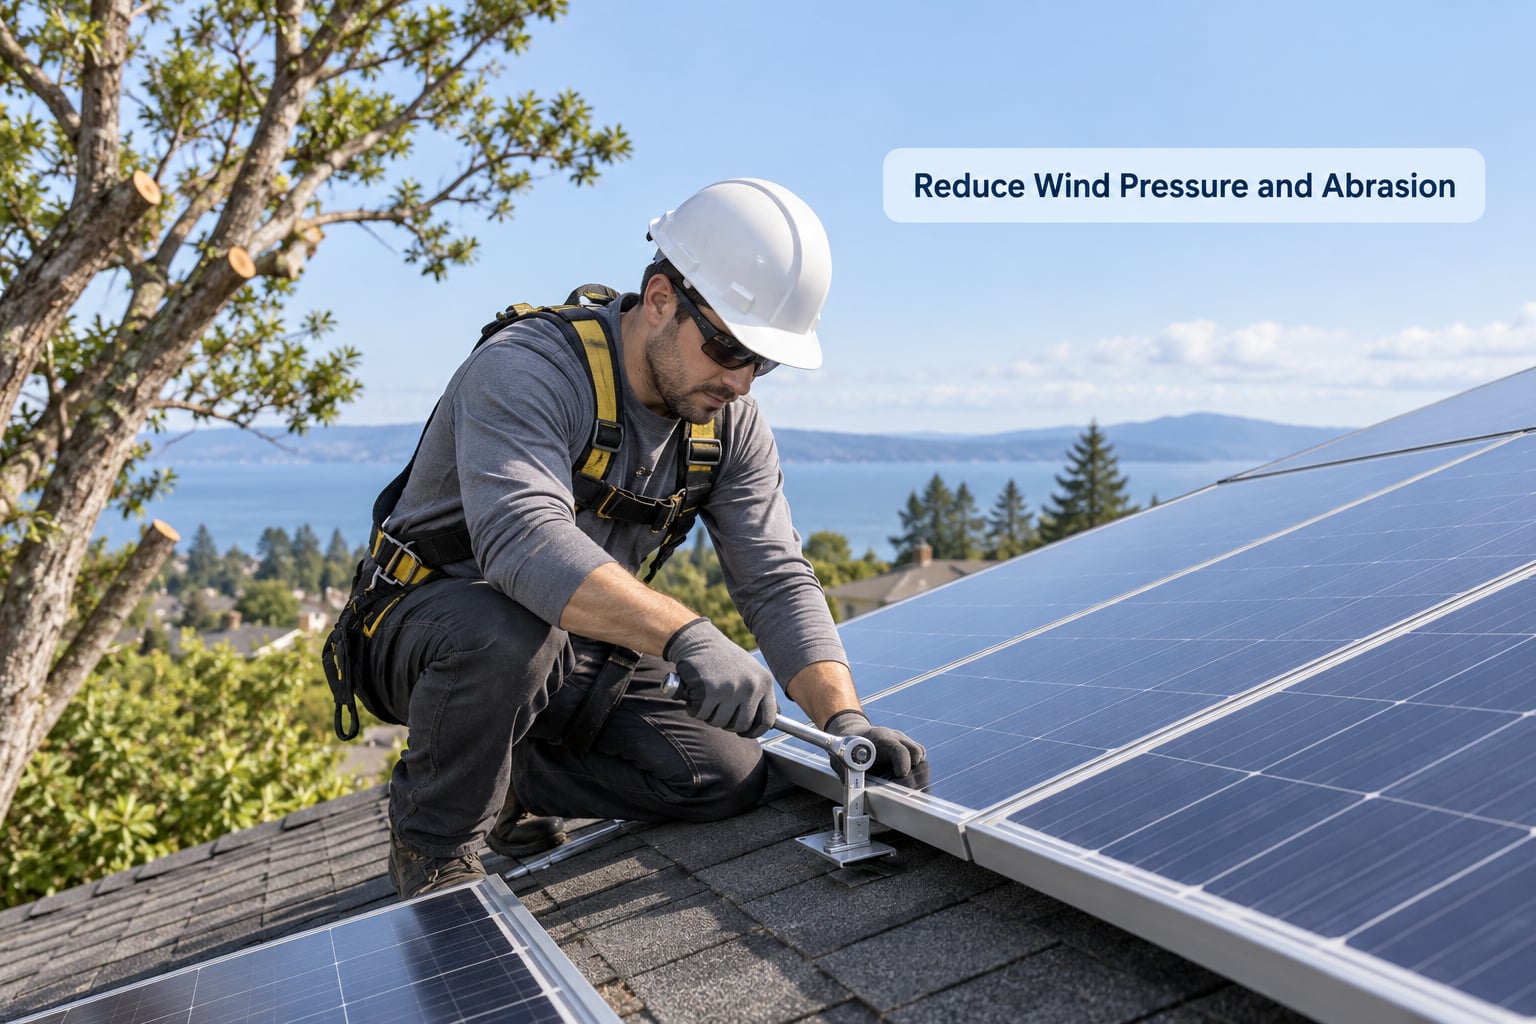
Turbulence around obstacles changes the pressure on a panel, and over years that shows up as abrasion rather than a single dramatic failure. Branches, twigs and acorns scraping across a module leave micro-scratches that dull output, and a large limb dropping onto a rail bends it in ways that are easy to miss from the ground.
Prune back the branches that overhang the array, keeping the distance your fire marshal or insurance policy expects. Relocate anything that can rattle or shift. A DIY deflector fence or wind frame is a popular idea on small ground mounts, and it can help by breaking up flying debris before it reaches the modules, which is exactly the mitigation a Greentractortalk thread about small-array wind frames was working through. It is a debris screen, not a structural solution, and it does nothing for uplift.
Trees are a professional job. So is any roof work, and anything near a service drop. Do not cut limbs yourself or work around overhead lines, and ask the tree service whether the job needs a climber, a lift or a line crew.
For ground mounts, ballast is the other lever, and the DIY community has a widely repeated rule of thumb worth knowing: panels, racking and ballast together at roughly 13 pounds per square foot of panel area. Treat that as a starting point for a conversation with an engineer, not as a design. A shallow tilt, a tall racking frame or a site with no ballast possible needs a real calculation.
Inspect After Gusts and High Winds
Do this from the ground with binoculars, and give it a few hours after the wind drops. A panel that has come loose can shift again, and a cable hanging loose is energized in daylight.
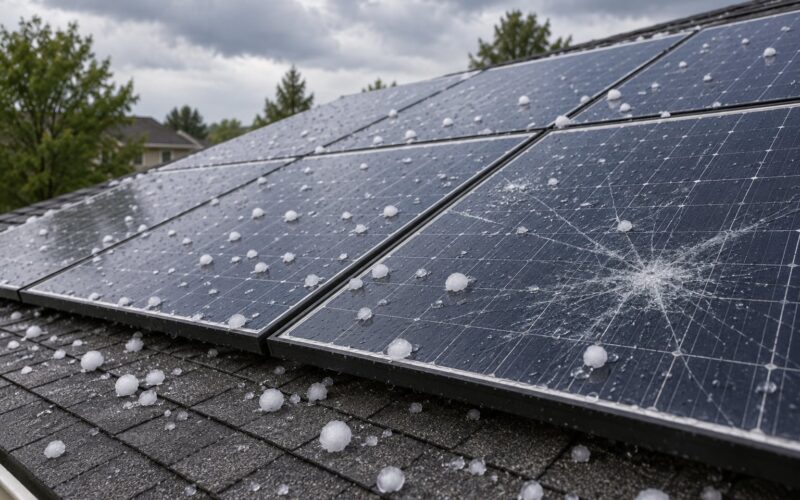
Look for the obvious signs first: a panel sitting proud of its neighbours, a rail that looks bowed, a gap that opened up along an edge, a cable hanging in a curve it should not make, flashing scraped or lifted away from the roof surface, and debris impact marks on the glass. Then check your inverter or monitoring app. A sudden drop in daily output or a new fault code on a system that was clean yesterday is a strong signal something moved, even if nothing looks wrong from the street.
Isolate the system only using the approved shutdown procedure, the same one the manufacturer documents. Do not pull connectors or lift a panel to look underneath.
Call the installer for anything structural, and call an electrician for anything electrical: arcing, a burning smell, a warm or damaged conduit, a smoking junction box, water inside an enclosure, or repeated fault codes. Those are not inspection items. In daylight a damaged string can still be producing current, and a compromised module is both an electrical hazard and something that could come down on a passerby.
One good piece of news worth knowing: string design usually means a single failed module can be isolated while the rest of the array keeps producing, though a series string takes the whole run down with it. A r/solar thread asked whether one broken panel can be isolated without losing the rest of the string, and that is exactly the right question to put to your installer before a storm season rather than after one.
Schedule Preventive Maintenance
Wind damage rarely announces itself. Repeated gust cycling loosens fasteners gradually, corrosion works on hardware in coastal air, and seals age. None of that is visible from the street, which is why a service visit before storm season is worth more than any last-minute action.
Put the inspection on a schedule: once before the season that brings your worst wind, once after any major weather event, and on whatever interval the manufacturer or installer recommends. A qualified professional should torque-check fasteners, inspect seals and flashing, verify electrical output, confirm the roof attachments are sound, and check the system against current wind-load requirements. If your roof was replaced or the array was re-roofed at some point, that check matters more than most.
Cleaning is worth doing for output and it is genuinely secondary for wind safety. A panel with dirt on it makes less power. It does not fly off the roof any differently.
Common Mistakes to Avoid Before a Storm
Improvised ballast is the first one to drop. Concrete blocks, buckets and loose pavers stacked on a frame look like a solution and become a launch system when the wind gets under them. If ballast is needed, it needs to be specified, secured and part of the design.
Overtightening fasteners is the second. If a bolt bottoms out, stops turning or crushes the material around it, you have reduced its strength. Manufacturers publish torque values for a reason, and the correct tool is the one calibrated for that value.
Skipping manufacturer wind ratings in favour of an online rule of thumb is how arrays get designed to survive a wind speed their local code never intended. Codes referenced by installers after major storms include higher minimums in some states, such as 110 mph in Texas post-Harvey and up to 160 mph in parts of Florida, and a generic number will not match your address.
The plywood and tarp idea deserves its own note because it keeps coming up. Strapping sheets to panel faces to protect them is a bad trade. It adds sail area and load to exactly the structure you are trying to protect, and it blocks the airflow that keeps the module cool. Panels are engineered for wind loads; a tarp is not.
The rest are straightforward and worth stating: tightening anything on a live electrical connection, mixing hardware from different mounting systems, and inspecting a roof after a storm by climbing onto it. Magnet mounts and improvised ratchet straps get discussed in DIY forums and are not engineered restraint. Use the system the design was built around.
Common Mistakes and How to Fix Them
Most wind damage traces back to a short list of fixable decisions. Here they are with the correction attached.
Adding your own ballast to a ground mount. The array shifts or tips because nobody calculated the uplift. Have the mounting system specified for the site, and let the design include ballast, ground screws or helical piles as appropriate.
Tightening fasteners harder than the manufacturer specifies. The fastener is weakened, not improved. Retorque to the published value with a calibrated tool, or let the installer replace hardware that has been over-tightened.
Mixing brackets, clamps or bolts from different systems. Load paths no longer match the engineering. Use the hardware the racking system is designed around, in the materials it specifies.
Ignoring the wind load rating on the spec sheet. Your array was designed for a number you have not checked. Ask the installer to show you the rating for your system in your local exposure and risk category, and to compare it with your local code minimum.
Covering panels with plywood, tarps or blankets before a storm. The added surface area increases wind load on the array. Follow the manufacturer’s storm procedure instead, which is usually about securing the site, not covering the modules.
Working on live wiring. A DC string in daylight is energized. Shutdown belongs to the approved disconnect procedure and to qualified hands.
Judging the array only by how the panels look. A system can lose output with no visible damage at all. Monitor the app and the inverter fault log, and let a professional check the fasteners, seals and attachments that nobody can see from the ground.
Trimming vegetation without assessing access. A ladder near a service drop or a climb into a leaning trunk is an electrical hazard before it is a tree problem. Use an insured tree service.
Frequently Asked Questions
Do solar panels need extra brackets to survive strong winds?
Usually no, provided the mounting system was designed and installed for your local wind speed. Extra brackets only help when the original design was underspecified for the site. The edge and corner zones of an array already carry extra fasteners by design, and adding hardware outside the system can unbalance the load path. Ask your installer to show you the wind load rating of the installed system and confirm it meets your local code minimum before changing anything.
Should I remove solar panels before a severe storm?
No. Removing panels is dangerous, usually outside your competence, and can damage the array or the roof. A well-installed system is engineered to stay attached through the wind speeds it was rated for. The useful pre-storm work is at ground level: clear loose objects, tools and furniture from around the array, close accessible covers, and follow the manufacturer’s documented storm procedure. Never climb a wet, icy, steep or high roof to prepare it.
How do I know if my solar panels are rated for local wind speeds?
Look for the wind load rating on the mounting system’s documentation, expressed in pascals or pounds per square foot, and compare it with the ultimate wind speed your building code uses for your county, exposure category and risk category. Residential mounting systems are commonly published near 2,400 pascals, about 140 mph of three-second gust. Your installer or a structural engineer can confirm the match, and local code minimums vary by state.
What signs mean wind may have damaged my solar panel system?
Look for a panel sitting proud of its neighbours, a bowed rail, a widened gap along an edge, a sagging cable, scraped or lifted flashing, and impact marks on the glass. Then check your inverter or monitoring app for a sudden output drop or a new fault code on a system that was previously clean. Treat arcing, a burning smell, a warm conduit, water inside an enclosure or repeated fault codes as electrician items, not inspection items.
Can a homeowner safely tighten solar-panel mounting hardware?
Not on a roof, and not on anything energized. Torque values are specific to each mounting system, and an overtightened fastener can be weaker than a loose one. Even correct tightening means working at height on a surface that may be wet or steep. If you want the work verified, book a qualified solar installer to torque-check a sample and inspect the rails, clamps, flashing and roof attachments as part of a pre-storm service visit.
Conclusion
If you take one action from this guide, make it the first: verify that your mounting system and array were designed for the wind your local code requires, and have a qualified installer check the fasteners, rails, flashing and roof attachments. That single inspection resolves most of the risk, and it is the answer to how to protect solar panels from wind that actually holds up.
After that, protect the small things. Clear debris, keep the vegetation back, leave the cables slack, and book a pre-storm service visit each season instead of scrambling afterwards. Then call a professional, not a ladder, if you notice unusual noise from the array, visible movement, cable damage, a dropped output reading or an inverter error after shifting weather. Panels rarely fail. The attachment does, and the attachment is the part worth protecting.