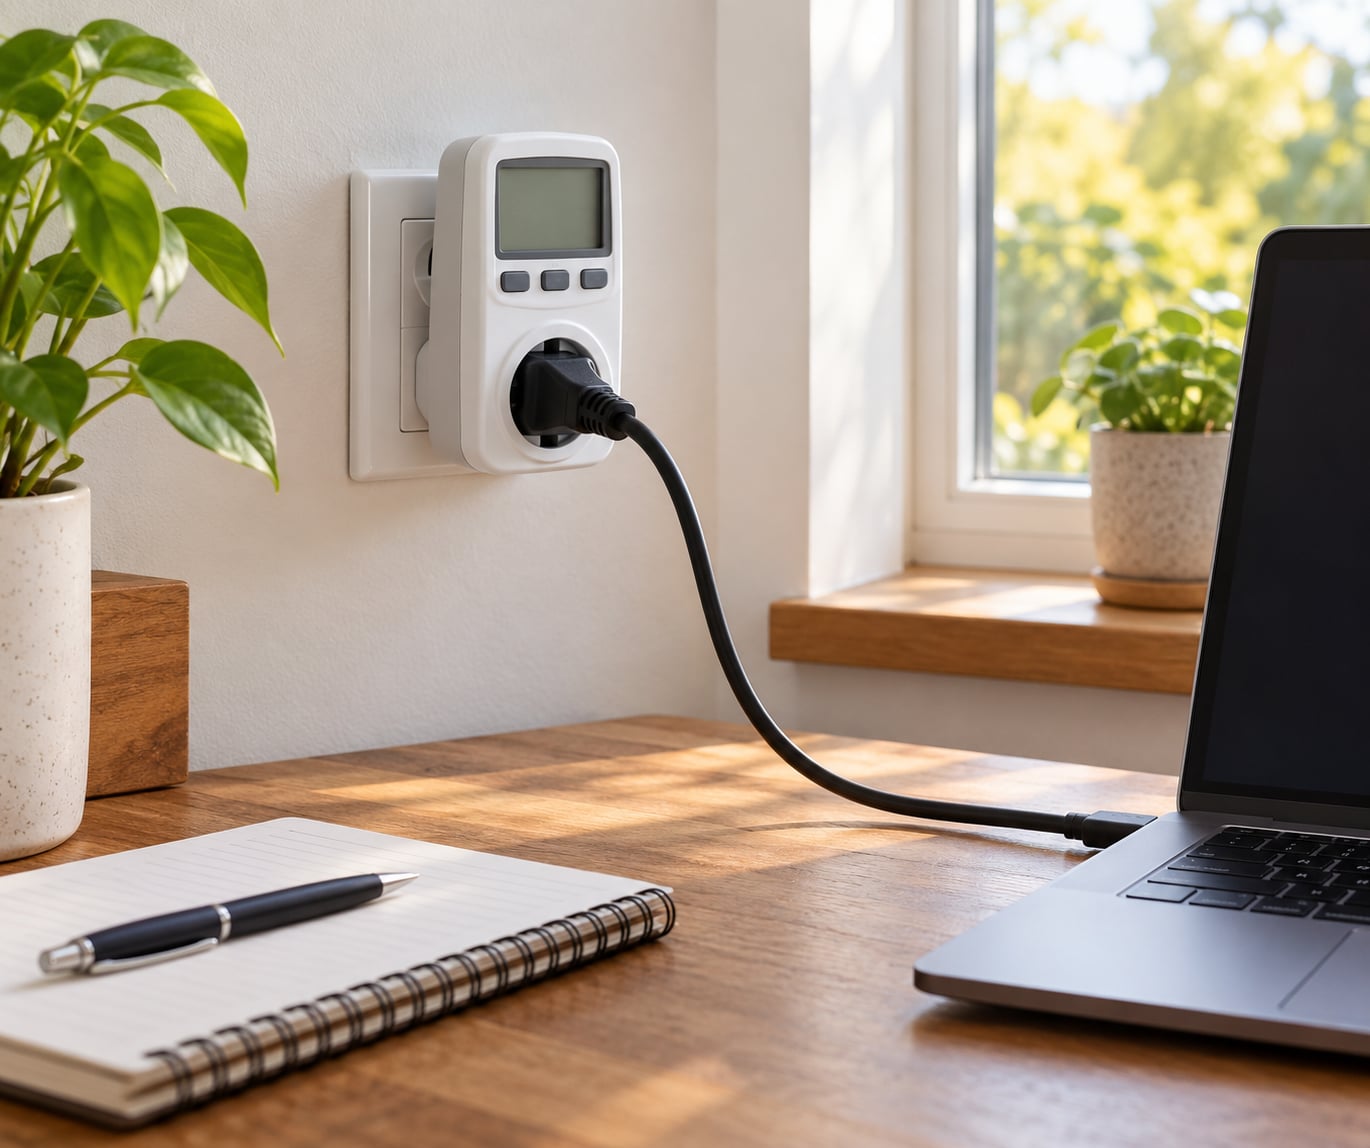
A Kill a Watt meter is a plug-in energy monitor that sits between a wall outlet and one appliance. Plug the meter into a grounded 120V socket, plug your appliance into the meter’s front outlet, switch it on, then press the buttons on the face to toggle between volts, amps, watts and kilowatt-hours. Each reading tells you what that device actually draws.
The setup takes about a minute. The harder half is knowing what the numbers mean and how long the meter needs to stay connected before the number means anything.
This guide walks through the setup, the display modes, how to turn a kilowatt-hour reading into a cost you can compare against your bill, and the mistakes that produce readings you cannot trust. It applies to the current generation of meters and outlets.
Table of Contents
- What You Need
- Step-by-Step: How to Use a Kill a Watt Meter
- Choose a Safe Test Outlet
- Connect the Kill a Watt Meter to the Wall Outlet
- Reset the Meter and Turn On the Appliance
- Read Watts and Kilowatt-Hours Correctly
- Estimate the Energy Cost
- Compare Solar Lights, Chargers, and Other Low-Draw Devices
- Record the Result and Take the Next Measurement
- Errors to Avoid During a Single Test
- Common Mistakes
- Frequently Asked Questions
- What do the numbers on a Kill A Watt meter mean?
- Is it safe to use a Kill A Watt meter?
- Can a Kill a Watt meter measure solar lights and small USB devices?
- How do I find standby power with a Kill A Watt meter?
- When do I need a different energy meter instead of a Kill A Watt?
- Conclusion
What You Need
Before you start, gather a few things. Most beginners already own everything required.
- The Kill a Watt meter itself (the standard model is the P4400).
- The appliance, charger or power adapter you want to measure.
- A grounded wall outlet you can reach and see clearly.
- A notebook or your phone, for writing down readings as you go.
- A phone calculator, once you start working out costs.
The meter only measures plug-in loads. Anything hardwired into a circuit is out of reach, and the standard Kill A Watt is a 120V device, so it cannot be used on a 240V circuit for an electric range, clothes dryer, water heater or central air conditioner. If your load is one of those, you need a different tool, and I cover that in the FAQ.
Read the manufacturer’s instructions that came with your meter before first use. Ratings and button layouts vary slightly between models, and the manual is the correct reference for yours.
Step-by-Step: How to Use a Kill a Watt Meter
Choose a Safe Test Outlet
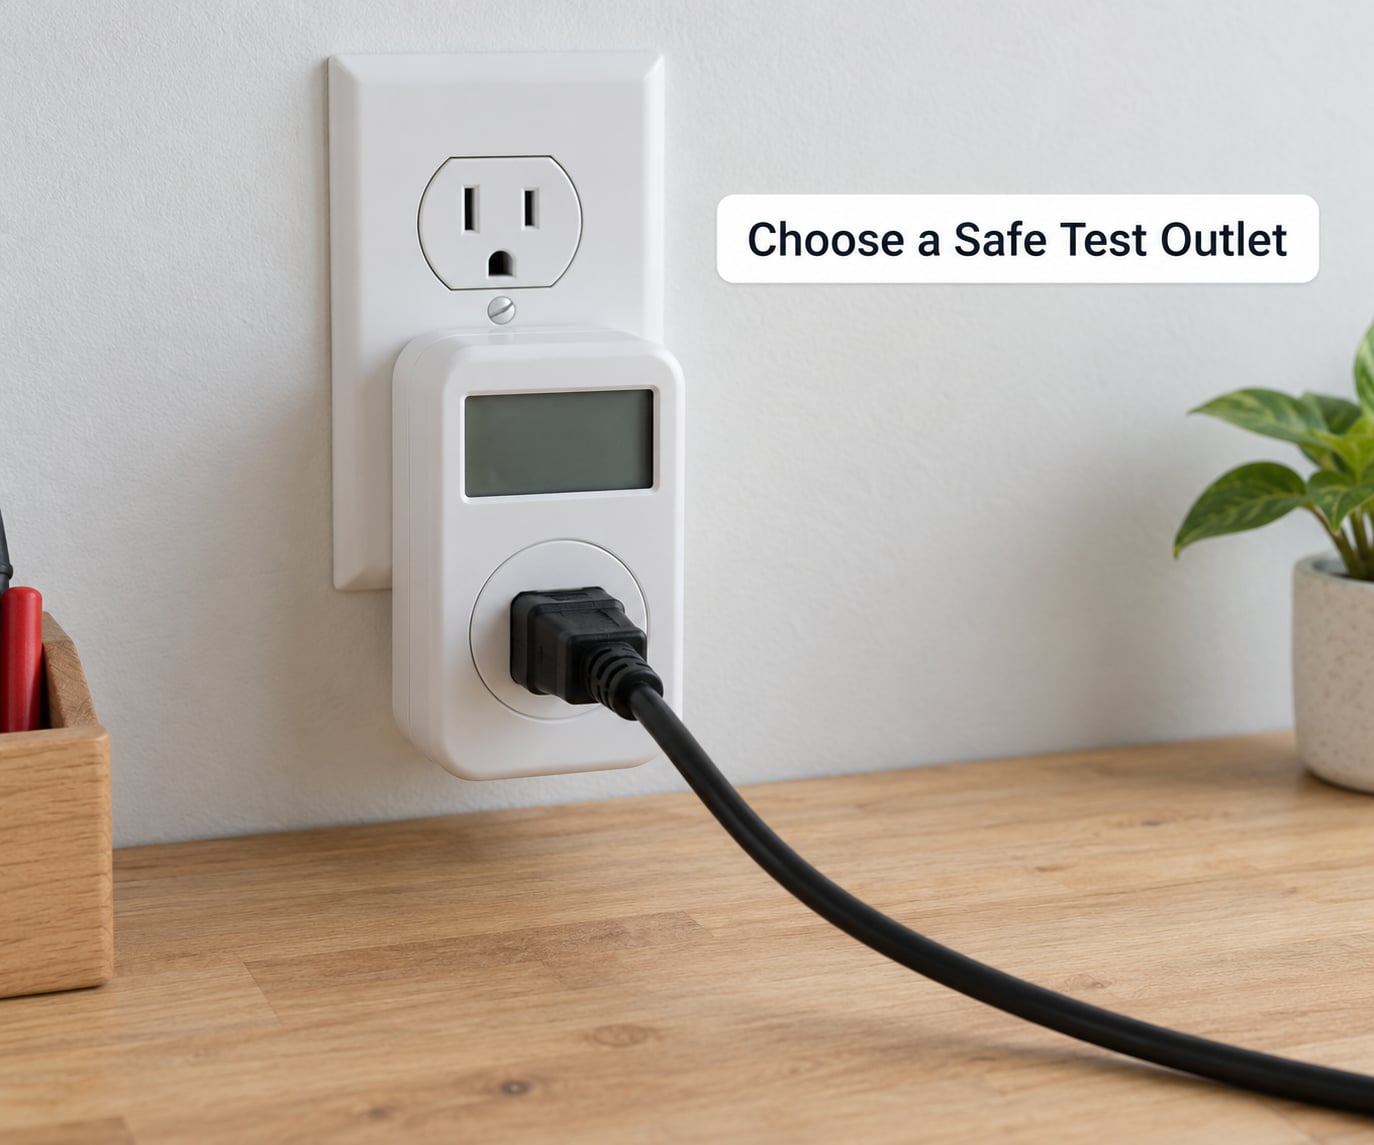
Pick an outlet that is in good condition and easy to see. Look at the faceplate for cracks, scorch marks or discoloration, and check that the plug seats firmly without feeling loose.
Keep the load inside the meter’s rating. The standard P4400 is rated for 15 amps at 120V, which caps continuous load at 1875 watts, so leave headroom rather than running right at the ceiling.
Avoid feeding the meter through an overloaded extension cord or a shared multi-outlet strip, since that adds a failure point between the wall and the measurement. Stop immediately if the plug, socket or meter becomes warm, buzzes, smells burnt, or shows a loose connection. A damaged meter should not be plugged in at all.
Connect the Kill a Watt Meter to the Wall Outlet
Plug the meter directly into the grounded wall outlet. The front face of the meter is itself an outlet, which is where your appliance goes.
Now plug the device under test into that front socket. Keep the appliance in its normal operating mode, which for most tests means the usual setting rather than a special measurement mode.
One practical annoyance: the meter fills the entire receptacle. If something else was plugged into that outlet, you will need to move it for the duration of the test.
Reset the Meter and Turn On the Appliance
Check the display before you start. The meter shows a cumulative kilowatt-hour reading and an elapsed hour counter from whenever it was last plugged in, so an old number may already be sitting on screen.
Where the model supports it, reset the cumulative kilowatt-hour counter to zero before you begin, following the button sequence in your manual. If your model has no reset, simply write down the current kWh figure and subtract it from the ending figure later.
Then switch on the appliance and let it reach a normal operating state. Motors, compressors and screens take a few seconds to settle, and some devices spike briefly at startup, so give it a moment before you record anything.
Read Watts and Kilowatt-Hours Correctly
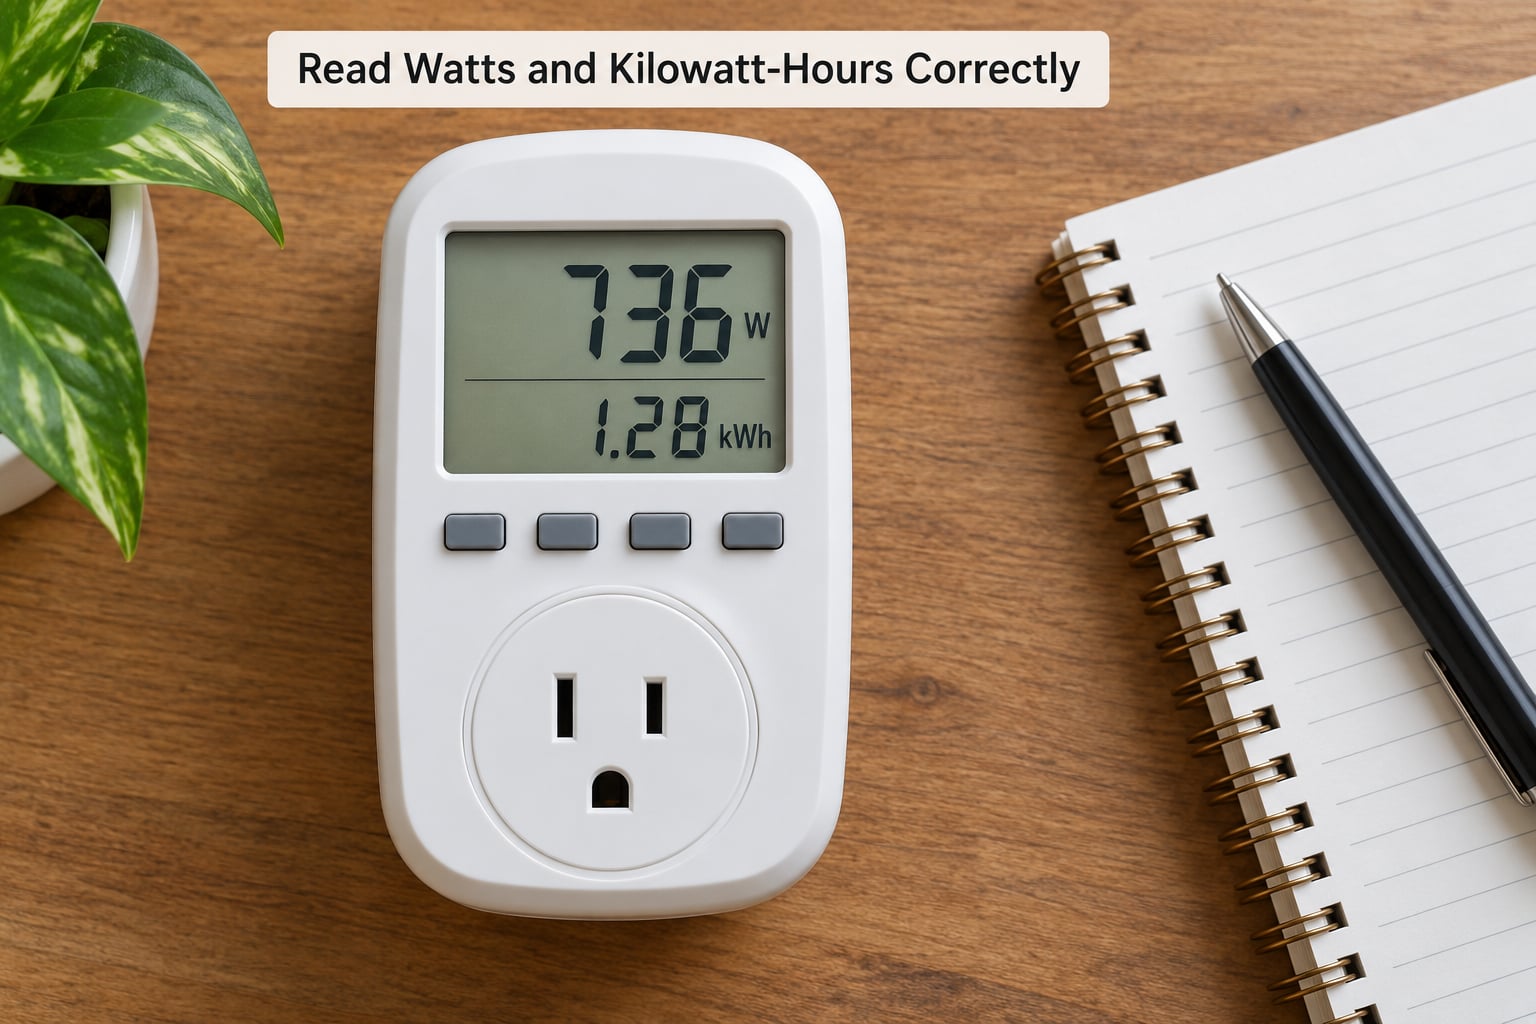
The display cycles through several modes as you press the button. Watts tell you how much power the device is drawing right now; kilowatt-hours tell you how much energy it has accumulated over the time it has been connected. They are different quantities, and mixing them up is the most common source of confusion.
- Volt shows line voltage at the socket. A healthy 120V US outlet reads roughly 114 to 126V.
- Amp shows current draw in amperes. Stay under 15A; above 12A you are close to the meter’s limit.
- Watt or kW shows the real power being used at that moment. The standard model tops out below 1875W.
- VA shows volt-amps, the apparent power draw. It runs above watts for motors and compressors.
- Hz shows line frequency, around 60Hz in North America.
- PF shows power factor, or how efficiently the load converts power. Electronics sit near 1.0, motors lower.
- kWh shows cumulative energy used since the reading started. This is your consumption figure.
- Hour shows elapsed time connected, not consumption. It just counts up while the meter is plugged in.
Compare watts with power factor to spot something interesting. A device drawing 60 watts at a power factor of 0.6 is drawing closer to 100 VA, which is a hint that the load is inductive, like a motor or an older power supply.
Notice the resolution floor. Most of these meters cannot resolve below roughly 0.5 watts, so small electronics often display 0.0W even though some draw is present. A reading of 0.0 does not automatically mean zero consumption.
Estimate the Energy Cost
Turn kilowatt-hours into money with one multiplication:
kWh used × your rate per kilowatt-hour = cost
Your rate per kilowatt-hour is printed on your electricity bill, and in the US it commonly falls somewhere between 12 and 18 cents. Tariffs vary by region and by time of day, so treat the result as an estimate rather than a billing figure.
Here is a worked example. A 1500-watt space heater running for 3 hours uses 1500 watts ÷ 1000 = 1.5 kW, and 1.5 kW × 3 hours = 4.5 kWh. At 15 cents per kilowatt-hour, that single session costs about 68 cents. Run the same heater 4 hours a day and the daily energy is 18 kWh, or roughly 2.70 dollars a day.
Compare that result against your actual bill rather than assuming your tariff is flat. Tiered, time-of-use and seasonal rates all change the arithmetic, and a fixed daily charge means cost per kilowatt-hour is not really constant.
Compare Solar Lights, Chargers, and Other Low-Draw Devices
Small devices are where this meter gets interesting, and where it gets frustrating. A solar garden lamp charging through its adapter, a phone charger or a USB-C brick will often sit near or below the meter’s resolution floor, so the display may read 0.0W or flicker between 0.0 and 0.1W.
That is a limitation of the meter, not proof the device draws nothing. If you need a stable reading at very low loads, use a meter with milliwatt resolution or a stated minimum measurable load, and keep the load connected long enough for the cumulative kilowatt-hour figure to climb into a range you can read.
The practical workaround for solar lighting is to test a bundle rather than a single lamp, and to compare that figure against the same test on a known reference device. Relative readings are more reliable than any single tiny value, because they show whether a lamp’s draw has changed after a panel, battery or adapter swap.
Record each test the same way: appliance name, operating mode, watts, elapsed time, calculated kilowatt-hours and cost. Reset between tests, and repeat anything important under realistic conditions, because a heater measured cold draws differently than one measured warm.
Record the Result and Take the Next Measurement
Write the numbers down before you unplug anything. The standard P4400 has no memory, so pulling it from the wall erases the cumulative kilowatt-hour reading, which is the single most common complaint from people measuring for the first time.
A useful log keeps five columns: device, mode, watts, test duration in hours, and kilowatt-hours per day. From those five values you can extrapolate to a week, a month or a year, and compare devices on equal terms.
For appliances that cycle rather than run continuously, a single snapshot is misleading. A refrigerator compressor runs in short bursts, so leave the meter connected for at least 24 hours, ideally a full week, and divide the final kilowatt-hour figure by the number of days to get an honest daily average.
Errors to Avoid During a Single Test
Most bad readings come from a handful of repeated errors. Here is what goes wrong and how to correct it.
- Confusing watts with kilowatt-hours. Watts is a rate, kilowatt-hours is a total. Multiply watts by hours to get energy, then divide by 1000 to get kilowatt-hours.
- Reading before the appliance settles. A reading taken during startup reflects a surge, not steady-state use. Wait until the display stabilises.
- Changing the load mid-test. A dimmer setting, a sleep mode or a different charging mode changes the number. Test one mode at a time and label it.
- Trusting readings below the meter’s resolution. Anything under roughly 0.5W is at the edge of what the device can resolve.
- Leaving a big load running far longer than needed. Sustained high draw heats the connection. Finish the measurement and unplug.
Common Mistakes
The step list above covers errors made during a single test. A few habits separate a useful audit from a wasted afternoon.
Test one device at a time. A reading with several appliances on one strip is a total, not a per-device figure, so it tells you nothing about which item to fix.
Check for smart plug conflicts. If you are also testing a smart plug or smart strip with energy monitoring, do not nest one inside the other. You will get a reading that reflects the standby draw of the second device, not the appliance you care about.
Confirm anything surprising independently. Cross-check a result against a second method, such as your utility account’s itemised usage or the manufacturer’s published consumption figure, before you replace an appliance.
Know your model’s specification. Accuracy claims such as within 0.2 percent describe the metering element, not the whole picture. Resolution at low load, memory, voltage range and maximum amperage differ between models, so check the spec sheet for the meter in your hand rather than assuming every Kill A Watt behaves identically.
Community electrical forums are consistent on one point: honest limitations build more trust than impressive claims. The 120V ceiling, the memory behaviour and the sub-watt resolution floor are worth stating up front rather than discovering later.
Frequently Asked Questions
What do the numbers on a Kill A Watt meter mean?
The display cycles through line voltage, amperage, real watts, volt-amps, line frequency, power factor, cumulative kilowatt-hours and an elapsed hour counter. Watts and amps describe what the device is drawing right now. Kilowatt-hours describe total energy used since the reading started. The hour counter shows elapsed time only, so it is not a consumption figure.
Is it safe to use a Kill A Watt meter?
Yes, for ordinary plug-in loads within its rating. Plug it directly into a grounded wall outlet rather than an extension cord or shared power strip, and keep the load under 15 amps, which caps continuous use at 1875 watts. Never connect it to a 240V circuit. Stop immediately if the plug, socket or meter becomes warm, discoloured or smells burnt.
Can a Kill a Watt meter measure solar lights and small USB devices?
Not reliably on its own. Many models cannot resolve below roughly 0.5 watts, so a phone charger or a solar lamp adapter shows 0.0W or flickers even though it is drawing something. For those loads, use a meter with milliwatt resolution or a stated minimum measurable load, keep the device connected long enough for kilowatt-hours to accumulate, and compare results against a known reference device.
How do I find standby power with a Kill A Watt meter?
Plug the meter in, then leave the appliance switched off but still connected. Any reading above zero is standby draw, also called vampire or phantom load. Test room by room, leaving each device in its normal idle state for a minute or two before recording. Write the figures down before unplugging, because the standard P4400 erases its cumulative reading when it loses power.
When do I need a different energy meter instead of a Kill A Watt?
You need something else for 240V loads such as ranges, dryers, water heaters and central air conditioning. You also want a data logger or graphing plug when you need minimum, maximum and daily totals over time rather than a single instantaneous reading. A clamp meter works where a plug-in device cannot reach the conductor at all.
Conclusion
Start with one device that runs continuously, such as a monitor or a dehumidifier, and measure it first. Note the watts, let the meter run for a known number of hours, calculate the kilowatt-hours, then divide by the number of hours to get an honest daily figure.
Repeat that process for everything on your list, writing each reading down before you unplug, and you will have a per-appliance map of where your electricity actually goes. That map is what turns a vague monthly bill into decisions you can act on.