Last updated October 2026
To clean cloudy solar light panels, brush off the loose debris, wash the cover with mild dish soap and lukewarm water, buff out the haze with non-gel toothpaste or a baking soda paste, and finish with a clear UV-resistant sealer. Most fixtures come back to life in about ten minutes with things already in your kitchen cupboard.
The tricky part is that “cloudy” means two different things here. Either the panel surface is fogged and filthy, or the weather has been dull and the light is charging slowly for reasons no amount of scrubbing will fix. Work out which one you have before you pick up a cloth.
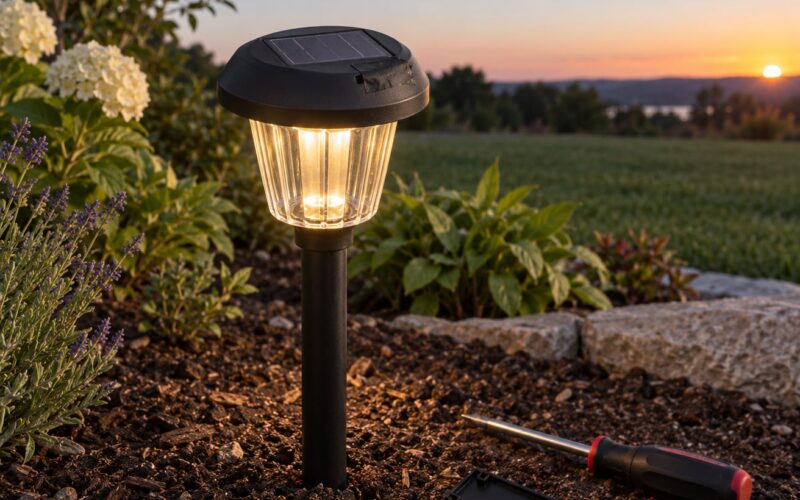
Nobody enjoys a path light that glows like a nightlight in July. The fix is usually less dramatic than people expect: almost every dim solar light I have come across turned out to be a dirty cover, an aged rechargeable battery, or both. Cleaning comes first because it costs nothing and takes minutes.
Table of Contents
- What You Need
- How to Clean Cloudy Solar Light Panels
- Step-by-Step
- 1. Turn off the light and check the manufacturer instructions
- 2. Remove loose dirt and debris
- 3. Wash the panel with mild soapy water
- 4. Remove stubborn grime without scratching
- 5. Dry and test the charging performance
- Common Mistakes
- Frequently Asked Questions
- What makes a solar light panel go cloudy?
- Can rainwater clean a solar light panel on its own?
- How do I remove bird droppings from a solar light?
- Is white vinegar safe to use on a solar panel?
- Why are my solar lights still dim after cleaning?
- What do I do if the panel stays cloudy no matter what I try?
- The Short Version
What You Need
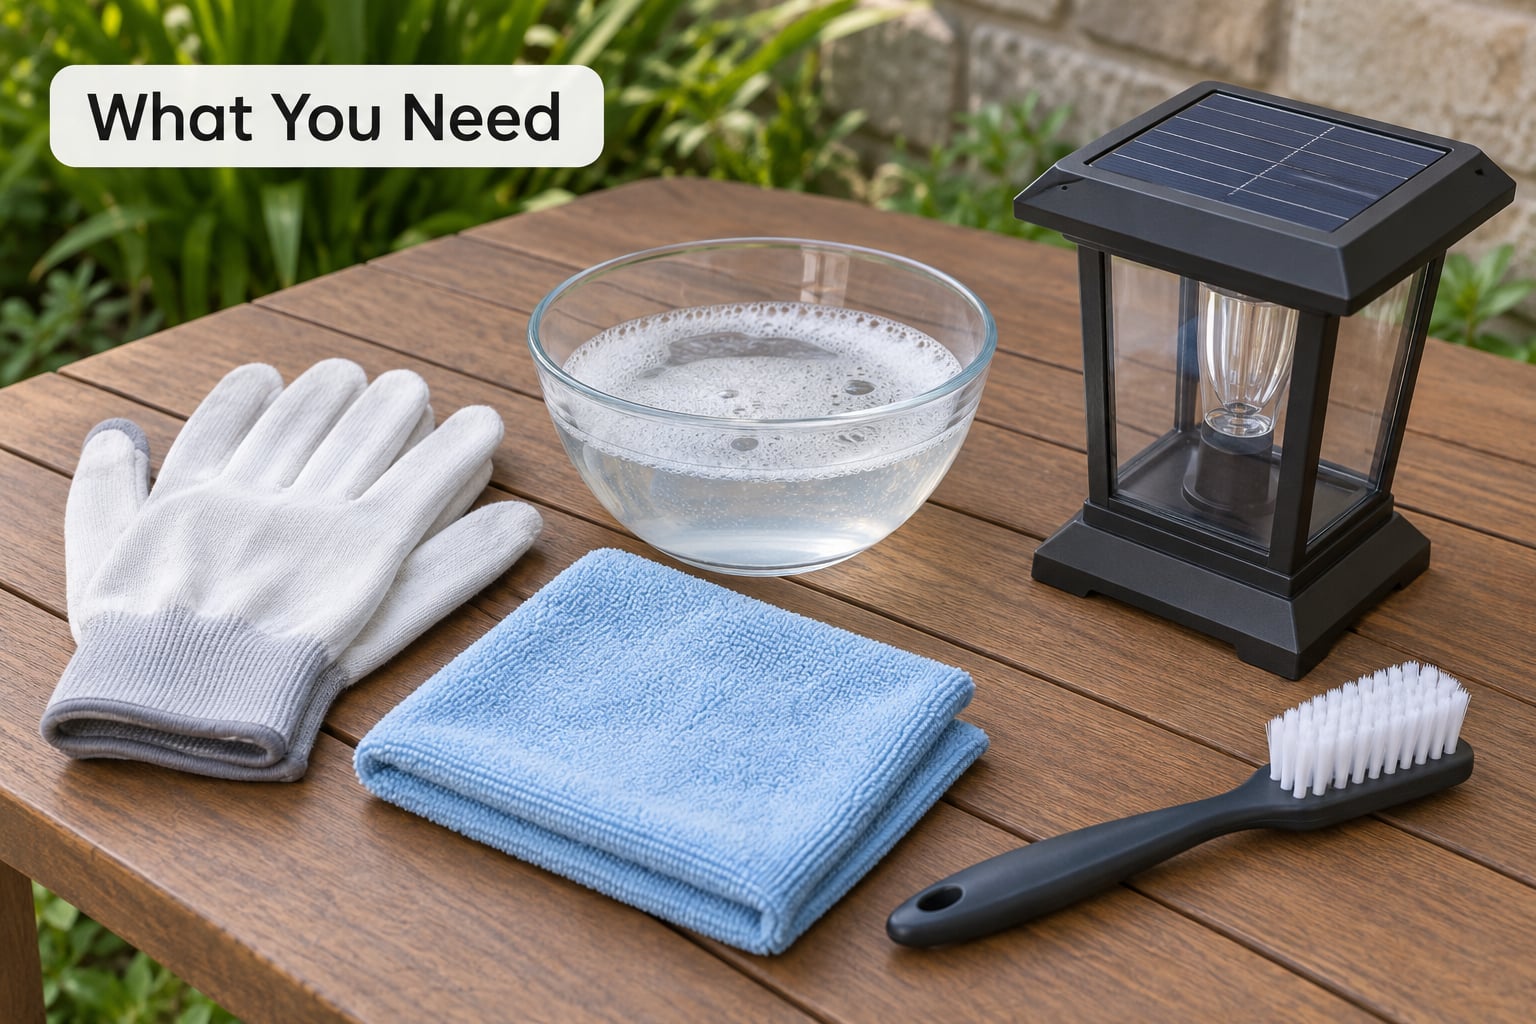
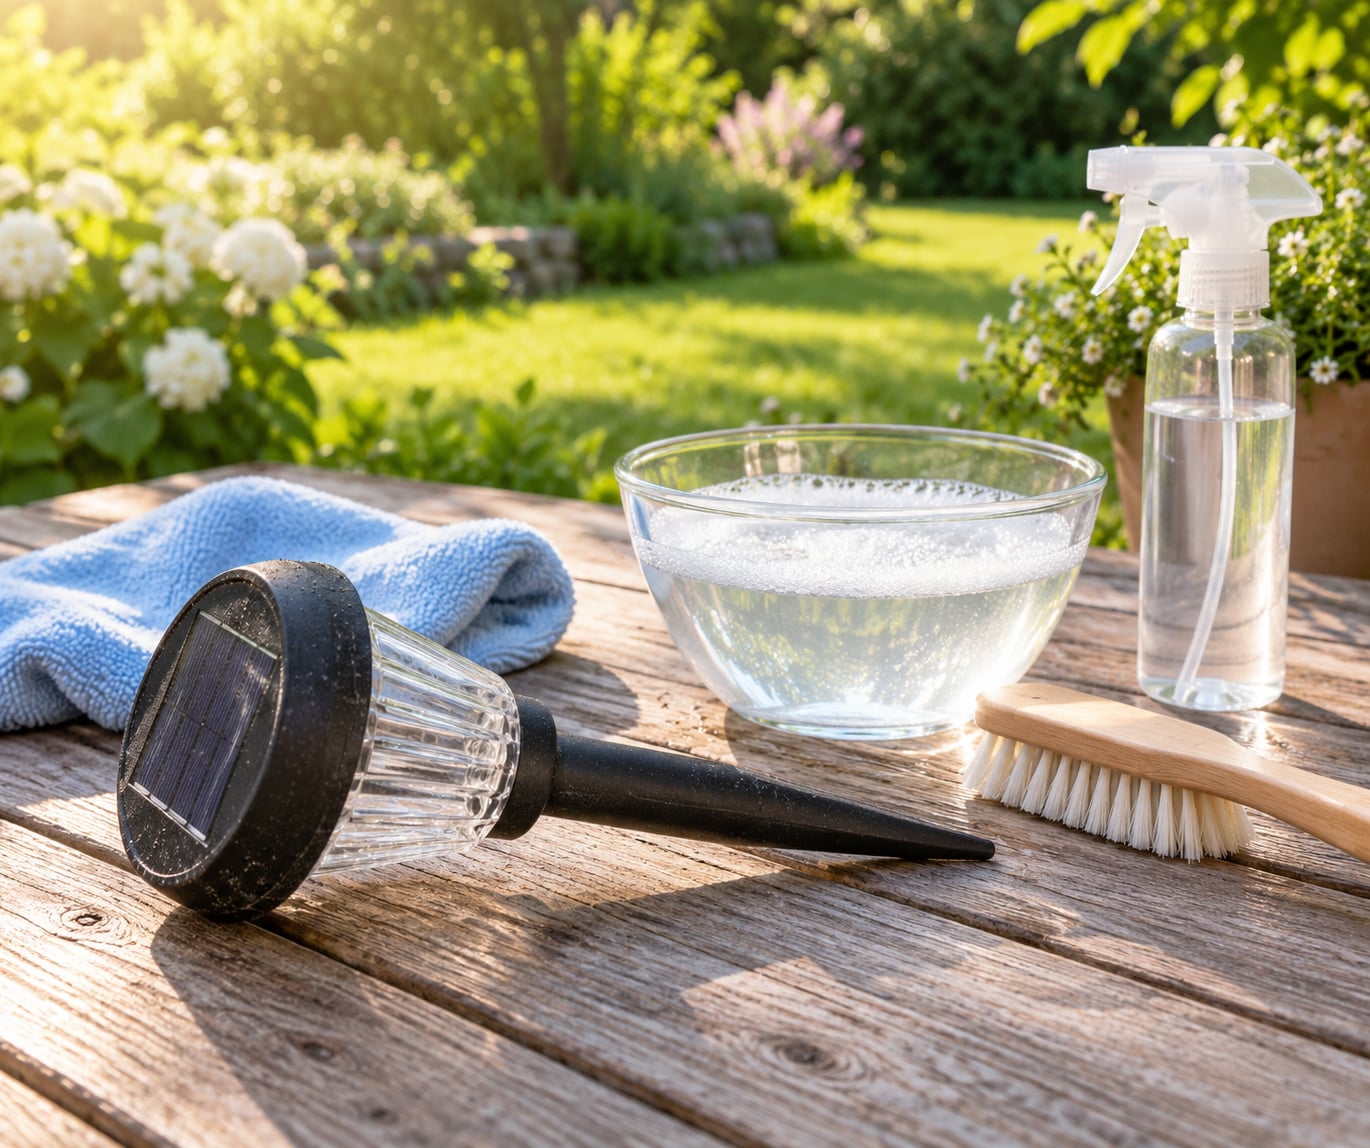
Most solar lights only need gentle cleaning. The whole job can be done with a bowl of lukewarm soapy water and a soft cloth, so resist the urge to buy a specialty solar cleaner.
- Lukewarm water and a few drops of mild dish soap. Not hot water, and not scented or bleach-heavy concentrate.
- A microfiber cloth or a soft sponge. Microfiber is better because it lifts grit without dragging it across the surface.
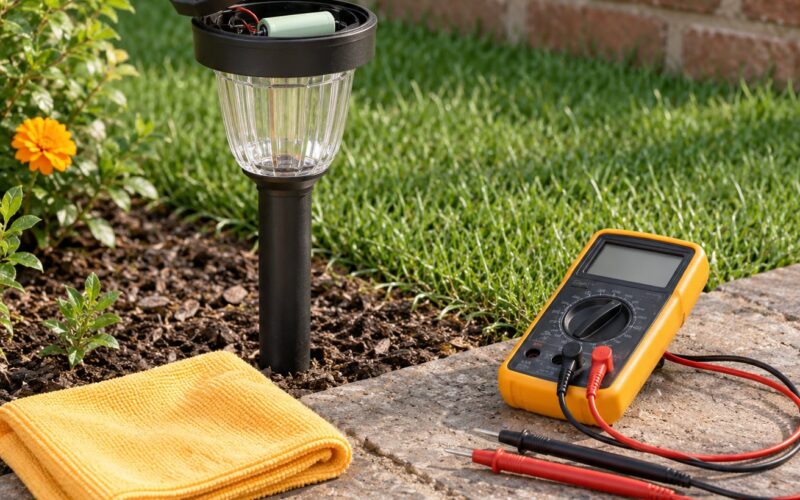
- A soft-bristled brush or an old toothbrush. Good for the seams around the cells and for battery contacts inside the compartment.
- Baking soda, or plain white non-gel toothpaste. One of the two is enough to buff light haze. Skip the gel formulas, which do nothing useful.
- White vinegar and cotton swabs. For mineral crust and for greenish corrosion on battery contacts.
- A soft, lint-free towel for drying the panel and the edges of the housing.
- Clear gloves, because you will be handling a fixture that has been sitting in wet soil.
- A small clear outdoor UV-resistant sealer. Optional, but it is the step that stops the haze coming back in a few months.
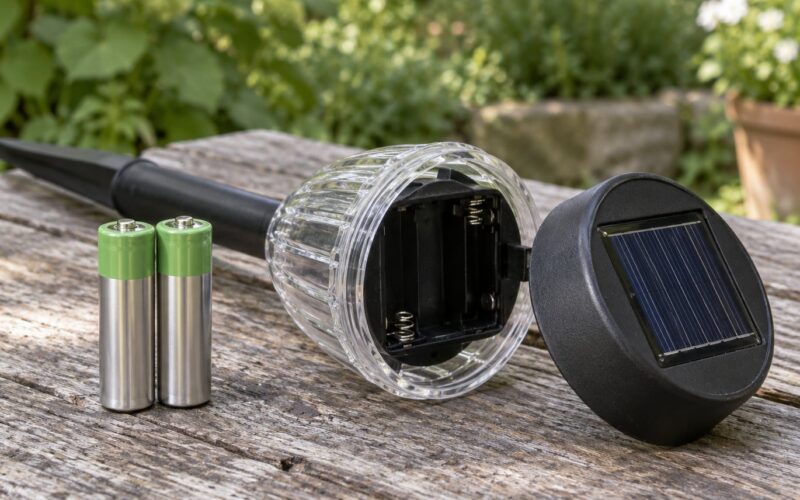
You also need daylight hours, a step stool or ladder for anything mounted above head height, and the manufacturer’s instructions if you plan to open the battery compartment. Many cheap stake lights have sealed or clipped-in cells, and forcing the housing apart is how water gets in. If the manual does not say the compartment opens, stop at the surface.
How to Clean Cloudy Solar Light Panels
Outdoor solar light panels are small photovoltaic panels behind a clear plastic cover, and that cover is what goes cloudy. Layers of dust, pollen, fine grit, and dried leaves block the light reaching the cells. Hard water leaves a pale mineral crust over the top, and bird droppings and tree sap stick to the surface until rain turns them into a gritty film. Add years of UV exposure and the plastic itself oxidises, turning faintly yellow or milky white.
You can tell which problem you have in ten seconds. Wipe the panel with a damp finger or cloth. If the cloudiness wipes away and the plastic underneath looks clear, you are dealing with surface dirt, and a wash will do most of the work. If the fog sits under the surface, the plastic has oxidised, and cleaning can only improve the top layer.
Some degradation is simply beyond a cloth. Cracks, lifting edges, a cover that has gone deep yellow or brittle, or cells that look water-stained from the inside all point to physical damage. Cleaning will not restore those, and no sealant will either. A clean panel that still refuses to charge means the problem is elsewhere, usually the battery or the charge controller.
Step-by-Step
1. Turn off the light and check the manufacturer instructions
Switch the light off using its on/off switch, and cover or leave the photocell sensor shaded so the dusk sensor does not fire. Many solar lights have a hidden switch on the underside or a pull tab over the battery; without removing it, the light will simply not charge and you will conclude the clean failed.
Read the instructions before opening anything. Remove or disconnect the battery only if the manual says it is safe, and if the cells are sealed or glued in, leave them alone. Clean in the cool part of the morning or evening rather than at midday, both because the soapy water works better when it is not flashing hot and because a cool panel is far less likely to haze up as you wipe.
2. Remove loose dirt and debris
Take the light out of the ground if it is a stake light, and shake or tap out the loose material. Use a dry, soft-bristled brush to sweep leaves, dust, and grit off the panel in one direction so you are not pushing debris into the seams.
Pay attention to the gap between the panel and the housing. That line collects leaf fragments and mud, and compacted debris there keeps the surface damp in shade, which is exactly how a panel gets a permanent-looking haze. Keep brushing outward from the centre of the panel and off the edge, not in circles.
3. Wash the panel with mild soapy water
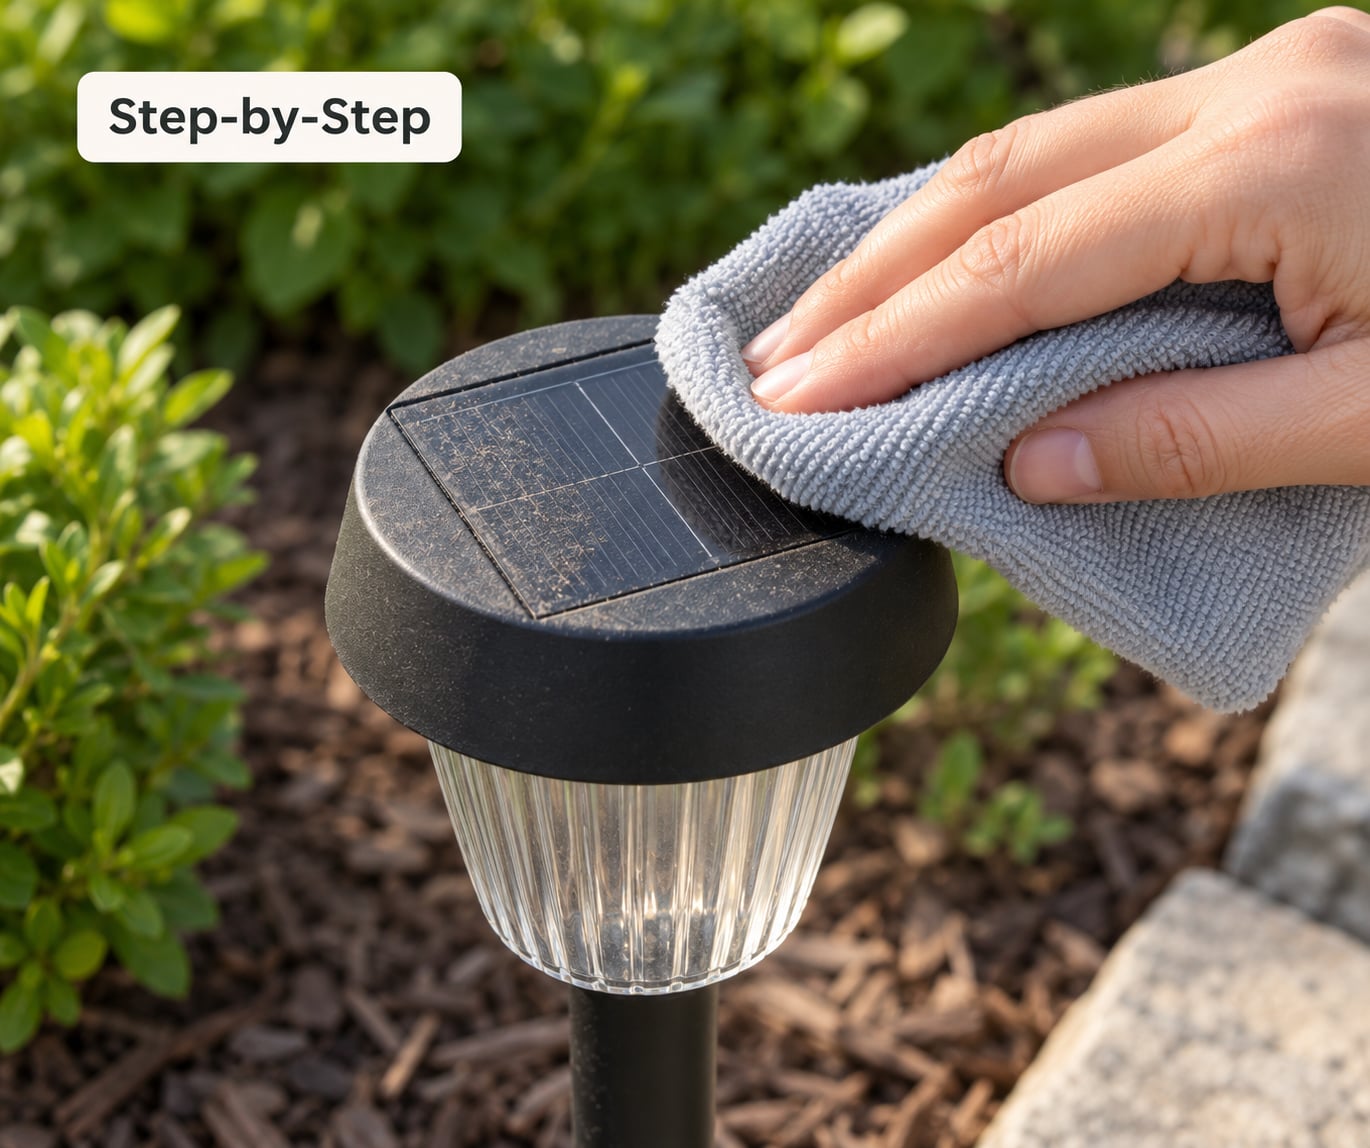
Mix a few drops of mild dish soap with lukewarm water in a small bowl. Dip your microfiber cloth or soft sponge in it and wipe the panel gently in overlapping strokes. You are after a thin, even film of suds, not a soak.
Briefly rinse with a damp cloth rather than running the whole fixture under a tap, and never submerge it unless the manual says it is rated for that. Water pushed into the battery compartment is the single most common DIY cause of a permanently dead light. Keep the cloth moving and work the seams with the soft brush, then wipe the housing down as well since grime on the plastic darkens the ambient light the sensor reads.
4. Remove stubborn grime without scratching
For haze that a cloth does not shift, use a pea-sized amount of plain white non-gel toothpaste on a damp cloth, rub in light circular motions for a minute, then wipe away with a clean damp cloth. A baking soda paste is the gentler option: mix baking soda with a few drops of water to a thick paste, apply it the same way, and leave it for two or three minutes before wiping. Baking soda is the better choice on decorative lenses and on any panel with a printed or tinted face, where a slightly abrasive polish is easy to overdo.
For bird droppings and mineral crust, soak the spot with the damp cloth rather than scraping it, then make several gentle passes. Wipe a small area, re-wet it, and go again. If you are tempted to reach for a razor blade, a metal scraper, a nail file, or steel wool, put it down instead: those strip the protective coating and the micro-scratches they leave make the panel hazier over the following months, not less.
5. Dry and test the charging performance
Wipe the panel dry with a clean lint-free cloth and let the fixture air dry completely, including the edges of the cover and the underside of the housing, before you switch it on. Trapped moisture in a seam can sit there and cause exactly the fog you just cleaned away.
If the panel is only hazy, a clear UV-resistant sealer sprayed or brushed on while the surface is still slightly damp will fill the micro-pores and slow the re-fogging. Follow the sealer’s own drying time, then return the light to open sunlight.
Leave it in direct sun for the rest of the day and check it that night. A light that now runs to full dark from a full day of sun was a charging problem. A light that still glows faintly or cuts out after an hour is usually a battery that has aged out, a corroded contact, or a photocell that is being fooled by a nearby wall or tree.
Common Mistakes
Cleaning a panel that is powered on, hot from the sun, or wired to a live fixture is the first mistake people make, and it is the easiest to avoid. The light should be switched off, cool, and ideally removed from its mounting.
The rest come down to using the wrong product or the wrong pressure. Harsh chemicals such as bleach, ammonia, acetone, and household glass cleaners with solvents will haze plastic and can attack the adhesives sealing the cells. Abrasive pads, scouring pads, and stiff brushes scratch the cover. A pressure washer drives water straight past the panel into the housing.
WD-40 is a common suggestion and a bad one. It is a lubricant and a solvent, not a cleaner, and it leaves a film on the panel that catches dust and can interfere with how the surface handles light. Use it on a hinge if you like, never on the panel.
Two more habits cause trouble: forgetting to dry the edges, and expecting a clean to rescue a panel that is already physically damaged. Regular gentle cleaning, keeping the fixture in open sunlight rather than under a roof overhang, and clearing leaves and snow a couple of times a season will keep most covers clear for years.
Frequently Asked Questions
What makes a solar light panel go cloudy?
Usually one of four things: a build-up of dust, pollen, grit and leaves on the surface; mineral crust from hard water or dried bird droppings; a protective cover that has oxidised and yellowed from years of UV exposure; or physical damage such as cracks and lifted edges. Wiping the panel with a damp cloth tells you which one you have. If the cloudiness comes away, cleaning fixes it. If the fog sits under the surface or the plastic has gone brittle, no amount of scrubbing will restore it.
Can rainwater clean a solar light panel on its own?
Rain helps, but it is a weak cleaner. It rinses loose dust and pollen off sloped surfaces, and it is a useful monthly rinse for lights that sit in open, unobstructed spots. It will not shift a mineral crust, dried droppings, tree sap, or haze in the plastic itself, and a fixture under a tree or a roof overhang often gets no useful rain at all. A deliberate wash with soapy water and a cloth does considerably more than waiting for the weather.
How do I remove bird droppings from a solar light?
Wipe with a cloth dampened with mild soapy water and let it sit for a minute so the crust softens, then make several gentle passes. For stubborn spots, a cloth dampened with a little white vinegar helps break down the mineral content. Never scrape with a blade or metal tool, and never use a stiff brush, because the coating scratches and the scratches hold dirt. Clean droppings off promptly, since the acid left behind can haze the plastic permanently.
Is white vinegar safe to use on a solar panel?
Yes, used carefully. A little white vinegar on a damp cloth is safe for mineral deposits on the panel, and it is the right tool for greenish corrosion on battery contacts inside the compartment, which you can dab with a cotton swab. Do not flood the panel, and do not let vinegar run into the battery housing. Rinse or wipe the treated area with a clean damp cloth afterwards so no residue is left to dry on the surface.
Why are my solar lights still dim after cleaning?
The cover was rarely the whole problem. Check that the on/off switch is on and any battery pull tab is removed, and make sure the sensor is not sitting in permanent shade. Wipe the photocell, since grime on it stops the light switching on at dusk. Then look at the battery, which typically lasts one to three years. A light that charges a full day and still dies early usually has an aged cell, and swapping it restores the runtime even with a panel that looks clean.
What do I do if the panel stays cloudy no matter what I try?
Stop cleaning and check whether the haze is inside the plastic rather than on it. Hold the light at an angle under a lamp: if the surface wipes clean but the fog remains, the cover has oxidised. Fine scratches from an abrasive attempt make the same effect, and they do not polish out. At that stage a clear UV-resistant sealer will improve output somewhat, and the realistic fix is a new fixture or a replacement panel and lens rather than more scrubbing.
The Short Version
Take the light out, brush it off, and wipe the panel with a cloth dampened with mild dish soap and lukewarm water. Buff a hazy cover with a pea-sized amount of non-gel white toothpaste, or use a baking soda paste if you would rather be gentler. Dry it fully, seal it with a clear UV-resistant coat, and put it back in open sunlight for a full day before you judge the result.
If it is still dim the next evening, the panel was never the main problem. Check the switch, the battery tab, and the photocell, then look at replacing the rechargeable battery rather than cleaning again.