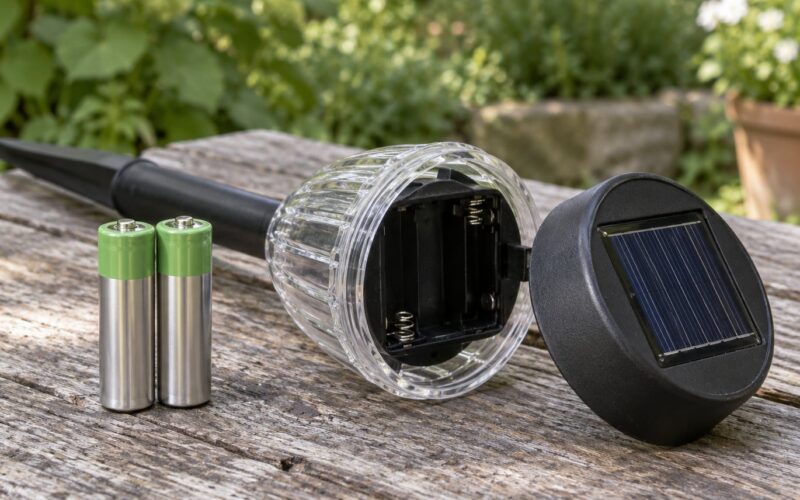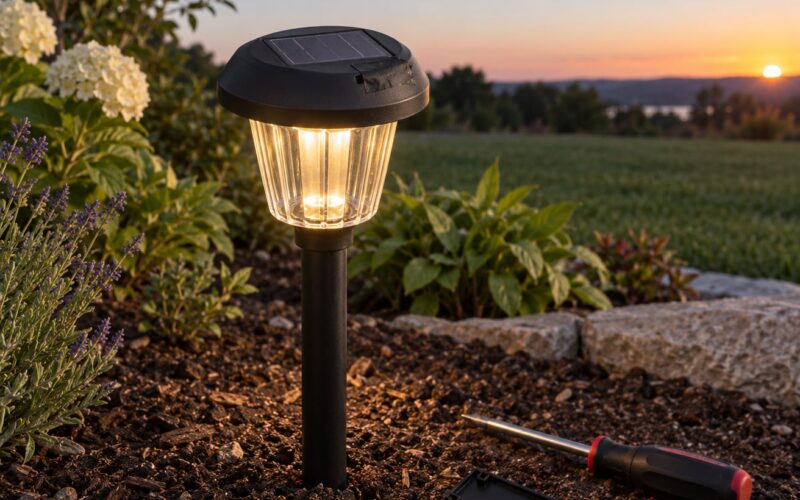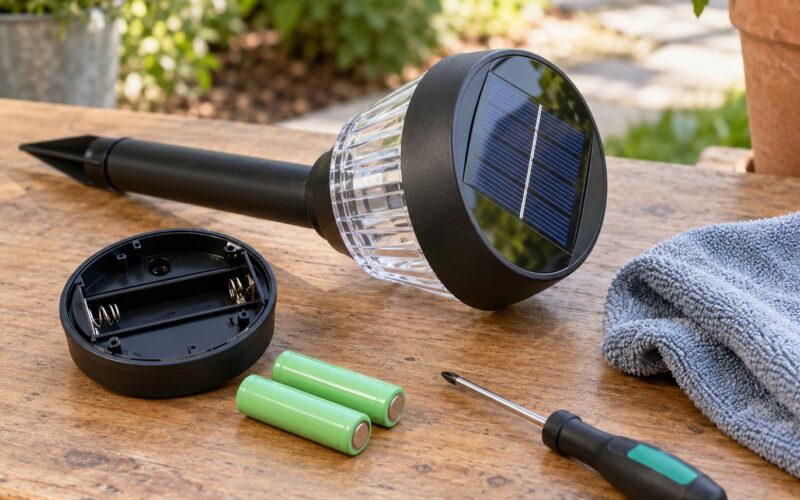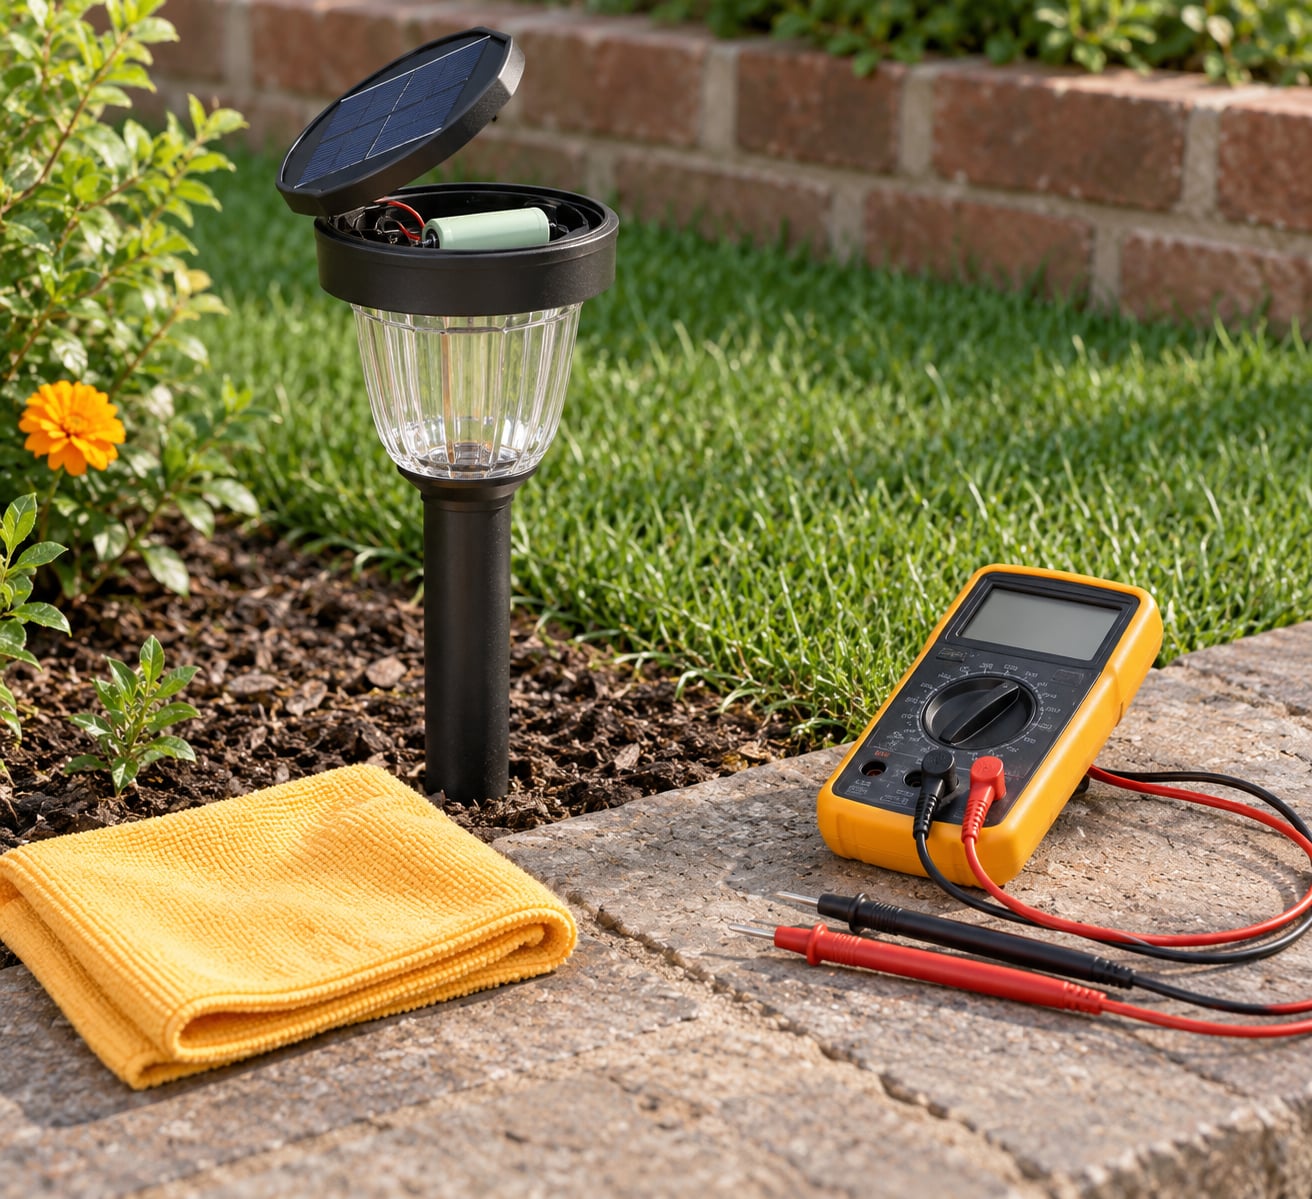
How long do solar light batteries take to charge? Roughly 6 to 8 hours of direct sunlight, which is one full day, to reach a full charge. Cloud, shade or a panel angled the wrong way can stretch that to two or three days, or leave the battery permanently part-charged.
That number surprises people because the words “solar” and “rechargeable” sound instant. They are not. A solar garden light collects energy the way a solar water heater does, just with a fraction of the surface area, and the battery has to store it before it can spend it overnight.
The good news is that almost every “my solar light is broken” case I have seen comes down to one of four things: the switch was off, the panel was dirty, the light sat in shade, or nobody gave the battery a proper first charge. All four are fixable in a couple of minutes each.
Table of Contents
- Solar Light Battery Charging Times at a Glance
- What Determines the Charging Time?
- How Battery Type Changes the Charging Time
- How Long Do Solar Light Batteries Take to Charge in Winter?
- How to Tell Whether a Solar Light Battery Is Charged
- Should You Charge a New Solar Light Before First Use?
- How to Get the Fastest and Most Reliable Charge
- When Charging Time Indicates a Battery or Panel Problem
- Frequently Asked Questions
- Can solar light batteries charge in cloudy weather?
- How long should a new solar light charge before its first use?
- Why is my solar light charging but not working?
- Should solar lights be switched on while they charge?
- Can I replace the battery in a solar light?
- How many hours of sunlight does a solar light need?
- What to Do First
Solar Light Battery Charging Times at a Glance
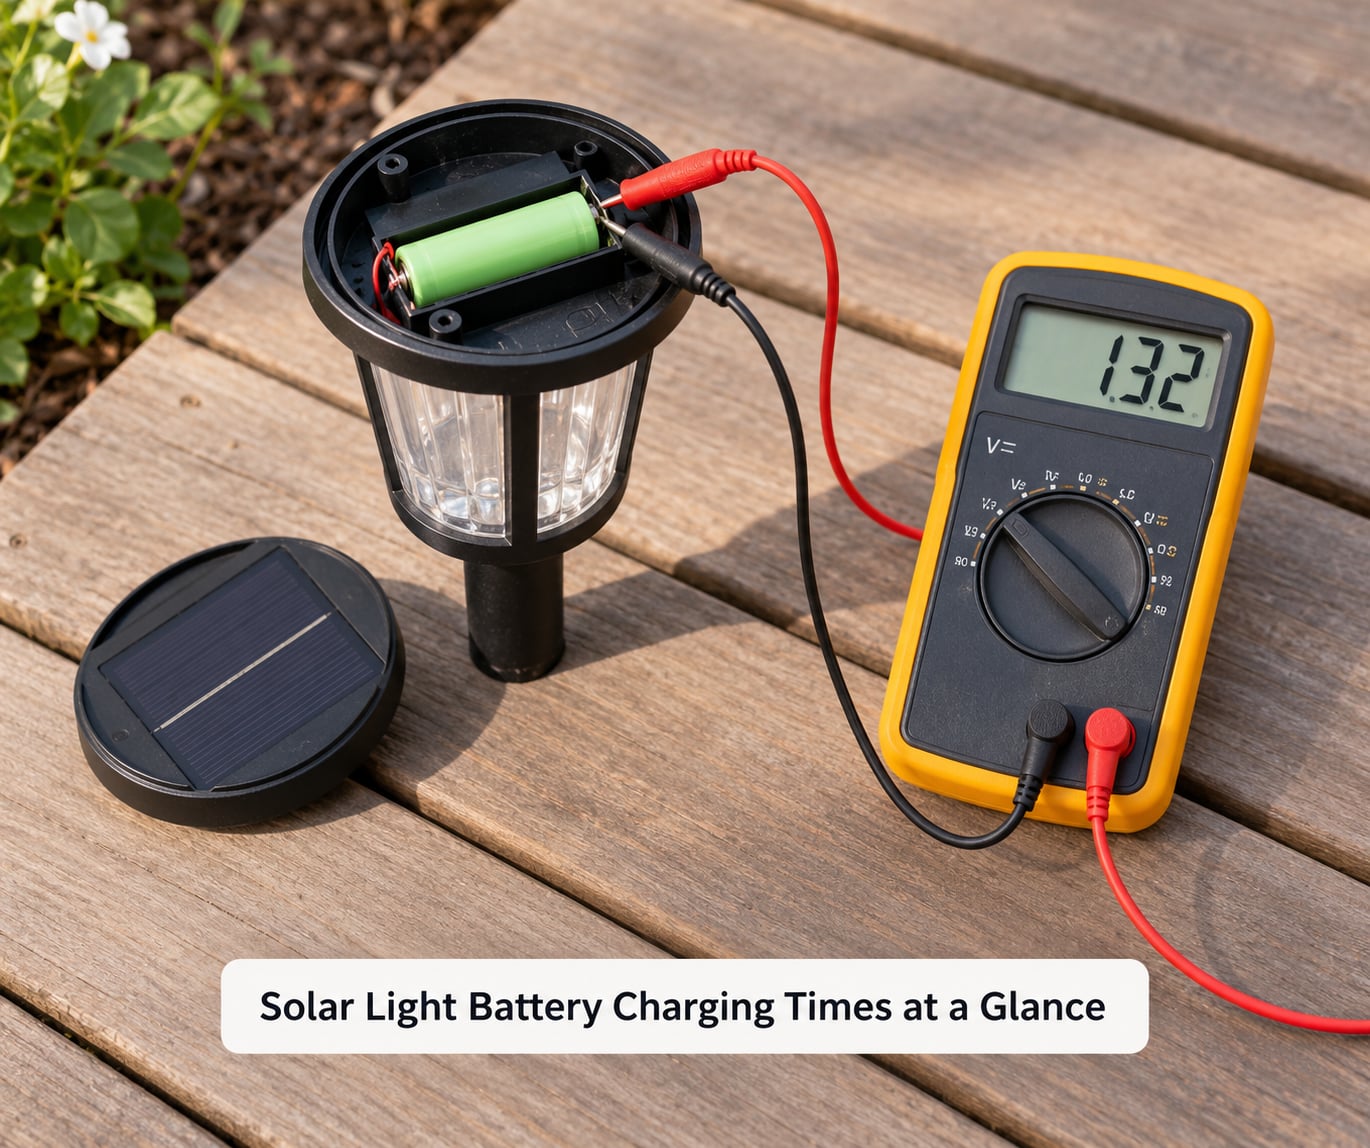
The table below is the short version. These figures assume a full day of direct sun, a clean panel, and the light’s switch in the correct position.
| Type of solar light | First full charge | Refill from empty | Good-night runtime |
|---|---|---|---|
| Decorative stake or mini path light | 1 to 2 sunny days | 1 sunny day | 3 to 5 hours |
| Standard pathway and edging light | 1 sunny day | 6 to 8 sun hours | 6 to 8 hours |
| Solar wall or deck lantern | 1 to 2 sunny days | 1 to 2 sunny days | 5 to 9 hours |
| Solar string lights | 2 sunny days | 8 to 10 sun hours | 6 to 8 hours (first panel) |
| Solar spotlight with separate panel | 2 sunny days | 1 to 2 sunny days | 8 to 10 hours |
| Larger solar floodlight or post light | 2 to 3 sunny days | 1.5 to 2 sunny days | 10 to 14 hours |
Those 8 hours are peak sun hours, not wall-clock hours. A light out from 7 a.m. to 5 p.m. in June collects most of a full charge, while the same light out from 4 p.m. to 8 p.m. collects very little.
Three cloudy days in a row and most small lights will not recover fully. Expect one or two clear days to bring the battery back up after an overcast week, and expect the light to be noticeably dimmer than it should be until it does.
What Determines the Charging Time?
Peak sun hours is the term that matters here. It means hours of direct sun at near-peak intensity, not hours the sky happened to be light. A bright overcast sky delivers a fraction of what direct sun does, and a tree canopy delivers even less.
A panel facing south in a clear open yard might collect 6 peak sun hours on a June day. The same panel under an eave loses three of those. Here is what actually moves the number:
- Hours of usable sun. Peak sun hours, not daylight hours. A hazy afternoon delivers a fraction of what a clear one does.
- Panel size and efficiency. A larger panel has more surface to collect energy, so it fills the same battery faster. Cheap fixtures often ship a panel that is undersized for the battery inside.
- Battery capacity. More milliamp-hours to fill means more hours. Capacity is the size of the fuel tank, not the speed of the pump.
- Cell voltage. Most garden lights run a single 1.2V cell, which is far easier to fill than a 3.7V lithium pack or a 12V system.
- LED load. The brightness setting matters. A fixture dimmed to half output charges the same but drains slower, so the battery tops up more easily.
- Battery age. Old cells have higher internal resistance, so they take longer to fill and hold less when full.
- Temperature. Very cold cells charge slowly and deliver less, while heat inside a dark plastic housing ages a battery faster than cold ever will.
- Shade. Even partial shade across a quarter of the panel can cut output by a third. Two feet out of a shade line often fixes a weak light.
- The on-off switch. If the switch is off, most fixtures do not charge at all.
| Season or region | Typical peak sun hours | Effect on charge time |
|---|---|---|
| Summer, clear sky, open exposure | 6 to 7 | Full charge in one day |
| Summer, partly cloudy | 4 to 5 | Full charge in about two days |
| Winter, clear sky, open exposure | 2 to 3.5 | Full charge in two to four days |
| Winter, cloudy or snowy | 1 to 2 | May never reach full charge |
| Coastal or frequently overcast | 2 to 4 year-round | Expect a dimmer light and shorter nights |
If you are working with a panel and a battery you chose yourself, there is a rough formula worth remembering: divide battery milliamp-hours by panel output in milliamps to get hours of peak sun, then add roughly 40 percent for losses in the charge controller and wiring.
So a 2000 mAh battery fed by a 200 mA panel needs about 10 hours of peak sun before losses, closer to 14 in practice. Small panels rarely deliver their rated output, so I would plan on the higher figure.
How Battery Type Changes the Charging Time
The chemistry inside decides how fussy the light is, though it changes the arithmetic more than the basic idea. A bigger cell still takes proportionally longer to fill; what changes is how cleanly it accepts a slow trickle and how many seasons it survives.
Most garden lights ship with a rechargeable nickel-metal hydride cell, usually 1.2V AA or AAA with a capacity between 800 and 2000 mAh. They handle slow charging well, tolerate a few hundred full cycles, and lose capacity gradually after a few seasons of use. Replacing one is cheap and easy, but match the original capacity rather than dropping in the highest mAh you can find.
Lithium-ion and lithium iron phosphate packs hold more energy in the same space and last far longer, with many more cycles before they fade. They cost more, and they need a charge controller that will not push them past their limit. Swapping one into a cheap NiMH fixture usually means replacing the whole light rather than the cell.
Lead-acid, including gel cells, appears in the bigger solar fixtures and small off-grid kits. These are the batteries that need many hours of strong sun and a proper controller, and they are the reason a large system might take most of a day to recharge rather than a few hours.
One important correction: capacity does not set charging speed. A 2000 mAh cell in a fixture designed for an 800 mAh battery does not charge faster or last longer. The small panel cannot refill it in an evening, so it sits permanently part-charged, runs dim, and ages faster than a matched cell would.
How Long Do Solar Light Batteries Take to Charge in Winter?
Winter is where the honest answer becomes less tidy: two to four days of clear winter sun, and possibly never a full charge if the fixture also gets snow.
Three things stack up. Days are shorter, so there are fewer peak sun hours to collect. The sun sits low in the sky, so a panel angled flat or tilted the wrong way sees far less of it. And snow or ice on the panel acts like a blanket, cutting output to almost nothing until it melts.
Cold does the opposite of what most people expect. A cold battery will not deliver its rated capacity, so runtime drops even when the charge is decent. Sustained heat inside a dark plastic housing, though, is what actually shortens a battery’s life. If you are choosing a winter spot, pick open ground over a south-facing brick wall that bakes in the afternoon.
A light that sits under snow or deep shade for weeks may simply never reach full capacity. That is not a fault, but the battery is slowly degrading in the meantime, so bring lights in if you are not going to use them until spring.
How to Tell Whether a Solar Light Battery Is Charged
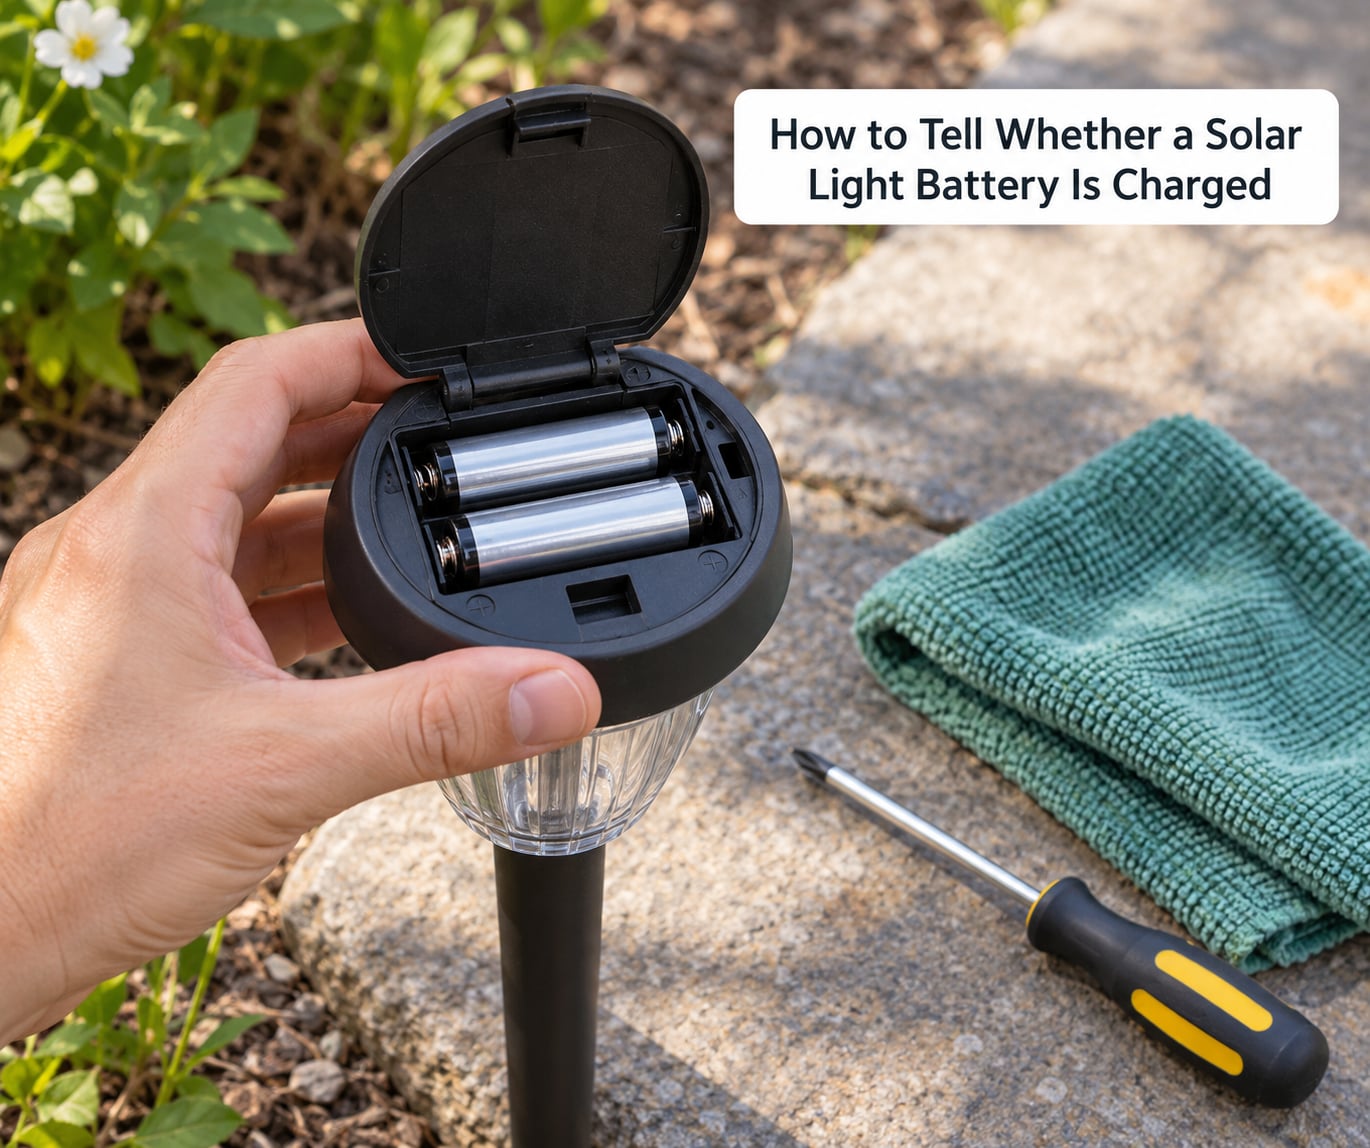
Do not judge by whether the light comes on at night. A partly charged cell will still light an LED for a while, and that is the single most common mistake people make when they decide a light is fine or broken.
A better first check is an A/B test. Leave the light in full sun all day with the switch set correctly, then time how long it runs. A healthy pathway light does six to eight hours; a small stake light three to five; a spotlight eight to ten. Under two hours after a genuinely sunny day, something upstream of the battery is wrong.
If the fixture has a battery or charge indicator, use it, though cheap lights often lack one. Many cheap ones simply have a bright, dim and off cycle, which tells you the light has some charge but nothing about how full the cell really is.
For a real measurement, a multimeter is the way. Put it on DC voltage and read across the cell, with the switch on and the photocell uncovered. A healthy NiMH AA sits near 1.35V at rest a while after switching off, reads about 1.45V when you first switch the light on after a full day, and drops below 1.0V as it drains. Anything under 1.1V after a sunny day means the battery is not taking a charge.
Then separate a charging fault from a sensor fault, because they look identical from the patio. Cover the panel completely with your hand or take the light into a dark room. If it lights up, the panel, switch and cell are all working and the problem is the light sensor being triggered by a streetlamp or porch light. If it stays dark, the fault is in the charging path.
Should You Charge a New Solar Light Before First Use?
Yes, and this is where a lot of first impressions go wrong. A light taken straight out of the box and judged after an hour of weak sun will look defective, and the most common cause is not the light at all.
- Check the manual for the manufacturer’s own first-charge guidance. Some specify two full days rather than one.
- Open the battery compartment and remove any pull tab or insulating strip between the cells and the contacts. Until it is out, nothing charges and the light cannot work.
- Set the on-off switch to ON. Most fixtures will not charge a light that is switched off, which surprises people every year.
- Place the panel in direct sun for the whole day, with nothing shading it.
- Wait one to three full sunny days before judging brightness or runtime. Do not test it the same evening.
- When you first switch it on after dark, run it to the morning so the battery learns its working range.
That last habit matters more than it sounds. A cell that has never been fully discharged and recharged will behave oddly at first, and one full overnight run is the fastest way to settle it into a normal pattern.
How to Get the Fastest and Most Reliable Charge
Most of the improvement available to you comes from placement, not from hardware. I would run through these in order before buying anything.
- Find direct sun first. Watch the spot at 10 a.m., 1 p.m. and 4 p.m. on a clear day. If any of those three check times shows the panel in shadow, that spot will never charge well.
- Move it out of the shade line. Two to five feet is often enough to clear a fence or shrub, and that single move beats any battery swap.
- Point the panel toward the sun. Tilt roughly 10 to 20 degrees off vertical and aim it at open sky rather than at a wall that shadows it later in the day.
- Clean the glass. Pollen, dust, bird droppings and sprinkler mineral film cut output while looking almost clean. Wipe it every few months.
- Set the switch to ON and confirm the dusk sensor is not being tripped by another light source at night.
- Keep the battery compartment dry. Rain while charging is generally fine, but standing water and wet-dry cycles corrode the contacts over time.
Before a long stretch of bad weather, bring lights indoors with the switch ON so they keep trickling charge, rather than storing them switched off where the cells slowly self-discharge.
When Charging Time Indicates a Battery or Panel Problem
If a light has had a full day of direct sun and still will not hold a charge, stop waiting. More sun will not fix a cell that has lost its capacity or a fixture with a broken charging path.
| What you see | Likely cause | First thing to try |
|---|---|---|
| Dims after 1 to 2 hours of light | Chronic undercharging from shade | Move the light to open sun |
| Bright for two nights, then dead | Battery never reached full charge | Give it two to three clear days |
| Stays dark even when the panel is covered | Switch OFF, tab still in place, or corroded contacts | Check the switch and clean the contacts |
| Comes on only near a streetlight | Dusk sensor being triggered | Test in a dark room or cover the panel |
| Slowly dimmer each month | Battery capacity fading with age | Replace with a matched NiMH cell |
| Cell is swollen, leaking or crusty | Damaged battery | Stop using the fixture and dispose of the cell safely |
| Panel glass cracked or discoloured | Physical panel damage | Replace the panel or the whole light |
| Fine after cleaning, dull again in weeks | Panel grime building up fast | Shorten the cleaning interval |
Two warning signs mean stop charging it and take it out of service: any swelling or leakage from a cell, and white or green crust around the battery contacts. Both point to a damaged battery rather than a charging problem.
Otherwise, replace the battery only after you have ruled out dirt, shade and switch position. Swapping a cell into a mislocated light buys you a bright week and then the same dim night returns, which is exactly the pattern that makes people think no solar light is worth owning.
Replace with a rechargeable NiMH cell at the same size and roughly the original capacity. Never fit a standard alkaline battery, and never fit a much larger capacity than the fixture was designed for.
Frequently Asked Questions
Can solar light batteries charge in cloudy weather?
Yes, but slowly. An overcast sky delivers a fraction of the energy of direct sun, so a cloudy day might add an hour or two of equivalent charging rather than eight. After a week of dull weather, expect one or two clear days to bring the battery back to full. A light that dims nightly for a few cloudy days and recovers afterwards is weather-limited, not broken.
How long should a new solar light charge before its first use?
Give it one to three full days of direct sunlight before judging it. Check the manufacturer’s guidance, remove any pull tab from the battery compartment, and set the switch to ON so the light can charge at all. Testing after a single hour of weak sun is the most common reason people decide a new light is defective when it is not.
Why is my solar light charging but not working?
If it lights up when you cover the panel with your hand, the panel, switch and battery all work and the real fault is the dusk sensor being triggered by another light at night. If it stays dark in a dark room, the fault is in the charging path: an OFF switch, a tab still in place, corroded contacts, or a battery that will not hold a charge.
Should solar lights be switched on while they charge?
Set the switch to ON. Most fixtures will not charge a light that is switched off, because the switch breaks the circuit from panel to battery. Leaving the light switched on all day does not drain it either, since the LED only draws power once the dusk sensor triggers after dark.
Can I replace the battery in a solar light?
Usually yes, if the fixture takes standard AA or AAA cells. Buy a rechargeable NiMH cell at 1.2V in the same size and roughly the original capacity. Do not use alkaline batteries, which cannot recharge and can swell, and do not fit a much larger capacity than the fixture was designed for, because it will never fill completely.
How many hours of sunlight does a solar light need?
Plan on 6 to 8 peak sun hours, which is one full day of direct sun, for a full charge. Peak sun hours are not the same as daylight hours, so a light sitting outside from 9 a.m. to 5 p.m. may only collect four or five usable hours depending on season and how the panel is angled.
What to Do First
Put the light in full direct sun with the switch set to ON, remove any battery tab, and leave it there for the first-charge period in the manual, usually one to three clear days. That single step resolves more cases of “my solar light will not charge” than anything else.
After that, work through the checks in order: clean the panel, confirm the spot is unshaded at 10 a.m., 1 p.m. and 4 p.m., cover the sensor to test the light in the dark, then check the battery contacts and finally the cell itself. Knowing the real charging time for solar light batteries, and testing against that number properly, stops you swapping out a battery that was never the problem.