Smart outdoor lighting for beginners comes down to two decisions: how the lights get controlled and where the power comes from. Start with solar or plug-in fixtures at your two highest-traffic spots, confirm the app works on your phone, and only then think about wiring anything.
That order matters because the expensive part is never the light itself. It is the cable run, the transformer, and the afternoon you lose to trenching. Get the control system right first and the hardware follows.
Table of Contents
- What Is Smart Outdoor Lighting?
- Smart Outdoor Lighting for Beginners: How It Works
- Which Control Option Is Best for a Beginner?
- What Should You Look for When Choosing Smart Lights?
- How Do You Plan Smart Lighting for Outdoor Areas?
- Which Power Source Should You Choose?
- How Do You Install and Connect Smart Outdoor Lights?
- How Much Does Smart Outdoor Lighting Cost?
- What Common Mistakes Should Beginners Avoid?
- Frequently Asked Questions
- What is the easiest smart outdoor lighting for beginners to install?
- Do smart outdoor lights work without Wi-Fi?
- Are smart outdoor lights suitable for solar-powered systems?
- Should I choose warm white or cool white light for outdoors?
- Can one smart-light app control lights from different brands?
- How bright should outdoor path lights be?
- Conclusion
What Is Smart Outdoor Lighting?
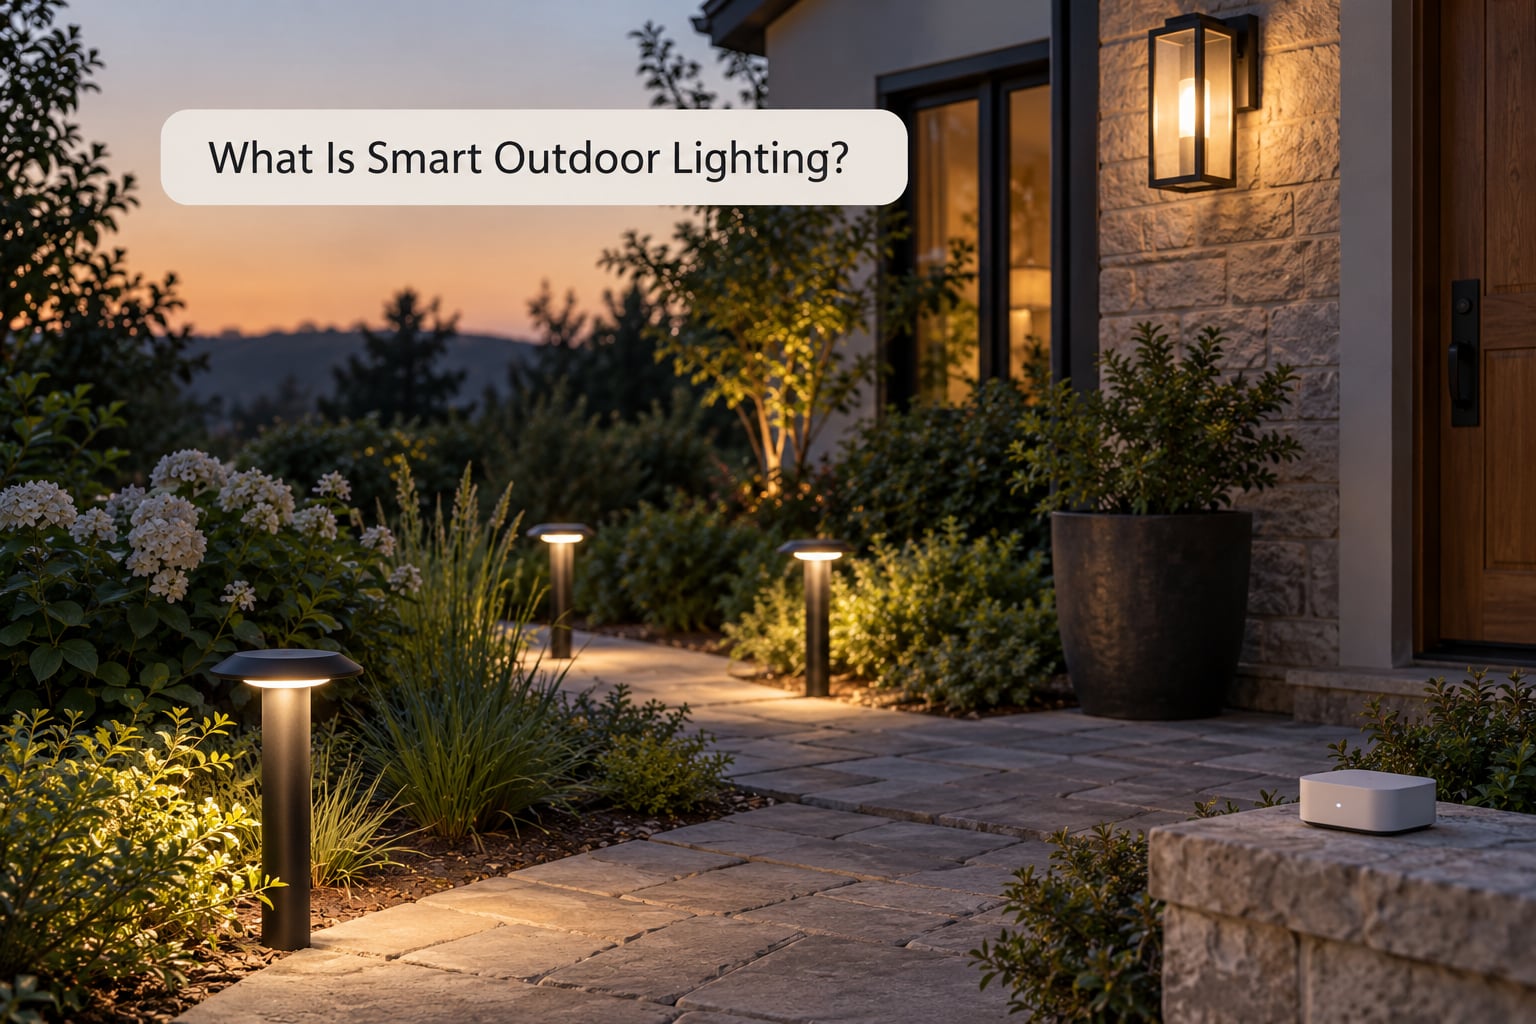
Smart outdoor lighting is any outdoor-rated fixture that adds control beyond the wall switch. Instead of walking out to flip a switch, you turn lights on from a phone app, a voice assistant, a schedule, or a sensor that reacts to dusk or movement. Path lights, spotlights, wall sconces, string lights and floodlights can all be smart.
Most smart fixtures fall into one of three physical arrangements. Solar lights charge a small panel during the day and run all night with no wiring at all. Plug-in fixtures use an outdoor-rated outlet or an outdoor smart plug. Hardwired fixtures replace an existing exterior light and draw from the circuit your house already has.
One more term worth knowing early: the IP rating. IP44 is splash-resistant and fine under a covered eave. IP65 is protected against water jets, and IP67 survives temporary submersion, which matters for anything near a flower bed or a low spot.
Smart Outdoor Lighting for Beginners: How It Works
The chain is always the same. A sensor or schedule sends a command, the control hub or app relays it, and the fixture changes state.
- Something triggers: a clock, a photocell, a motion sensor, a tap in the app, or a voice command.
- The command reaches the light through its radio connection: Wi-Fi, Bluetooth, Zigbee, Thread, or a hub that speaks one of those.
- The fixture switches, dims, or changes colour and reports back.
- Most apps store schedules locally, so the daily on-and-off still happens when the internet does not.
Wi-Fi fixtures join your own router, usually on the 2.4GHz band, and need no hub. Bluetooth fixtures pair straight to a phone, which is fine for one or two lights and useless at garden scale because range is short. Zigbee and Thread fixtures talk to a hub, and that hub is what keeps working when your internet is down.
The practical test: ask whether the system keeps its schedule when the router reboots. Zigbee through a hub and Matter through a local controller do. Anything cloud-only does not.
Which Control Option Is Best for a Beginner?
Start with the least complex option that covers the job, and move up only when you miss something it cannot do. A manual switch is unbeatable for reliability; a timer is unbeatable for simplicity.
| Control option | Power needed | Install difficulty | Automation | Best use case |
|---|---|---|---|---|
| Manual wall switch | Existing circuit | None if the switch already exists | None | One porch or back door light |
| Plug-in mechanical timer | Outdoor outlet | Plug it in | Fixed on and off times | Renters and seasonal decorations |
| Outdoor smart plug | Outdoor outlet | Plug it in | App, voice, schedules | Making an existing transformer or string smart |
| App-controlled Wi-Fi fixture | Existing circuit or outlet | Fixture swap, then app pairing | Schedules, scenes, colours, voice | The default first upgrade for most yards |
| Motion-sensing fixture | Existing circuit | Fixture swap | Triggers on movement | Driveways, side paths, pet approaches |
| Dusk-to-dawn fixture | Existing circuit or solar | Placement matters more than wiring | Switches on as light drops | Paths and gardens that must never go dark |
| Hub-based system (Zigbee, Matter) | Existing circuit, plus a hub indoors | Hub setup, then fixture pairing | Everything above, plus scenes and local control | Homes that want the whole yard on one system |
On r/smarthome, the advice that comes up most often for people with an existing low-voltage setup is to skip replacing fixtures entirely and put an outdoor smart plug on the transformer. It is the cheapest way to make a working garden smart.
What Should You Look for When Choosing Smart Lights?
Check compatibility first, because a light you cannot pair to your app is a very expensive ornament. Everything else is secondary.
- App and hub support. Confirm the app works on your phone and, if a hub is required, that you are willing to run one indoors.
- IP rating. IP44 for covered spots, IP65 for anything exposed, IP67 for ground-level fixtures near planting or splashing.
- Brightness in lumens, not watts. Path lights sit around 100 to 200 lumens, accent spotlights in the 300 to 500 range, and floodlights much higher.
- Colour temperature in Kelvin. Around 2700K to 3000K reads warm and soft; 4000K to 5000K reads cooler and brighter.
- Dimming range. Check whether dimming goes low enough for a late-night scene, not just bright to brighter.
- Sensor behaviour. Motion sensors should let you set sensitivity, night-time-only mode, and how long the light stays on.
- Power source details. For solar, the panel size, battery capacity, and stated dark-night run time matter more than the lumen number on the box.
- Physical switch behaviour. Confirm whether the wall switch cuts power to the electronics, because that changes how the fixture behaves when the app is unreachable.
Brands like Philips Hue, LIFX, Govee, Ring and Lutron Caseta all sell outdoor-rated options, and ecosystems like Matter, Zigbee, Alexa, Google Assistant and Apple Home decide what will actually talk to what. Check the compatibility list before anything else.
How Do You Plan Smart Lighting for Outdoor Areas?
Walk the property at dusk and note every dark patch before buying a single fixture. Light the trip from the car to the front door, the back door, the gate, and any steps between them, then stop.
Most first-time plans fail by lighting the whole yard evenly, which flattens everything and wastes money. Better to have strong light in four useful places and none in the rest.
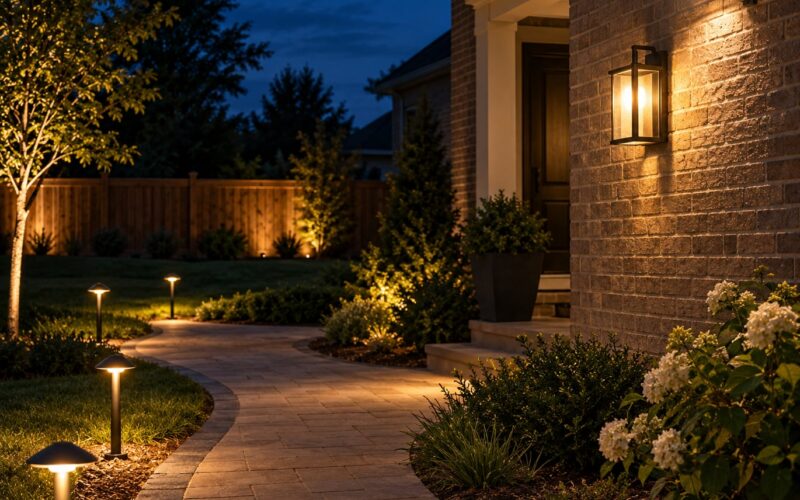
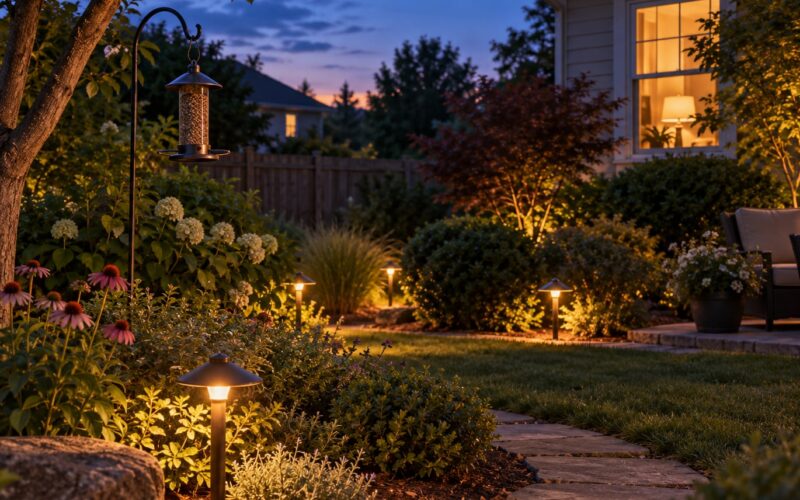
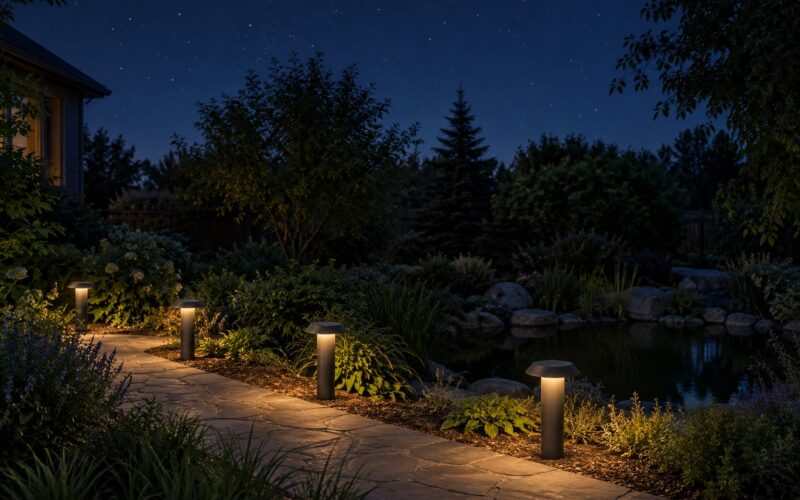
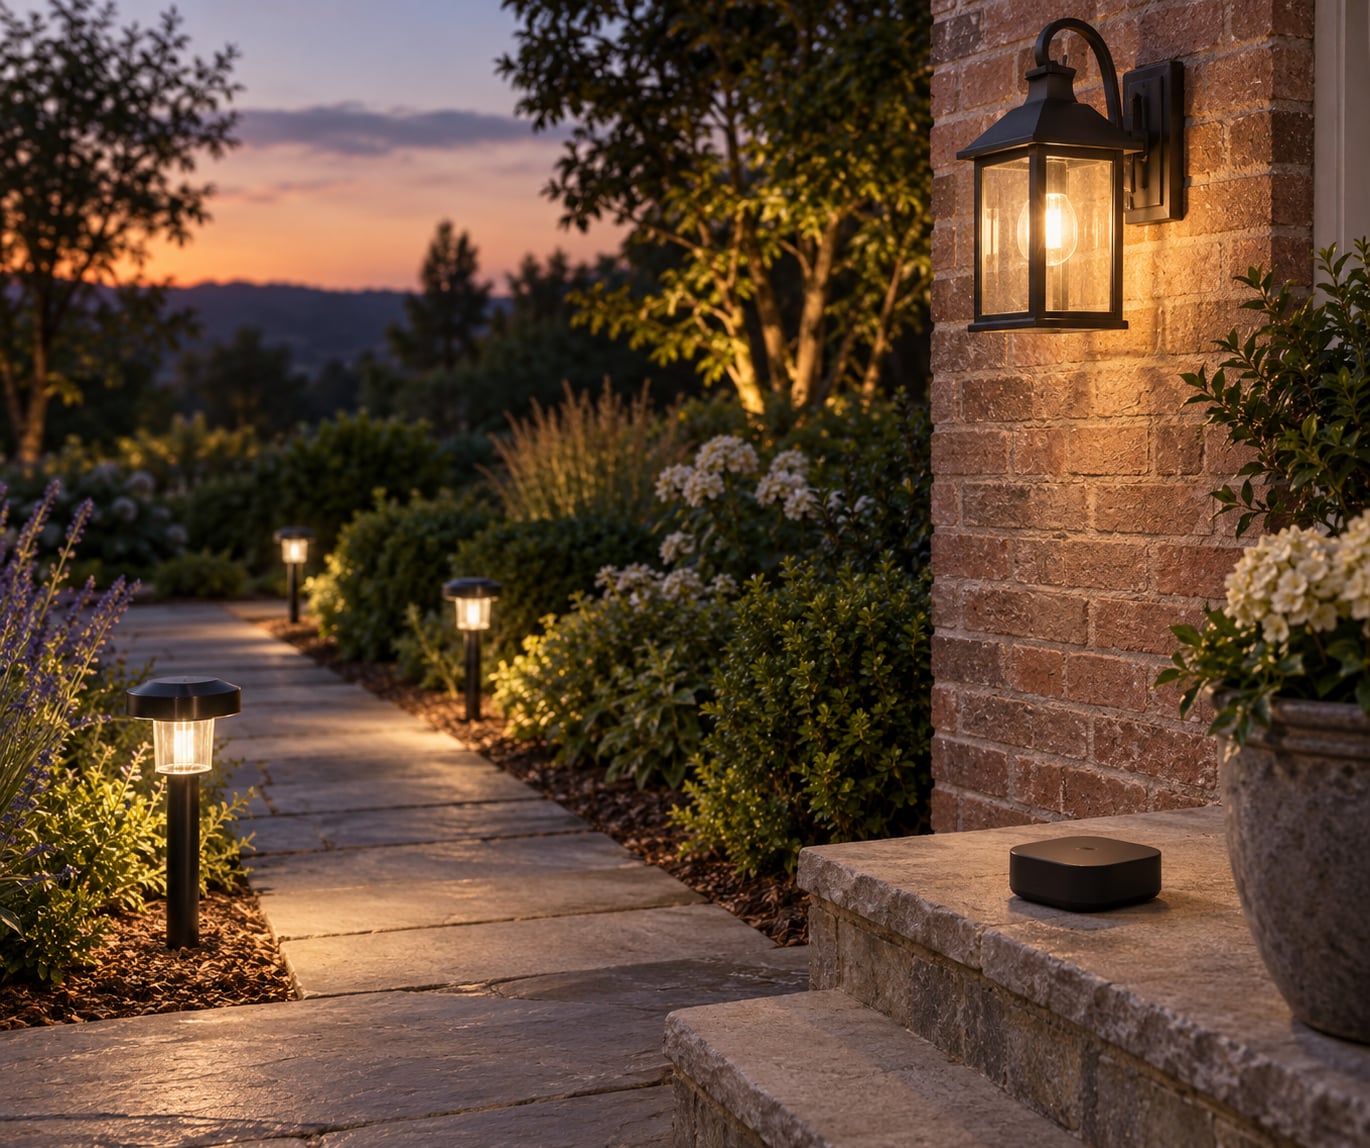
This is also why smart outdoor lighting for beginners works best when each fixture has one job. Path lights mark the route. Spotlights point at a tree or a shrub from below, placed about a foot back from the trunk so the light washes upward. Wall sconces at eye level light a door and a face. String lights stretched overhead define a patio without adding glare.
Two placement issues catch everyone. Glare happens when a light sits in direct view, so aim fixtures across a path rather than along it. And bright white light near planting pulls in insects, which is a good argument for warmer Kelvin values and shielded fixtures.
Which Power Source Should You Choose?
Solar wins on installation effort, mains power wins on reliability, and low voltage sits in the middle. Match the source to how much control you actually want.
| Power source | Installation | Ongoing costs | Placement flexibility | Typical maintenance | Suits |
|---|---|---|---|---|---|
| Solar | Stake in the ground, no wiring | None for power | Anywhere with direct sun | Clean the panel, replace the battery every few seasons | Renters, yards with no spare outlets, driplines |
| Rechargeable battery | Mount or stake, no wiring | Occasional charging or battery swaps | Anywhere, including shaded spots | Charge and swap batteries | Decks, sheds, trees, temporary installations |
| Low-voltage wired (12V AC) | Trench cable, mount a transformer indoors or in a rated box | Small electricity draw | Anywhere, as long as cable reaches | Check connections, replace the driver in a fixture if it fails | Whole-garden lighting with many fixtures |
| Mains powered | Fixture swap on an existing outdoor circuit | Standard electricity draw | Only where a circuit reaches | Swap the fixture, check the caulk seal | Porch, garage, entry lights with existing wiring |
Solar panels need several hours of direct sun. Under trees or against a shaded wall they charge badly, and a dim fixture is the usual result. The r/landscaping crowd keeps repeating the same lesson: position first, buy second.
How Do You Install and Connect Smart Outdoor Lights?
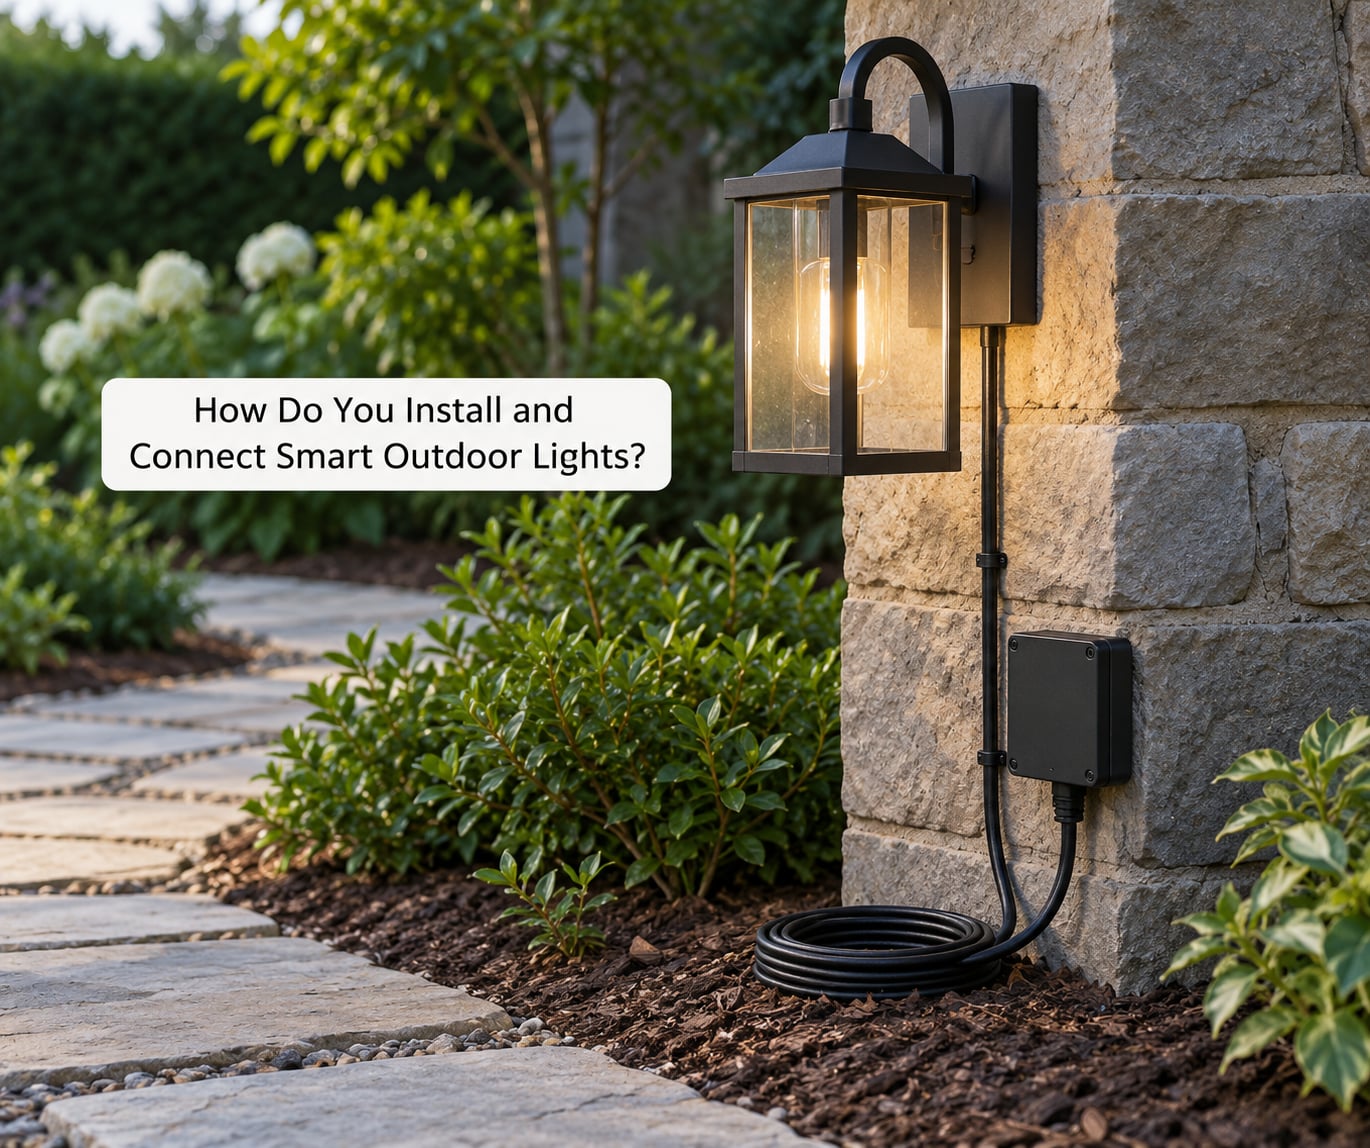
Most solar and plug-in installs take under an hour. A low-voltage run is a weekend job, and mains wiring on an outdoor circuit should go to a qualified electrician wherever the rules or your comfort level require it.
- Measure and mark. Walk the route at night, mark each spot with something removable, and check cable length between the transformer and the furthest fixture before you dig.
- Read the instructions. Torque specs, burial depth, and the IP rating all come from the manual, and ignoring them voids nothing but causes failures.
- Install the mounting hardware. Stakes, wall plates, and junction boxes go in level and plumb, because a leaning path light is visible from the road.
- Connect the fixture. Use outdoor-rated connectors and keep every joint above the soil line unless the manual says otherwise.
- Size and mount the transformer. Add up the total wattage of every fixture, then add about 20 percent headroom. The transformer stays dry, ventilated, and within reach of a GFCI-protected outlet.
- Pair the app or hub. Put your phone on the same 2.4GHz network, and pair one light at a time before adding the rest.
- Set schedules and scenes. Start with a dusk-to-dawn schedule, then add one motion zone and one evening scene.
- Test day and night. Check the daytime shadow each fixture actually casts, then verify motion range and timer behaviour after dark.
- Adjust and seal. Aim the spotlights, tighten the sensor lens, and check the caulk around any wall-mounted fixture.
How Much Does Smart Outdoor Lighting Cost?
The honest way to read outdoor lighting cost is as a ladder, because a single solar path light and a fully connected garden are not the same purchase. Typical US prices vary by region and change over time, so check current listings before you commit.
From the bottom of the ladder up: one solar path light is the smallest commitment and needs nothing else. A set of solar lights or a string-light kit with an app sits one rung up. Outdoor smart plugs for existing transformers add a modest per-plug cost and no new fixtures. Wi-Fi spotlights and wall sconces land in the middle. A low-voltage transformer plus cable plus a set of compatible fixtures is the biggest single line item, and professional installation of that run can exceed the cost of the hardware.
What actually changes the price: whether you need cable run at all, how many fixtures the transformer must carry, whether colour-changing capability is included, whether a hub is required, and whether the install needs an electrician.
Compare a full replacement against a retrofit before buying. A smart plug on an existing transformer, or a relay per fixture as people do on r/homeautomation, can bring an old system under control for a fraction of the hardware cost, though it adds parts and wiring to each spot.
What Common Mistakes Should Beginners Avoid?
Nearly every complaint I found in forums traces back to one of these, and all of them are cheap to avoid.
- A wall switch that cuts power. Flipping the switch kills the electronics, so the light becomes a normal light and app control dies with it. Fix: use a smart switch designed to keep power flowing, or leave the switch on and control everything from the app.
- An incompatible hub or ecosystem. Lights that will not pair are the most common frustration, and discovery failures are usually a hub sitting on a different network segment. Fix: pair one light, confirm it responds, then add more.
- Weak or absent Wi-Fi outdoors. A 2.4GHz network reaching the back of the house fixes most range complaints; 5GHz-only routers are the usual culprit. Fix: extend the network or choose a hub-based system.
- Confusing brightness with colour temperature. A higher Kelvin setting feels brighter but scatters more, so you turn up the dimmer and get glare. Fix: pick a Kelvin value first, then adjust brightness.
- Overlooking the IP rating. Forum users report cheap fixtures failing after a single wet season. Fix: buy IP65 or better for anything open to the sky.
- Buying too much light. Evenly lit yards look flat. Fix: light the walkways and entrances, and leave the rest dark.
- Putting solar panels in shade. Fix: check the sun path across the year before choosing the spot.
- Transformers that are undersized. Overloading a transformer shortens its life. Fix: total the fixture wattage and add headroom.
- Attempting mains wiring yourself. Fix: keep the safe scope, and hand the circuit work to a qualified electrician.
Two more worth naming: lights flickering when a motion sensor triggers, which usually points to a borderline power supply or a long cable run with voltage drop, and lights that turn on out of sync, which is usually a weak hub or a crowded mesh.
Frequently Asked Questions
What is the easiest smart outdoor lighting for beginners to install?
Solar path lights and outdoor smart plugs are the easiest. Solar lights need a sunny spot and a stake in the ground, with no wiring and no app account beyond the pairing step. An outdoor smart plug takes about a minute and can make an existing low-voltage transformer, string lights, or fountain smart in one move. Both let you learn the app before committing to cable or a transformer.
Do smart outdoor lights work without Wi-Fi?
It depends on the protocol. Hub-based Zigbee and Thread systems, and locally controlled Matter setups, keep their schedules and scenes when the internet drops, because the hub handles the automation on your property. Wi-Fi fixtures usually still run stored schedules from the app, but voice control and any control from outside your home needs an internet connection. Bluetooth-only fixtures work without either, but only within phone range.
Are smart outdoor lights suitable for solar-powered systems?
Yes, and solar is often the sensible starting point because nothing has to be wired. The trade-off is that you are buying a small panel and battery alongside the light, and both wear out faster than the LED. Choose a fixture with a stated dark-night runtime, keep the panel clear of shade and dirt, and expect to replace the battery every few seasons rather than the whole light.
Should I choose warm white or cool white light for outdoors?
Warm white, roughly 2700K to 3000K, is usually the better choice outdoors. It reads softer against brick, stone, and planting, and it keeps insects away compared with cool white. Cool white around 4000K to 5000K makes the space look brighter and crisper, which some people prefer for security lighting, but it is harsher to look at. Decide the Kelvin value first, then set brightness.
Can one smart-light app control lights from different brands?
Sometimes, and that is worth checking before you buy anything. Matter is the most promising option because it is designed to let lights from different manufacturers work together through one controller, and most major ecosystems now support it. Zigbee also crosses brands, but only if you already run a Zigbee coordinator. Brand-locked Wi-Fi apps are the least flexible, so mixing brands usually means committing to a protocol first.
How bright should outdoor path lights be?
Enough to see the edge of the path and the step in front of you, and not much more. Around 100 to 200 lumens suits most path and step lights, while accent spotlights that wash a tree or shrub usually sit between 300 and 500 lumens. More output does not feel safer, it just scatters more and causes glare, so a dimmer light positioned correctly beats a bright one pointed across your path.
Conclusion
Begin with two or three fixtures in the places that matter: the walk from the car, the back door, and the front step. Pick one control method and stay with it, confirm the app pairs and holds a schedule, then expand a zone at a time once you know the system works at night.
Follow the manufacturer’s instructions for every fixture, and hand any circuit work to a qualified electrician. Small, well-placed lights that you understand completely beat a large system that frustrates you within a month.