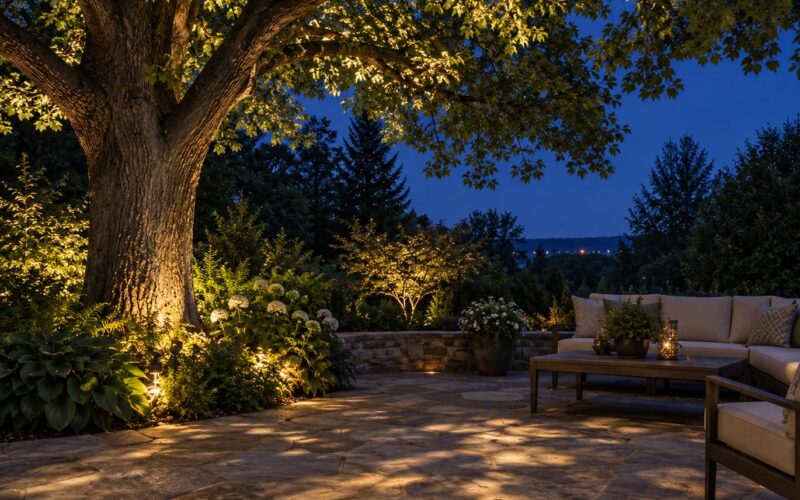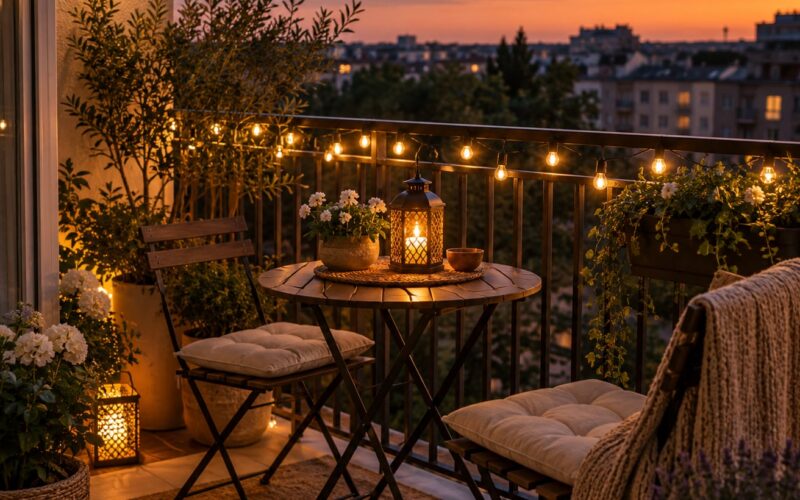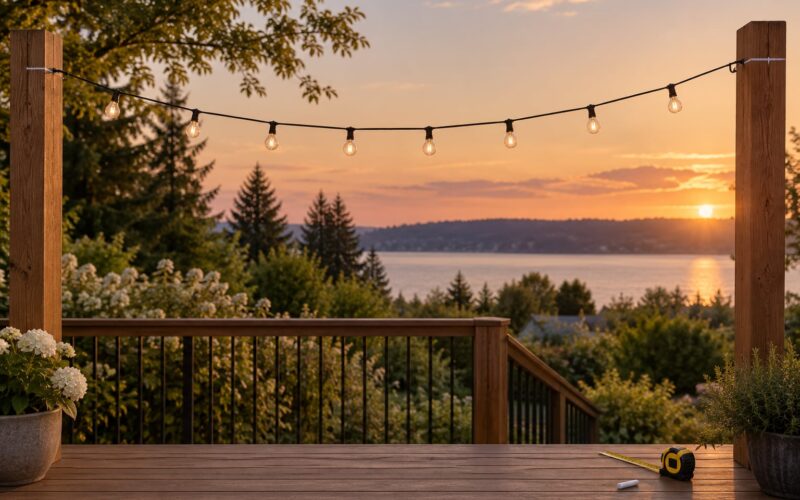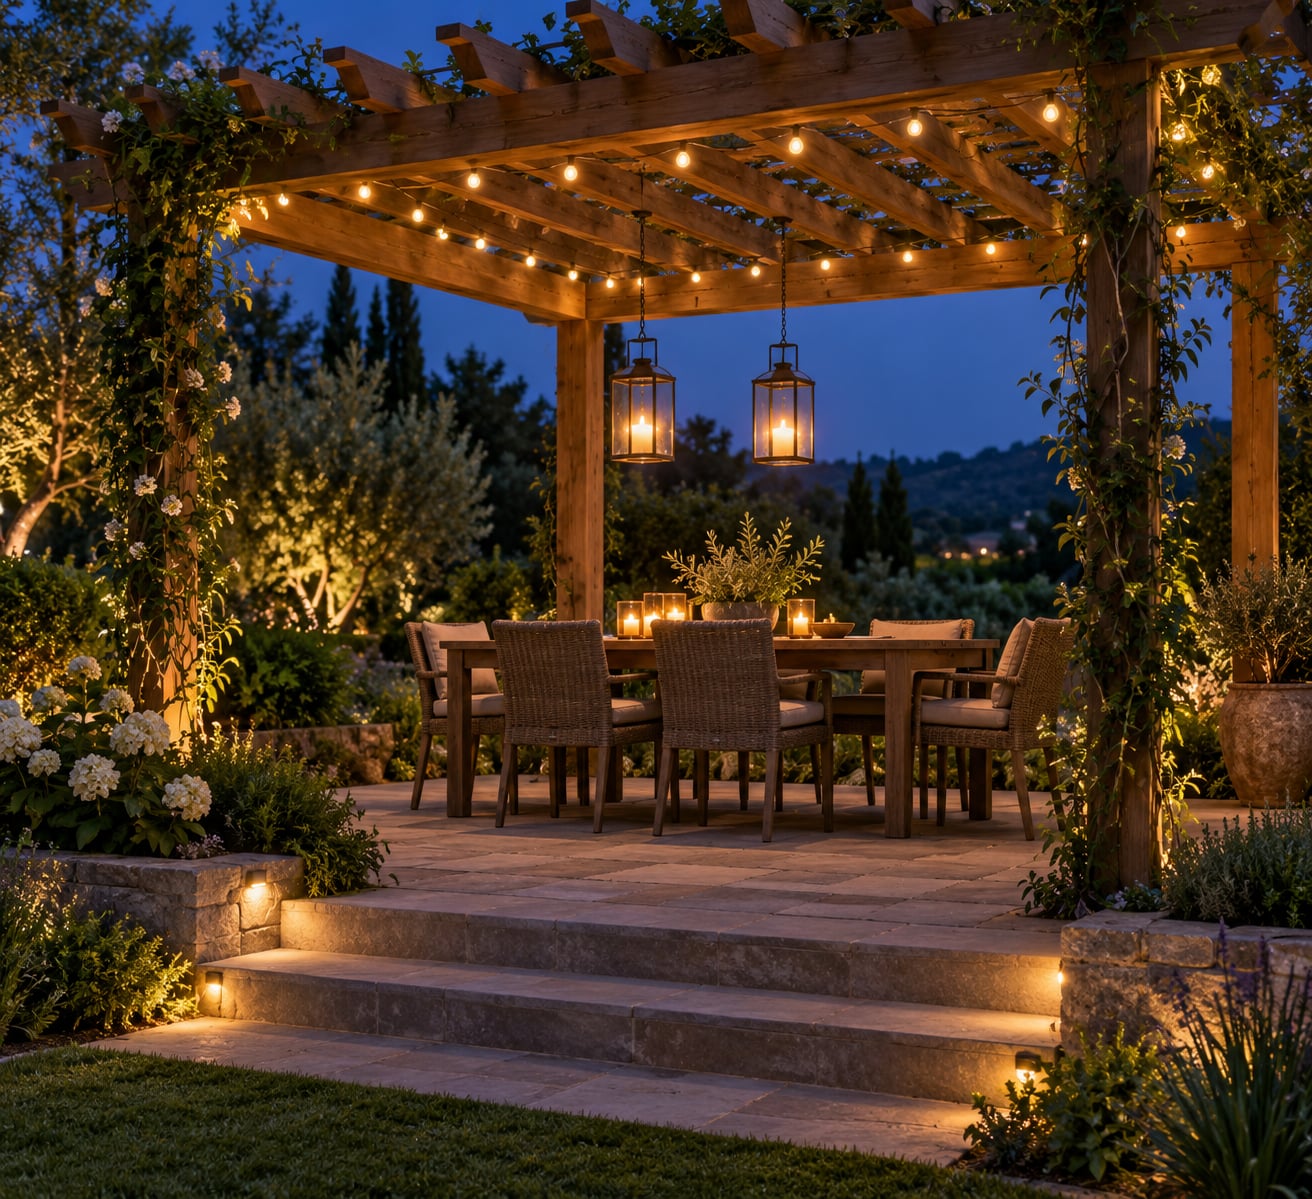
To light a pergola well, layer your lighting: soft overhead light for atmosphere, a brighter source where people eat or read, and low markers so nobody trips on a step in the dark. The planning takes an hour. The install takes an afternoon, depending on whether your power is already there.
Most people fail at this by buying one beautiful fixture first and figuring out the wiring later. The wiring decides everything, so work backwards from it. Is there a GFCI outlet within reach of the pergola? Is there a circuit you can extend? Or are you running a low-voltage transformer off an existing outlet with the cable tucked through a post?
Here is the whole process, from measuring the frame to walking out at 9pm and adjusting what feels wrong.
Table of Contents
- What You Need
- Step-by-Step
- 1. Map the Pergola and Identify Lighting Goals
- 2. Create a Layered Lighting Plan
- 3. Choose Outdoor-Rated Fixtures
- 4. Install Overhead and Perimeter Lighting
- 5. Add Accent and Low-Level Lighting
- 6. Consider Solar and Low-Wire Alternatives
- 7. Test and Fine-Tune the Lighting
- Common Mistakes
- Frequently Asked Questions
- What is the best type of lighting for a pergola?
- Are solar lights suitable for lighting a pergola?
- Do pergola lights need to be wired?
- What color temperature is best for an outdoor pergola?
- How many lights should I put on a pergola?
- Can I install pergola lighting myself?
- Wrapping Up
What You Need
Gather these before you climb anything.
- A measured sketch. Write down the pergola’s length, width, post locations, beam spacing, and roof height. Note where the seats, table, steps, paths, and nearby walls sit relative to the frame.
- Outdoor-rated fixtures. Look for an IP65 or IP67 rating and a UL or ETL listing. Anything without those markings is a candlelight bulb with a short life outdoors.
- A power decision. Existing GFCI outlet, a new low-voltage transformer, or a hardwired 110V circuit run by a licensed electrician.
- Mounting hardware. Stainless steel screw eyes, outdoor-rated hooks, extra-strong zip ties, and adhesive hooks rated for the weight you are hanging.
- Cable management. Flexible conduit, conduit clamps, exterior-rated cable, and weatherproof junction covers for any splice.
- Basic safety kit. Non-slip ladder, work gloves, eye protection, and a voltage tester. Turn the breaker off and confirm it is dead before you touch any wiring.
Step-by-Step
1. Map the Pergola and Identify Lighting Goals
Start with what happens under this pergola after dark. Dinner with eight people needs light on faces. A reading chair needs light on a page. Steps down to a garden bed need light on the step edges. Those are three different problems.
Measure the frame and mark the beam and rafter spacing on paper. Those gaps tell you where a fixture can physically hang, and they set how evenly string lights will drape.
Then walk the area at dusk and note every dark spot. Pay attention to changes in elevation, the gap between the pergola and the house, and any path that runs behind furniture.
2. Create a Layered Lighting Plan
The fastest way to light a pergola is to stop thinking about one fixture and start stacking three or four layers that each do a different job.
- Ambient gives the overall glow. String lights, an LED strip tucked into a beam, or a pendant do this job.
- Task lights what people interact with: the dining table, a prep counter, a reading chair, a chess board.
- Accent points at something worth looking at: a planter, a climbing vine, a stone column, the texture of a beam.
- Low-level markers handle steps, paths and post bases, so nobody guesses where the floor ends.
Ambient light alone always looks flat. Task light alone looks like a parking lot. Stack them and the space reads as a room.
| What you do there | Total lumens to aim for | Fixture that fits the job |
|---|---|---|
| Dining, relaxed conversation | 1,500–3,000 | String lights or dimmable pendants |
| Reading, cards, board games | 3,000–5,000 | Directional spots or a bright LED strip |
| Outdoor kitchen or prep counter | 4,000–6,000 | Under-rail strip plus task bar |
| Exercise space, yoga, kids | 8,000–10,000 | Hardwired fixtures on a dimmer |
| Steps, paths, ambience only | 500–1,500 | Solar or low-voltage markers |
Those numbers are for a typical 12-by-18-foot structure. Scale up for a bigger one and down for a small covered balcony.
3. Choose Outdoor-Rated Fixtures
Match the fixture to the layer you assigned it. Here is how the main types stack up.
| Fixture | Best for | Mounting | Power |
|---|---|---|---|
| String lights | Ambient glow, casual drape | Screw eyes, hooks, zip ties | Plug-in or low-voltage |
| LED strip | Clean lines along beams, accent glow | Aluminum channel or adhesive | 12V transformer |
| Puck lights | Even, discreet overhead light | Recessed or surface-mounted | Low voltage or 110V |
| Lanterns and pendants | Statement piece over a table | Chain or stem from a beam | Battery, low voltage or 110V |
| Spotlights | Task light, washing a wall or vine | Beam or post bracket | 12V or 110V |
| Solar markers | Paths, steps, small accents | Stake into the ground | Solar, no wiring |
Color temperature matters more than most shoppers expect. Around 2200K to 2700K reads as warm and relaxing. Around 3000K is still soft but keeps skin tones natural at a table. Above 4000K feels like a parking garage, and it kills the whole outdoor illusion.
For brightness, compare lumens, not watts. A 9-watt LED bulb and a 60-watt incandescent produce similar light, and outdoor LED fixtures carry a lumen rating on the box or the spec sheet.
4. Install Overhead and Perimeter Lighting
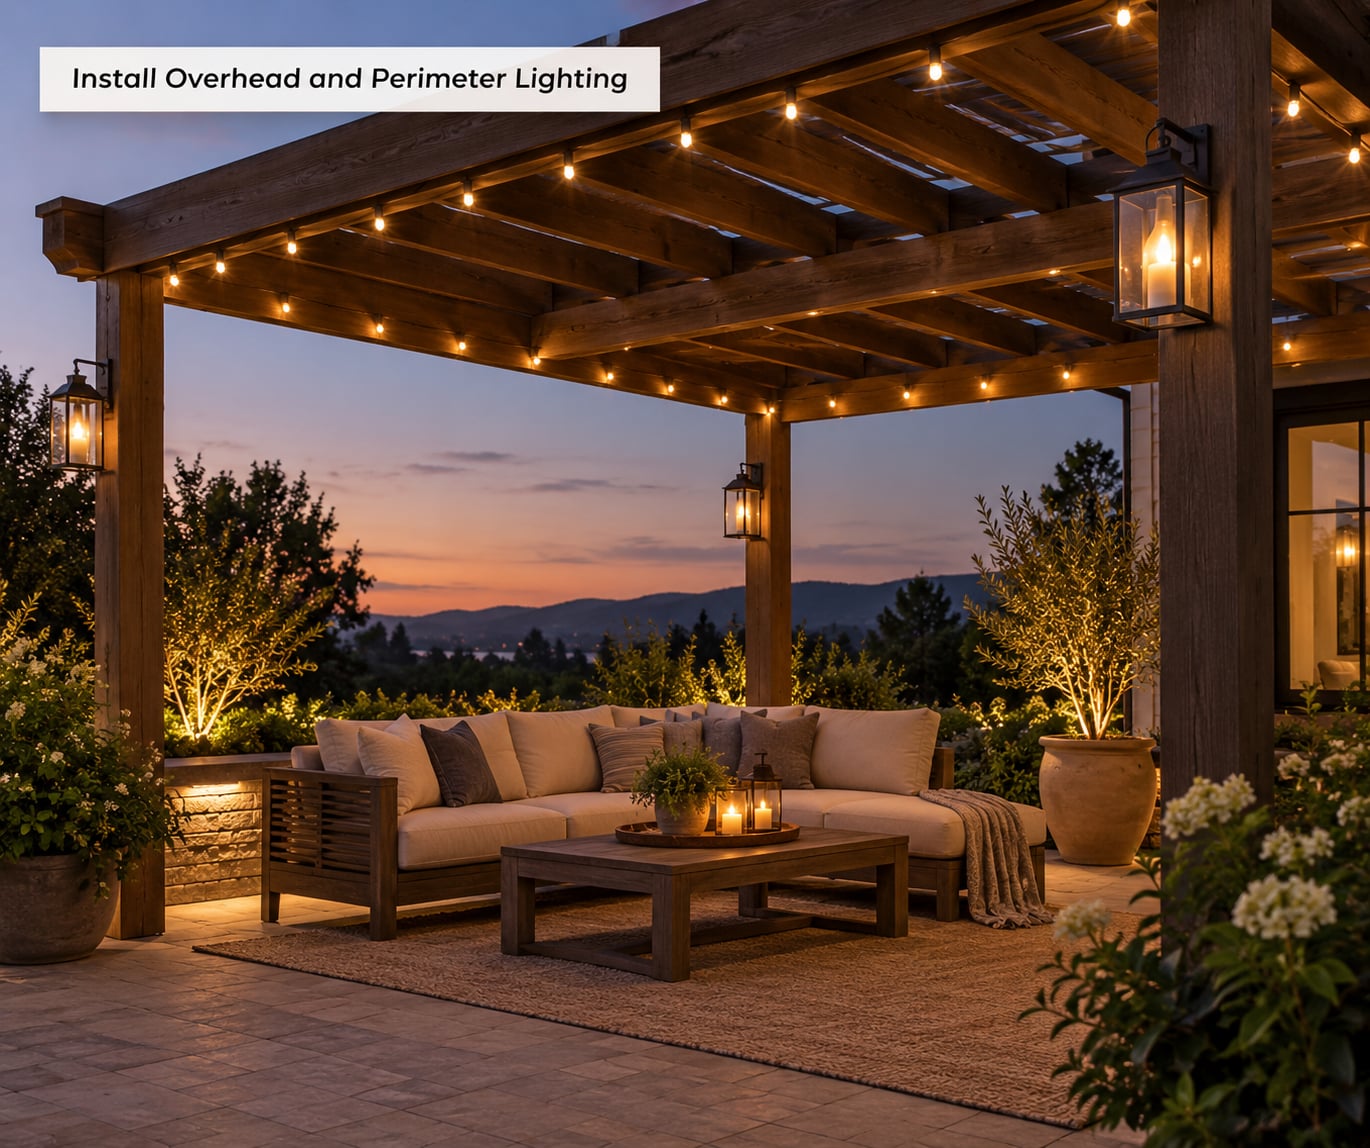
Wood and aluminum behave differently here, and that is where a lot of weekend projects stall.
On a wood pergola, screw eyes or outdoor-rated hooks go into the beams easily. Pre-drill to avoid splitting, coat any new holes with exterior sealer, and leave slack in the cord so wind movement does not work the fastener loose.
On an aluminum pergola, you cannot simply screw into the frame. The extrusion is hollow and not load-bearing for hanging fixtures. Use the manufacturer’s accessory channels, bolt to a bracket plate at a structural joint, or hang from an adjacent wall or a purpose-built center beam.
Route the cable along a beam rather than across open air, and drop it to fixtures in short vertical runs. Conduit along the beam line hides the wiring and does more for looks than any fixture choice.
| Power source | Brightness ceiling | Wiring effort | Good for |
|---|---|---|---|
| 110V hardwired | Very high | Electrician, permit likely | Permanent builds, exercise space |
| Low voltage (12V/24V) | Moderate to high | DIY with a transformer | Most residential pergolas |
| Battery pendant | Low to moderate | None | Rentals, temporary setups |
| Solar | Low | None | Paths, accents, no-power corners |
Long cable runs lose brightness. If you are running more than about 30 feet, size the transformer for the total wattage and use the heavier wire gauge the manufacturer calls for, or split the load across two transformers. A dimmer also has to be rated for outdoor use and for the fixture’s actual current draw, which is where a lot of non-LED failures start.
Anything touching the 110V circuit is licensed-electrician territory in most places. If your plan needs a new circuit, a permit, or a panel change, hand it over.
5. Add Accent and Low-Level Lighting
Now light the edges. A small spotlight aimed up a post, or a narrow beam light washing a climbing plant, adds depth without adding brightness to the middle of the space.
For steps, use shallow markers set into the riser or the ground beside the tread. Keep them low and warm. A step light installed at eye level in someone’s path is a glare problem, not a safety feature.
Fill dark gaps by walking the perimeter after dark and noting where the ambient layer stops reaching. Gaps behind a sectional sofa and at the far corner of a table are the usual two.
6. Consider Solar and Low-Wire Alternatives
Solar works well for paths, steps and small accents. It does not work well as the only light on a pergola, because output swings with cloud cover and it needs direct sun, which a pergola roof blocks all day.
Battery pendants and rechargeable lanterns suit rentals and temporary setups. Cold weather cuts battery life noticeably, and a dim lantern over a dinner table reads as a candle rather than a fixture.
Low-voltage systems are the compromise most people land on. A transformer plugs into a GFCI outlet inside the house, 12V or 24V cable runs to the pergola, and you get real light with no electrician. Hide the cable in conduit along a beam, and remember that any splice outside needs a weatherproof cover.
7. Test and Fine-Tune the Lighting
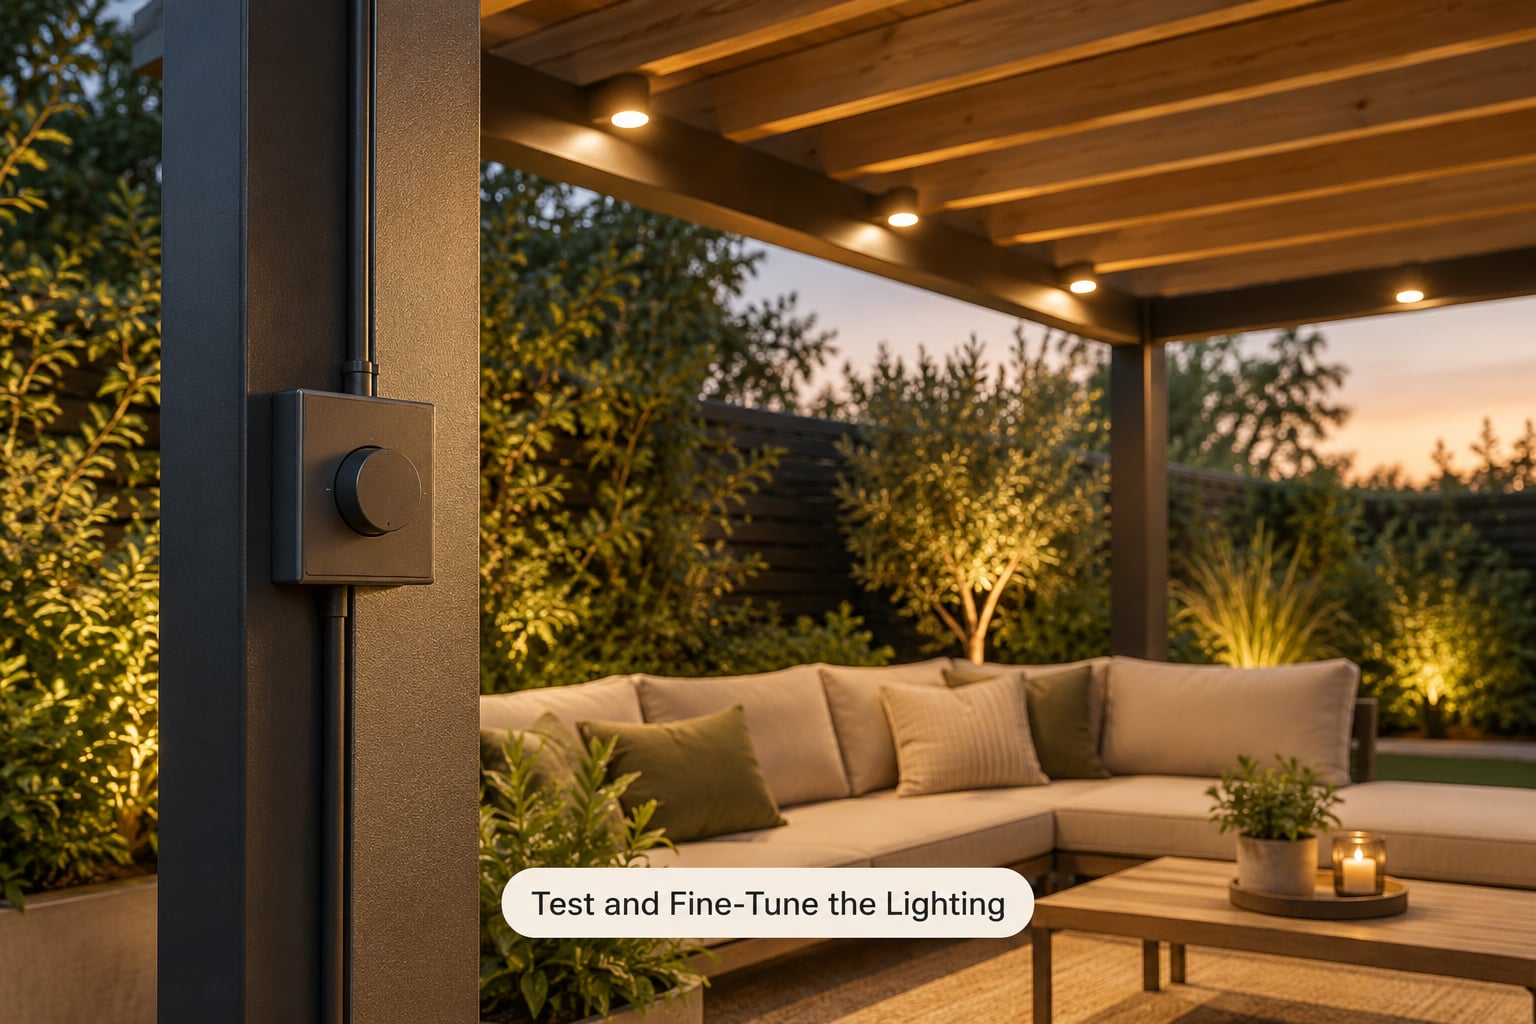
Turn everything on and stand in the space. Sit at the table. Walk the path. Notice where you instinctively look down to find the step.
Dim to about 30 percent and check the space again. If it disappears, your ambient layer is too thin. If it looks the same as full brightness, your task layer is doing all the work and the fixtures are probably too bright to sit under for a long evening.
Match color temperatures across every layer. Mixing 2700K string lights with 4000K puck lights makes a room look like two rooms. Many fixtures now ship with a selectable color temperature switch on the driver; set them all to the same value.
Finally, confirm the electrical side. GFCI protection on any outdoor receptacle, weatherproof covers closed, no warm or loose connections, and no cable pinched under a beam. Codes and listings shift, so check your local rules in 2026 before you start.
Common Mistakes
These come up again and again, and each one has a quick fix.
- Using indoor-rated bulbs outdoors. Fix: check for the IP65 or IP67 rating and a UL or ETL listing. If the box does not say it, it will not survive a wet spring.
- Over-lighting the middle and ignoring the edges. Fix: drop the ambient layer to 30 percent and add low markers at steps and paths instead.
- Putting solar fixtures under the pergola roof. Fix: reserve solar for open ground in full sun, and let it handle paths and accents only.
- Ignoring the electrical requirements. Fix: decide on the power source in step one. If a new circuit is needed, start the permit conversation now.
- Hanging bright fixtures at eye level. Fix: move light sources above head height or aim spots downward at an angle.
- Mismatched color temperatures. Fix: pick one value, usually 2700K to 3000K, and set every fixture and driver to it.
- Leaving low-voltage cable exposed. Fix: run it in conduit along the beam. This one is cosmetic and protective at the same time, since conduit also stops squirrels and raccoons from chewing wire near bird feeders.
- Skipping the dimmer. Fix: add an outdoor-rated dimmer or smart switch on the ambient layer. Brightness control matters more than any single fixture upgrade.
One more thing worth doing early: walk the pergola at night a month before you buy anything. You will notice what your guests step around, and that tells you exactly where the light needs to go.
Frequently Asked Questions
What is the best type of lighting for a pergola?
Layered lighting works best. Use warm-white string lights or an LED strip along the beams for ambient glow, add directional spots or a brighter strip over the table for task lighting, and finish with low markers at steps and paths. Hanging lanterns or a pendant make a good statement piece if your beams can carry the weight.
Are solar lights suitable for lighting a pergola?
Only as a secondary layer. Solar panels need direct sunlight, and a pergola roof blocks it for most of the day, so output drops sharply compared with open ground. Solar is well suited to pathway markers, step lights and small accents. For overhead light on the structure itself, use wired fixtures.
Do pergola lights need to be wired?
Not all of them. Battery pendants and solar lights need no wiring at all, which suits rentals and temporary setups. For permanent installations, wiring gives far more light and more control. A low-voltage transformer plugged into a GFCI outlet is a realistic weekend project; a new 110V circuit is licensed-electrician work.
What color temperature is best for an outdoor pergola?
Aim for 2200K to 3000K. That range reads as warm and relaxed at dinner and still renders skin tones naturally. Anything above 4000K feels harsh and bluish after dark and undermines the outdoor atmosphere you are paying for. Set every fixture and driver in the space to the same value so the layers match.
How many lights should I put on a pergola?
Count layers rather than fixtures. For a typical 12-by-18-foot structure, aim for 1,500 to 3,000 lumens for dining, 3,000 to 5,000 for reading, and 8,000 to 10,000 for exercise use. Scaling those totals across a larger structure, plus one or two low markers at each step, gives you a balanced result.
Can I install pergola lighting myself?
Yes, if you are running a low-voltage system off an existing outdoor receptacle and you are comfortable with basic wiring. Install and maintenance work on a 110V circuit, anything needing a new circuit or permit, or any structural attachment to an aluminum frame belongs with a licensed electrician.
Wrapping Up
Start tonight, not at the store. Walk out to the pergola after dark, note where it goes black, and find the nearest GFCI outlet. Those two answers decide your fixture list, and everything after that is straightforward.