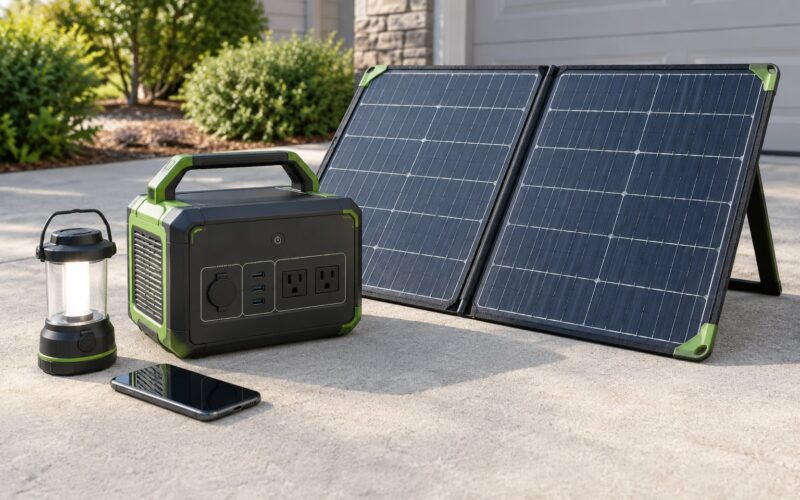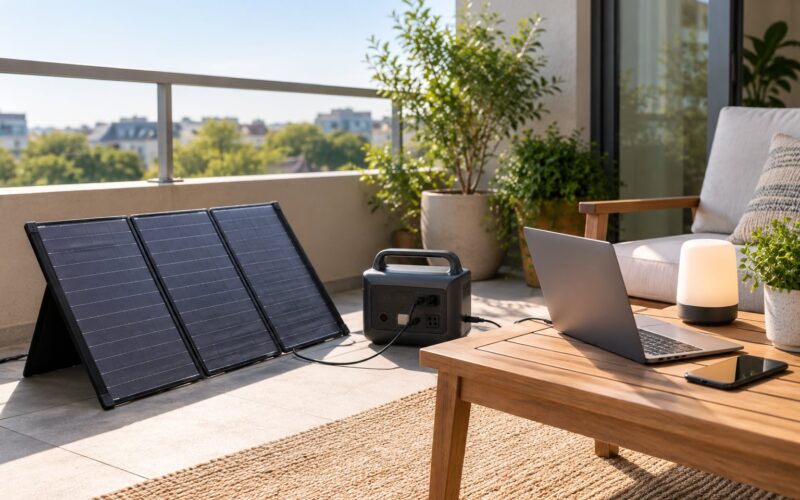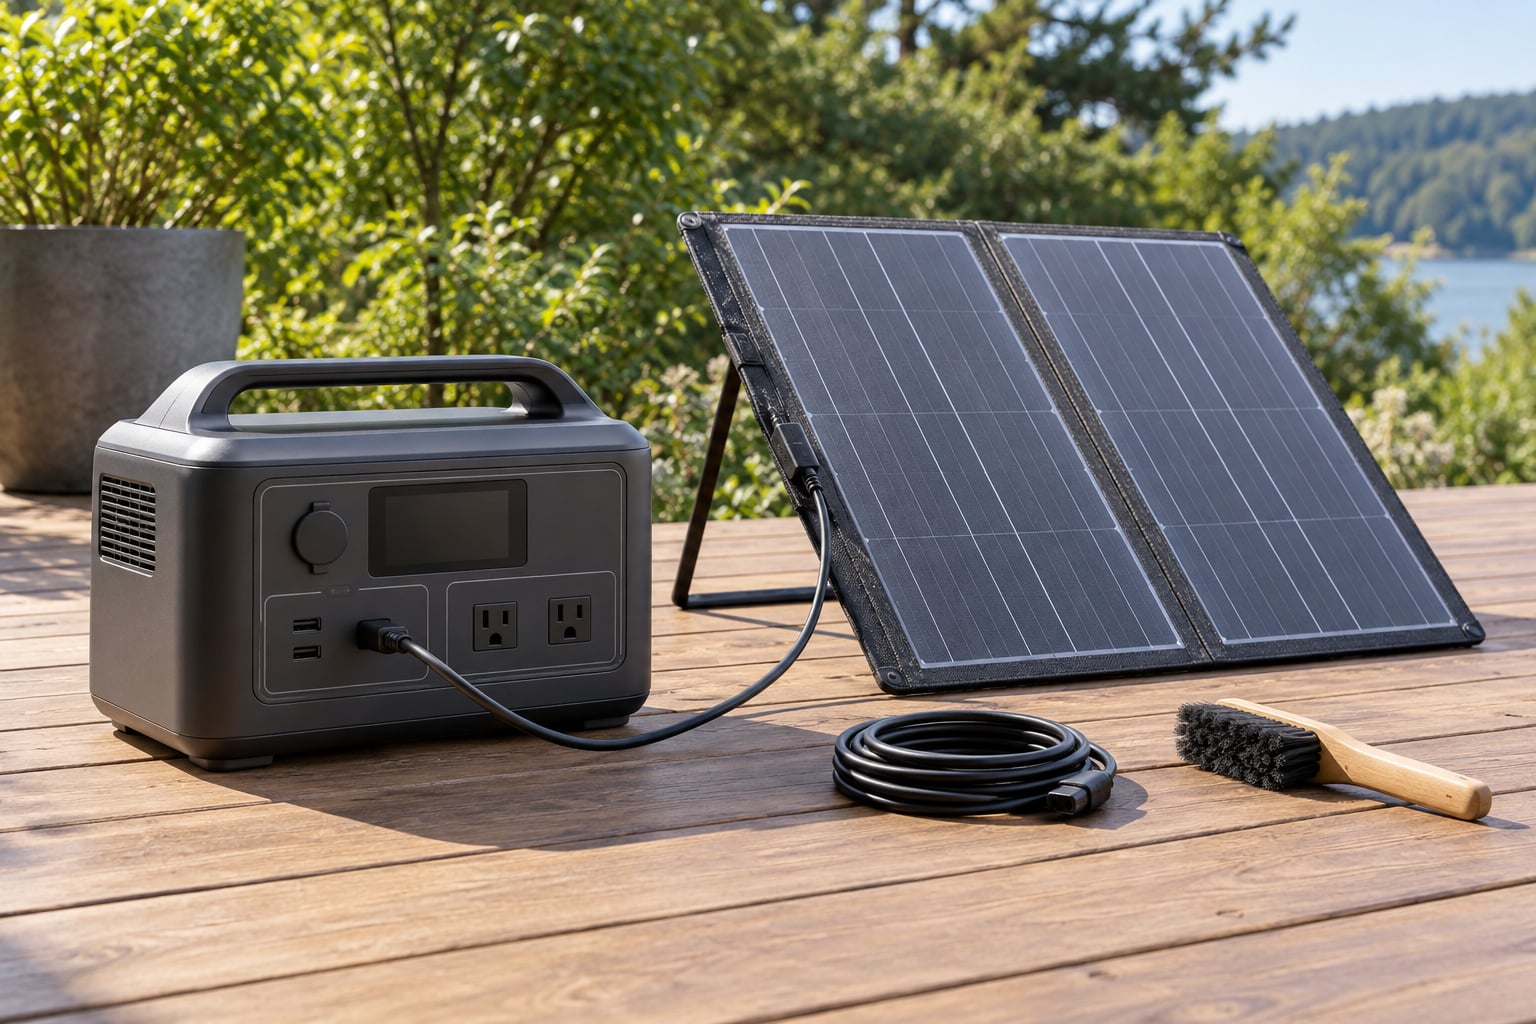
To use a solar panel to charge a power station, match the panel’s output to the station’s rated solar input and plug into the dedicated solar port, not the 12V socket. Most people finish the job in about five minutes once they know which port to use, because that 12V accessory socket that looks like an input is usually output-only. Here is the whole process, from reading the label to storing the cable.
It is worth slowing down for one thing first: a power station’s solar input is a regulated DC input, not a general-purpose battery charger. That distinction decides whether your panel is safe to connect.
Table of Contents
- What You Need
- Which port and cable to use
- Step-by-Step: How to Use a Solar Panel to Charge a Power Station
- 1. Check the power station and panel specifications
- 2. Estimate charging time and check the weather
- 3. Position the solar panel correctly
- 4. Connect the panel to the power station
- 5. Monitor the first charging cycle
- 6. Disconnect and store the equipment safely
- Common Mistakes
- Frequently Asked Questions
- Can a solar panel charge a power station?
- How long does it take to charge a power station with a solar panel?
- Can a solar panel directly charge a 12V battery?
- Can I use the power station while solar is charging it?
- Is it safe to leave a solar panel connected overnight or in the rain?
- Conclusion
What You Need
You need four things, and only one of them is optional.
- A portable power station with a dedicated solar or DC input port
- A solar panel whose output falls inside that port’s voltage and wattage range
- The matching cable, usually a proprietary plug or an MC4-to-XT60/Anderson cable
- A dry, stable, nonconductive surface to lay the gear on
An MPPT charge controller is the optional piece. You do not need one between a correctly matched panel and a power station, because the station already has an MPPT controller built into its solar input. You do need one if you are charging a bare 12V lead-acid or lithium battery instead.
Which port and cable to use
| Port on the power station | What it usually does | What to plug in |
|---|---|---|
| Solar input (XT60, Anderson or round PV plug) | Accepts panel DC power within a set voltage window | The panel, or an MC4-to-station adapter cable |
| 12V accessory socket | Output only on most models, powering a 12V device | Nothing. Do not feed solar in here |
| DC barrel port | 12V output for coolers and similar gear; bidirectional on a few models | Only if the manual states it accepts solar input |
| MC4 | The panel’s own connector, not a station port | Convert with an MC4-to-XT60 or MC4-to-Anderson cable |
That 12V socket catches people constantly. Plugging a panel into it usually produces nothing at all, because the socket is wired one way out. If your station has no solar input at all, the fix people use is an SAE-to-Anderson adapter feeding the car socket, but only on a unit whose manual explicitly allows solar charging through that socket.
Before connecting anything, read four numbers on both devices: the station’s input voltage window, its maximum solar input wattage, the panel’s output voltage and open-circuit voltage, and the panel’s rated watts. The panel’s open-circuit voltage, its voltage with no load attached, is the number that must sit inside the station’s window. A panel rated 12V nominal often reads 18V to 22V open circuit, so a station that only accepts 15V will refuse it.
Step-by-Step: How to Use a Solar Panel to Charge a Power Station
Work through these in order. Each one has a quick check so you know it took.
1. Check the power station and panel specifications
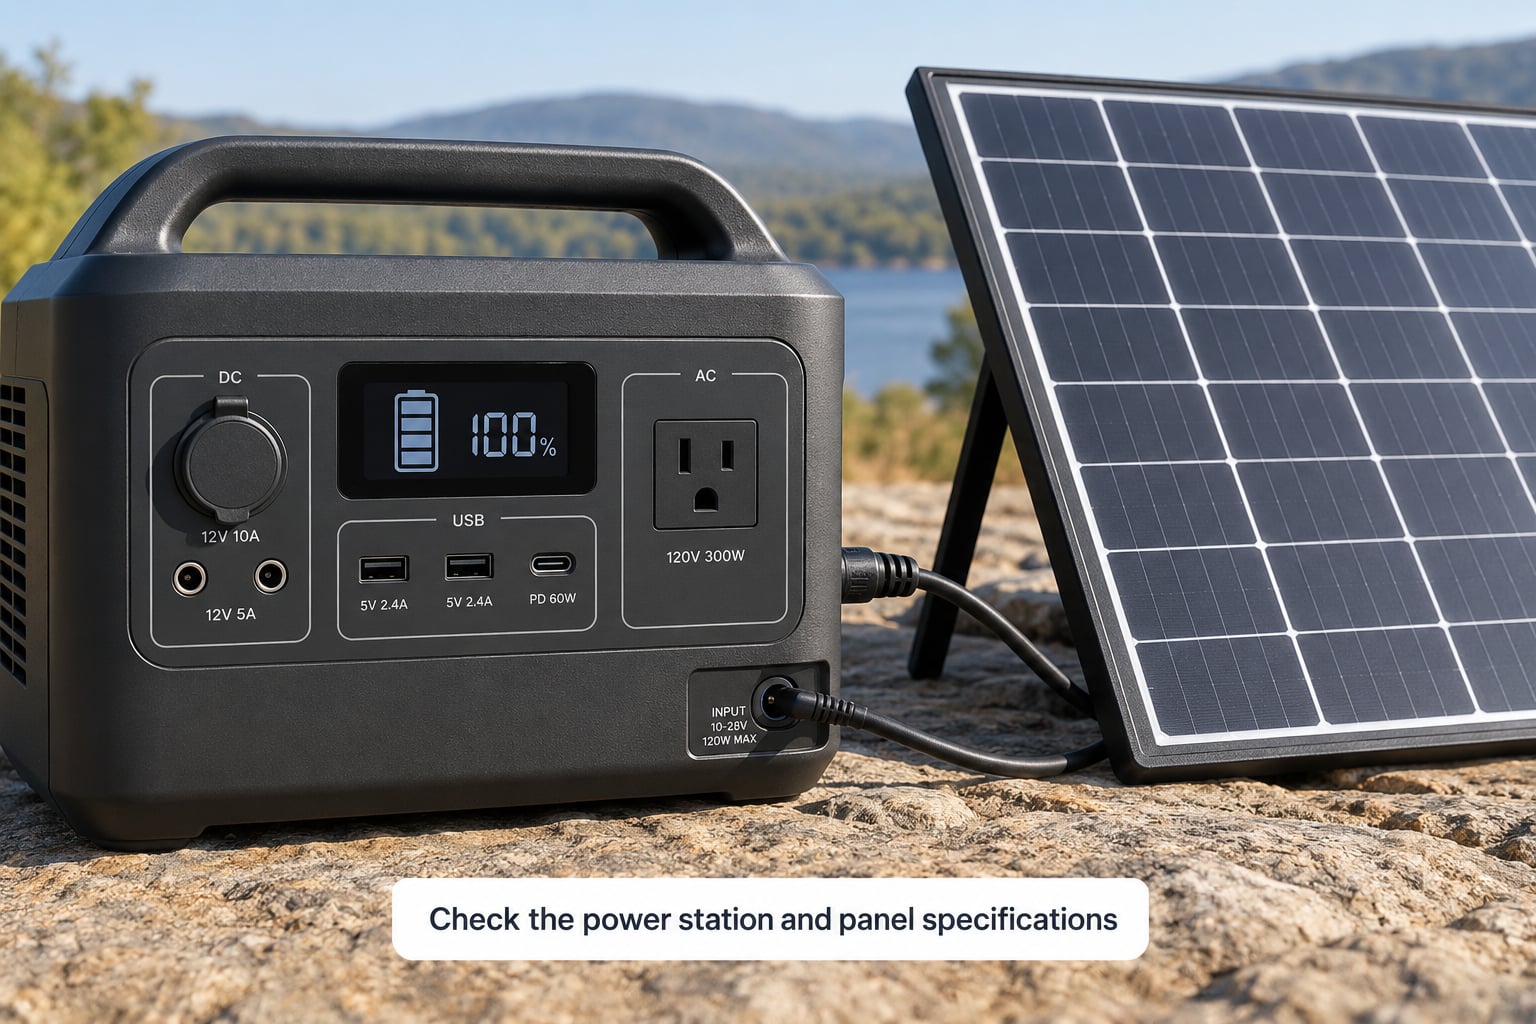
Confirm the station accepts the panel’s open-circuit voltage and that the panel’s rated watts do not exceed the station’s maximum solar input. If either fails, stop and pick different hardware rather than trying an adapter to force it.
Check the connector shape too. A panel with MC4 leads needs an MC4-to-XT60 or MC4-to-Anderson cable, and the station’s socket must match the other end. Expected result: you can state both voltage and wattage compatibility out loud before you touch a connector.
2. Estimate charging time and check the weather
Divide the station’s watt-hour capacity by the panel’s watts, then multiply that by peak sun hours, then add roughly 20% for conversion losses. Peak sun hours is the number of hours a day a panel gets full, unfiltered sun, typically 4 to 6 in most of the continental United States in summer.
The formula is: charge time in hours = station Wh divided by (panel watts multiplied by peak sun hours multiplied by 0.8). A 500Wh station on a 100W panel with 5 peak sun hours takes 500 / (100 × 5 × 0.8) = 12.5 hours, which means a full day of strong sun plus a second morning.
| Station capacity | Panel | Peak sun hours | Estimated full charge |
|---|---|---|---|
| 500Wh | 100W | 5 | About 12.5 hours |
| 500Wh | 200W | 5 | About 6.3 hours |
| 1000Wh | 200W | 5 | About 12.5 hours |
| 1000Wh | 400W | 5 | About 6.3 hours |
| 1000Wh | 200W | 2 (overcast) | About 31 hours |
Those are best-case numbers under clear skies. Overcast output is a fraction of rated wattage, so treat a cloudy day as three to four peak sun hours at best. If your only realistic sun is a couple of hours around lunch, size the panel up or plan on a multi-day recharge.
3. Position the solar panel correctly
Put the panel in unobstructed sun for the whole charging window, with no shade crossing it during the day. Partial shade on one cell row drags down the output of the entire panel, so a tree shadow at 4pm can cost more than an hour of charging.
Aim the panel toward the equator and tilt it so midday sun hits the face rather than glancing off it. Keep it off hot roofs and glass, where output drops and no airflow reaches the back of the cells. Clean the glass first; dust and bird droppings quietly shave off a surprising share of output.
4. Connect the panel to the power station
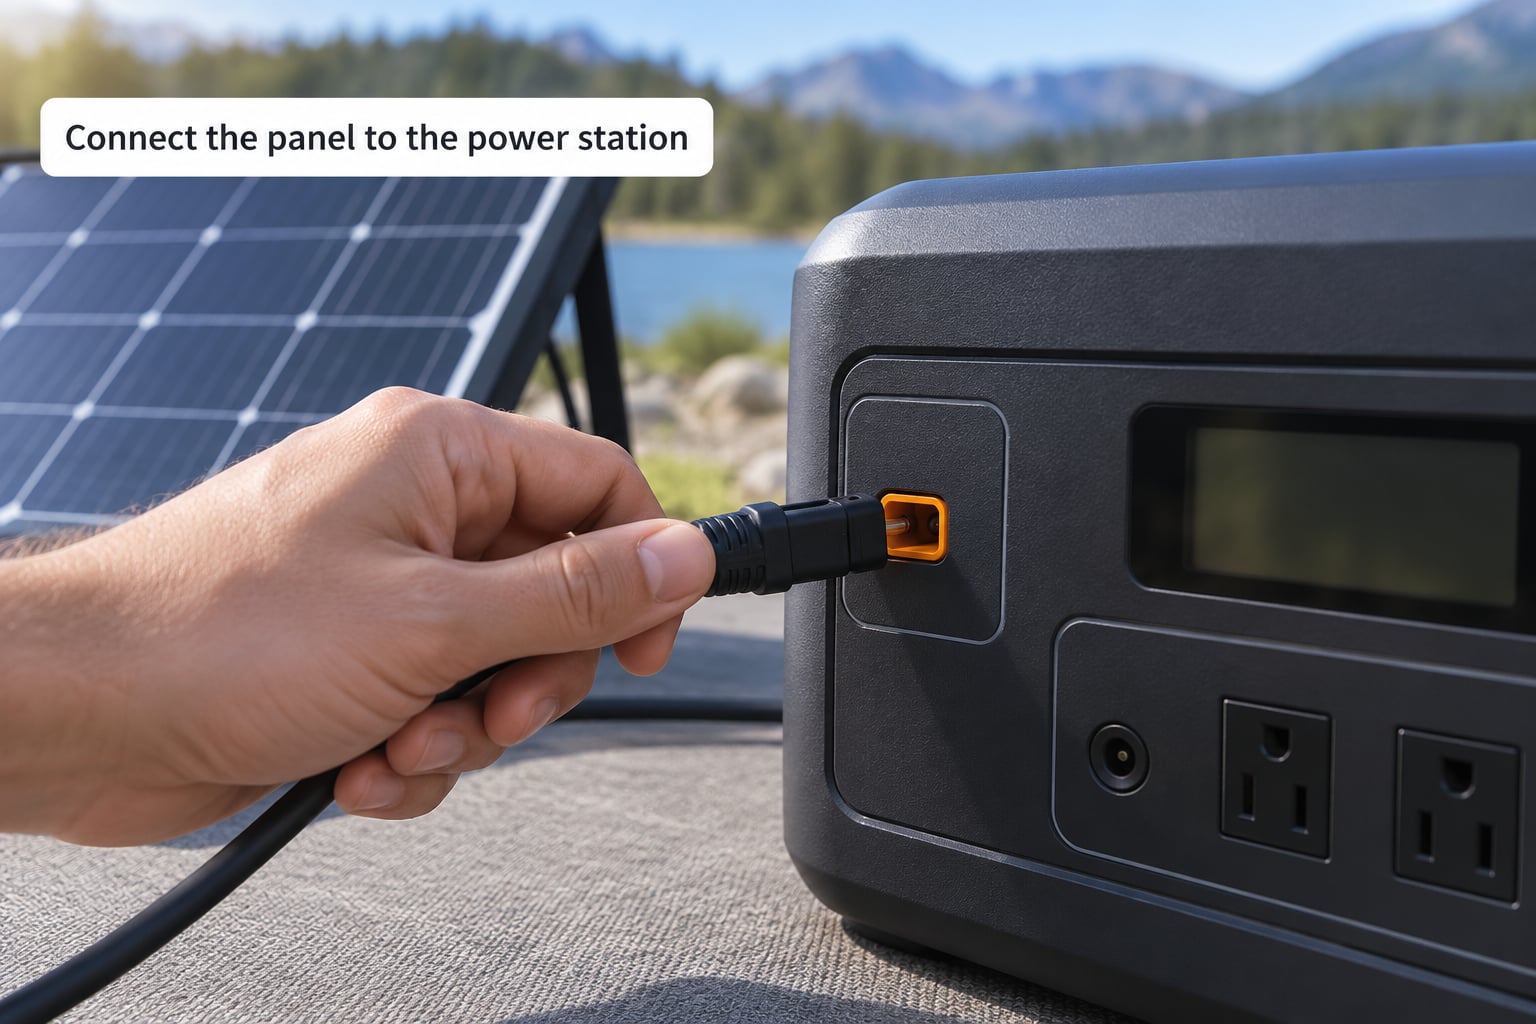
Connect the panel to the station first, then move the pair into the sun. Doing it in that order avoids a live connector sitting exposed while you reposition the panel.
Plug the cable fully in, match polarity exactly, and switch the station to the solar input mode if it has a selector. Skip any adapter that steps voltage up or down; those are for mains or alternate battery chemistries and can destroy a charging input. Expected result: a charging indicator lights and the input wattage readout shows a number.
5. Monitor the first charging cycle
Watch the input wattage for a few minutes. In full sun a healthy panel should report somewhere between 70% and 90% of its nameplate rating, and the state of charge should climb steadily.
Stop and disconnect if the unit becomes too hot to hold comfortably, an error code appears, the input wattage reads zero while the sun is out, or the percentage climbs then drops repeatedly. A station that bounces between 98% and 100% all day is microcycling, and it means the panel’s power is going nowhere useful.
6. Disconnect and store the equipment safely
Unplug the cable before you move anything, and never leave one end of the cable connected and the other end exposed, because a dangling panel lead can arc in damp conditions.
Once the battery reaches full, many stations stop drawing from the panel entirely. Leaving it connected is generally fine in dry weather, but pulling the plug overnight prevents any parasitic drain and keeps moisture out of the port. Roll the cable loosely rather than folding it at a hard bend, and store the panel and station somewhere dry with the panel face covered.
Common Mistakes
Almost every charging failure traces back to one of these.
Plugging into the 12V accessory socket. It is nearly always output-only, which is why the station shows no solar input at all. Use the dedicated solar port, or an SAE-to-Anderson adapter only where the manual permits solar charging through that socket.
Ignoring open-circuit voltage. A 100W panel can read 22V on a cloudy afternoon, well above its 18V working point. If that exceeds the station’s accepted window, it will refuse the panel or behave oddly.
Over-driving the input wattage. Plugging a 400W panel into a station rated for 200W will not double the charging speed. It can overheat the internal MPPT and void the warranty. Stay under the limit.
Using a thin or wrong-gauge cable. A 10W panel needs almost nothing, while a 400W panel pulls real current and a thin lead becomes hot. Match the cable gauge to the current and keep runs as short as practical.
Charging through the wrong power adapter. Do not route a panel through an inverter, a wall adapter or a DC-DC converter that was not designed for it. The station’s own solar input is already regulated.
Putting the panel in partial shade. A small shadow can cut total output dramatically. Move the panel, or accept the slower charge rather than blaming the panel.
Leaving the system connected through a storm. Panels are weatherproof but the connectors rarely are. Unplug before heavy rain, and never handle a connector with wet hands.
Expecting overnight results. A 100W panel cannot refill a 1000Wh station in eight hours of darkness. The physics is fixed; size the panel for your real sun exposure.
Charging below freezing. Lithium cells must not be charged at or below 32°F (0°C), because lithium plating forms inside them and causes permanent damage or a safety event. Bring the station to a warm, dry spot first and wait until it is above freezing.
Frequently Asked Questions
Can a solar panel charge a power station?
Yes, as long as the panel’s voltage range and rated wattage fall inside the station’s solar input specifications and the connectors match. Most portable power stations have a dedicated solar input with a built-in MPPT charge controller, so no external controller is needed. Check open-circuit voltage rather than working voltage, since a 12V nominal panel can read above 20V with no load attached.
How long does it take to charge a power station with a solar panel?
Divide the station’s watt-hour capacity by the panel’s watts, peak sun hours and 0.8 for conversion losses. A 500Wh station with a 100W panel and 5 peak sun hours needs roughly 12.5 hours of strong sun, so usually two good days. A 200W panel cuts that to about 6 hours. Overcast conditions can stretch a full charge to several days.
Can a solar panel directly charge a 12V battery?
Not safely on its own. A bare battery needs a charge controller between the panel and the battery to regulate voltage and prevent overcharging. A power station already includes that controller inside its solar input, which is why the panel connects straight to the station. For a bare lead-acid or lithium battery, add an MPPT controller matched to the battery chemistry and voltage.
Can I use the power station while solar is charging it?
Many modern stations support pass-through charging, letting you run devices while the panel recharges the battery, though the exact input and output wattage limits vary by model. Some cheaper units do not, and a few will microcycle between 98% and 100% while a load is attached, generating heat and wearing the battery. Check your manual, and if the charge level oscillates, unplug the load.
Is it safe to leave a solar panel connected overnight or in the rain?
Panels are designed to handle rain, and most stations have protected inputs, but standing water at a connector is the weak point. Unplugging before rain and before an overnight frost reduces the risk and avoids parasitic drain. Never charge a lithium station at or below 32°F, and never handle a connector with wet hands. A loose, covered connection is safer than one left exposed.
Conclusion
Start with the label, not the cable. Read the station’s solar input voltage window and maximum input wattage, read the panel’s rated watts and open-circuit voltage, and confirm the connectors match. Then plug in at the station end, move the panel into full sun, and watch the first cycle until you see the input wattage climb and the battery percentage rise steadily. Everything else on this page is a detail of those five minutes.