To light a yard without disturbing wildlife, use few fixtures, keep every one fully shielded and aimed down, choose amber or warm-white bulbs under 3000K, and switch them on only when someone needs them — a motion sensor or a timer does that job. Most yards can be handled in an afternoon once you know where light is actually needed.
The trouble with the usual approach is quantity and brightness. A dozen cool-white path lights on a dusk-to-dawn photocell will light your lawn like a car park, and that much short-wavelength light after dark pulls moths to it, confuses fireflies trying to mate, and keeps birds from using the yard at all. You still want to see your front step at 2am. The trick is being selective about it.
Start by turning everything off and walking the yard after dark, which is covered in more detail below. You will be surprised how little of it actually needs light.
Table of Contents
- What You Need
- Step-by-Step: How to Light a Yard Without Disturbing Wildlife
- 1. Map the areas that need light
- 2. Choose fully shielded, downward-facing fixtures
- 3. Keep light low, warm, and close to the surface
- 4. Use timers or motion-activated lighting
- 5. Install solar lights where they can charge and operate safely
- 6. Check the result from inside the yard and nearby areas
- Common Mistakes
- Frequently Asked Questions
- Are solar yard lights better for wildlife than electric lights?
- What color light is least disruptive to wildlife at night?
- Should I light my entire yard for safety?
- Are motion-sensor lights wildlife-friendly?
- Where should solar lights be placed in a yard?
- How can I prevent glare from outdoor lighting?
What You Need
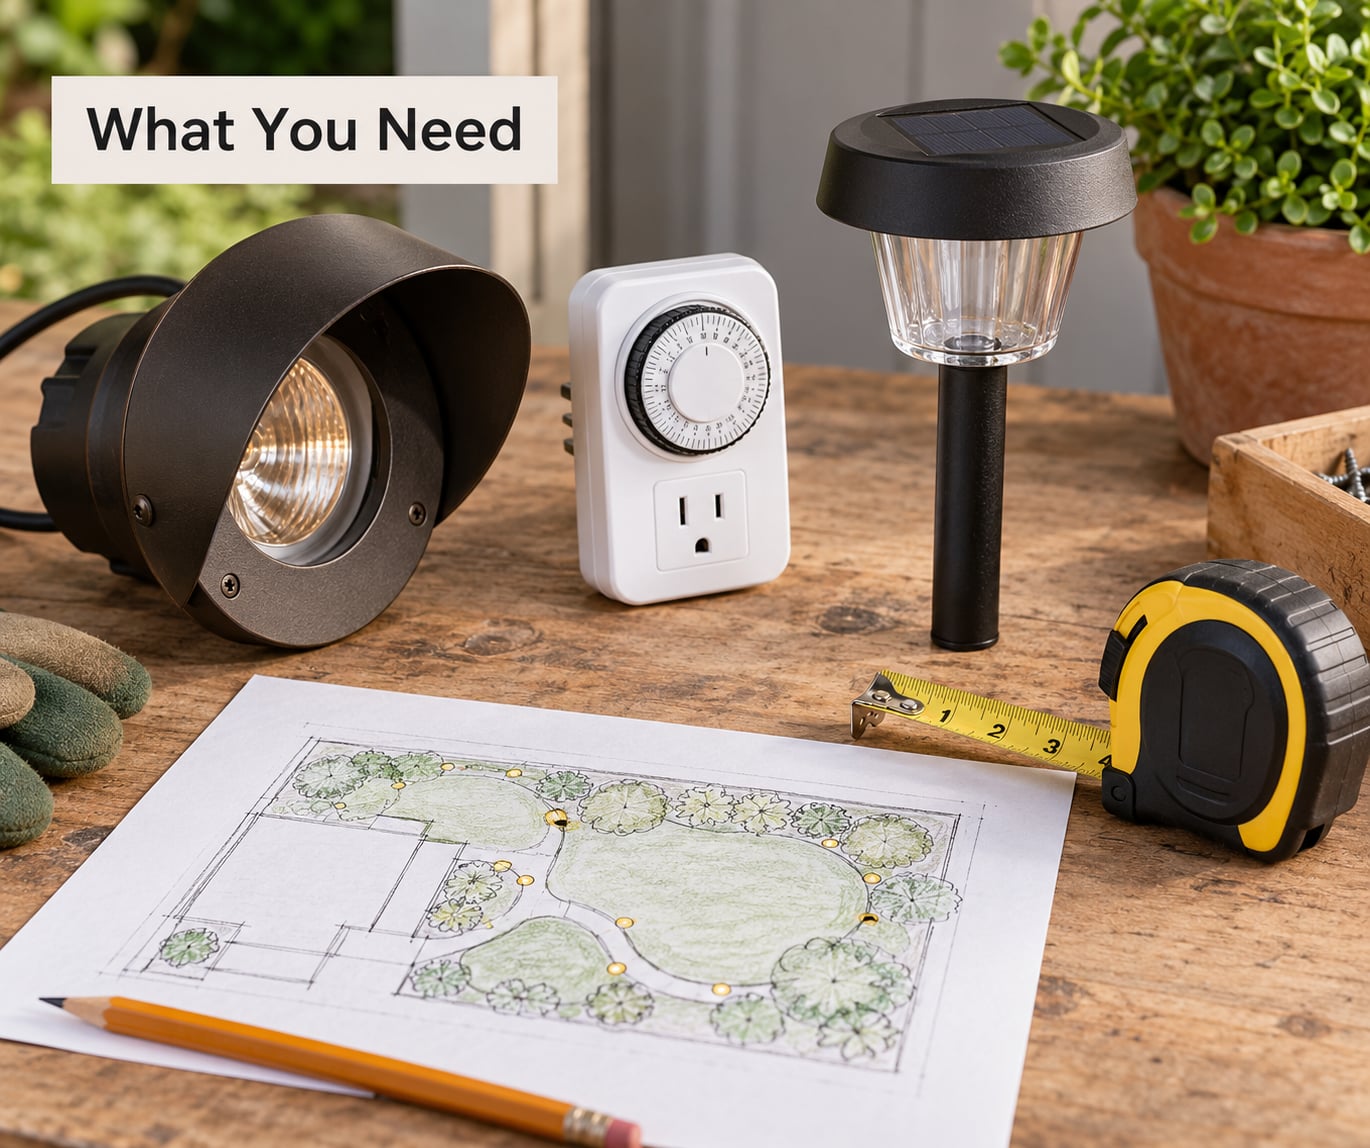
You need less than a hardware list suggests. Grab a notebook or your phone, a roll of tape, and a way to see in the dark safely — a headlamp pointed at the ground works well for the audit walk.
- A plan of your yard. Sketch the house, the walkway, the steps, the gate, the driveway, and anything you step off onto in the dark.
- A basic lighting plan. Mark the three or four places that genuinely need light. Resisting the urge to light everything is the whole job.
- Fully shielded fixtures. A closed top with a lens or hood on the bottom, so the beam never leaves the ground it is aimed at.
- Warm-color bulbs. Amber, or warm white between 2200K and 3000K. Look at the Kelvin number printed on the box or the bulb base.
- Timers, motion sensors, or dimmers. Any of the three cuts the hours of operation, which is what actually decides whether wildlife is affected.
- Low-voltage or solar options where a wired run would mean digging a trench across a lawn.
- The manufacturer’s instructions for whichever fixture you choose, especially for mounting height and sensor range.
Step-by-Step: How to Light a Yard Without Disturbing Wildlife
The method below takes roughly an hour for the audit and half a day for installation. Difficulty is low if you are comfortable with a ladder and a screwdriver; anything involving new wiring belongs with a licensed electrician.
1. Map the areas that need light
Turn off every outdoor light and walk your yard after dark. Note the spots where you hesitate: the top and bottom of the steps, the path from the gate to the door, the edge of the deck, the bin store.
Now mark everything you want to keep dark. Habitat at the back of the lot, a pond, a log pile, a hedge line, and the strip between your fence and a neighbouring field all count. Those unlit patches are your dark corridor, and they are worth as much to insects, birds, and bats as any fixture you install is worth to you.
If you have a pond, a marshy corner, or a beach within a few kilometres, keep any lighting well back from it. Nesting and hatching areas need darkness far more than your back step does.
2. Choose fully shielded, downward-facing fixtures
A fully shielded fixture has an opaque back and top with the light coming out the bottom only. Some fixtures also carry a full-cutoff label, which means the beam is cut off completely above about 90 degrees, so nothing travels toward the sky.
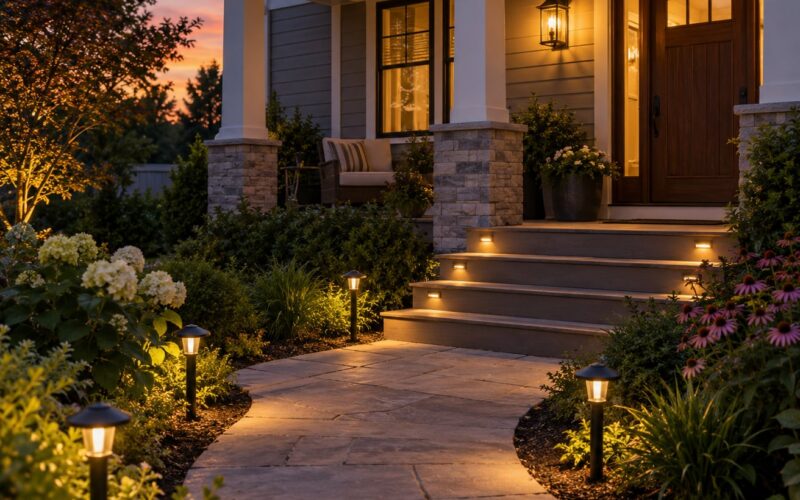
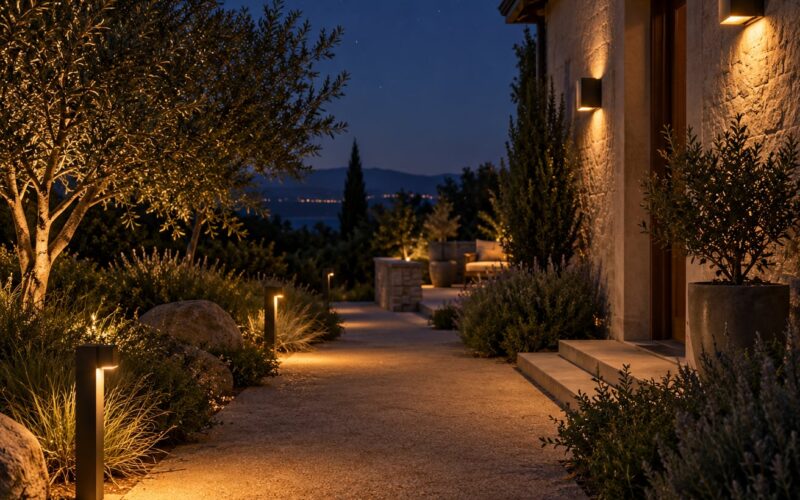
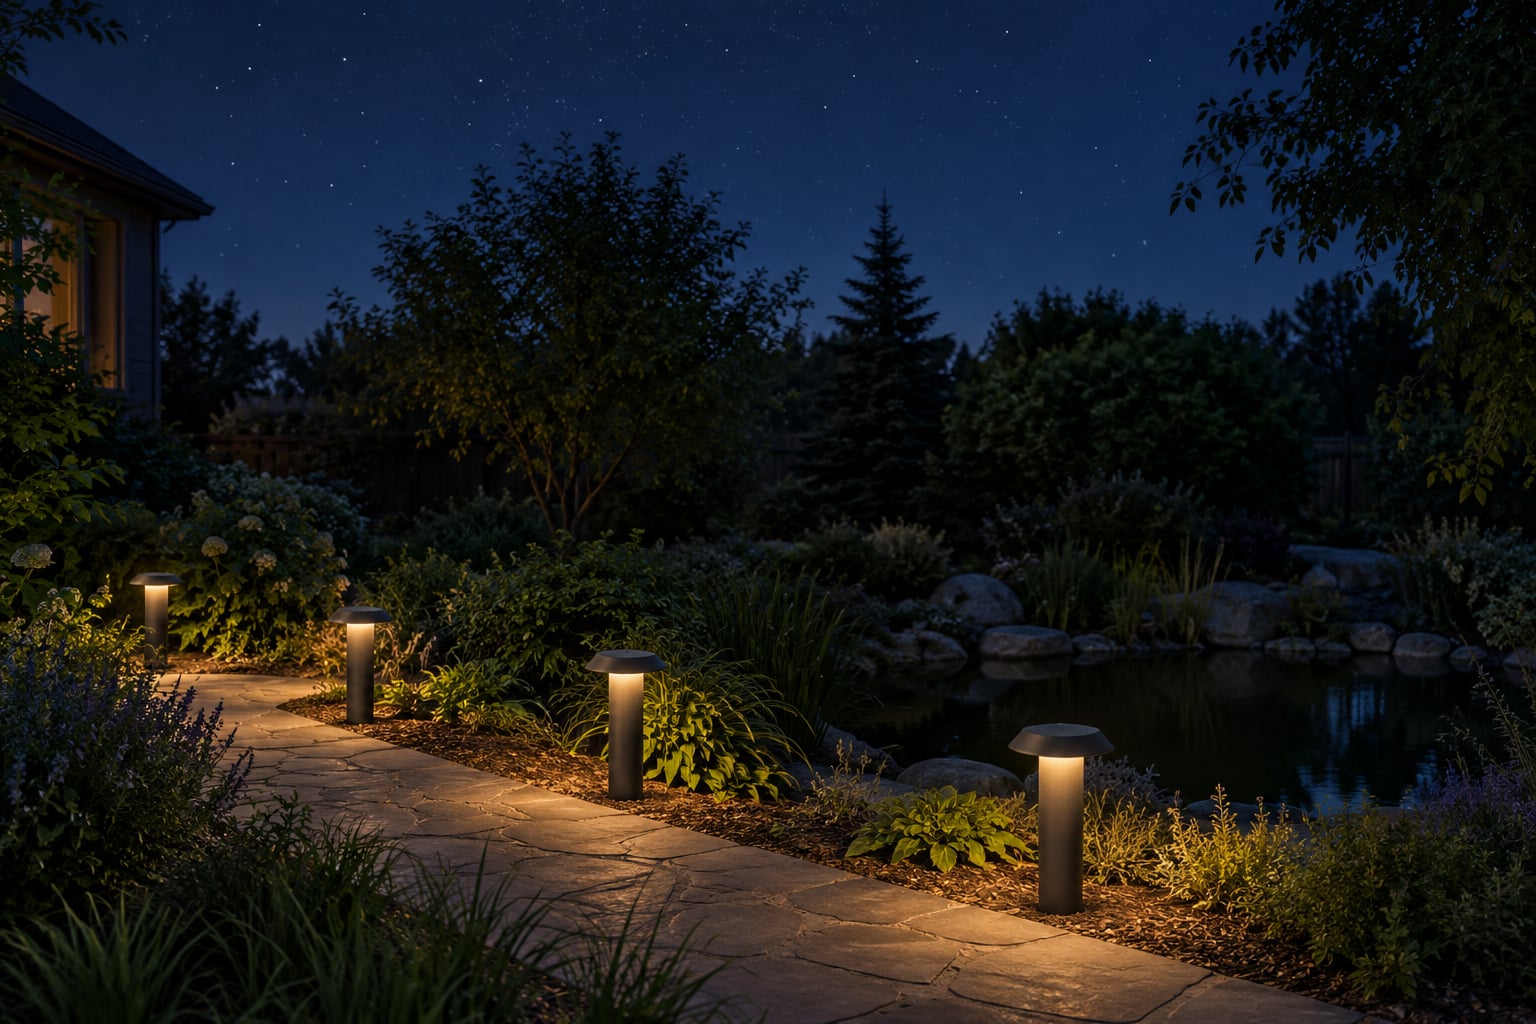
That matters more than brightness. A 300-lumen lamp pointing at the hedge sends light into your neighbour’s bedroom and across the street; the same lamp aimed straight down at the paving lights one patch of path. Mount path lights low, roughly 12 to 18 inches above the surface, and angle the head down and slightly along the walk rather than across it.
Watch for scalloping too — the crescent of light above a fixture that ruins a view of the night sky. If you can see the lamp itself from across the yard, the shielding is not doing its job.
3. Keep light low, warm, and close to the surface
Color temperature decides how visible the light is to animals, and insects are far more sensitive to short wavelengths than we are. A 5000K bulb that looks bright and crisp to you is an ultraviolet beacon to a moth.
| Color temperature | What it looks like | Wildlife impact |
|---|---|---|
| 2200K amber | Deep orange | Lowest impact; the best choice near habitat |
| 2700K warm white | Soft warm yellow | Very good; a practical all-rounder |
| 3000K warm white | Yellow-white | Acceptable; keep it low and shielded |
| 4000K neutral white | Clear white | Moths and beetles are strongly drawn to it |
| 5000K and above cool white | Blue-white | Most disruptive; avoid outdoors where you can |
Brightness is the other half. For a residential path or step, roughly 15 to 50 lumens is genuinely enough. Walkways take 100 to 300 lumens, and anything above 500 lumens in a suburban backyard is usually lighting the neighbours’ property rather than your own. If your eyes adjust in three seconds and you can see the ground clearly, you have enough light.
Keep fixtures close to what needs illuminating. A light on a short post above a handrail beats a floodlight on the house wall, because the beam has further to travel before it leaves your yard.
4. Use timers or motion-activated lighting
Total hours of operation matter as much as intensity. A fixture that runs eleven hours a night is a far bigger problem than a brighter one that runs for ninety seconds when someone walks up.
A motion sensor set to detect people rather than general movement is the best option where it makes sense. Aim it along the approach to the door, from high enough to see a walker, and set its sensitivity low enough that foliage in the wind does not trigger it all evening. One honest limitation: a motion light often switches on after you have already reached the area, so it is weak as security lighting and strong as path guidance.
Timers are more predictable. A plug-in timer on the circuit, or a fixture’s built-in countdown that goes dark after a few minutes, handles steps and porches well. Be careful with dusk-to-dawn photocells: they keep a fixture on every night until sunrise, which is precisely the pattern people complain about most.
5. Install solar lights where they can charge and operate safely
Solar is the sensible answer for a path, a bollard, a post cap, or a set of steps, because it removes the wiring question entirely. It also removes your ability to over-light, since a small panel and battery deliver modest output.
Place panels where they get direct sun for most of the day — a south-facing fence post or an open path edge works better than under a tree canopy or tight against a north-facing wall. Expect realistic runtime: three to five hours of light on a bright summer day, and noticeably less after a cloudy stretch or in winter, which is when people usually decide a solar light is broken and go buy something brighter.
Put fixtures where animals are unlikely to batter them. Raccoons, deer, and a determined dog will chew on a stake light repeatedly, and once the housing is cracked the panel is dead.
6. Check the result from inside the yard and nearby areas
Stand where you normally park the car and look at the path. Step down the stairs with the lights in their dimmest, normal setting. Then walk the property line at night and see how much of your light crosses into the garden next door.
Look for glare, overly broad beams, dark hazards on the walk, and any pool of light landing in vegetation. Adjust the aim, tighten the beam, or drop a fixture to a timer. If the neighbours can see your lighting clearly from their kitchen window, that is light trespass, and it is worth fixing before it becomes a conversation.
Some local rules apply too. Dark-sky ordinances, HOA restrictions on fixture colour and brightness, and coastal turtle-protection codes all limit what you can install, so check before you buy.
Common Mistakes
Lighting the entire yard. The goal is a walkable route, not a lit lawn. Every fixture beyond the route adds light nobody asked for, and backyard wildlife uses the dark parts of a yard as their dark corridor.
Aiming fixtures horizontally or upward. A wall light at head height throws light across the yard and into the sky. Turn the head down and aim it at the surface you need lit.
Using bright cool-white bulbs. A bulb labelled soft white can still be 4000K. Check the Kelvin number, and remember that a blue-rich bulb pulls in more insects, which then feed everything that eats insects.
Leaving lights on all night. Dusk-to-dawn photocells and decorative string lights left running are the most criticised habit in outdoor lighting forums. Put those circuits on a timer.
Putting solar panels in shade. A panel under a canopy or beside a wall will not charge enough, and the light will fade out halfway through the evening.
Assuming motion sensors fix everything. A badly aimed sensor triggers on every passing animal, so the light comes on at 1am anyway. Set the aim and the sensitivity, and check them at night before you trust them.
A few extra habits pay off. Retrofit before you replace — a warm bulb, a shade, or a timer on an existing fixture solves most problems for a fraction of the cost of new hardware. Dim lights after they come on rather than snapping to full brightness, which startsle wildlife less. And check on the light trespass question, because being a good neighbour here costs nothing.
Frequently Asked Questions
Are solar yard lights better for wildlife than electric lights?
Usually, because of the output rather than the power source. Solar path and bollard lights are small, dim, and mounted low, so they rarely produce enough spill to matter. A bright wired floodlight is worse for wildlife than a modest solar bollard. Solar is not automatically kind, though — a fixture with a blue-white bulb still sends the same short-wavelength light out over your garden.
What color light is least disruptive to wildlife at night?
Amber, at roughly 2200K, is the least disruptive colour you can buy. Warm white in the 2200K to 3000K range is a close second and easier to find. The reason is wavelength: insects, birds, and sea turtle hatchlings are all far more responsive to short-wavelength blue and ultraviolet light than we are, so removing it from your bulb removes much of the problem.
Should I light my entire yard for safety?
No. Light the route you actually walk — steps, the path from the gate to the door, the deck edge — and leave the rest dark. Uniform brightness across a yard creates glare that reduces real visibility while flooding neighbouring gardens and keeping nocturnal animals out of the space. A few dim fixtures spaced along the walking route give you more usable light for far less spill.
Are motion-sensor lights wildlife-friendly?
They are better than constant-on lighting, but not automatically kind. A sensor with too much sensitivity triggers on deer, raccoons, and wind-blown foliage, so the light runs most of the night anyway. Aim the sensor along the approach to the door, set the range low, and set a timeout so the lamp goes dark after a minute or two.
Where should solar lights be placed in a yard?
Along paths, at steps, and beside a driveway, mounted low and spaced six to eight feet apart so their pools of light meet. Put the panel in direct sun for most of the day, away from tree canopies and north-facing walls. Keep solar fixtures out of dense planting and away from water features, where species that do not need the light are drawn to it.
How can I prevent glare from outdoor lighting?
Choose fully shielded fixtures with the light coming out the bottom only, mount them low, and aim them down. Keep lumen output modest — 15 to 50 for a path, 100 to 300 for a walkway. Adjustable heads let you tilt the beam onto the surface instead of into the air, and warm colour temperature feels less harsh than cool white at the same brightness.
Start with the audit, not a shopping cart: switch everything off, walk the yard after dark, and write down the three places you actually stumble. Warm amber bulbs, shielded fixtures aimed down at 15 to 50 lumens, and a timer or a well-set motion sensor will cover those three spots and leave the rest of your yard dark enough for the animals that use it. Whether you get there on solar or on a wired low-voltage run makes far less difference than how much light you leave switched on.