Nearly every broken solar light comes down to one of five things: the switch is off, the battery is finished, the panel is dirty or shaded, the light sensor has failed, or water has corroded a connection. Those five cover almost all of the common solar light problems and fixes you will ever need, and most of them sort out in an afternoon with a cloth and a screwdriver.
The order you work in matters. Start with the free checks that take under a minute, then move to the battery and the panel, and only open the housing once the cheaper explanations are ruled out. Almost nothing here needs an electrician.
Table of Contents
- What You Need
- Step-by-Step
- 1. Check the Power Switch and Mode Setting
- 2. Confirm the Panel Is Receiving Sunlight
- 3. Clean the Solar Panel and Sensor
- 4. Inspect and Recharge the Battery
- 5. Test the Wiring, Panel and LED
- 6. Reset the Light and Monitor It
- Common Mistakes
- Frequently Asked Questions
- What are the common reasons why solar lights are not working?
- How do I reset a solar light?
- Can the batteries in solar lights be replaced?
- Are you supposed to leave solar lights on all the time?
- Why are only some of my solar lights working?
- What is the average lifespan of outdoor solar lights?
- Conclusion
What You Need
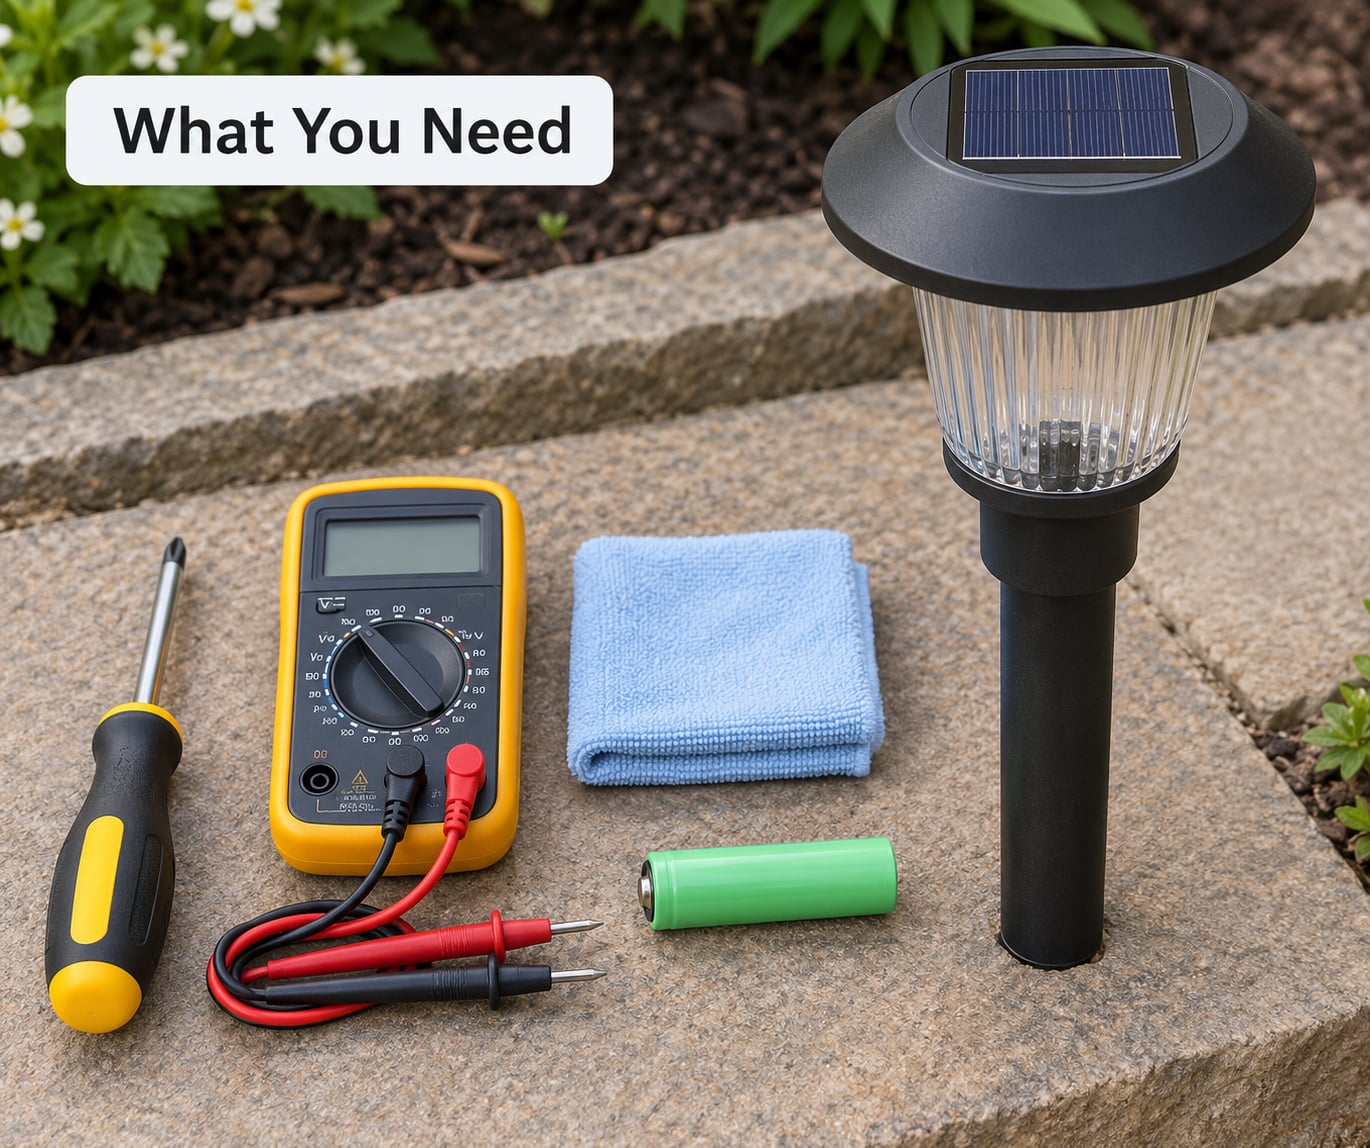
You do not need much. Gather these before you start so you are not stopping halfway through to find the right tool.
- A soft cloth or cotton pad for the panel and sensor lens, dampened with plain water only.
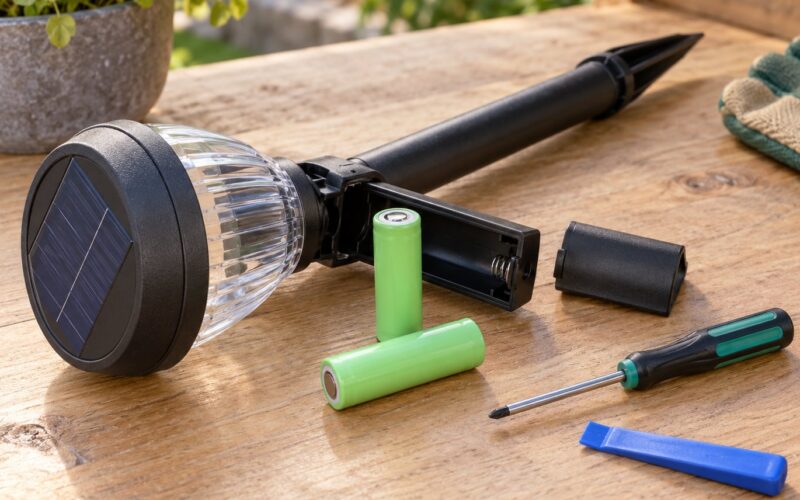
- A small flat-head or Phillips screwdriver for the battery compartment and base plate.
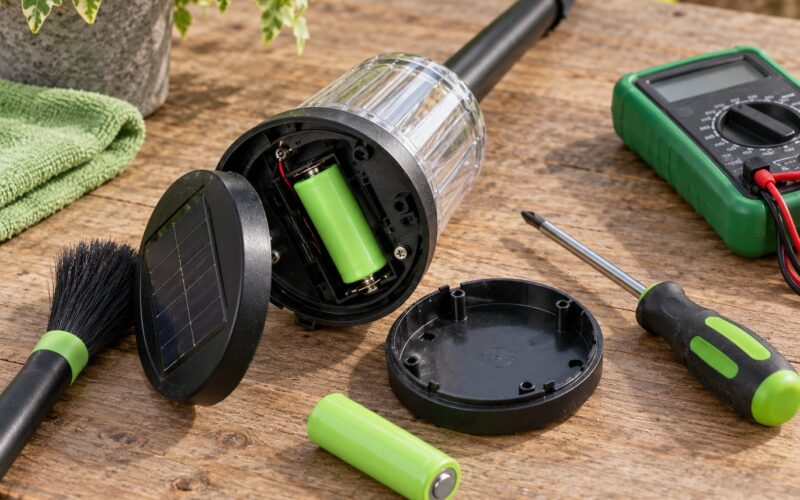
- A multimeter if you want to test the battery and panel rather than guess. You can diagnose most faults without one, but it saves time.
- Gloves for handling corrosion and any swollen battery cell.
- A spare rechargeable battery in the correct size and chemistry for the fixture. Most garden lights take an 18650 cell, larger post lights often take a 32650.
- Baking soda, a toothbrush and white vinegar for cleaning corroded contacts.
- Clear exterior silicone sealant if you are going to reopen a sealed case.
Skip the multimeter if you do not have one. A battery that will not hold a charge for even a few minutes in a flashlight has told you everything you need to know on its own.
Safety first. Unplug nothing and cut nothing: these lights run on low-voltage DC and there is no mains wiring inside a garden fixture. Do not open a battery that is swollen, hot, hissing or leaking, and do not puncture or recharge it. Take that cell to a household battery recycling point. If the fixture turns out to be hard-wired rather than a plug-in solar unit, stop and call a licensed electrician.
Step-by-Step
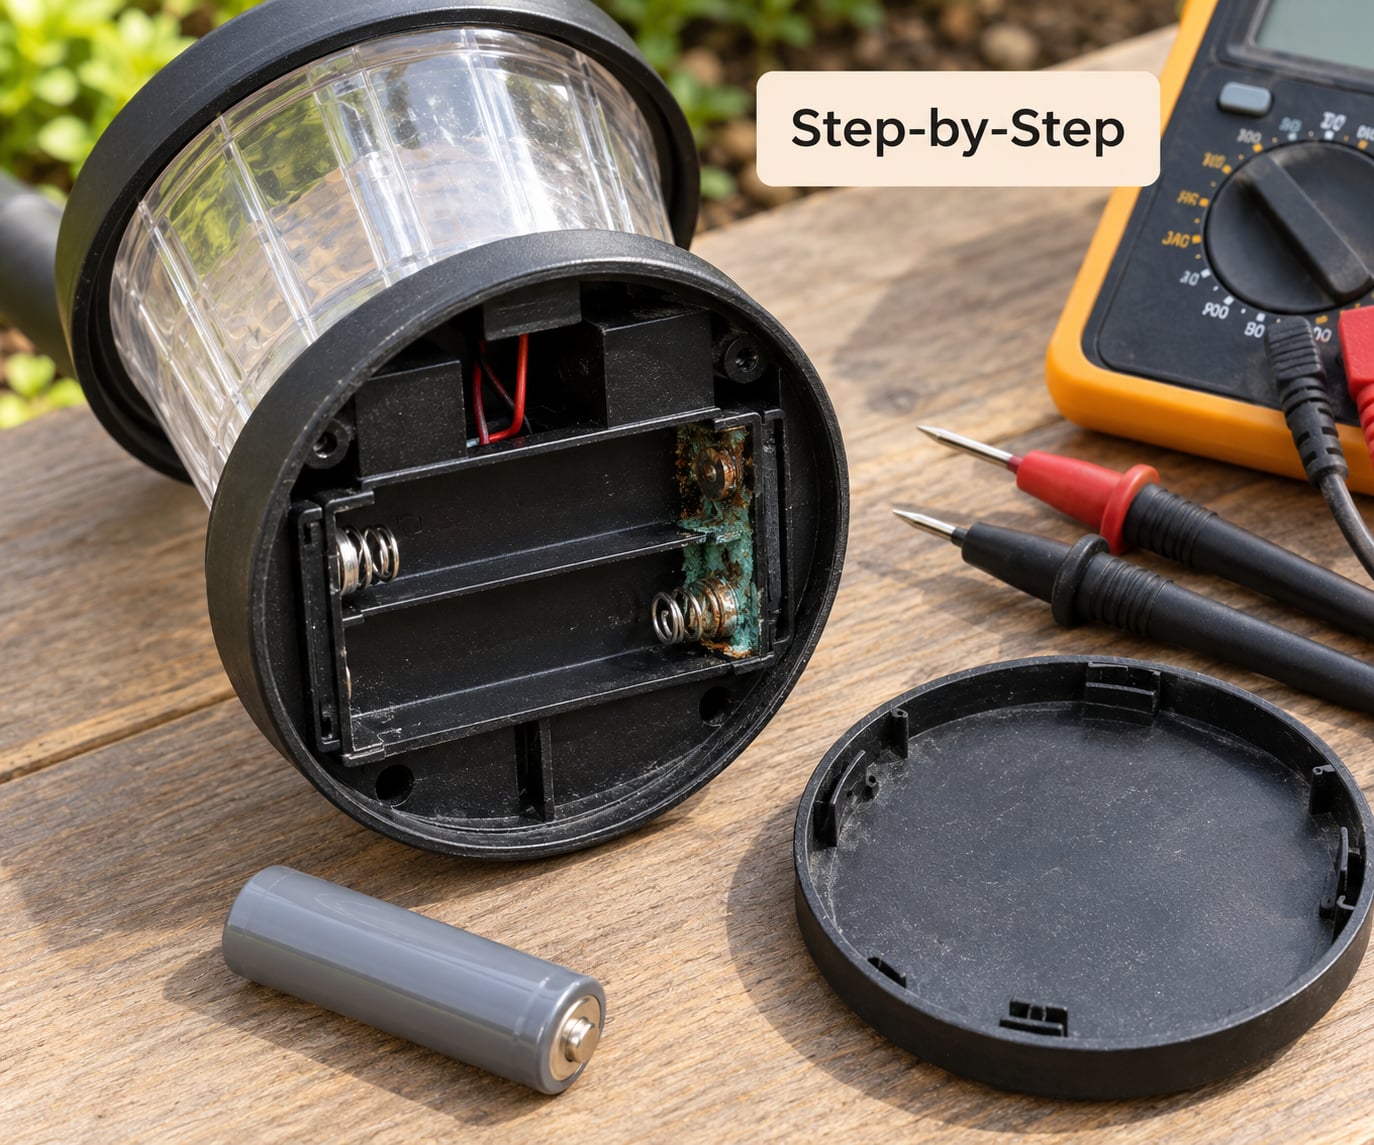
Work through the six steps below in order. Each one either rules out a cause or confirms it, so you never end up replacing a battery that was never the problem.
If you would rather jump straight to the cause, these are the six common solar light problems and fixes in one place. Match the symptom you are seeing against the likely cause, then work down to the fix.
- Nothing at all, day or night: usually the switch is off, the shipping tab is still fitted, or the battery is flat. Set the switch to ON, pull the tab, then give it a full 48-hour charge. Easy to do.
- On in daylight, off at dusk: the photocell is covered, bypassed or failed. Clean the sensor dome and test it with opaque tape. Easy to moderate.
- Comes on but stays lit through the day: a failed photocell or a switch stuck mid-position. Test the sensor, then replace the photocell or the fixture. Moderate.
- Dim, flickering or short runtime: an aged battery, a dirty panel or plain shade. Clean the panel, test the battery, replace the cell. Easy.
- Dead after rain or a season outdoors: water ingress and corrosion. Dry the case, clean the contacts, re-seal, fit a new battery. Moderate.
- Only some lights in a set work: corroded pin contacts, one dead battery in the run, or a broken wire. Clean the connectors and isolate the bad run. Moderate.
1. Check the Power Switch and Mode Setting
Almost every “dead out of the box” report comes down to a switch that is set to OFF, or a plastic shipping tab still insulating the battery contacts. Find the switch. On most solar garden lights it is a small slider on the underside or back, often under a rubber cover, and it has three positions: OFF, ON, and sometimes a middle position for auto or motion mode.
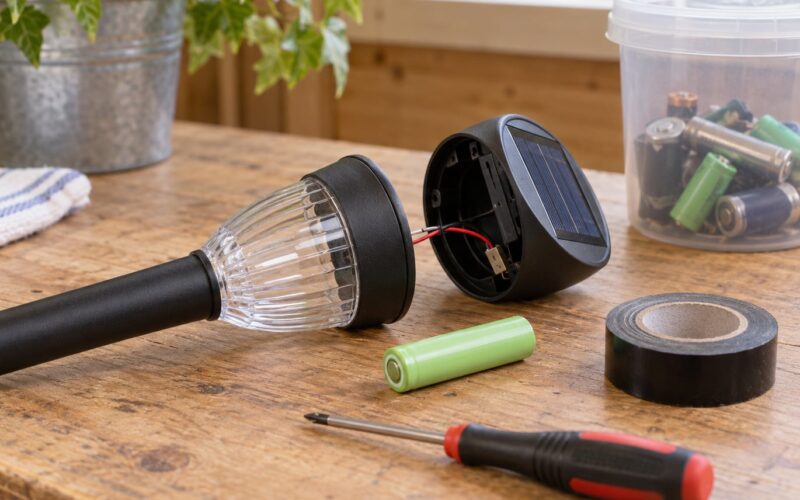
Slide it firmly to ON and listen or feel for the click. If the light has a mode selector for steady, motion or both, move it to a different setting and back. A selector that is stuck between positions will not complete the circuit. Replace the tab, if there is one, with a strip of electrical tape so it cannot be reinserted when the fixture goes back out.
2. Confirm the Panel Is Receiving Sunlight
A solar light charges its battery through a small photovoltaic panel during daylight hours, then a sensor switches the LED on at dusk. If the panel sees little sun, nothing downstream can work properly, and the first symptom is always the same: a light that was bright all summer now runs for two hours.
Check the placement honestly. A fixture under a tree canopy, against a north-facing wall in the northern hemisphere, or under a deep eave can lose most of its charge even on a clear day. Look for moss, leaves, bird droppings, a heavy dust film, or a film of snow sitting on the panel. A panel that produces almost nothing will also give a near-zero voltage reading on a multimeter set to DC volts, with the panel fully lit.
3. Clean the Solar Panel and Sensor
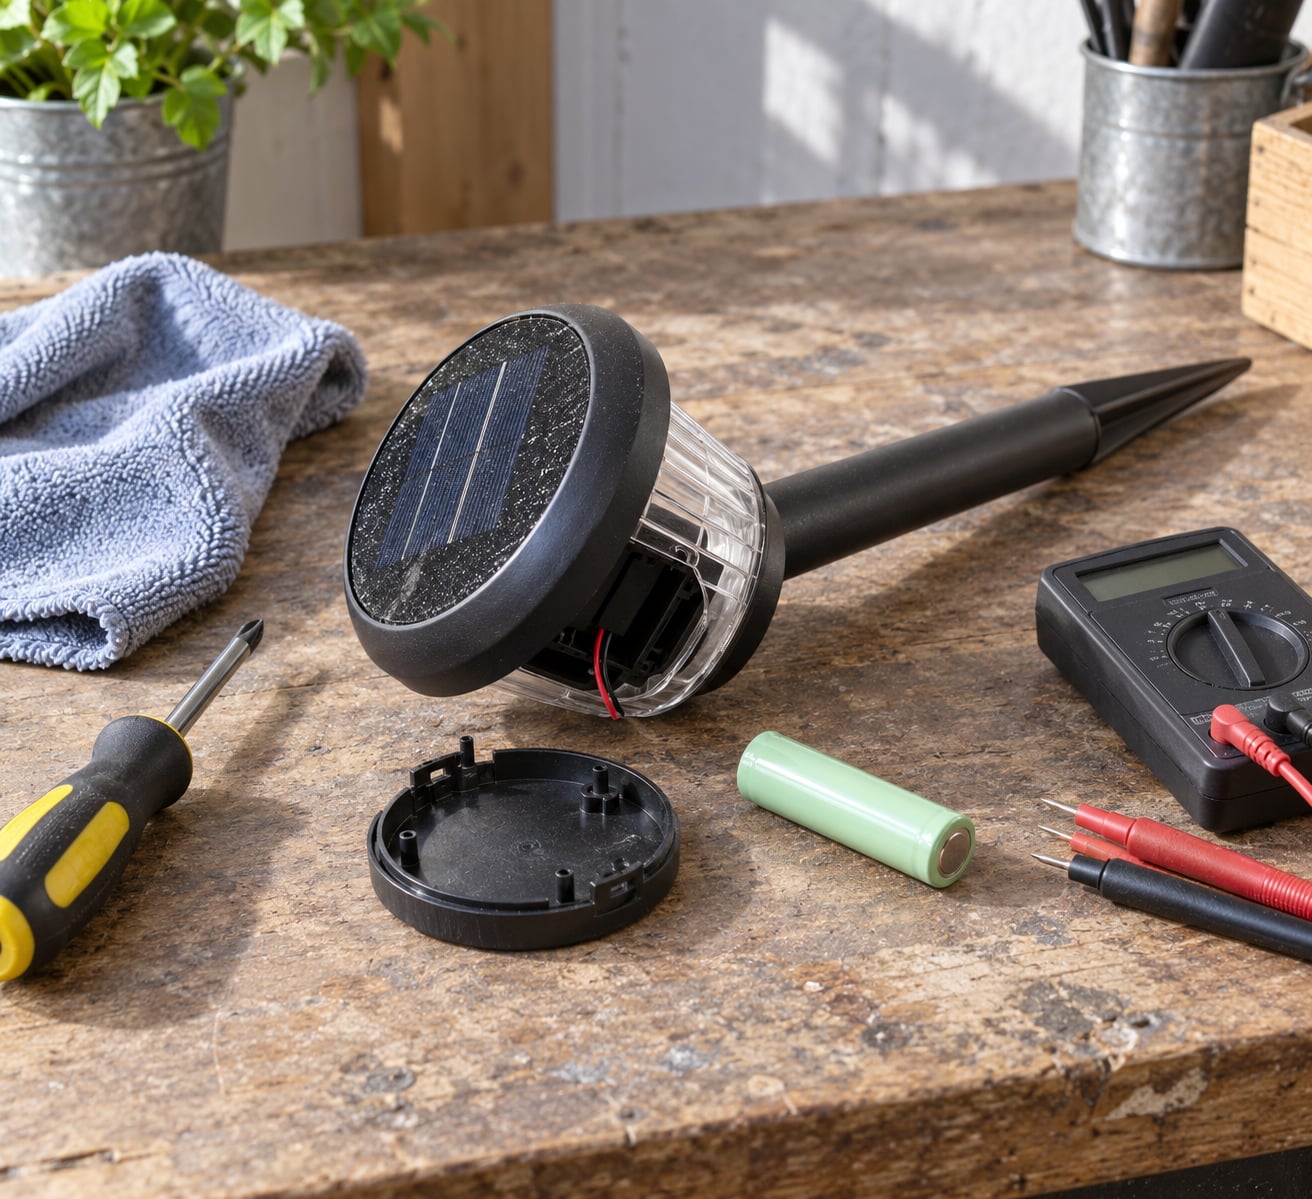
Cleaning is the cheapest fix in this guide and the one most people skip. Use a soft cloth barely dampened with plain water, and wipe gently rather than scrub. Grit dragged across the surface will scratch the anti-reflective coating permanently.
Stay away from window cleaner, alcohol, degreaser, metal polish and anything abrasive. Do not spray liquid directly onto the panel, because it seeps into the case joints and causes the water damage described in step four. Wipe the photocell dome on the top of the fixture the same way. If the lens is hazy or coated, a thin dab of acetone-based nail polish remover on a soft cloth will cut through years of UV hazing on the plastic. If the cells underneath are cracked, stop: the panel needs replacing, not cleaning.
4. Inspect and Recharge the Battery
This is where most real failures live. An 18650 lithium cell is typically rated for around 1,000 to 2,000 charge cycles, which works out to roughly one to three years of outdoor service before capacity drops noticeably. A LiFePO4 32650 cell lasts considerably longer, commonly 2,000 to 3,000 cycles, and tolerates heat better.
Open the base, remove the battery and look at it. A healthy cell is a smooth cylinder with no bulge and no residue around the terminals. Green, white or bluish crust on the contacts means corrosion, which is common on pin-style connectors after a wet winter. Scrub it gently with a toothbrush dipped in a baking soda solution, rinse the contact points with vinegar on a cloth to neutralise, and dry completely before reassembling.
To test a cell without a meter, drop it into a flashlight. A good battery gives steady light for hours; one that dims within minutes is finished. Then put the cell back in the fixture and leave it in direct sun for a full two days. A full 48-hour charge is the standard reset test, and on forum troubleshooting threads it resolves the large majority of “the light is dead” complaints before anyone replaces a part.
5. Test the Wiring, Panel and LED
Once the battery is proven good and the panel is clean, it is time to measure. Set your multimeter to DC volts and touch the red probe to the positive battery terminal and the black to negative. A fully charged cell should read near its nameplate voltage: roughly 3.6 to 4.2 volts for an 18650, higher for a 32650. A reading under about 1 volt means the cell is dead, whatever a battery tester says.
Next, cover the solar panel completely with your hand or an opaque cloth while the light is on. A working photocell drops the output within a few seconds, which confirms the sensor and the circuit are alive. If the light stays bright under cover, the sensor is faulty: it is either stuck conductive, bypassed with paint or glue, or the photoresistor itself has failed open.
If the sensor behaves but the LED stays dark on a full battery, the failure is downstream: the driver or controller board, or the LED itself. On r/diyelectronics, multimeter testing on a solar LED circuit traced failures to the controller chip rather than the panel or the cell, which is the same result most people reach. Replacing a photocell is a soldering job; replacing a controller board usually is not worth it, because the board and the panel are often cheaper together than the light is new.
If the panel reads zero volts in full sunlight while the battery charges normally, the panel is the failed part. If the panel reads full voltage and the battery charges but the light will not run, suspect the controller. That is the shortest path to a correct diagnosis.
6. Reset the Light and Monitor It
A reset is worth trying before anything else, because it costs nothing. Turn the switch to OFF and leave it there for a few minutes, then switch it back on. Some controllers latch after a deep discharge and need that cycle to wake up. Others respond to a cover-and-release on the sensor: cover the photocell for ten seconds, uncover it, and the light should come on immediately as a confirmation.
For a full reset, remove the battery and press the small tab inside the compartment, if there is one, to drain any residual charge. Leave the fixture in direct sun with the switch set to ON for two full days before judging it. Then watch it for a week: note how long it stays lit on a clear night and on an overcast one. That comparison is the honest measure of whether the fixture is healthy.
If a light fails the reset twice, still runs under three hours on a full charge after a new battery, and sits in good sun, replace the fixture rather than keep hunting. There is no repair left worth the effort past that point.
Common Mistakes
Most repeated troubleshooting goes wrong in the same handful of ways, and each one costs an afternoon.
- Testing the battery before giving it a real charge. A light pulled from a box or a garage shelf has a flat or partly charged cell. Give it two full days of direct sun before deciding anything is broken.
- Placing lights in tree shade and blaming the product. Users frequently assume a fixture is defective when the real problem is that it sits under a canopy and never reaches a full charge. Relocate it before you swap anything.
- Using the wrong battery type. Substituting a non-rechargeable cell, or the wrong size or chemistry, will not charge properly and can be unsafe in a sealed case. Match the cell dimensions, voltage and chemistry printed on the original.
- Cleaning the panel with harsh liquids. Solvents and glass cleaners craze the polycarbonate and strip the coating. Plain water and a soft cloth is enough.
- Soaking the fixture or rinsing it under a tap. Most solar lights carry an IP rating for splash and rain, not for a jet of water forced into the case seams. Wipe it instead.
- Replacing a battery that was never flat. If the new cell gives the same two-hour runtime, the problem is the panel, the sensor or the placement. Go back to step two.
- Charging through a window. Glass blocks a useful chunk of the light the panel needs. Charge outdoors.
- Leaving the switch OFF through summer. Some controllers lose the ability to hold a charge for months when switched off. Turn them back on once they have had a full charge.
Two habits prevent most repeat failures. Wipe the panel and check the switch position once a month, and take a quick look at the battery compartment before winter arrives, when water ingress is most likely. That five-minute routine catches corrosion while it is still a white powder rather than a green crust.
Frequently Asked Questions
What are the common reasons why solar lights are not working?
In order of frequency: the on/off switch is set to OFF or a shipping tab is still fitted, the rechargeable battery has reached the end of its cycle life, the solar panel is dirty or sitting in shade, the photocell light sensor is covered or has failed, and water has corroded the contacts or control board. The full 48-hour charge test in direct sunlight rules out the first three before you open anything.
How do I reset a solar light?
Switch the light OFF and leave it for a few minutes, then switch it back ON. If that does nothing, remove the battery and press any small reset tab inside the compartment to drain residual charge. Reinsert the battery, set the switch to ON, and leave the fixture in direct sunlight for two full days before testing it at dusk.
Can the batteries in solar lights be replaced?
Yes, on nearly all garden and post lights. Remove the base plate, note the cell size and chemistry printed inside, and fit a matching rechargeable battery. Most take an 18650 lithium cell rated for around 1,000 to 2,000 cycles; larger fixtures often use a 32650, which may be LiFePO4. Do not fit a non-rechargeable cell, and never recharge or puncture a swollen battery.
Are you supposed to leave solar lights on all the time?
Yes. The light needs its photocell active and its switch set to ON so the controller can charge the battery and register dusk each night. A light switched off for weeks can sit at a low charge for months and behave as though it is dead when you switch it back on. Leave it on, and give it a full two-day charge after any long switch-off period.
Why are only some of my solar lights working?
Partial failures almost always trace to one shared component or one shared connection. Common causes are a corroded pin connector at the panel, one flat battery in the run cutting power to everything downstream, or a broken wire where the lights are joined. Clean the connectors with a baking soda solution, test each battery individually, and check the joints between the working and dead sections.
What is the average lifespan of outdoor solar lights?
Expect two to three years of reliable service from a mid-range fixture, with the battery as the first part to go rather than the panel or the LED. An 18650 cell is usually the limiting component, rated for roughly 1,000 to 2,000 charge cycles. Fixtures with larger panels and LiFePO4 32650 cells often run considerably longer, and good placement in full sun extends both the battery and the casing life.
Conclusion
Start with the switch, then the sun on the panel, then a clean sensor, then the battery. Those four checks account for most solar light problems and fixes anyone will ever need, and they take about ten minutes between them.
Only open the case once the battery is proven flat. At that point a new cell, a scrub of the contacts and a bead of sealant will usually bring a fixture back for another season or two. If it still fails after a full reset and a proven-good battery, replace the light rather than spend the weekend on a controller board.