Comparing solar lights by specs comes down to one habit: check that the numbers on the box actually agree with each other. A light that claims 1,000 lumens, sits on a 2-watt panel and stores 8 watt-hours cannot do all three, and the gap between those figures is where most disappointing solar lights come from.
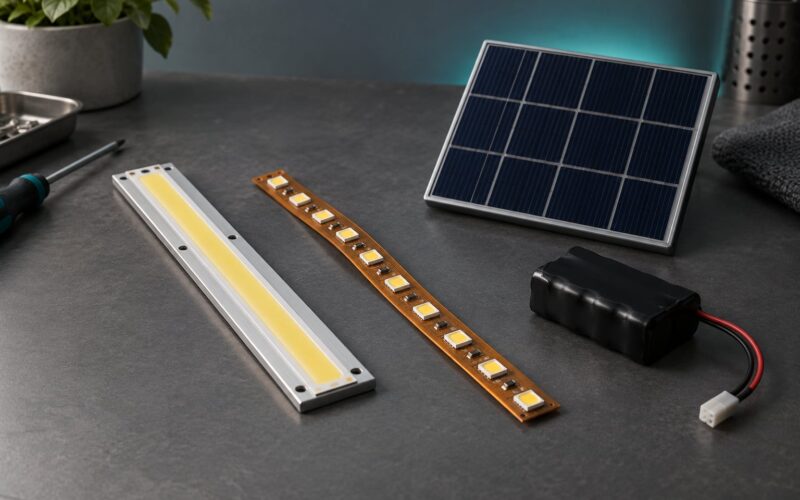
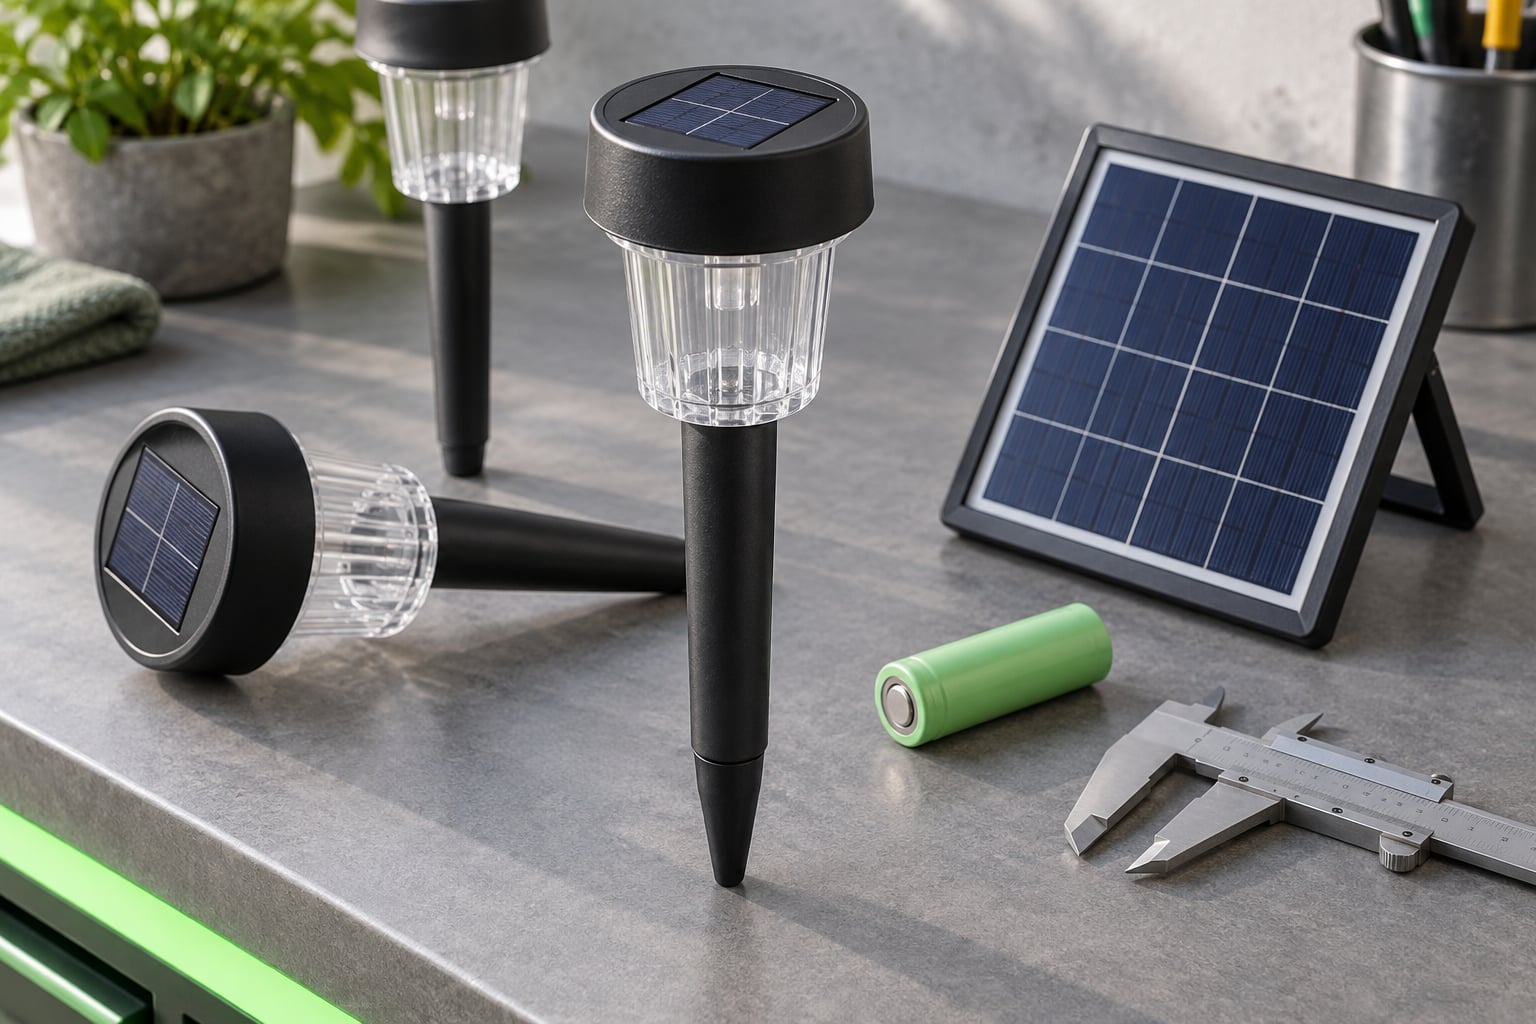
A solar light has four working parts. The panel harvests sunlight into watts, the battery stores that energy in watt-hours, the LED head turns stored energy into lumens, and the sensors decide when that stored energy gets spent. When you learn to compare those four fields, every listing reads the same way, whether it costs almost nothing or a serious amount for a driveway.
Learning how to compare solar lights by specs takes about twenty minutes per light once you have a sheet in front of you, and it works whether you are buying four path lights or specifying a whole yard.
Table of Contents
- What You Need Before You Compare Solar Lights by Specs
- Step-by-Step: A Repeatable Spec Comparison Process
- 1. Compare light output and beam type
- 2. Check battery capacity and expected runtime
- 3. Evaluate solar-panel size and charging time
- 4. Match IP weather resistance to the location
- 5. Compare dusk-to-dawn and motion sensors
- 6. Compare materials, dimensions, and mounting
- 7. Read the full solar light spec sheet
- 8. Calculate value beyond the purchase price
- 9. Make a shortlist for real-world conditions
- Common Mistakes in Spec Comparisons
- Frequently Asked Questions
- What is the 20% rule for solar lights?
- What is the recommended lumen range for outdoor lights?
- Will solar lights work in the shade?
- What are common problems with solar lights?
- Is a higher mAh battery always better for a solar light?
- Conclusion
What You Need Before You Compare Solar Lights by Specs
Most bad comparisons start before any reading happens, because the two lights are being judged against different jobs. Collect four things first and the spec numbers will tell you much more.
1. The site conditions. Write down where each light goes and how much direct sun that spot gets. A panel under a porch or beside a fence sees a fraction of what an open driveway gets, and no battery makes up for that.
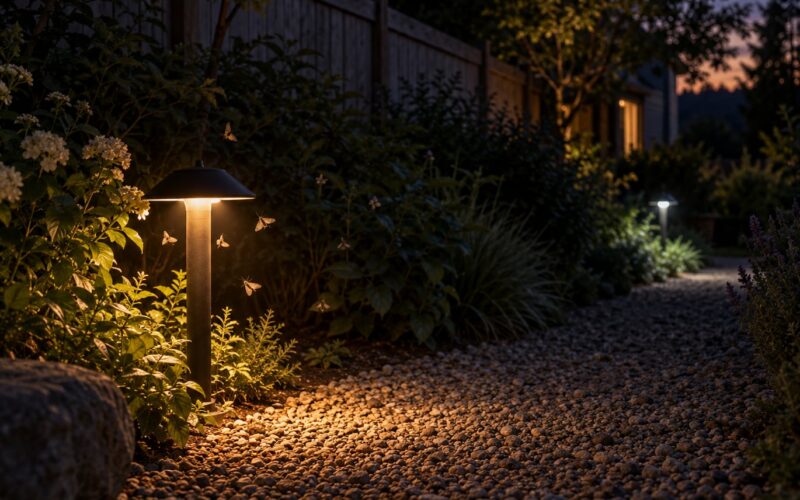
2. The lighting job. Decoration, path guidance, a working driveway, or actual visibility for someone walking at night. These need very different lumen numbers, and mixing them up is the most common reason a buyer ends up with a light that is either dazzling or useless.
3. The full spec sheet for each candidate. Retail listings often hide half the fields you need. Look for the datasheet, the manual, or the product page listing lumen output, battery watt-hours, panel wattage, IP rating and sensor mode. If the listing shows only LED watts and the word “waterproof,” treat it as unspecced.
4. Your local worst month. December sun hours in Portland and December sun hours in Phoenix are not the same. Knowing your weakest sunlight stretch decides how much battery and panel you actually need.
This quick reference gives you the brightness target for the most common jobs:
| Job | Typical lumen output | What matters most |
|---|---|---|
| Pathway markers | 100 to 200 lm | Even spacing, warm colour, long thin beam |
| Driveway or entrance | 1,000 to 2,000 lm | Battery Wh and panel W, not peak brightness |
| Yard, barn or side gate | 3,000 to 5,000 lm | Flood beam angle and mounting height |
| Perimeter or parking | 2,000 lm and up | Sensor coverage area and low-voltage cutoff |
Step-by-Step: A Repeatable Spec Comparison Process
Run every candidate through the same nine steps in the same order. The sequence matters because brightness tells you nothing until you know what the panel and battery can sustain, and the final ranking only makes sense once the site conditions are in front of you.
1. Compare light output and beam type
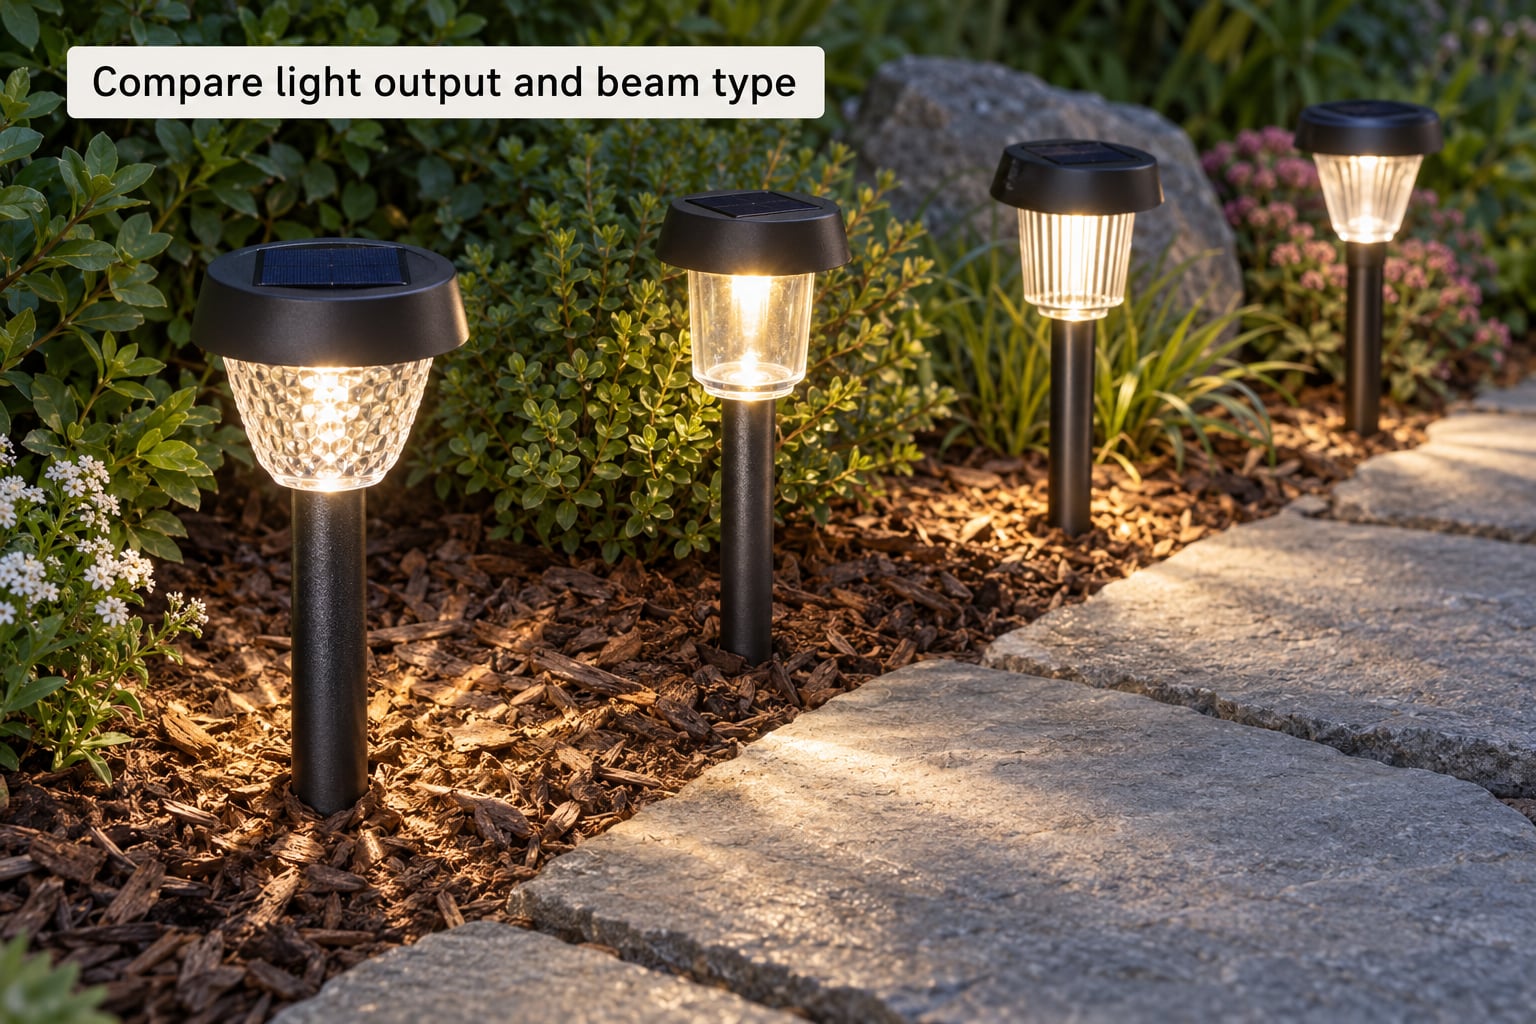
Start with lumens, because it is the only spec on the sheet that measures actual light output. Ignore the LED watt figure for now; it tells you how hard the driver is pushing, not how much light reaches the path. What 800 lumens looks like in practice is roughly one warm 60-watt-equivalent bulb, which reads as plenty for a doorway and modest for a driveway.
Then check beam angle. A wide flood spreads the same lumens over a wide area and ends up dim at the edges, while a narrow beam concentrates them. For a path marker you want a narrow spread so the light stays on the ground, and for a barn wall you want a wide flood.
Two more fields matter here: colour temperature in Kelvin, where 2200K to 2700K is warm amber and 5000K to 6500K is cool white, and colour rendering index, where anything above 80 CRI makes colours under the light look natural. Look for the mounting height in the specs too, because a 2,000-lumen light at 2 metres and the same light at 6 metres are two different products.
2. Check battery capacity and expected runtime
This is where most comparisons go wrong, because listings quote milliamp-hours without the voltage. Amp-hours only mean something once you know the cell voltage, and watt-hours are the figure you can compare across products.
The conversion is simple: divide mAh by 1,000 to get amp-hours, then multiply amp-hours by the battery’s nominal voltage to get watt-hours. So a battery advertised as 20000 mAh at 3.2 volts is 20 Ah multiplied by 3.2 V, which is 64 Wh. A 20000 mAh figure quoted at 12.8 volts is 256 Wh, more than four times the energy at the same number printed on the page. That is why you cannot compare milliamp-hours between two listings and draw a conclusion.
Runtime is watt-hours divided by the light’s average draw, after allowing for the charge controller and voltage losses. A light drawing 4 W from a 64 Wh battery gives you roughly 14 hours of theoretical runtime, and realistically 8 to 11 hours once you account for cold weather, panel losses and the fact that a light dimmed to 30 percent after midnight uses far less than its rating suggests.
Treat “up to 20 hours” as a laboratory number measured on the lowest brightness mode in the middle of summer. The figure that matters is hours at the mode you will actually run, in the month with the least sun.
3. Evaluate solar-panel size and charging time
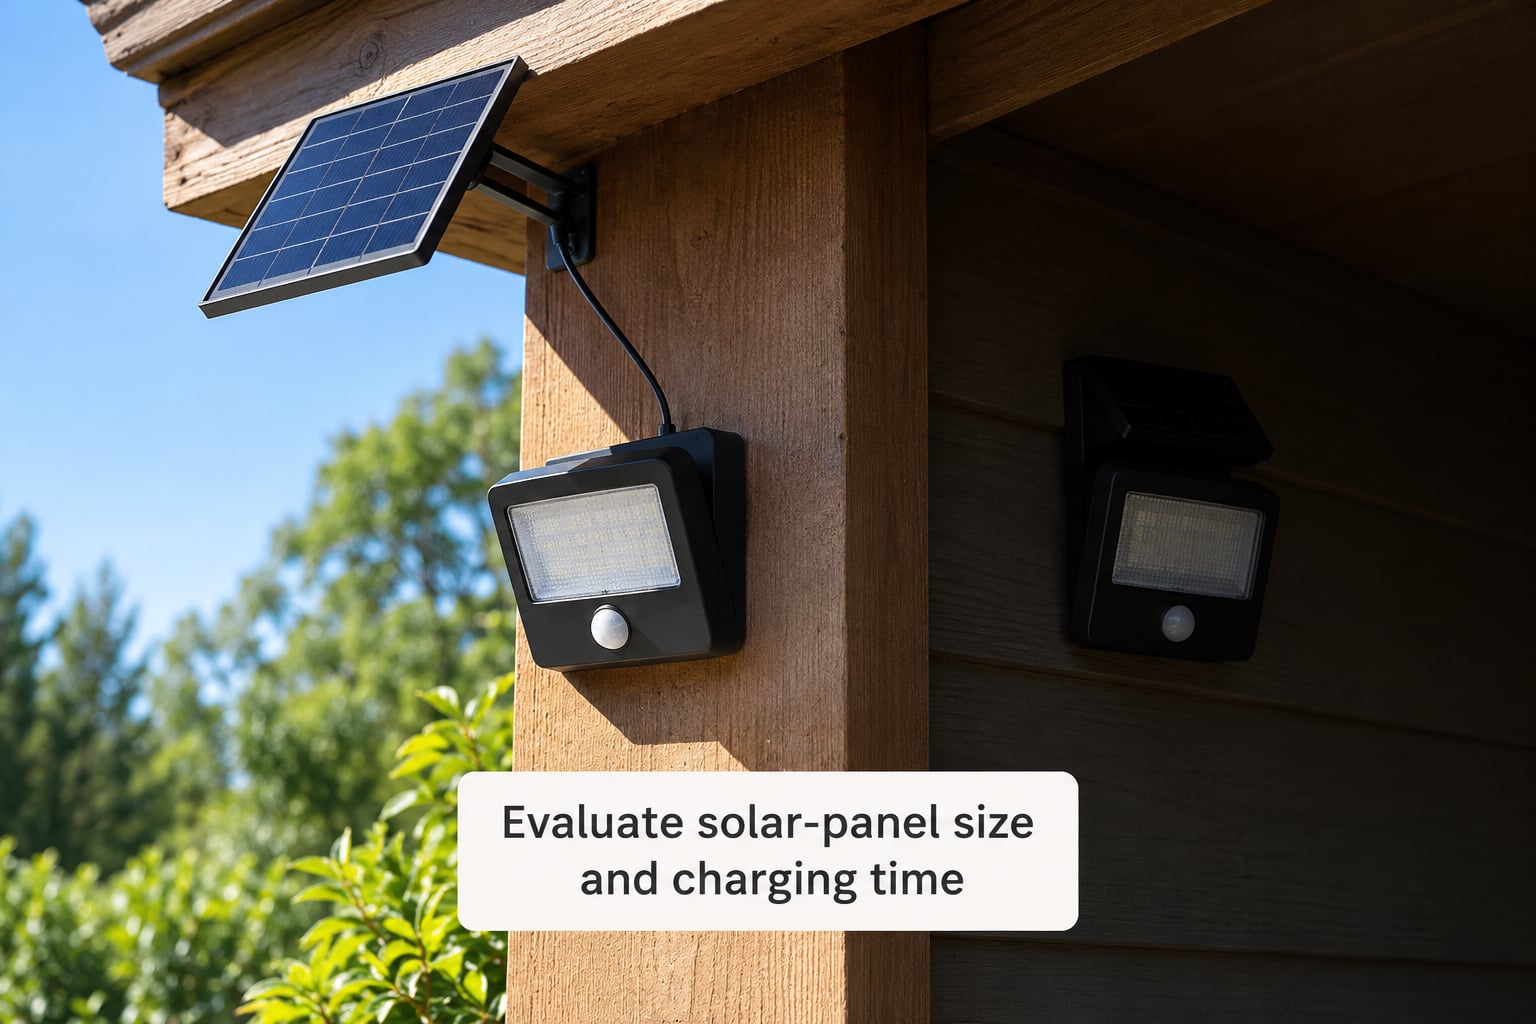
Panel wattage is the field that decides whether a light still works in February. A 2-watt panel feeding an 8 Wh battery is not a design problem on paper, it is a light that dies by 9pm from November onward. Bigger panels cost almost nothing in the finished product because they are a few cents per watt to manufacture.
Run the energy balance check yourself: divide battery watt-hours by panel wattage and you get the hours of full sunlight the panel needs just to refill what the light spent last night. Add the 20 percent rule on top and you get a workable target, because designers routinely derate a system by 20 to 30 percent to cover controller losses, wiring and temperature. If the refill number comes out above the hours of direct sun your site actually gets in December, the specification will not survive the year.
Panel construction matters less than size, but check it anyway. Monocrystalline cells run roughly 18 to 22 percent efficiency and perform better in low light, polycrystalline sits around 15 to 18 percent, and amorphous is cheaper and noticeably weaker in winter light. Claims about fast charging in three hours deserve scepticism unless the panel wattage supports it, since charging time is simply battery watt-hours divided by panel output.
4. Match IP weather resistance to the location
An IP rating is two digits. The first covers solids, so 6 means dust-tight. The second covers water, so 5 means protected against low-pressure water jets, 6 against powerful jets, and 7 against temporary immersion. IP44 gives you splash protection only, which is fine for a covered porch and wrong for anything open.
Most quality path lights are IP65, which suits a normal garden in most climates. Anything on an exposed wall, a driveway, a fence line or near a coast wants IP66 at minimum, and any light that sits in a bed where a sprinkler hits it deserves the same. If the listing says “waterproof” with no number, treat it as no rating at all. Reviewers repeatedly report that unsealed housings fail after a single wet season.
Look for the second rating system as well. An IK number measures impact resistance, so IK08 means it survives a decent knock from a mower or a hedge trimmer, and it is worth knowing whether the lens is polycarbonate rather than bare glass.
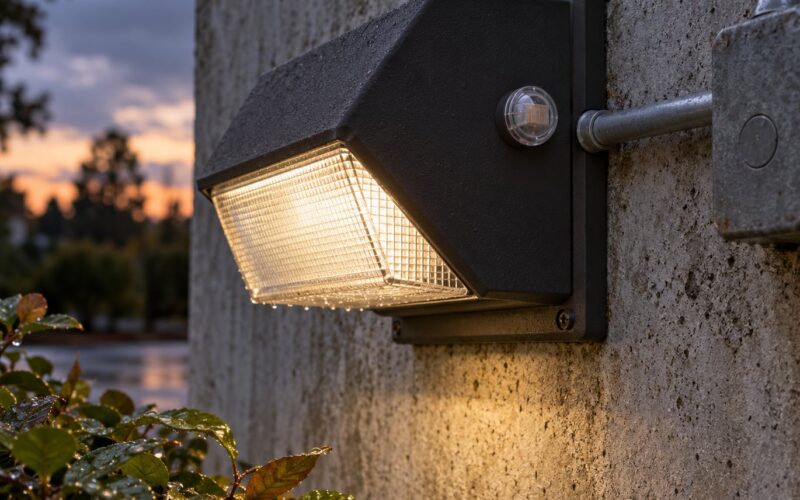
5. Compare dusk-to-dawn and motion sensors
A photocell sensor turns the light on at dusk and off at dawn, which is simple but burns the whole battery every night. A PIR motion sensor wakes the light only when something crosses its detection field, which stretches runtime dramatically, often from a few hours to several nights between charges.
Check three things on a motion sensor: detection range in metres, the coverage angle, and whether it can be adjusted or bypassed. Most cheap units detect at 5 to 7 metres across a wide arc and fire on moving branches, warm air and passing animals, so a timer or dim mode alongside it is worth having. A dim-to-30-percent mode is the best of both for a driveway, giving you low background light all night and a blast of brightness on approach.
Night-time energy use differs so much between modes that you should never compare two lights without recording which mode each runtime figure refers to.
6. Compare materials, dimensions, and mounting
Material tells you how long the housing lasts. Powder-coated aluminium handles UV and rain well, and stainless steel is the pick within a few kilometres of salt water, where cheaper plated steel pits within a season. Polycarbonate bodies survive frost but yellow in strong sun, so check the UV rating rather than the material name alone.
Dimensions matter more than buyers expect. A 40 cm light on a short stake ends up under the shrub it was meant to light, and an oversized head on a flimsy stake gets pushed over. Check the overall height and whether the stake is separate, so you can bury it deeper in firm soil, and whether the panel and head swivel independently.
Mounting type should follow the site. Ground stakes suit beds and paths, wall mounts suit gates and eaves where a stake would not hold, and integrated fixtures need a hole cut in a wall or post. Note whether any wiring is required, because split-panel systems with a separate panel and a cable between the panel and the head are the only option when the sun and the mounting surface are in different places.
7. Read the full solar light spec sheet
Once you know which fields matter, read them in the order they appear and mark anything missing. Missing fields are informative: no voltage next to the mAh number means you cannot convert it, no IP number means no rating, and no beam angle means the light was never tested for a real job.
Watch for inconsistent terminology as well. “Lithium battery” on one line and a capacity quoted in watt-hours on another, with no cell voltage anywhere, tells you the listing was assembled rather than tested. Certification marks such as CE, FCC or RoHS are worth confirming against the model number, and a warranty stated in months is far more useful than the word “quality” in a product title.
Finally, note what is in the box. A mounting bracket, a longer panel cable, a spare battery or a longer stake changes the real installation difficulty more than any headline spec.
8. Calculate value beyond the purchase price
The lowest purchase price is often the most expensive option over three summers, because the two things that fail first are the battery and the panel gasket. Ask three questions: is the battery user-replaceable, is it a standard cell size, and does the manufacturer sell the replacement alone.
A sealed battery ends the light’s life even when the panel and LED are both fine, and that is the single most common reason a good-looking solar light ends up in a skip after two winters. Compare cycle life as well as capacity, since a cell rated for 500 cycles gives you more seasons than one rated for 200 at the same watt-hours.
Then factor in the running costs that never appear in a spec sheet: cleaning the panel twice a year, the effort of swapping a battery behind a planted bed, and whether the light needs to be brought indoors in a freezing climate. Two dollars of maintenance on a light that keeps working for five seasons is a better deal than a cheaper unit you replace every year.
9. Make a shortlist for real-world conditions
Rank the survivors against your own site rather than against each other. Score each one on four things: whether the panel gets clean sun at the actual mounting spot, whether the battery holds enough for the hours you need in your worst month, whether the IP rating suits the exposure, and whether the beam pattern covers the area you want lit.
A light with modest lumens and a well-sized panel will always beat a brighter unit with a tiny one in real use, because it is still lit at midnight in January. Keep two or three finalists, write their spec numbers side by side, and buy the one whose weakest number still clears your threshold.
Common Mistakes in Spec Comparisons
Treating LED watts as brightness. A driver rated in watts says nothing about light output, because efficiency varies widely between chips. Compare lumens, and if a listing only offers watts, assume it is avoiding the comparison.
Comparing mAh across listings. Milliamp-hours without voltage cannot be compared to anything. Convert to watt-hours first, and treat any listing that hides the cell voltage as unspecced.
Believing the runtime headline. “Up to 20 hours” is usually measured at minimum brightness in midsummer. Ask for hours at the mode you will use, in overcast conditions, or discount the figure by half.
Ignoring the worst month. Buyers size for July sunlight and then wonder why the lights quit in November. Use your lowest-sun month as the design month and add the 20 to 30 percent derating.
Trusting the word waterproof. Without an IP number, there is no rating behind the claim. Waterproof housings that fail after one rainy season are the norm rather than the exception.
Sizing on peak brightness. A 2,000-lumen rating measured with the panel in full sun means little if the panel is under an eave. Light output is only meaningful next to the energy available to sustain it.
Choosing the brightest light for a path. Over-bright path markers create glare, wash out the edges and run the battery flat by midnight. Match the tier to the job instead.
Frequently Asked Questions
What is the 20% rule for solar lights?
The 20% rule says you should size a solar light about 20 to 30 percent larger than the calculated load. Controllers, wiring, panel angle and hot or cold temperatures all take a cut from the energy you collect, so a system sized exactly to its load runs out of charge in poor weather. On a 20 Wh nightly load, adding 30 percent gives you 26 Wh to draw on, which is the difference between a light that survives December and one that quits at 9pm.
What is the recommended lumen range for outdoor lights?
For most homes, 100 to 200 lumens is enough for a pathway marker, 1,000 to 2,000 lumens suits a driveway or entrance, and 3,000 to 5,000 lumens covers a yard, barn wall or side gate. Perimeter and parking areas usually need 2,000 lumens and upward. Judge brightness at your actual mounting height, since the same lumens spread across a wide beam read far dimmer at the edges.
Will solar lights work in the shade?
Partly, and it depends on the layout. A panel needs several hours of direct sun to refill a night’s use, so a light under a tree canopy or beside a wall will run short even with a large battery. The fix is a split system: put the panel in open sun on a pole or swivel mount and run a cable to the light head. If no direct sun is possible at all, solar is the wrong power source for that spot.
What are common problems with solar lights?
The usual four are inflated lumen claims, undersized panels, sealed batteries and misleading waterproof language. Inflated claims show up as a brightness figure no small panel could power. Undersized panels cause lights that work all summer and die by early evening in winter. Sealed batteries end a working light once the cell fails. And waterproof wording without an IP rating usually means water gets in after a season or two.
Is a higher mAh battery always better for a solar light?
Not on its own, because mAh without voltage tells you almost nothing. Convert both figures to watt-hours using amp-hours times the cell voltage before comparing anything. Capacity still has to match the job: an oversized battery on a small panel is worse than useless, since the panel can never refill it between dark nights, and the light simply dims to nothing on a long run of cloudy days.
Conclusion
Start by writing down your conditions: where each light goes, how much sun that spot gets, and what the light has to do. Then put two or three candidates through the same nine steps and compare the same fields in the same order.
Brightness claims only mean something next to battery watt-hours and panel wattage, milliamp-hours mean nothing without voltage, and an IP rating beats the word waterproof every time. Apply that order to every light you look at and the comparison takes minutes instead of an evening.