A solar light spec sheet is the manufacturer’s technical data sheet for a fixture. It lists what the light can do: output in lumens, efficiency in lumens per watt, LED wattage, color temperature in Kelvin, battery chemistry and amp-hours, panel wattage, and an IP weather rating. Learning how to read a solar light spec sheet takes about ten minutes once you know which nine terms carry the weight and which are decoration.
Most listings put the loudest number first, and it is rarely the number that predicts whether you will be happy with the light in six months. Here is the reading order I use.
- Luminous flux (lm) — how much light actually comes out, and the first number to check.
- Luminaire efficacy (lm/W) — lumens divided by wattage, which quietly exposes padded claims.
- Rated LED wattage (W) — the chip’s power draw, not the brightness.
- Color temperature (K) — how warm or cool the light looks.
- Color rendering index (CRI) — how true colors look under the light.
- Battery capacity (Ah or mAh) — the most frequently overstated figure on the page.
- Battery energy (Wh) — voltage multiplied by amp-hours, the number that actually matters.
- Panel peak wattage (Wp) and efficiency (%) — how much energy you can collect in a day.
- IP rating — the IEC 60529 code that tells you how much weather the fixture survives.
Table of Contents
- What You Need
- Step-by-Step: How to Read a Solar Light Spec Sheet
- 1. Identify the Light Source and Brightness
- 2. Check Solar Panel and Battery Specifications
- 3. Understand IP Ratings and Weather Resistance
- 4. Compare Sensors, Modes and Automation
- 5. Compare Runtime, Placement and Physical Specs
- 6. Verify Installation, Safety and Warranty Details
- Common Mistakes
- Frequently Asked Questions
- How many lumens do solar lights need?
- What does IP65 mean on a solar light?
- Which battery is used in solar street lights?
- What are the 20% and 33% rules for solar?
- What makes solar lights stop working after a season?
- Do solar lights work in winter, and how long do they last?
- Conclusion
What You Need
Gather three things before you compare anything: the manufacturer datasheet, the retailer listing, and your own site conditions.
The datasheet is the PDF on the manufacturer’s site, and it is the only document that carries the full field set. Retailer listings are abbreviations built for shoppers, so they usually keep lumens, wattage, battery capacity and IP rating and drop the panel data, the charge controller losses, and the photometric files. Where the two disagree, the datasheet wins, and if the datasheet cannot be found, that tells you something too.
For your own conditions you need three numbers. Peak sun hours for your area tells you how much energy a panel collects. The daily sun exposure of the mounting spot tells you whether the light gets shadowed by a fence or a tree. And the hours of darkness you want covered tells you the runtime target you are shopping against.
A tape measure is genuinely useful here. Solar lights range from a stake-in path marker to a pole-mounted street fixture, and the difference in scale is not always obvious from photos.
Step-by-Step: How to Read a Solar Light Spec Sheet
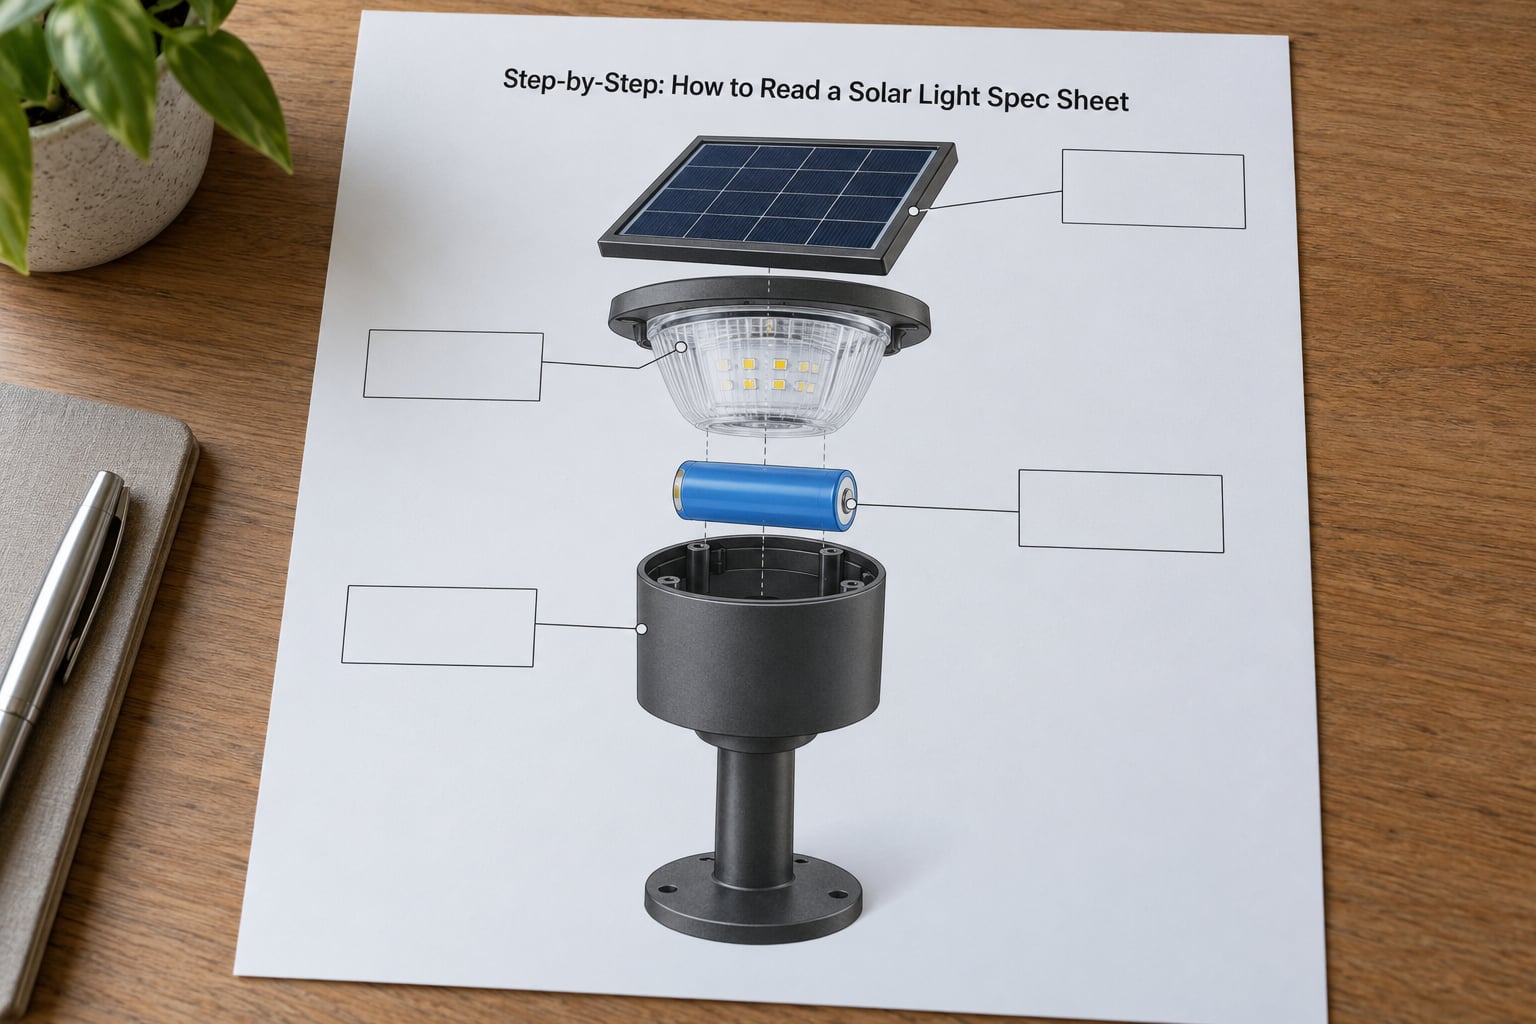
Read the sheet top to bottom in the order the fields appear, because each one feeds the next. The panel determines how much energy you collect, the battery determines how long you can hold it, and the LED wattage and efficacy determine how fast you spend it.
1. Identify the Light Source and Brightness
Luminous flux, written lm, is the total visible light the fixture emits. That is your brightness number, and it is the only one that measures output.
Rated LED wattage measures something else entirely: how much power the chip draws. A 3 W chip behind a decent lens can put out more useful light than a 10 W chip behind a flat plastic cover that dumps half its output upward. This is the most common misread on solar light pages, because wattage is the number printed largest.
Check whether the lumens are per head or for the whole fixture. A three-head flood listed at 900 lm may be 300 lm per head, which looks very different on a driveway.
Luminaire efficacy, written lm/W, divides lumens by wattage. Real outdoor LED fixtures sit roughly between 100 and 160 lm/W. A listing claiming 10,000 lumens from a 30 W fixture works out to 333 lm/W, which no real product reaches. When a claim and the efficacy figure disagree, one of them is wrong.
| Fixture type | Typical output | What it covers |
|---|---|---|
| Path and walkway stake lights | 10 to 100 lm | Marking a border, lighting a step |
| Garden and landscape accents | 100 to 400 lm | A shrub bed or small pond |
| Bollard lights | 200 to 600 lm | Front paths and drive edges |
| Porch and wall-pack lights | 400 to 1,200 lm | A doorway or entry steps |
| Flood and security lights | 1,000 to 4,000 lm | A driveway, yard or back door |
| Street lights | 3,000 to 12,000 lm | A road or parking area |
Color temperature in Kelvin sets the mood. Below 3000 K reads warm and amber, which suits a garden and softens a path. Between 4000 K and 5000 K reads neutral to cool white and shows detail better on a driveway or a step. CRI, on a scale of 1 to 100, describes how accurately the light renders color; 80 is ordinary and 90 and above makes reds and greens look true.
2. Check Solar Panel and Battery Specifications
The panel field is usually labeled peak wattage or Wp, which is the output at standard test conditions. Panel efficiency in percent compares that output to the panel’s area, and modern cells land roughly between 15% and 22%. A listing showing 30% efficiency has either mislabeled a number or invented one.
Two sizing rules come up constantly, so learn them. The 20% rule is a sizing guideline: a solar panel should be sized at about 20% more than the load’s daily energy need. The 33% rule applies to battery sizing, where capacity is often set at about 33% above the calculated daily consumption, giving headroom for cloudy stretches.
On the battery side, read chemistry, voltage and capacity together. Amp-hours (Ah) measure charge, and milliamp-hours (mAh) is the same thing a thousand times smaller, so 3000 mAh equals 3 Ah. The figure that matters for runtime is watt-hours, and you get it by multiplying voltage by amp-hours: a 12 V 5 Ah pack holds 60 Wh.
Overstated mAh is the most common problem in this category. A fixture claiming 6000 mAh with no chemistry stated and no watt-hour figure is asking you to take the claim on faith. When you see a big mAh number with no voltage next to it, treat it as unverified.
Chemistry tells you the rest. LiFePO4 typically runs 2,000 to 5,000 charge cycles and tolerates cold better than other lithium chemistries. Standard lithium-ion usually manages 500 to 1,000 cycles. NiMH cells in older garden lights tolerate deep discharge but lose capacity in winter. Sealed lead-acid is heavy and short-lived by comparison, and shows up mostly in larger street fixtures.
Here is the cross-check that turns a spec sheet into something you can verify. Take a 30 W LED running 10 hours a night: that is 300 Wh a day. Apply roughly 15% for controller and wiring losses and you need about 350 Wh stored. Divide by 12 V and you need a battery near 29 Ah. A panel needs to collect that 350 Wh, so at 5 peak sun hours you are looking at roughly 70 W of panel. If the listing shows a 30 W LED, a 10 Ah battery and an 8 W panel, the numbers cannot all be true at once, and the fixture will fade long before dawn.
Charge time tells you the same story from the other side. A small panel refilling a large battery takes more than a day of sun, which is why the first week of use often looks disappointing. Several nights of runtime on a full charge, called autonomy, is what you are actually buying.
3. Understand IP Ratings and Weather Resistance
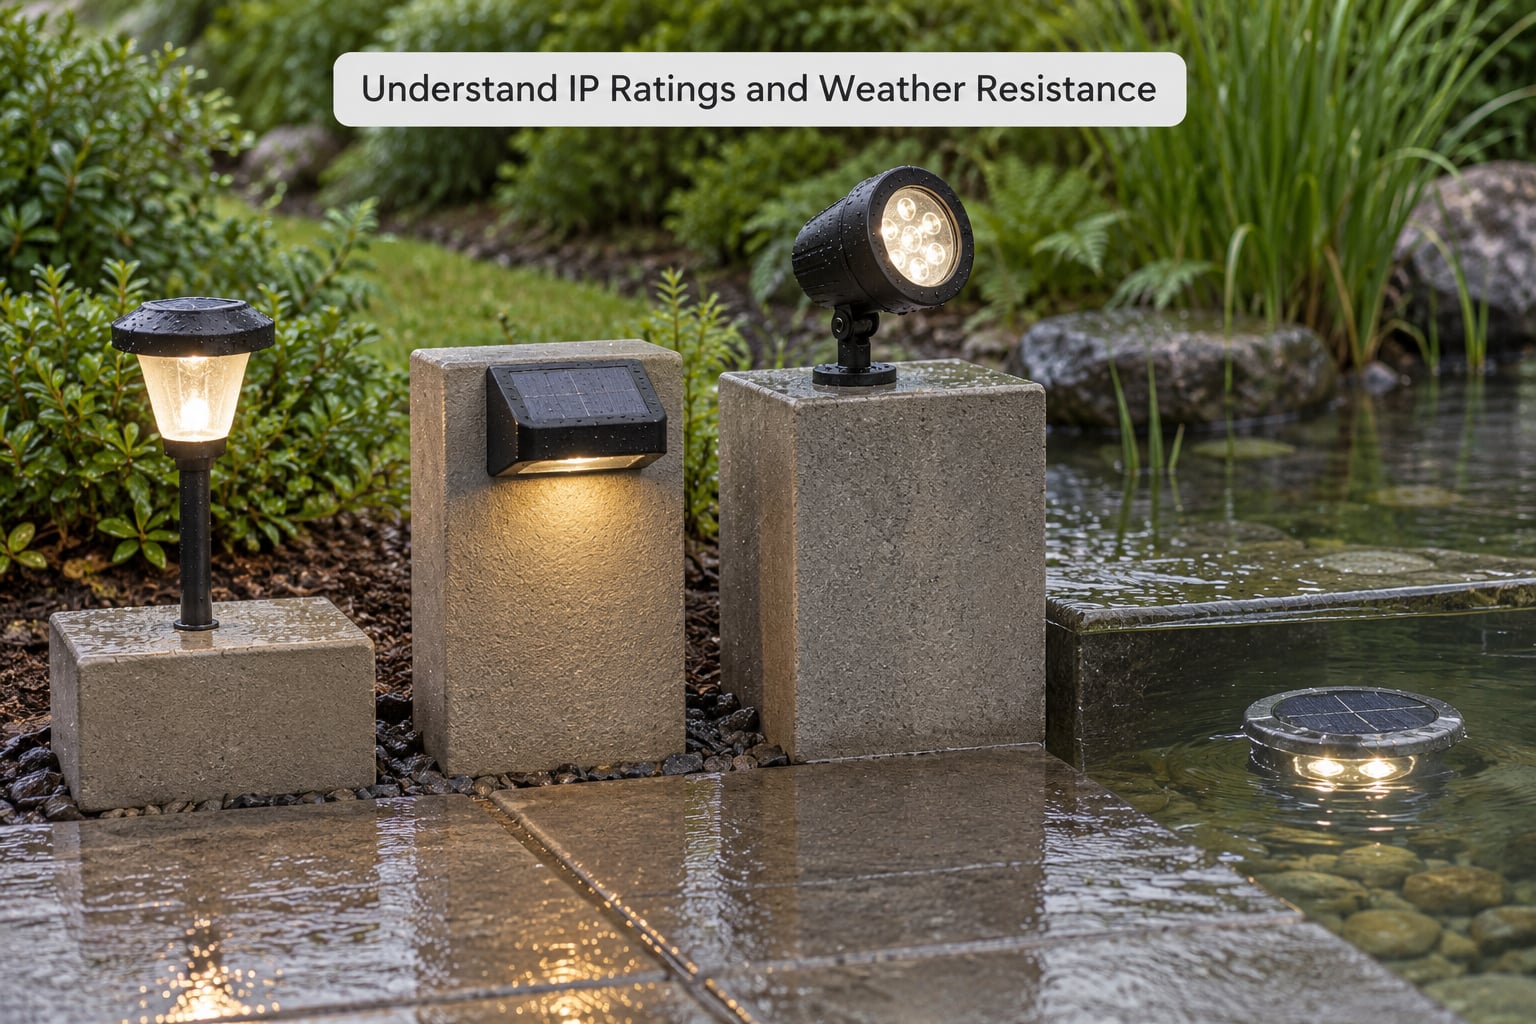
An IP code is defined in IEC 60529 and has two digits. The first rates protection against solids: 6 means dust-tight. The second rates protection against water, and it climbs through 4, 5, 6, 7 and 8.
The water digit describes a specific test, and the higher numbers are genuinely better. IP44 survives splashing from any direction. IP65 adds protection against low-pressure water jets. IP67 allows temporary immersion in water up to one meter for 30 minutes. IP68 is continuous immersion at a depth the manufacturer specifies, which is usually reserved for submerged pool fittings.
| Rating | Solid protection | Water protection | Reasonable use |
|---|---|---|---|
| IP44 | Objects over 1 mm | Splashing water | Sheltered porch or covered path |
| IP54 | Dust limited | Splashing water | Under an eave, away from direct rain |
| IP65 | Dust-tight | Low-pressure water jets | Open garden, driveway and patio |
| IP67 | Dust-tight | Immersion to 1 m | Coastal, flood-prone or low-lying ground |
| IP68 | Dust-tight | Continuous immersion | Ponds and submerged fittings |
For an outdoor solar light exposed to rain, IP65 is the practical minimum, and coastal or low-lying installs have a reason to want IP67. The rating covers the sealed enclosure only, and it says nothing about ultraviolet resistance, corrosion or the panel’s glass. Materials matter alongside it: aluminum and stainless steel housings outlast molded plastic in coastal air, and a powder coat resists salt and sun better than bare metal.
IP ratings also come from a lab test on a new sample, not from a field record. A cracked lens or a warped gasket after two seasons does not stay within its rating, so sealing quality and gasket presence are worth checking in photos.
4. Compare Sensors, Modes and Automation
Two sensor families show up on solar lights, and they solve different problems. A photocell, often called a dusk-to-dawn sensor, switches the light on at a set light level and off at dawn, so the fixture runs all night. A passive infrared motion sensor wakes the light only when something crosses its field, which extends runtime considerably but means the light is dark until something approaches.
Motion specs worth reading are the detection angle, the range, and the hold time. A 120-degree, 16-foot, 30-second-to-off setting covers a front path well. A narrow 60-degree beam suits a doorway. Any fixture with two or three heads usually has an independent setting per head.
Modes and dimming decide how the light behaves once it is on. Timer modes run for a fixed number of hours after dark. Two-stage output drops to a low level after a few hours and returns to full brightness on motion, which is the most useful setting for extending battery life through a long winter night. Remote or app control is common on mid-range fixtures and lets you change modes without climbing a ladder.
Check for a physical on/off switch or tab. A fixture with no switch may still be running a parasitic drain, and that is the single easiest reason a new solar light seems dead out of the box.
5. Compare Runtime, Placement and Physical Specs
Runtime claims assume full sun, full charge and a specific number of dark hours. Read the fine print for that assumption, then adjust it for your site. Partial shade from a fence or a tree cuts output sharply, and winter days deliver far fewer peak sun hours than summer ones.
Owners of properly engineered solar street lights report roughly two nights of runtime from a full charge, and treat that as the expected design point rather than a disappointment.
Panel orientation deserves its own line on your notes. South-facing placement in the northern hemisphere captures the most energy, while a panel shaded even partially by a soffit or a branch will lose a large share of its daily collection. Tilt matters too, since a panel mounted flat collects less than one angled toward the sun.
Physical fields tell you whether the light fits at all. Height and pole length determine coverage, and the dimensions tell you whether the fixture clears a gate or fits under a soffit. Weight is a hint about build quality, since a heavier fixture usually carries a larger panel and battery. Split-panel designs put the panel on a separate arm with a cable, and that cable length tells you how far the panel can sit from the pole to reach the sun.
Operating temperature range is the field to check before buying for a cold climate. Look at the lower bound rather than the upper one.
6. Verify Installation, Safety and Warranty Details
The installation section of the datasheet answers the practical questions: what mounting hardware is included, whether the stake suits your soil, and whether the panel angle is adjustable. Some fixtures need the switch set to on before they will ever charge, which is where a surprising number of returned lights come from.
Battery serviceability decides the fixture’s lifespan more than any other single field. A replaceable pack with a stated cycle life can be swapped in a few years. A sealed battery turns one worn cell into a discarded fixture.
Certification marks mean different things. CE and RoHS are self-declared conformity marks common on imported fixtures. UL or ETL listing is a third-party safety certification, and FCC marking covers electromagnetic emissions. None of these confirm performance, but the absence of any mark is worth noting.
Warranty length tells you how long the manufacturer expects the product to last, and the exclusions tell you what they expect to fail. Pay attention to whether the battery and the panel are covered, since those are the two wear items.
When the manual and the online listing disagree, follow the manual. It is the document the manufacturer will stand behind, and it is the version that reflects the actual product revision you received.
Common Mistakes
Reading lumens as runtime is the most frequent error. Lumen output measures light coming out; only the battery watt-hours tell you how many hours you get. A bright light and a long-running light are two separate problems.
Reading LED wattage as brightness is the second. Wattage is power draw, and the old habit of translating watts into incandescent equivalents is how people end up under-lit. Ignore watt equivalents entirely and compare lumens and efficacy.
Trusting the mAh figure without the voltage is the third. Multiply voltage by amp-hours to get watt-hours before you compare two fixtures. Listings that print mAh without watt-hours or voltage are giving you the least useful form of the number.
Treating IP65 as all-weather proof is the fourth. The code describes water jets, not salt spray, UV exposure, hail or temperature swings, and it was earned on a new sample in a lab. Check the housing material and the gasket separately.
Ignoring panel orientation is the fifth. A large panel pointed at a fence produces the same output as a small panel in full sun. The spec sheet describes the panel, not the spot you will put it in.
Comparing fixtures measured under different conditions is the sixth. One listing quoting output at the LED chip and another quoting output at the fixture are not comparable numbers. Look for luminaire efficacy, which is the figure that stays consistent between them.
One habit worth keeping is a red-flag list. Walk away from any listing that shows lumens with no efficacy, a capacity figure with no chemistry, no IP rating for a product sold as outdoor, or no photometric data at all. The absence of an IES or LDT file is not proof of a bad product, but suppliers who can supply one are usually selling engineered fixtures rather than a generic panel with a light glued to it.
Frequently Asked Questions
How many lumens do solar lights need?
It depends on the job, not the fixture. Path and walkway lights need roughly 10 to 100 lumens, garden accents 100 to 400, bollards 200 to 600, porch lights 400 to 1,200, flood and security lights 1,000 to 4,000, and street lights 3,000 to 12,000. Match the number to the area you want covered, then check that the efficacy figure in lumens per watt is plausible before you trust the claim.
What does IP65 mean on a solar light?
Under the IEC 60529 standard, the first digit is solid protection and the second is water protection. IP65 means the fixture is dust-tight, number 6, and survives low-pressure water jets from any direction, number 5. It is the practical minimum for a solar light exposed to open rain. It does not cover salt spray, ultraviolet exposure or damage from a cracked lens or failed gasket.
Which battery is used in solar street lights?
Most solar street lights use lithium-ion or LiFePO4 packs at 12 V or 24 V, with larger systems moving to 48 V. LiFePO4 typically lasts 2,000 to 5,000 charge cycles and handles cold better, while standard lithium-ion usually manages 500 to 1,000. Smaller systems add lead-acid for low cost. On any spec sheet, convert voltage and amp-hours into watt-hours before comparing fixtures.
What are the 20% and 33% rules for solar?
Both are sizing guidelines rather than laws. The 20% rule says a solar panel should be sized about 20% larger than the fixture’s daily energy need, covering controller and wiring losses. The 33% rule says battery capacity should be set roughly 33% above the calculated daily consumption. Together they give a system enough headroom to survive cloudy stretches.
What makes solar lights stop working after a season?
The most common causes are an understated battery capacity, a panel that gets less sun than assumed, a dirty or shaded panel, and a battery that has worn past its cycle life. Check the simple things first: make sure the on switch is set correctly, clean the panel, and confirm nothing casts shade across it after noon. If the light dims early in the night, suspect the battery before anything else.
Do solar lights work in winter, and how long do they last?
They work, but output drops because winter days deliver far fewer peak sun hours and cold reduces battery performance. That is why autosizing matters, and why several nights of runtime on a full charge is the design point owners report rather than a full week. Fixture lifespan follows the battery: expect 2,000 to 5,000 cycles from a LiFePO4 pack and 500 to 1,000 from standard lithium-ion.
Conclusion
Work down this list in order and the numbers start to mean something. Start with brightness: lumens for the job, and efficacy in lm per watt to confirm the claim is real. Then convert battery capacity to watt-hours, check the panel wattage against your peak sun hours, and confirm the two can support the stated runtime.
After that, check the IP rating against where the light actually goes, match the sensor type to the night you want to light, and confirm the dimensions and mounting method fit the spot. Finish with warranty length and whether the battery is replaceable.
That is how to read a solar light spec sheet: in a fixed order, top to bottom, checking that each field supports the one above it. A spec sheet where the numbers reconcile is a product someone engineered. One where they do not is a guess with a table around it.