Most solar lights can be upgraded, and the whole job takes about fifteen minutes on a small garden stake light. Match the battery’s nominal voltage first, its chemistry second, and only then worry about capacity — because a bigger cell that your panel cannot refill in a day of sun gives you a longer first night and no better nights after that.
To upgrade a solar light with a better battery you start by identifying what is inside the compartment, decide whether the fixture was designed for a user-replaceable cell, then swap, test before you seal the housing back up, and put the light back where it gets full sun. Nothing here needs specialist tools beyond a small screwdriver.
The honest part first: most of the gain comes from chemistry, not from a bigger number on the label. Cheap solar lights usually ship with 200 to 600 mAh cells that lose charge while they sit and fade within a season or two. Low self-discharge NiMH cells hold their charge through a cloudy week and a frozen night; a protected 18650 lithium cell holds roughly three times the energy in the same compartment but needs more care and the right charge controller.
So, can you use a bigger battery? Yes, as long as the cell is the same nominal voltage and fits the compartment — but there is one condition. Roughly speaking, cells up to 800 mAh need a panel of at least 0.8 watts, and anything at 1000 mAh or more wants 1.2 watts or more of direct sun. Below that, the battery simply never reaches full charge, and your brighter evenings plateau after the first couple of nights.
Table of Contents
- What You Need
- Step-by-Step: How to Upgrade a Solar Light With a Better Battery
- 1. Identify the battery type, voltage and capacity
- 2. Check whether the light can accept a replacement battery
- 3. Remove the old battery safely
- 4. Prepare and connect the better battery
- 5. Test the upgrade before sealing the fixture
- 6. Reassemble, seal and improve runtime
- Common Mistakes
- Frequently Asked Questions
- Can I replace a solar light battery with a higher mAh one?
- Can I use lithium batteries in solar lights?
- Which is better for solar lights, NiCd or NiMH?
- Why is my solar light still dim after I changed the battery?
- How long does a solar light battery take to charge?
- Is a solar light with a sealed battery worth upgrading?
- Conclusion
What You Need
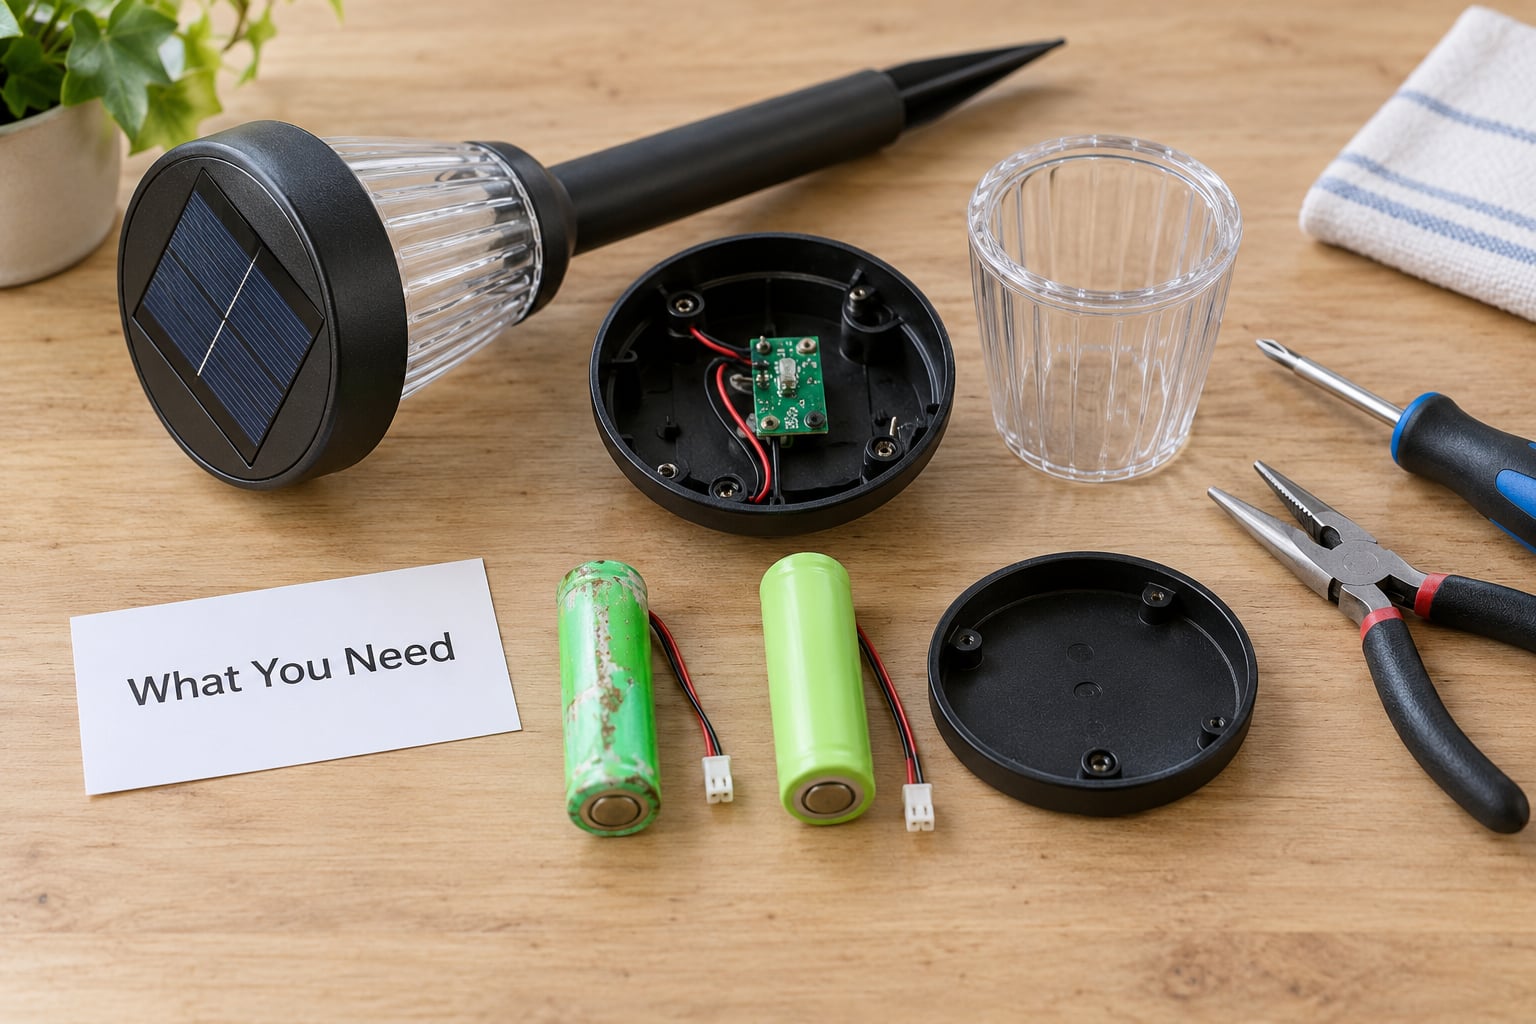
Most of the kit is small and cheap, and you probably already own half of it. The cell itself is the only part where the specification matters.
- The replacement cell. Match the physical size first (AA, AAA, 2/3AA, AAA plus a tab, 18650) and then the printed chemistry and voltage. Low self-discharge NiMH AA at 1000 to 1500 mAh is the safe all-round upgrade for a standard garden light.
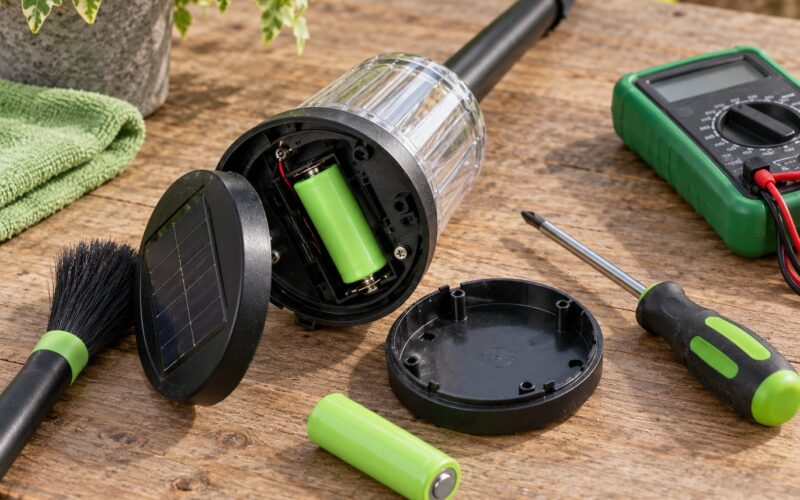
- A small Phillips or flat-blade screwdriver. Most stake lights use one screw under the base or behind the battery tray.
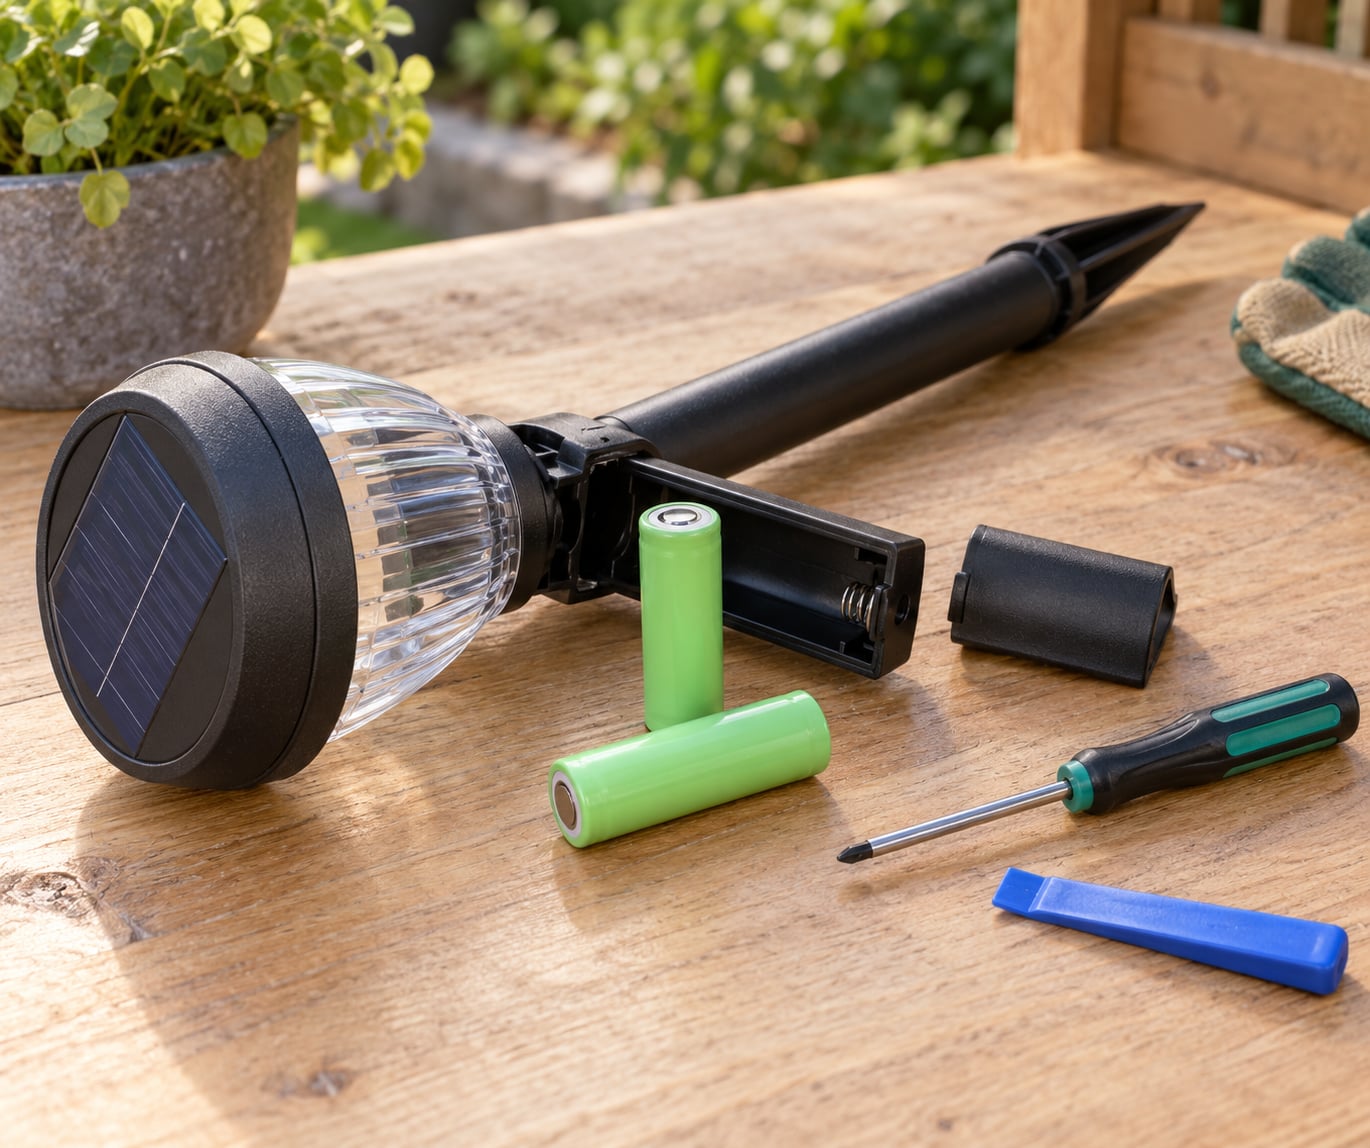
- A plastic pry tool, guitar pick or old credit card. This is for lifting a sliding battery cover without snapping the clips.
- A soft cloth, a fiberglass toothbrush and a paste of baking soda and water. Battery leakage leaves white or bluish crust on the contacts, and you clean that off before anything else.
- Isopropyl alcohol and cotton swabs. For the contacts and for wiping dust off the little light sensor window.
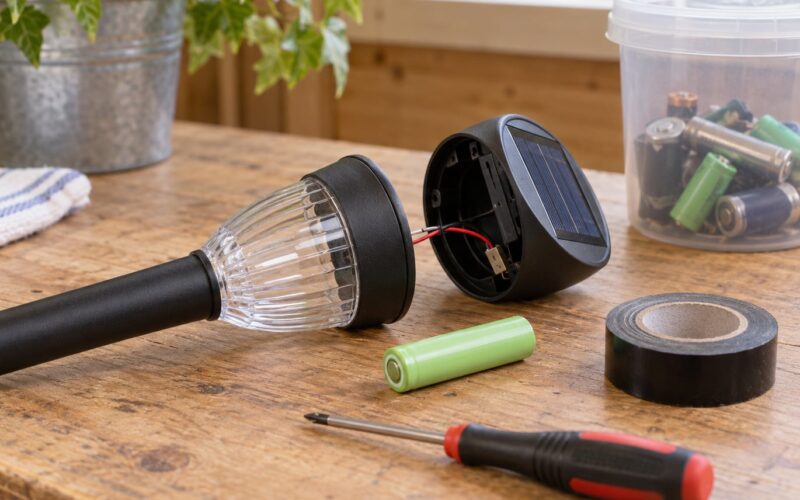
- Needle-nose pliers, wire cutters and a stripper. Needed only if your light uses soldered or spade-tab wires instead of a plastic battery clip.
- A fine-tip soldering iron, heat-shrink tubing and an inline fuse. Only for a lithium conversion where you are soldering a new pack in.
- A multimeter. Optional, but a couple of minutes of measuring tells you whether the panel is charging and whether the new cell is actually taking a charge.
- Safety glasses and gloves. Corroded contacts are mildly caustic, and a swollen lithium cell is genuinely worth handling carefully.
- The manufacturer’s instructions, if you still have them. They are the only reliable source for the charge controller’s limits.
Before you turn a single screw, write down five things: the chemistry printed on the old cell, the nominal voltage, the capacity in mAh, the physical dimensions including tab or wire length, and how the compartment is sealed. If any one of those changes, the upgrade can stop being an upgrade and start being a repair job.
Step-by-Step: How to Upgrade a Solar Light With a Better Battery
1. Identify the battery type, voltage and capacity
The marking on the old cell tells you everything, and it usually takes thirty seconds. NiMH and NiCd cells are nominal 1.2 volts and are labelled as 1.2V AA, AAA or rechargeable. Alkaline cells say AA or AAA alkaline and 1.5V — those are not rechargeable and have no business in a solar light. Lithium cells come in three flavours: a 3.7V 18650 cylinder, a lithium iron phosphate 18650 that also prints 3.2V or 3.3V, and the misleading 1.5V lithium AA or AAA, which is really a 3.7V cell behind a converter and is a genuine hazard in a 1.2V charge path.
Get the order of priority right and everything else gets easier. Voltage first, because the charge controller and the LED driver are built around it. Chemistry second, because a NiMH charger will not properly charge NiCd, and a 1.2V charge path will cook a 3.7V cell. Capacity third, because capacity is only useful if the panel can fill it.
Then check that your panel can actually charge what you are about to fit.
| Capacity per cell | Minimum panel wattage for reliable charging | Typical fixture it suits |
|---|---|---|
| 300 to 600 mAh | 0.2 to 0.5 W | Small stake lights, decorative lanterns |
| 800 mAh | 0.8 W | Standard pathway and step lights |
| 1000 to 1500 mAh | 1.2 W or more | Larger pathway lights, deck lights |
| 2000 mAh and above, or an 18650 lithium pack | 2 W or more, in full unobstructed sun | Bigger fixtures only — and consider adding panel area |
A useful sanity check is the panel’s own label. Most garden lights print something like 0.2W 2V or 0.8W 4V on the panel or the back of the housing, and that number tells you the ceiling for your battery upgrade before you spend anything.
2. Check whether the light can accept a replacement battery
Not every fixture is meant to be opened, and forcing one is how people end up with a broken light and a broken seal. There are three good tells that the design expects a user-replaceable cell: the compartment has exposed metal contacts, the opening is closed with a screw or a sliding cover rather than adhesive, and the manufacturer documents a replacement part number or battery type.
Bad tells are just as clear. A compartment under a permanently glued or ultrasonic-welded shell, a pack with soldered tab wires and no service documentation, or a light whose spec sheet says nothing about batteries at all. Those fixtures are still worth fixing, but the realistic scope is a cell swap if you can open it cleanly, and a full replacement if you cannot.
Then look at the charge controller behaviour, because that decides what chemistry is safe. A light built for 1.2V cells will use a simple charge-and-cutoff circuit with no battery management. A light built around an 18650 usually already has a protection board with a low-voltage cut-off and a charge ceiling, and that board is the reason the lithium version will not over-discharge itself. If the light came with lithium inside, you can usually fit lithium. If it came with NiMH, assume a 1.2V charge path until you have confirmed otherwise.
Signs of a controller problem before you buy anything: the light is dim even after two full sunny days, the light stays faintly on at dawn instead of switching off, or the switch does nothing at all. Those point at the panel, the sensor or the electronics, not the battery, and swapping cells will not help.
3. Remove the old battery safely
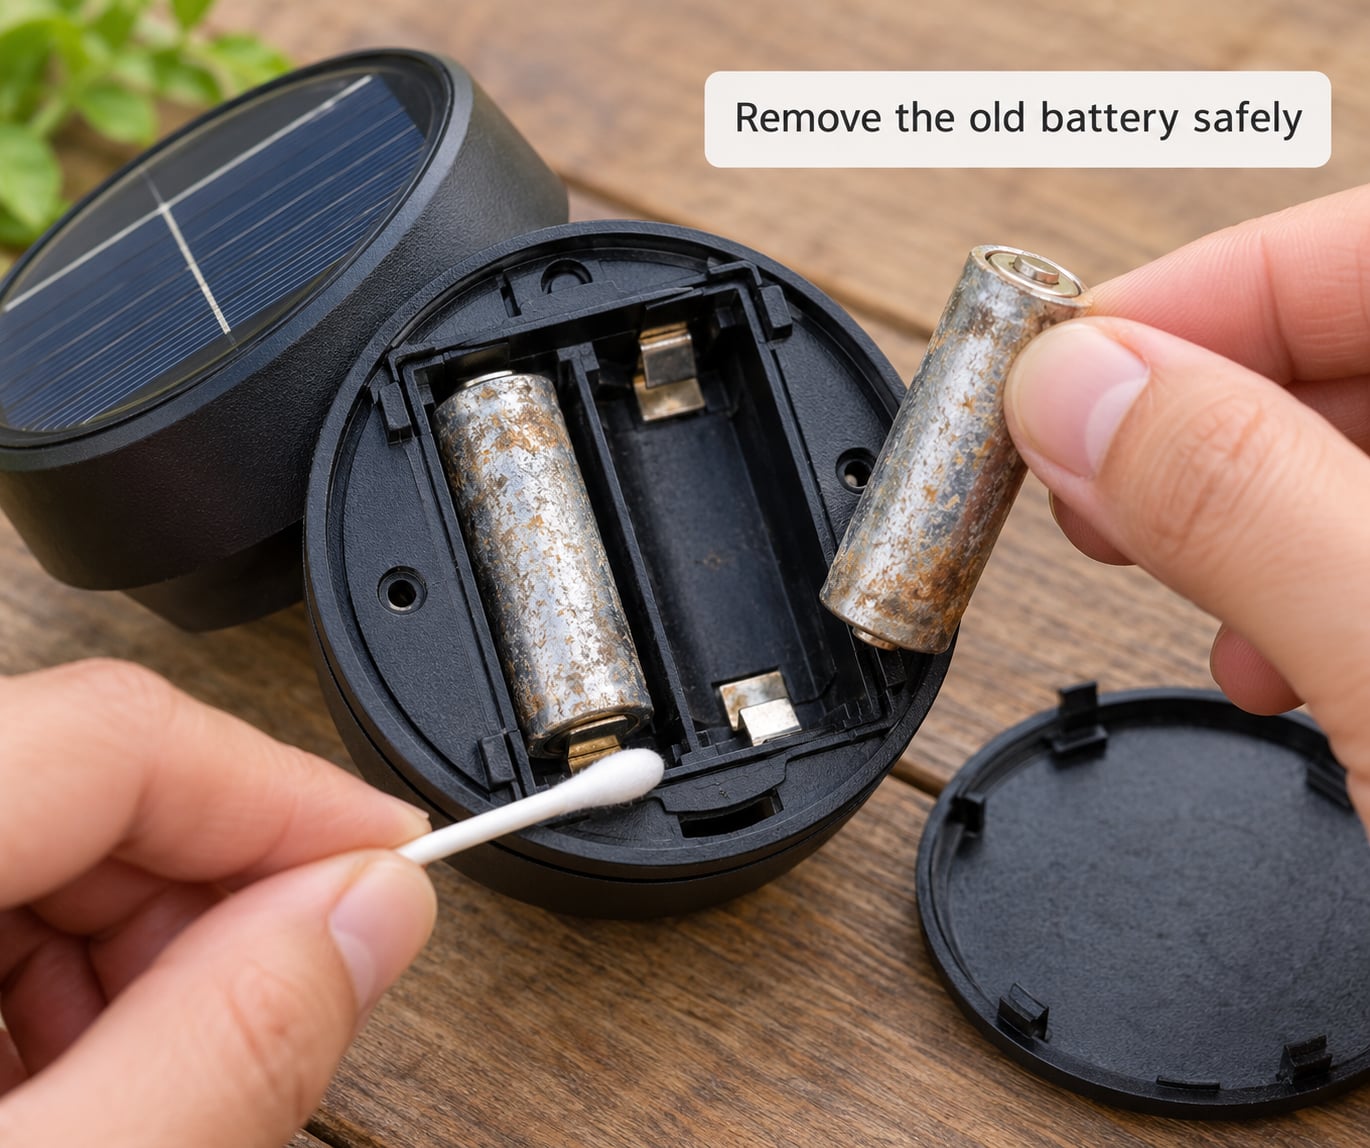
Cover the solar panel with your hand or a dark cloth first. The dusk-to-dawn sensor reads that as darkness, the light switches on, and you stop it draining the old cells during the swap. On lights with a separate ON/OFF switch, off is even better.
Take out the screws and set them in a small cup so you do not lose them in the grass. Lift the tray with the plastic pry tool rather than a screwdriver blade, working along the long edge where the clips usually sit.
Disconnect the cells the way you would disconnect any battery: note the polarity with a photo before you touch anything, then lift one terminal at a time. Never bridge the two terminals with a screwdriver to test for life — that is a direct short, and with an old NiCd cell it is a small thermal event you do not want next to your knee.
Clean before you install. Battery leakage leaves an alkaline crust that raises resistance and, worse, keeps eating the metal. Rub it off with a dry toothbrush, dampen a cotton swab with isopropyl alcohol, then wipe dry. If the contacts are pitted and green or white and soft, a scrap of 180-grit sandpaper on a flat surface will restore a dull metal finish. Pitted copper that flakes away is not worth saving, and that light is telling you the housing has been wet for a while.
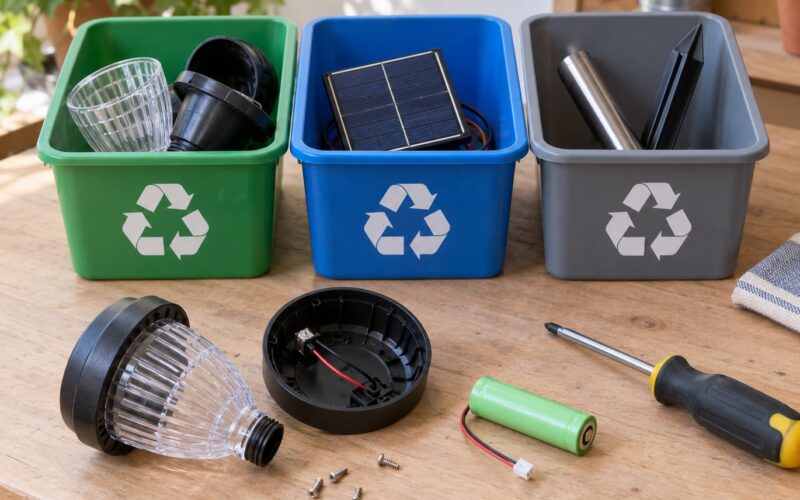
Treat the removed cells as live. Do not crush, puncture or short them, and keep metal objects away from the terminals while they sit on the bench.
4. Prepare and connect the better battery
Match the new cell to what you found: same nominal voltage, same physical size, same number of cells in series or parallel as the original. Doubling capacity is the safe direction — two 800 mAh cells in parallel instead of two 600 mAh cells — while dropping voltage or mixing chemistries in a pack is how smoke happens.
For a simple clip-fit swap, put the cell in the way it came out, matching the plus and minus marks to the contacts. That is the whole job. Apply light pressure until the clip seats evenly, because a partially seated clip shows up weeks later as a light that flickers only when the wind blows.
Where the original used tab wires and you are soldering, plan the work before the iron gets hot. Tin both tabs, tinned leads, and the pad in one pass; then make the joint quickly. Heat-shrink every connection individually, and leave the shrink long enough to cover the solder joint and the bare copper. Bare copper in a damp housing is exactly how a working upgrade turns into a dead light next winter.
Only when you are building a lithium pack does a fuse earn its place in the plan. Fit an inline fuse sized so it opens well below the level that would make a cell vent, and mount it where a bend or a screw cannot pinch it.
Keep the charge controller in mind the whole way through. A 1.2V charge path charging a 3.7V lithium cell will push it past its maximum charge voltage within a day, and the cell will swell, vent or vent more violently than you want to explain to a neighbour. If you have any doubt about what the controller does, stay with a low self-discharge NiMH cell and the risk is essentially zero.
5. Test the upgrade before sealing the fixture
This is the step people skip, and it is the one that saves you a second teardown. Leave the housing open, slide the panel back into position so it can see the sky, and put the light in full sun for a full day — six to eight hours of direct sun, not a bright overcast morning.
Then measure. A NiMH or NiCd cell sitting open on the bench will bleed off a little charge, so measure it in the light after sunset or the next morning before you switch it on. A healthy 1.2V cell reads about 1.25 to 1.3 volts after a full day of sun. A lithium cell should read roughly 4.1 to 4.2 volts, which tells you the controller charged it and stopped at the right point rather than pushing past the ceiling.
Switch the light on and watch it for a minute. A healthy upgrade gives a steady output on the first night. Three things mean something is wrong: brightness that pulses or fades within seconds, a fixture that is noticeably warm to the touch near the battery, or a light that never switches off in daylight and keeps running with its panel covered.
If you see any of those, take the cell back out and re-check polarity first. Then check that the cell actually charged. A light that never turns off usually means the controller never recognised the battery, which on cheap fixtures points to the switch, the sensor or the trace between them rather than the cell you just installed.
6. Reassemble, seal and improve runtime
Put the tray and its gasket back exactly as they came, with the gasket seated in its channel rather than pinched under the lid. A compressed, twisted or missing gasket is how water gets in and how the next battery lasts one season instead of five. Tighten the screws until they are snug, then a quarter turn more — overtightening cracks the plastic housing and deforms the seal far more reliably than it helps.
Before you close up, wipe the panel glass with a damp cloth. Dirt and algae film on solar panels can cost more light output than an old battery does, and it is the first thing to rule out if the light still seems dim afterwards.
Then think about where it sits. A stake light under a shrub or against a south-facing wall may get two hours of sun instead of eight, and no battery fixes that. Move it out into open sky, angle the panel toward the sun rather than straight up, and keep it clear of sprinkler heads and snow banks.
Rough runtime math is worth doing once, because it tells you whether your upgrade worked. Divide capacity in mAh by the light’s average current draw in mA and you get approximate hours of illumination. A 1500 mAh cell driving a light that draws 150 mA in brightness mode gives about ten hours if it stays bright all night — less if it drops to a dim mode after a few hours, since the LED then draws far less and most of the capacity is still there for later.
If the light is still dim after a genuine upgrade, work down this order. Dirty or shaded panel first, then the switch and the dusk sensor window, then the contacts, then the charge level, then the LED itself. A failed LED board dims no matter how much capacity sits behind it, and that is the point at which the light has told you it wants replacing rather than upgrading.
Common Mistakes
Almost every ruined solar light upgrade traces back to one of these, and every one of them has a simple correction.
Putting a 1.5V cell in a 1.2V charge path. Ordinary alkaline is the classic version and it never charges at all — the controller will not push current into it, so it just sits there, leaks eventually and corrodes the compartment. The sneakier version is the 1.5V lithium AA or AAA, which is a 3.7V cell with a converter in the cap; many solar lights have been destroyed by these. Correction: match nominal voltage exactly, and never treat a cell that says rechargeable lithium as interchangeable with NiMH.
Ignoring whether the fixture accepts a replacement at all. Prying open a glued housing splits the weather seal and cracks the panel ribbon. Correction: look for contacts, a screw or sliding cover and manufacturer documentation before you commit.
Reversing polarity. Installing the cell backwards usually does nothing at all, but on lithium it can be the most dangerous mistake in this list. Correction: take a photo of the original orientation before removal and re-check it before closing the housing.
Leaving connections exposed. Bare copper, a loose crimp or heat-shrink that shrank back out of the way invites moisture and corrosion, and the light fails weeks later in a way that looks like a bad battery. Correction: heat-shrink every joint, strain-relieve the wires, and keep metal off metal.
Ruining the waterproofing while reassembling. A missing gasket, a pinched one, or screws driven too hard lets water sit on the contacts. Correction: seat the gasket in its channel, clean both sealing faces, and snug the screws without leaning on them.
Charging a swollen or damaged cell. Any battery that bulges, leaks, smells chemical or has a torn wrapper should not go back in the light and should not go on a charger. Correction: take it to a battery recycling or e-waste point, keep it away from anything flammable in the meantime, and buy a new cell.
Mixing cells. Old and new in the same pack, or NiCd with NiMH, means the weaker cells drag on the charge and the stronger ones over-charge. Correction: replace a multi-cell pack as a matched set from the same chemistry and close to the same capacity.
Charging below freezing. A Li-ion cell that charges at or under 0 °C can plate lithium metal internally and go into thermal runaway later, without warning. Correction: bring the light indoors or wait out a freeze before putting it back on the panel.
Fitting a bigger battery and expecting a brighter light. This is not a fault so much as a misread of how the system works. A cell twice the capacity in a light with a panel half the size spends its life at half charge, and half charge on a cheap LED driver means dim. Correction: match the battery to the panel, or add panel area when you add battery.
Blaming the battery when the light is fine. If the light works for an hour after a full sunny day, the cell is probably healthy and the sensor, switch or panel is the problem. Correction: cover the panel by hand to see whether it lights at all, then work outward from the panel.
Frequently Asked Questions
Can I replace a solar light battery with a higher mAh one?
Usually yes, as long as the nominal voltage and physical size stay the same and you stay in the same chemistry family. The catch is panel power. Cells up to about 800 mAh need roughly 0.8 watts of direct sun, and 1000 to 1500 mAh cells want 1.2 watts or more. Fit more capacity than that and the light will run well for the first night or two, then start every evening partly charged.
Can I use lithium batteries in solar lights?
Only if the fixture was designed for them. A light with a 1.2V charge controller will push a 3.7V lithium cell past its maximum charge voltage and it can swell or vent within a day or two. That includes the 1.5V lithium AA and AAA cells, which are 3.7V cells with a converter in the cap. If the light shipped with an 18650 and a protection board, lithium is the intended chemistry and a quality cell is the best upgrade available.
Which is better for solar lights, NiCd or NiMH?
NiMH, without much argument. NiCd cells leak more, tolerate less capacity, carry a heavy environmental load and self-discharge faster. Low self-discharge NiMH at 1000 to 1500 mAh keeps roughly 85 percent of its charge after a month idle, which matters enormously for a light that sits through a cloudy week. NiMH is also the chemistry most charge controllers were actually designed around.
Why is my solar light still dim after I changed the battery?
Work in this order: clean the panel glass and check the light is not shaded, confirm the dusk sensor window is clear, check the contacts for green corrosion, confirm the new cell actually reaches full charge after a full day of sun, and only then suspect the LED board. A bright battery in a dirty panel is a very common combination. If the light dies out partway through the night every time, suspect the controller cutting out too early.
How long does a solar light battery take to charge?
Plan on a full six to eight hours of direct sunlight for a complete charge, not a bright overcast day. A small panel under light cloud may put in only a fraction of the charge, which is why a new cell sometimes looks like a dud on day one and behaves normally by day three. If your light sits in a shady spot, no amount of waiting will charge it properly and the battery will shorten in the first season.
Is a solar light with a sealed battery worth upgrading?
Only if the housing opens without damage. Sealed compartments with no battery contacts and no service documentation usually mean a glued or welded shell, and forcing them splits the weather seal, risks the panel ribbon and can crack the plastic. Those fixtures are better recycled through e-waste than repaired, and the cost of a fresh light is often close to the cost of a good cell plus your Sunday afternoon.
Conclusion
The safest first action is free: read the specification off the battery already inside the light and check what its charge controller expects. Voltage first, chemistry second, capacity third, and if the fixture has no serviceable compartment or no documentation, stop there.
From there the upgrade is straightforward. Confirm your panel can refill the cells you want to fit, swap in low self-discharge NiMH that matches the original voltage and size, clean the contacts, charge a full day in the sun with the housing open, then close it up with the gasket seated properly. That single afternoon of care turns a light that dims at dusk into one that runs to the back door, and keeps a good fixture out of a landfill while doing it.