To extend solar light runtime in fall, you have three levers: capture more sunlight, store more of it, and ask less of the battery at night. Move the panel where the low autumn sun actually lands, clean it, and confirm the switch is on and the battery still holds a charge. Most lamps that “died in October” were never broken — they were simply starved of charge.
The whole job takes about an hour per lamp. A soft cloth and warm water handle most of it, and the diagnostics cost nothing. Buy a replacement lamp only after you’ve ruled out placement, dirt, the switch, and the battery.
Table of Contents
- What You Need
- Step-by-Step: How to Extend Solar Light Runtime in Fall
- Step 1: Move the Lamp Into More Direct Fall Sun
- Step 2: Clean the Solar Panel Thoroughly
- Step 3: Check the Switch, Sensor and Battery
- Step 4: Reduce the Light’s Energy Demand
- Step 5: Protect the Lamp From Fall Weather
- Step 6: Test the Lamp and Record the Improvement
- Common Mistakes That Kill Fall Runtime
- Frequently Asked Questions
- Why do my solar lights only stay on for two or three hours in fall?
- Does cold weather damage solar lights, or just shorten runtime?
- Can you replace the battery in a solar garden light?
- How do I clean solar light panels without damaging them?
- Will solar lights still charge on a cloudy fall day?
- Should I bring solar lights in for the winter or leave them out?
- Conclusion
What You Need
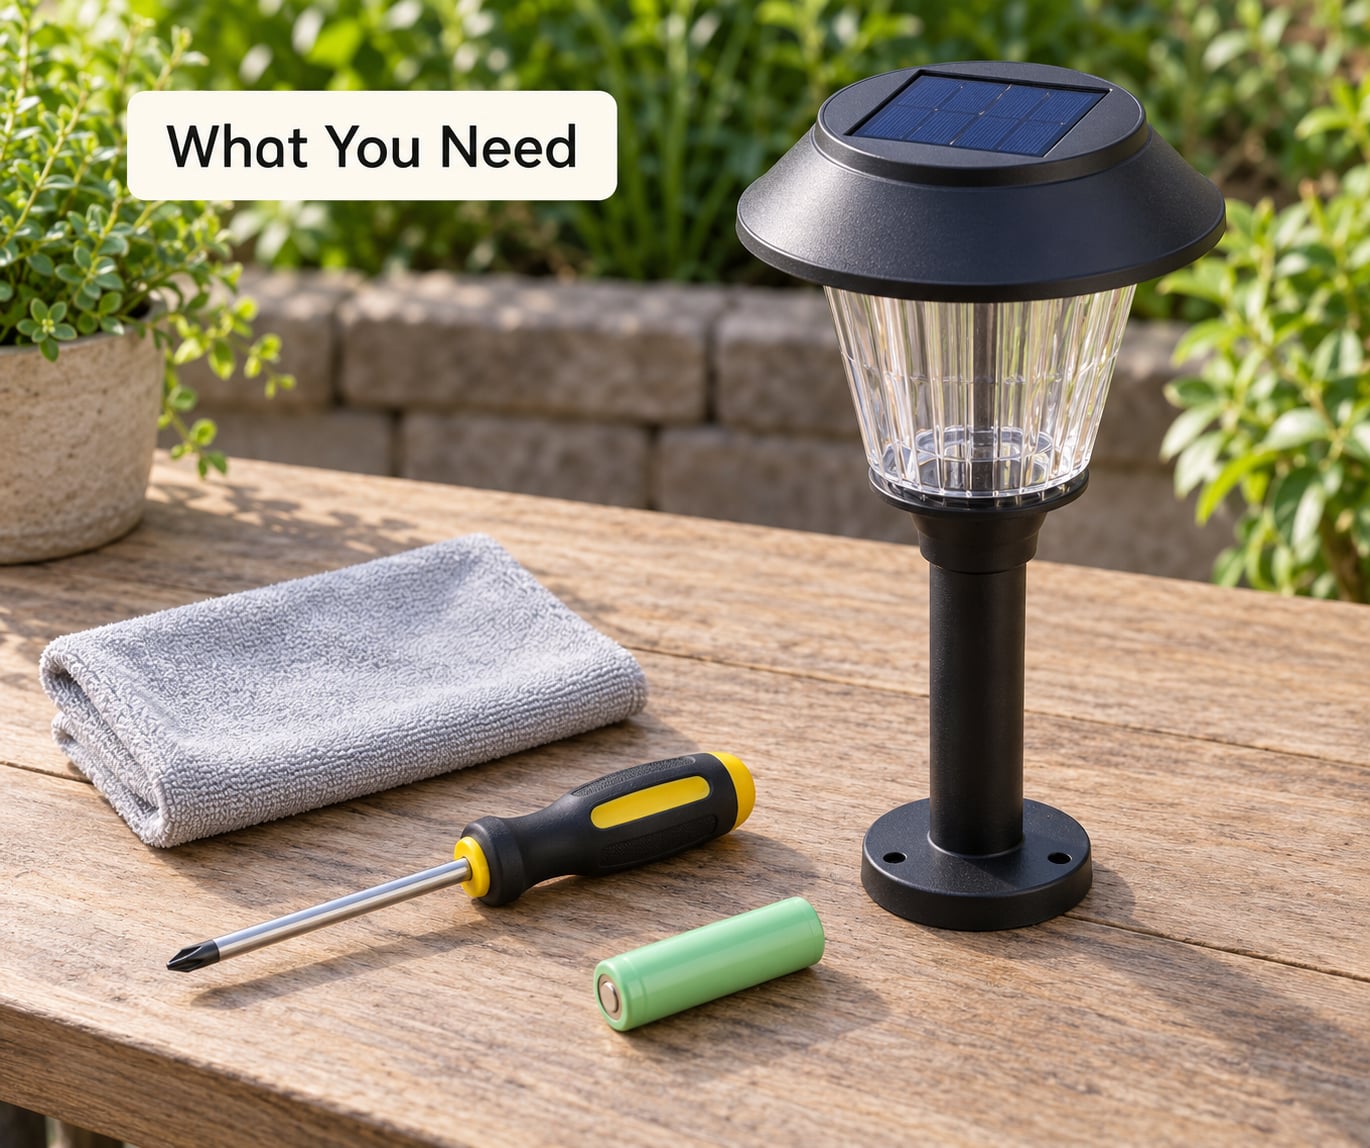
Almost nothing, honestly. Grab what’s in front of you:
- A soft cloth or microfiber cloth for wiping the panel. Nothing abrasive.
- Warm water and a drop of mild dish soap, plus a soft sponge if the panel has a textured surface.
- A flat-head or Phillips screwdriver for the battery compartment screw on lamps that have one.
- A small cup of warm water for checking whether a panel is clear or just looks clear.
- A replacement battery that matches the cell already inside — usually a NiMH pack of 1.2 to 2 volts, or an 18650 cell. Check the markings before you buy anything.
- A notebook or your phone, for noting the date each lamp first fails to light up. That number tells you far more than a guess.
Add a flashlight for the sensor check at dusk. No wiring tools, no multimeter, no ladder unless you’re working on a pole-mounted fixture.
Step-by-Step: How to Extend Solar Light Runtime in Fall
Step 1: Move the Lamp Into More Direct Fall Sun
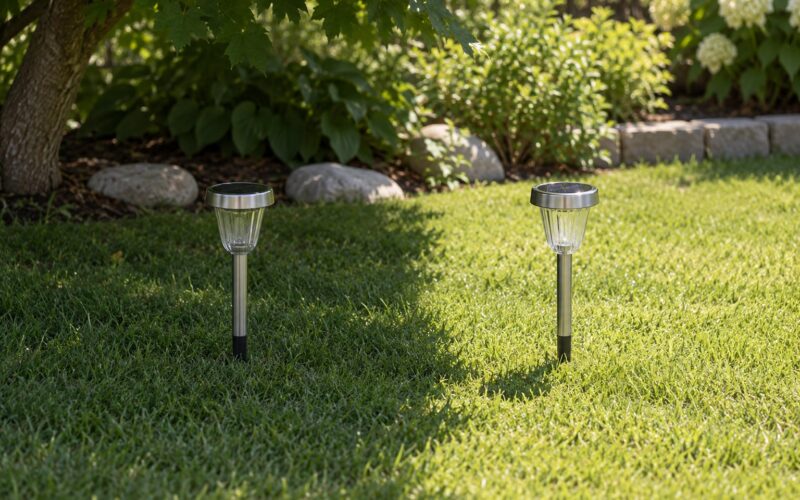
Fall sun is the problem nobody expects. The days are shorter and the sun sits lower in the sky, so the same panel angled for a July afternoon now catches light at a glancing angle and collects far less of it. Repositioning is often the single biggest gain you can make.
Watch the spot for two days before you commit to a new stake. Morning or late afternoon sun is worth more than a spot that only glows at noon, because the panel sits at a better angle. Clear away leaf litter, and trim back branches that started shading the panel once the canopy filled in.
You’ll know it worked when the lamp’s panel has no shade on it between sunrise and the time the light switches on. If a wall, fence, grill cover, or parked car blocks it, move the lamp rather than the whole fixture.
For wired string lights or panels you can’t relocate, a separate panel on a short outdoor-rated extension run toward a sunnier corner is the fix people on solar forums use most. Replace the whole low-voltage cable instead of splicing it; splices are where water gets in.
Step 2: Clean the Solar Panel Thoroughly
A dusty panel can lose a meaningful chunk of charging power without looking obviously dirty. Fall makes it worse: pollen, leaf residue, mineral film from rain and early frost all stack up on the surface. Clean the panel twice in fall, and again after any major weather event.
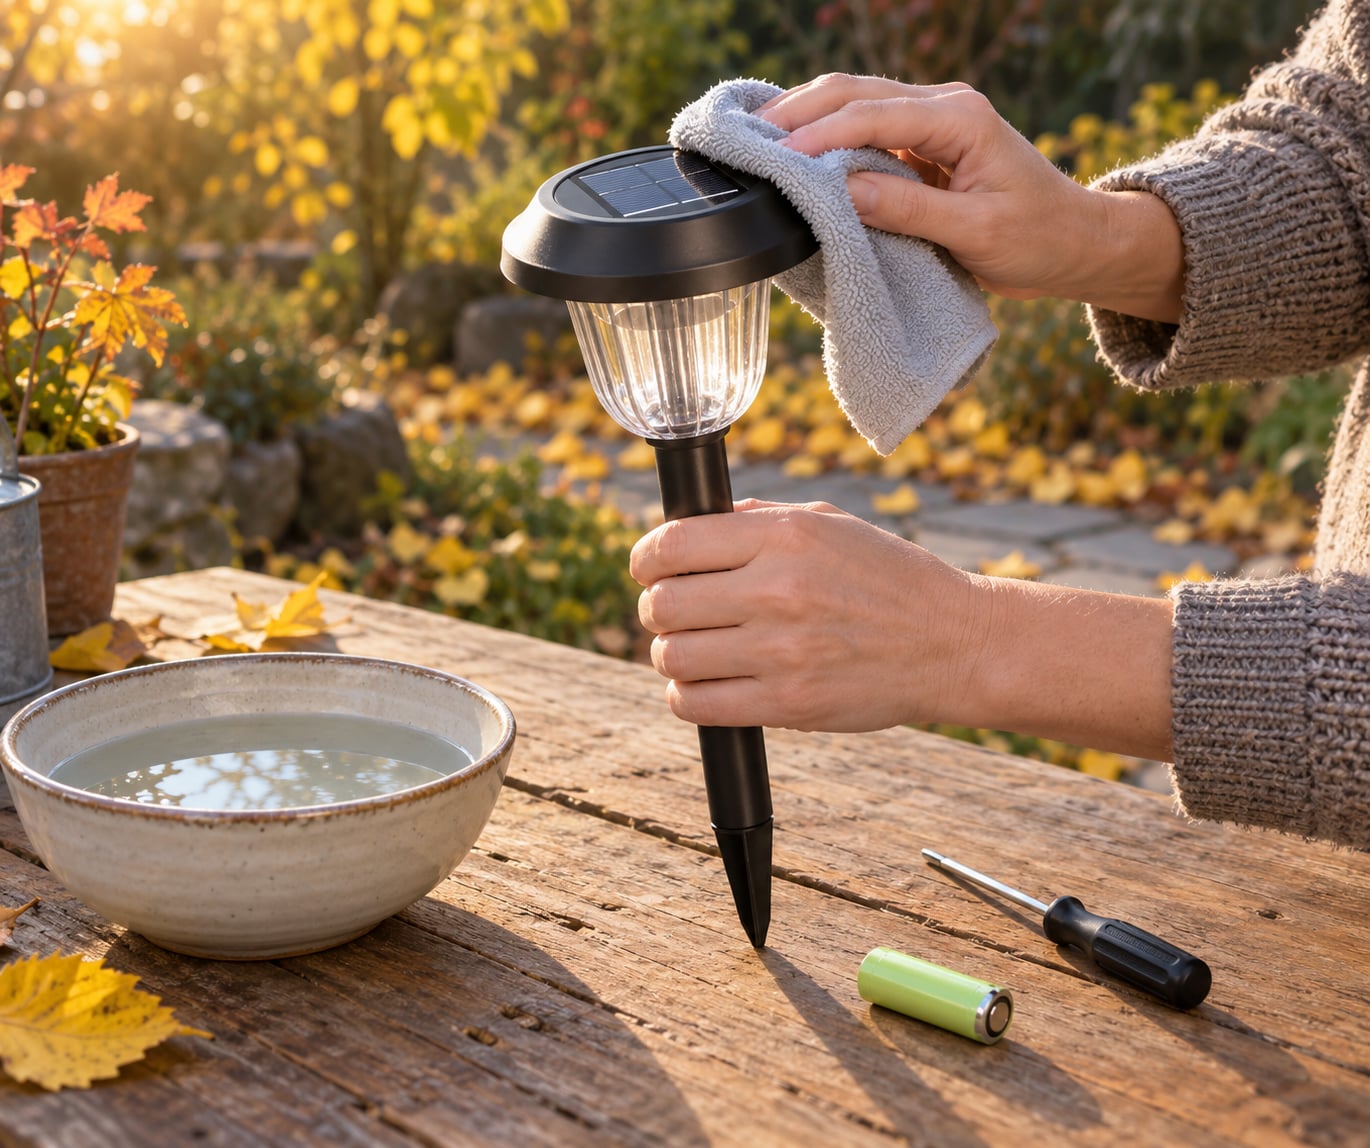
Wipe with a cloth dampened with warm water and a drop of mild dish soap, then follow with a plain damp cloth so no film is left behind. Soap film attracts the next layer of dirt faster, which is why a lot of people just hose the panel off. In a cold snap, clean at midday so the glass warms before you touch it.
Skip metal scrapers, scouring pads, and window cleaner with ammonia. They scratch the surface coating, and scratches are permanent losses.
You can tell it worked by looking at the panel from an angle with the sky behind it. A clean panel shows an even blue-black; a dirty one shows a grey haze and water beading. Then watch the first night after cleaning — a noticeably brighter, longer run is the confirmation.
Step 3: Check the Switch, Sensor and Battery
Before anything else, find the ON/OFF switch or the battery pull tab. This is the number one reason new lights never light up, and it costs nothing to check. Many lamps ship with the switch in the off position for shipping.
Then confirm the dusk sensor is actually being triggered. If the lamp sits in darkness and stays on, or never comes on at all, a nearby light is the usual culprit. Holiday string lights and a bright porch lamp will keep a photocell sensor convinced it is still daytime. Move the fixture, cover the sensor with opaque tape, or accept that this lamp belongs somewhere with a clearer horizon.
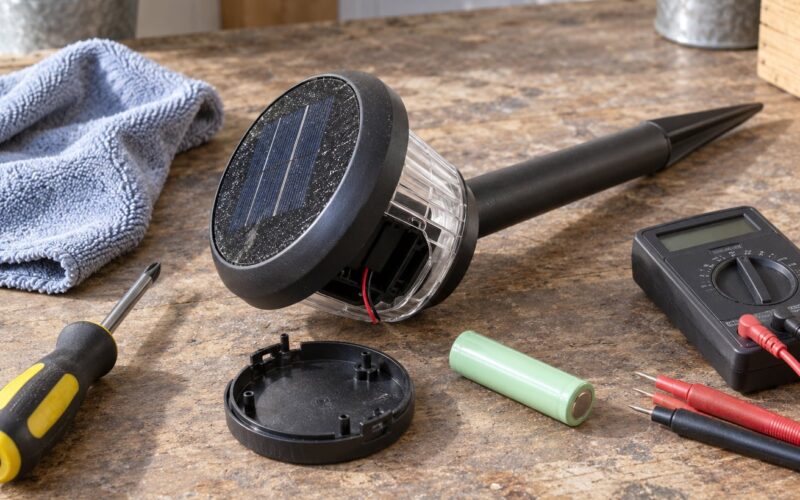
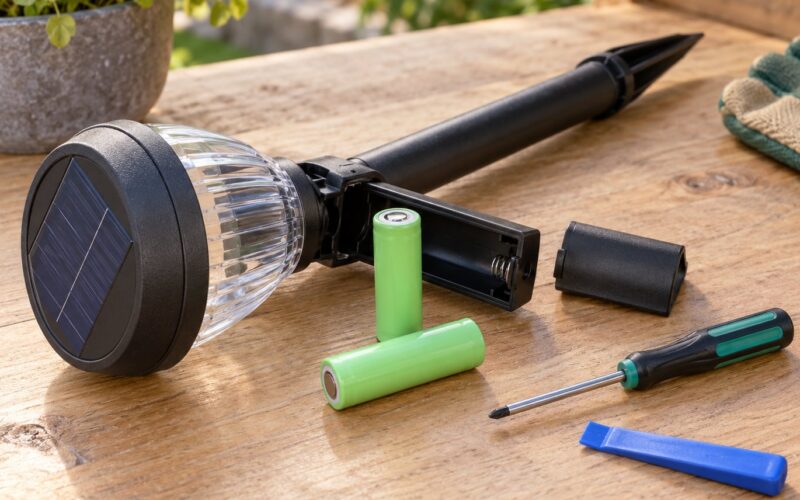
For the battery, open the compartment only if the housing is designed to open. Look for greenish or white crusty residue around the terminals, or a cell that bulges or no longer sits flat. Corrosion gets cleaned off with a cotton swab and a little vinegar or isopropyl alcohol, then dried completely before the lamp goes back out. A sealed housing is a sealed housing — replace the lamp rather than forcing it.
Replacement cells should match the original chemistry, voltage and size. A rechargeable NiMH pack is the common fit; lithium-ion works in some newer designs but only where the charge controller supports it. Wrong chemistry can swell and damage the board.
You’ll know the battery is the problem if a full day in direct sun still leaves the lamp dim or dead after several tries. A healthy panel charges a healthy cell within a day or two.
Step 4: Reduce the Light’s Energy Demand
Runtime is stored energy divided by energy used per hour. If you can lower the demand, you stretch the same charge without touching the panel.
- Use the lowest brightness setting. Many lamps have a mode switch, and dim mode can easily double run time.
- Run the lamp in motion or detection mode. A light that only burns when something moves needs far fewer hours of output. This is the biggest free win if your fixture supports it.
- Shorten the run window. If it stays lit long after everyone’s inside, a timer or a smart plug on a separate system cuts hours you never needed.
- Move it closer to where you walk. Pool of light where the path actually is beats dim light spread across a whole garden bed.
- Aim rather than flood. Tilting the head or adding a simple reflector or angled shield cuts wasted spill, so the useful light stays the same while the bulb runs less.
How do you know it worked? Time it. Note when the light switches on and when it goes out, and compare that to last month’s numbers on the same lamp.
Step 5: Protect the Lamp From Fall Weather
Fall rain drives water into seams and battery compartments. Check that the lamp sits level in the soil rather than in a low spot where water pools, and reseat any cover or door that has warped. Leaves and early frost can sit on the panel and sensor for days, so check after storms rather than only on a schedule.
Keep the lamp protected but still sunny. Moving it to a porch or under an eave solves water ingress and destroys the charging, so pick a spot that gets full sun and only loses the driving wind and heavy downpour from one side.
Cold nights cut usable battery output even after a sunny day. That’s chemistry, not damage: a battery that stores well in the afternoon delivers less once it is cold. Don’t wrap lamps in anything that blocks the panel, and don’t bring a frozen lamp straight into a warm room to warm it up — let it sit at room temperature first.
Watch the light from inside the house rather than standing outside. If it comes on, dims way down, then brightens after a few minutes, the sensor is likely being fooled or the battery is swelling.
Step 6: Test the Lamp and Record the Improvement
After each change, run one full day in direct sun and then check it at dusk. Testing right after handling tells you almost nothing; testing after a real charge is the only honest measurement.
Write down three things for each lamp: the date it switched on at dusk, the time it went out, and whether it stayed bright or faded gradually. A light that starts strong and fades over two hours usually has a weak battery. One that’s dim the whole night points more at a dirty panel or bad placement.
Then record the first night it fails to illuminate at all. If that’s still a year or more out, the lamp has room. If it’s failing after a couple of weeks of good care, the battery or panel is done, and no amount of cleaning will change that.
Common Mistakes That Kill Fall Runtime
- Leaving the lamp under a tree that was bare in June. Move it out into open sun before the leaves return.
- Skipping the clean. Fall debris dulls the panel faster than anything else you can control.
- Testing a dead battery. A cell that won’t hold a charge won’t recover from cleaning.
- Leaving the ON/OFF switch off or the pull tab in. Check this before you open anything.
- Judging a brand-new lamp by its first night. Most cells need a few cycles in full sun before they hold a full charge.
- Running the lamp at full brightness all night. Dim or motion mode gives back hours for nothing.
- Putting the fixture under a porch or a tree to hide it. Any shade you add comes straight out of runtime.
- Replacing the whole lamp when only the cell died. If the housing opens, a matching pack is usually enough.
Frequently Asked Questions
Why do my solar lights only stay on for two or three hours in fall?
Short days and a lower sun angle mean the panel captures less energy, so the battery starts the night partly empty. Dirt on the panel makes it worse. Charge the lamp in full sun for two or three consecutive days with no shade on the panel and the run time usually comes back quickly. If it still dies early, the cell has lost capacity and needs replacing.
Does cold weather damage solar lights, or just shorten runtime?
Cold shortens runtime far more often than it damages the light. Rechargeable cells hold and deliver less energy when they are cold, so an autumn night that stays above freezing will quietly cut your hours. Sustained hard freezing, repeated freeze-thaw cycles and ice wedging into a seam are what cause real damage. Let a frozen lamp warm up indoors before switching it on.
Can you replace the battery in a solar garden light?
Yes, on any lamp with a screw-on or snap-fit battery compartment, and most path and stake lights have one. Match the original chemistry, voltage and size, usually a 1.2 to 2 volt NiMH pack or an 18650 cell. Clean any corrosion off the terminals before fitting the new cell, and never mix battery types. Sealed housings are not meant to be opened.
How do I clean solar light panels without damaging them?
Use a soft cloth or sponge with warm water and a drop of mild dish soap, then wipe again with plain damp water so no film is left on the surface. Skip scouring pads, metal scrapers and ammonia window cleaner, which scratch the protective coating and cut charging permanently. Clean at midday in cold weather so the panel is not already chilled.
Will solar lights still charge on a cloudy fall day?
Yes, but slowly. A good cloud day can deliver a useful partial charge, while solid overcast may only slow things down a little. The real problem is consecutive dull days: several grey days in a row mean the lamp starts each night already behind. Keep the panel clear of leaf litter and debris so whatever light does reach it is not wasted.
Should I bring solar lights in for the winter or leave them out?
Leave lights out in areas with mild winters, where the panel still gets several hours of sun and the cell rarely freezes hard. In places with long freezes, heavy snow or ice, bring them in or cover the panel, since a snow-covered panel charges nothing and repeated freeze-thaw cycles shorten the life of the housing. Store them switched off in a cool, dry spot rather than a warm garage.
Conclusion
Start with the two free fixes. Move the lamp where the low autumn sun actually reaches the panel, then clean that panel properly. Those two changes alone fix most of the shortfall people notice in October.
After that, check the switch and pull tab, look at the battery for corrosion or swelling, and cut the load with dim or motion mode. Keep a short note of when each lamp first dies, and when the pattern repeats within weeks no matter what you do, replace the lamp with confidence instead of wondering. Updated for 2026.