To light a walkway without glare, you light the walking surface and keep the bright source out of anyone’s line of sight. Full-shielded fixtures, mounted low and aimed down, spread the same amount of light with nothing visible to stare at. Most glare problems come down to one fix: the lamp is visible when it shouldn’t be.
A lit path is a genuinely useful safety upgrade. It also turns into a complaint fast when the fixtures face the house, wash the neighbour’s bedroom window, or burn so bright the eye gives up. Here’s a method that avoids all three, whether you’re starting from bare paving or trying to tame lights you’ve already installed.
Table of Contents
- What You Need
- Step-by-Step: How to Light a Walkway Without Glare
- 1. Map the walkway and find where the glare actually is
- 2. Plan low, even illumination instead of bright pools
- 3. Choose shielded fixtures with warm, downward light
- 4. Aim beams down, not across, to light a walkway without glare
- 5. Space fixtures so the light is continuous
- 6. Install safely and keep visible cable out of the walking line
- 7. Test at night and adjust
- Common Mistakes That Create Glare
- Frequently Asked Questions
- What type of light is best for a walkway without glare?
- Are solar walkway lights bright enough to prevent glare?
- Should pathway lights shine across the walkway or down toward it?
- How far apart should walkway lights be placed?
- What color temperature reduces glare from outdoor lights?
- Do I need an electrician to install low-voltage walkway lighting?
- Conclusion
What You Need
Start by walking your route after dark. Not imagining it, walking it. Note where the path goes black, where light hits your eyes, and where neighbouring windows are in the line of fire. This assessment takes ten minutes and saves you from buying the wrong fixture twice.
What you actually need:
- Sheltered fixtures with a hood, louver, or opaque lens that hides the LED from a standing eye level. Anything described as full cutoff or fully shielded is what you want.
- A tape measure and chalk for spacing, plus a step ladder.
- Low-voltage cable and a transformer if you’re running a wired system, or a photocell-controlled solar kit if you’re not.
- Outdoor-rated connections — weatherproof junction boxes, gel-filled connectors, or IP65-rated fittings. Anything else fails in a season.
- A photocell or motion sensor as an optional add-on. Both reduce glare exposure without cutting brightness during the hours you actually walk.
- Dark-cloth or tape to block a light source temporarily while you test angles.
A rough rule of thumb from installers: a walkway surface reads as comfortable at around 10–30 lux, the same level as an early-evening indoor hallway. If a fixture pushes hundreds of lux onto the paving, you are not adding safety, just contrast.
Step-by-Step: How to Light a Walkway Without Glare
1. Map the walkway and find where the glare actually is
Walk the route from several positions: from the front door, from halfway down, from the gate at the far end. Most glare hides in these angles, not the one you see when you stand still in the garden looking at the path.
Mark four things with chalk: dark spots, steps and level changes, reflective surfaces like wet stone or a glazed door, and every window belonging to somebody else. Those marks are your installation plan.
2. Plan low, even illumination instead of bright pools
Divide the path into zones rather than counting fixtures. Most walkways need three things covered properly: the entrance, any steps or corners, and the darkest stretch in the middle. Light those evenly and the whole route reads as continuous.
Place fixtures just outside the walking line wherever you can. A light 30 cm to the side of the paving throws its beam across the surface at a shallow angle, which spreads the pool further and lets you cover more ground per fixture.
3. Choose shielded fixtures with warm, downward light
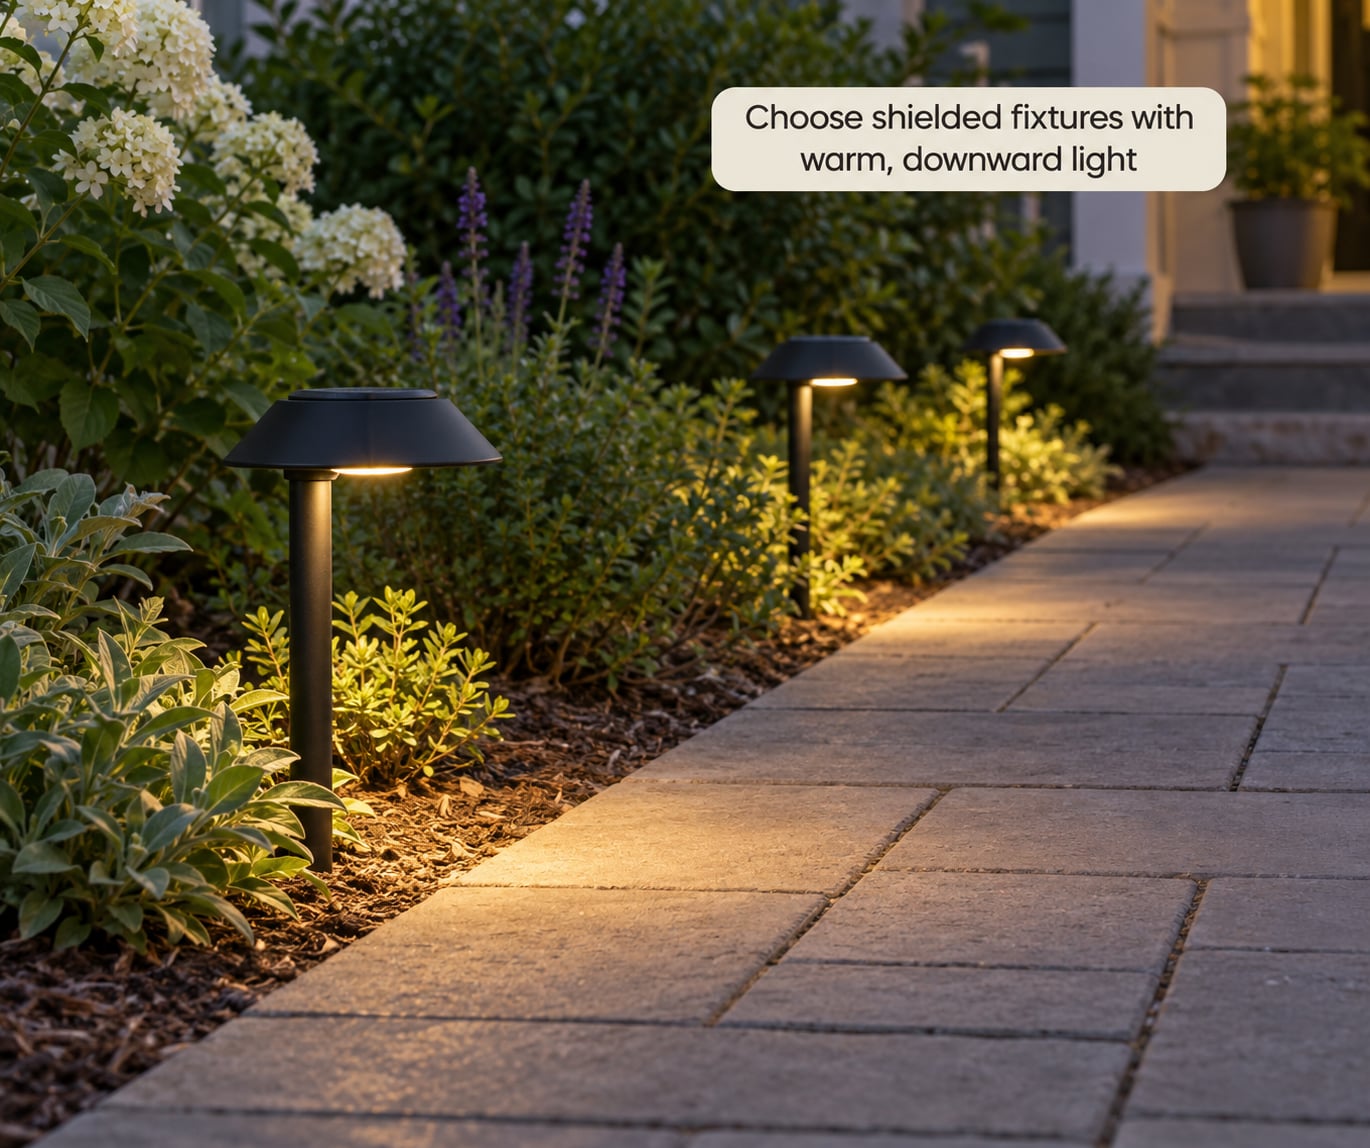
Fixture choice does more for glare control than any other decision. Compare the types like this:
| Fixture type | Glare risk | Light distribution | Best for |
|---|---|---|---|
| Recessed in-ground light | Lowest — source sits below eye level | Narrow, even wash along the surface | Flush paving, steps, modern paths |
| Integrated step light | Low — tucked into the riser facing down | Focused on each tread and riser | Stairs, ramps, level changes |
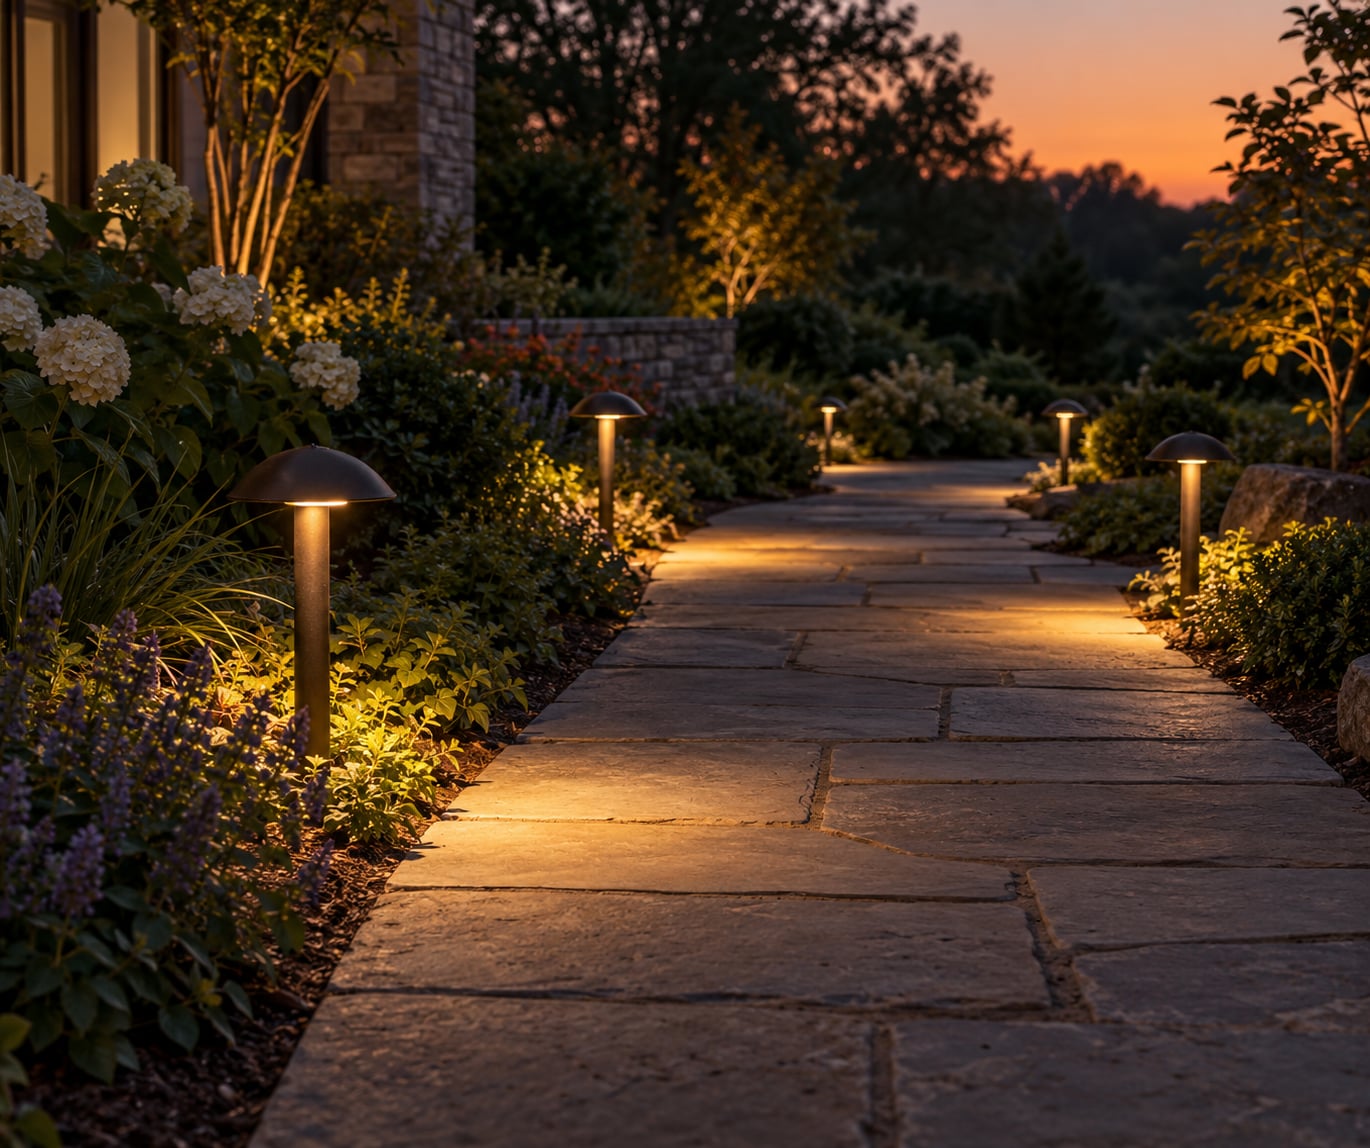
| Hooded path light | Low — the hood hides the LED from above | Symmetrical pool either side | Standard garden and front paths |
| Bollard light | Medium — output depends on the louver design | Downward cone, varies by model | Wide paths, driveways, edging |
| Wall or eave side light | Medium — aim away from doors and windows | Asymmetric, throws across the path | Narrow side paths, walls to hand |
| Unshielded post light | High — bare LED visible at eye level | Bright, uncontrolled pool | Avoid on walkways |
| Under-rail LED strip | Very low — source is concealed | Continuous line along the edge | Deck and boardwalk walkways |
For colour, stay warm: roughly 2200–3000K. Warm white reads as softer at night and contains less blue light, which the eye perceives as harsher. High colour rendering also helps you see texture and edges on the path, which matters more than raw brightness.
4. Aim beams down, not across, to light a walkway without glare
Glare happens when a bright source sits in or near your line of sight, and your pupil closes down to deal with it. The path around it then looks darker than if you had no light at all. This is why brightening a walkway can quietly reduce visibility.
So aim down and out, never across the path or toward a house. Mount path lights between 30 cm and 1 metre above the ground — low enough that the hood does the shielding, not your posture. Aim bollards and wall lights downward with an asymmetric reflector so light lands on the paving, not in a neighbour’s upstairs window.
If light lands where you don’t want it, tape over or cover the offending section and check the result before you commit to a position.
5. Space fixtures so the light is continuous
Consistent overlap beats brilliance every time. As a starting point, space fixtures 1.5–2.5 metres apart along the path, then adjust for the beam angle your chosen fixture throws. Wider beams need closer spacing; narrow in-ground beams can stretch further.
Alternating bright pools with dark gaps is the single most common mistake in DIY walkway lighting. It creates shadows at exactly the spots where someone is trying to judge a step. If two pools overlap so much that one fixture is invisible, you can usually remove one and save money and energy.
6. Install safely and keep visible cable out of the walking line
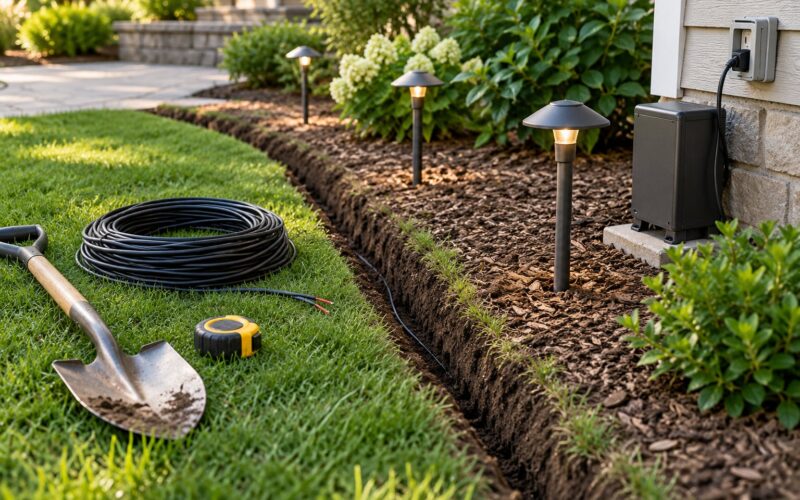
Before you dig anything, check for underground services. Most utility companies and councils run a free location service, and in some places it’s a legal requirement before excavation. Route cable under the planting bed or the path edge, never across the middle of the paving where it becomes a trip hazard.
Use outdoor-rated cable, weather-resistant connections, and fixtures with a suitable IP rating — IP65 handles rain exposure, IP44 is fine for a sheltered spot under an eave. Follow the manufacturer’s instructions on transformer loading, and seal every cut end.
Mains-powered or hardwired work is different. Anything involving mains electricity belongs with a qualified electrician, and so does anything involving your consumer unit, new circuits, or wiring inside the house.
7. Test at night and adjust
Turn everything on at dusk and walk the route as you normally would, at your normal pace. Then stand still at eye level in the spots you marked earlier.
Check for four things: gaps where the path goes black, direct glare from any visible source, spill onto the road or a neighbouring window, and any beam pointing above roughly 45 degrees. Fix problems by repositioning, adding a hood or louver, dimming, or swapping the fixture for a lower-output model. Repeat the walk after each change — it takes five minutes and most glare is solved in the first pass.
Common Mistakes That Create Glare
Nearly every over-lit walkway I’ve seen shares one of these problems:
- Over-bright fixtures. A 1000-lumen path light is wildly excessive for a residential path. Match output to the space and use dimming or lower-output models.
- Aiming light across or along the path. Light belongs on the surface under and beside your feet. Anything crossing your view is glare by definition.
- Uneven spacing. Widely spaced bright lights create alternating glare and darkness. Overlap the pools instead.
- Cool white output. 5000K and above reads as harsh and blue outdoors. Warm white around 2700–3000K is gentler on the eye and kinder to neighbours.
- Exposed cables across the paving. Besides the trip risk, a cable crossing the path forces lights to sit higher, which pushes them into your line of sight.
- Poor shielding. Many cheap path lights have a clear lens and a decorative cage that hides nothing. Check that the light source is actually covered from eye level.
- Uplighting into trees or sky. It looks dramatic, it kills dark-sky standards, and it bounces light back down as diffuse glare.
- Oversized solar output. Bright solar fixtures with exposed lamps are the most common source of neighbourly complaints about light trespass.
- Skipping the photocell. Lights burning at 2am when nobody is outside read as over-bright from inside the house, and upset the neighbours for no benefit.
A word on solar fixtures specifically, since they’re the most common source of glare complaints: their brightness varies night to night, and identical units can look uneven from one end of a path to the other. Shade and a dirty panel both cut output unpredictably. If you go solar, choose hooded models, keep the panel out of tree shade, and expect to clean the lens a few times a year. If you need consistent output and tight control over aim, a low-voltage wired system is the more predictable choice.
Frequently Asked Questions
What type of light is best for a walkway without glare?
Recessed in-ground lights are the lowest-glare option because the source sits below eye level, and hooded path lights are close behind because the hood blocks direct view of the LED. Integrated step lights work well on stairs for the same reason. Whatever you choose, pick a fixture rated as fully shielded or full cutoff and mount it low enough that you never see the lamp itself.
Are solar walkway lights bright enough to prevent glare?
Solar brightness is rarely the problem — design is. A solar fixture with an exposed lamp and a clear lens will produce glare whether it is dim or bright, and its output swings with the weather. Choose hooded solar models with an opaque or louvered face, keep the panel out of shade, and clean the lens each season for consistent, even light.
Should pathway lights shine across the walkway or down toward it?
Down toward it, every time. Light aimed across the path travels through your field of view, and the eye’s pupil closes down to cope with it, making the surrounding surface look darker than before. Downward and slightly outward aiming keeps the source out of sight while still covering the whole walking surface evenly.
How far apart should walkway lights be placed?
Start around 1.5 to 2.5 metres apart and adjust for the fixture’s beam angle — narrow beams need closer spacing, wide beams can stretch further. The test is simple: walk the path at dusk and check that the pools of light overlap with no dark gap in between. Alternating bright and dark sections are the most common spacing mistake.
What color temperature reduces glare from outdoor lights?
Warm white in the 2200K to 3000K range is the most comfortable choice outdoors. Higher Kelvin values such as 5000K contain more blue light, which the eye perceives as harsher and more glaring at night. Warm output also makes your eyes adapt more comfortably to the darkness beyond the lit path, so you see more once you step off the lit area.
Do I need an electrician to install low-voltage walkway lighting?
Low-voltage systems are safe for a confident DIYer, but check underground services before any digging and follow the manufacturer’s transformer loading instructions. Anything on mains power, any new circuit, and any wiring inside your consumer unit should be handled by a qualified electrician. Local rules vary, so check what applies in your area.
Conclusion
The first thing to do is walk the route after dark and mark where the path goes black and where light hits your eyes. Then fit evenly spaced, fully shielded fixtures at a low mounting height, aimed down onto the paving, in a warm 2200–3000K white.
If you remember one thing, remember that brighter is not safer. Light that blinds you, spills into your neighbour’s bedroom, or washes out the path edge is working against you. Light that stays below eye level, on the surface, where you need it is all a safe walkway ever asked for.