Sealing a solar light means closing every gap where water can reach the battery and electronics: the on/off switch, the battery hatch, the seam around the panel, and the point where a cable enters the base. You do it with an outdoor-rated sealant that never touches the panel surface or the light sensor. Most solar garden lights are water-resistant rather than waterproof, so sealing extends the life of a fixture you already own. It does not turn a path light into something you can drop in a pond.
Here is the honest version of what sealing buys you. Cheap lights often ship with no gasket at all, just a snap-fit or two screws, so one wet season can kill the board inside. Add a proper seal and the same light usually runs for several seasons instead of one.
Table of Contents
- Can Solar Lights Stay Out in the Rain?
- What You Need
- How to Seal Solar Lights Against Water: Step-by-Step
- Check the Manufacturer’s Waterproofing Instructions
- Inspect the Light Before Adding Sealant
- Remove, Clean, and Dry Every Sealing Surface
- Apply the Right Sealant Without Blocking the Light
- Reassemble and Test the Light Outdoors
- Common Mistakes
- How to Know Whether the Repair Worked
- When Replacing the Light Is the Better Option
- Frequently Asked Questions
- Can I use silicone to seal a solar garden light?
- Is it safe to put a solar light in the rain after resealing it?
- What type of waterproof sealant works best for solar lights?
- Why does my solar light flicker after it gets wet?
- Should I remove the battery before sealing a solar light?
- Conclusion
Can Solar Lights Stay Out in the Rain?
Yes, as long as the fixture’s rating matches where you put it. An IP44 or IP54 light handles rain and light snow but not a sprinkler head or a puddle. IP65 survives low-pressure water jets from any direction, and IP67 allows brief submersion. A light with no rating at all should be treated as splash-resistant only, and sealing the housing seams is a sensible precaution before you leave it through a storm season.
What You Need
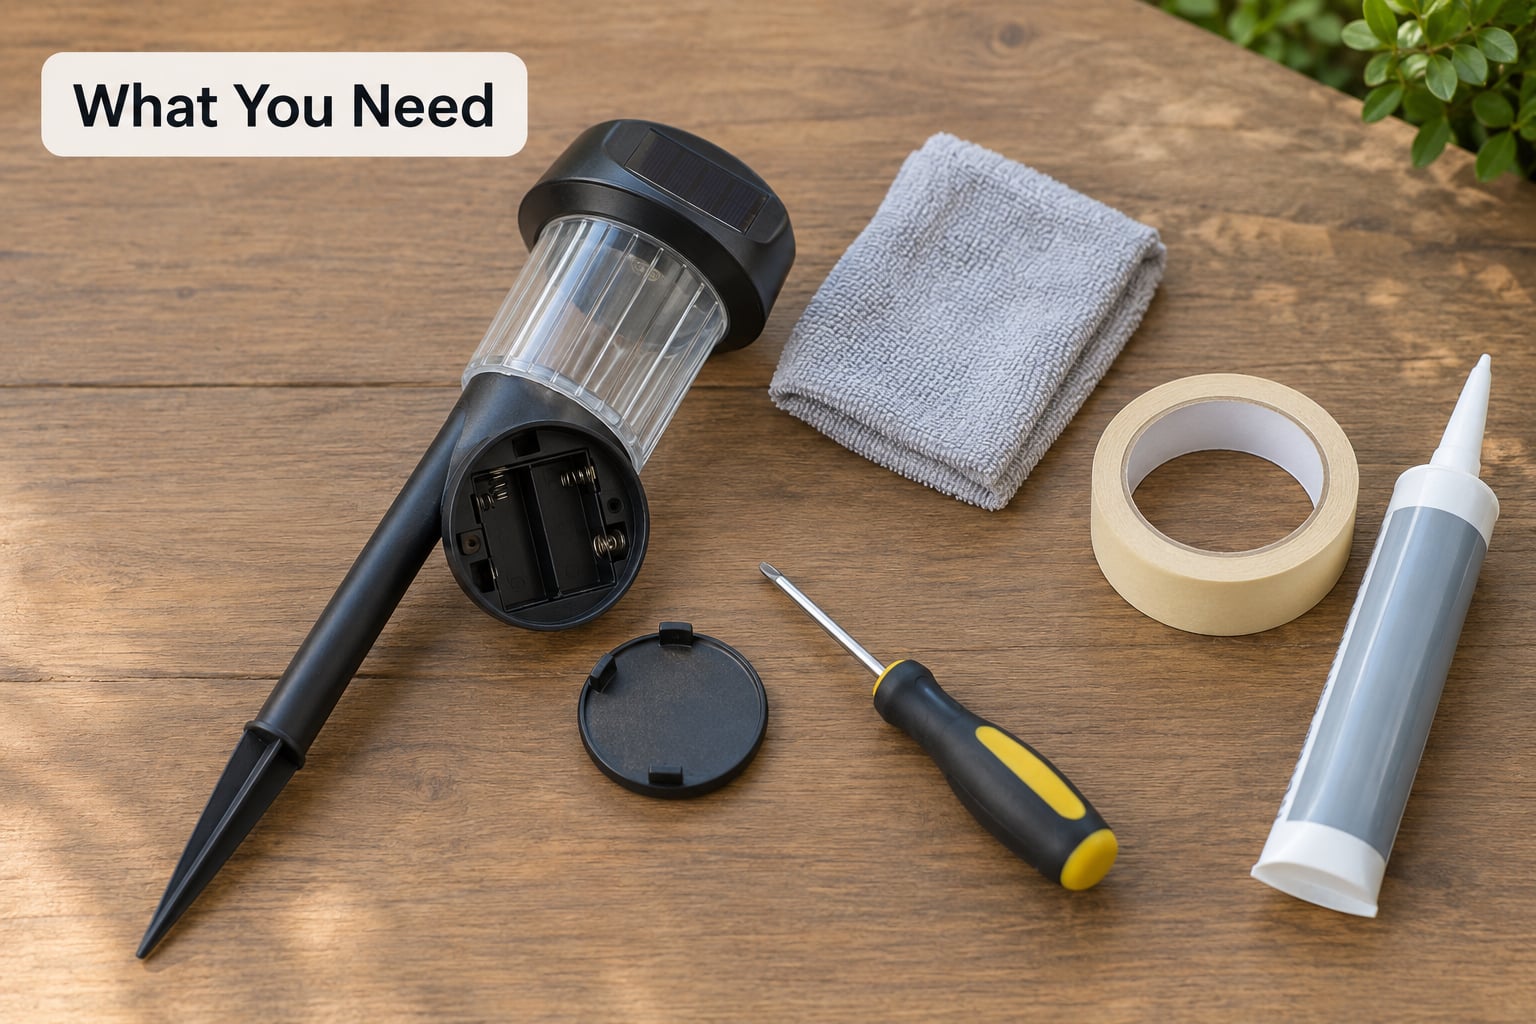
Two things decide what you can safely use: whether the housing opens without damage, and whether the manufacturer approves a sealant. A screw-fit case lets you reach the battery, the switch and the wire entry. A glued or snap-fit housing can usually only be resealed from the outside, which is fine for a panel seam but not much else.
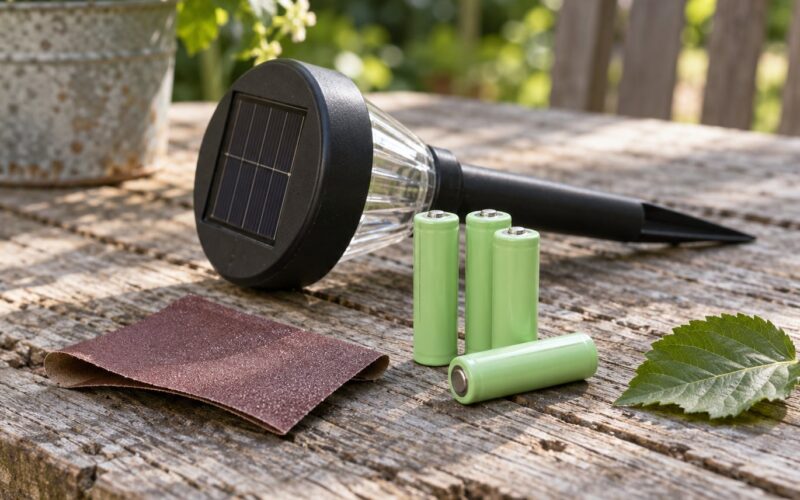
Most jobs need less than you would expect:
- A small flat-head or Phillips screwdriver that fits the case screws
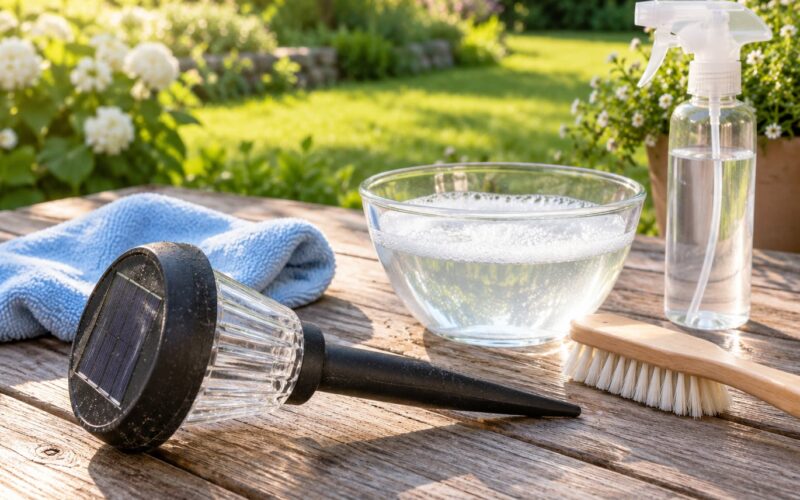
- A soft dry cloth, cotton swabs and a soft brush for dirt in the seams
- Isopropyl alcohol or mild soapy water and clean water for rinsing
- A hair dryer on cool, or a few hours of airflow, to dry parts fully
- Outdoor-rated clear silicone sealant labelled for plastic and metal
- Self-adhesive closed-cell foam weather strip for replacing a squashed gasket
- Heat-shrink tubing and a lighter or heat gun for wire joints inside the base
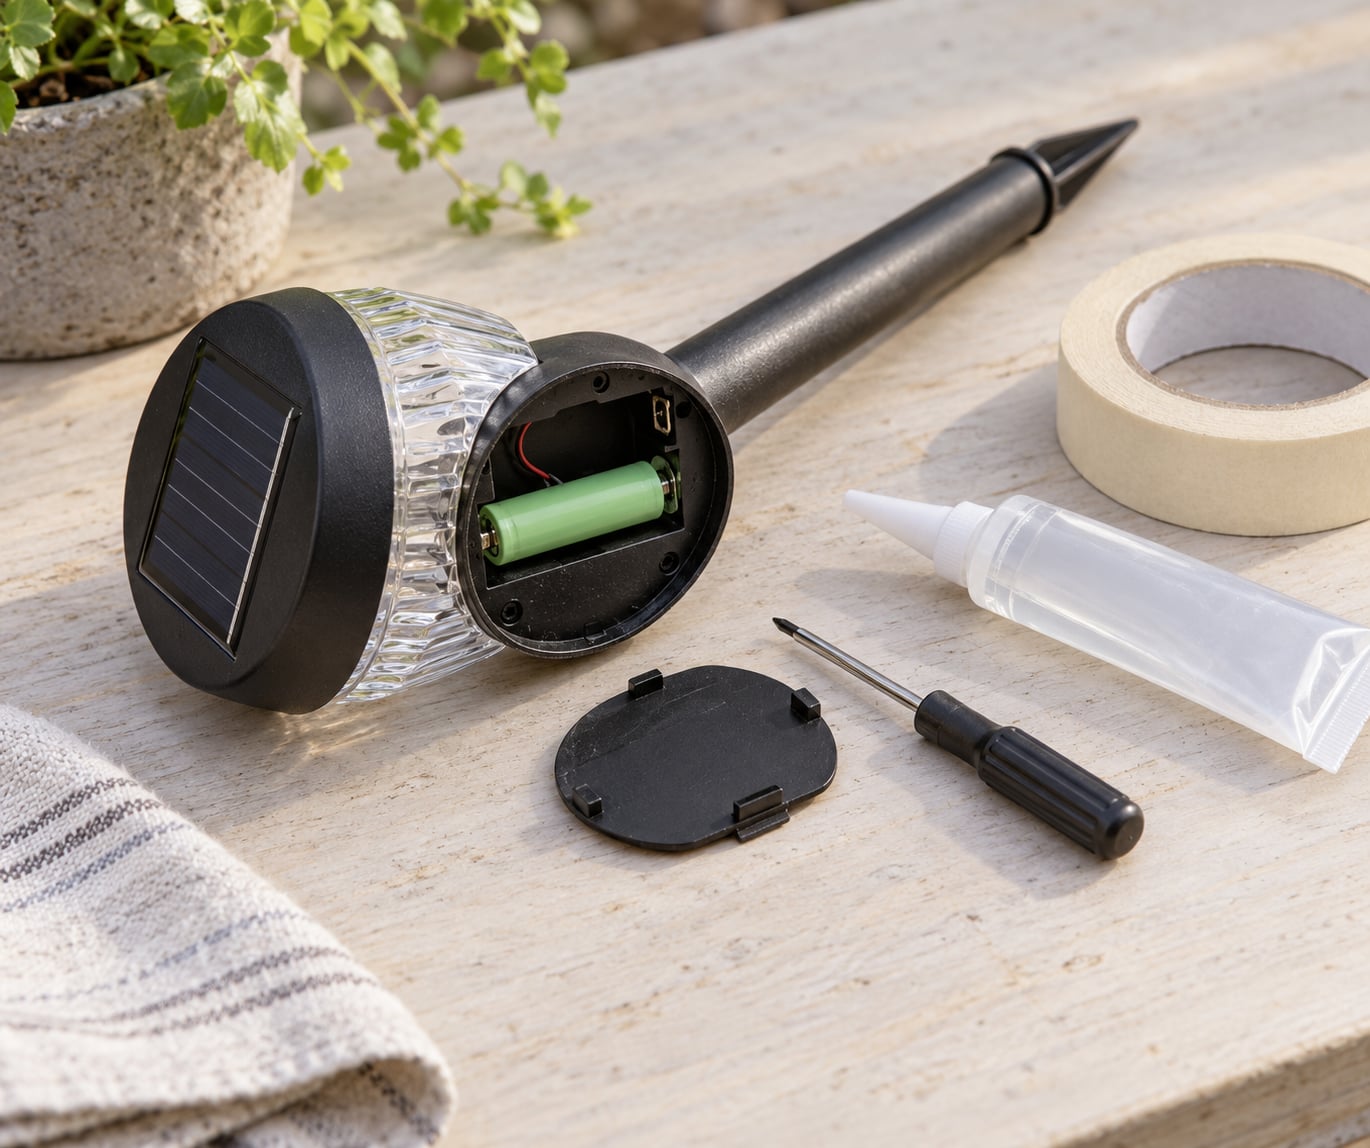
- Masking tape and a thin plastic scrap card to protect the panel
- Disposable gloves and eye protection, plus a towel to catch drips
Masking tape is the item people skip and then regret. A strip of tape over the panel and photocell costs nothing and saves you from hazing glass that cannot be undone.
How to Seal Solar Lights Against Water: Step-by-Step
Check the Manufacturer’s Waterproofing Instructions
Start with the manual or the listing page, not the word “waterproof” on the box. What matters is the IP rating and whether the warranty says anything about re-sealing the housing. If a model is rated IP65 and the case is intact, sealing is optional maintenance. If it is unrated, sealing the seams is the whole point.
The rating is a two-digit code. The first digit covers solid particles such as dust and leaves, the second covers water. Higher is better, and the numbers are not interchangeable: IP44 protects against splashing from any direction but not a hose, while IP65 is dust-tight and survives low-pressure jets. IP67 adds short-duration immersion, which still does not make a garden fixture fishpond-safe.
| Rating | What it protects against | Where it works | Do you need to seal it? |
|---|---|---|---|
| IP44 | Splashing water from any direction | Path lights along a walkway, dry beds | Optional, helps in damp spots |
| IP54 | Splashing water plus limited dust ingress | Driveway markers, deck steps | Worth doing if it sits in mulch |
| IP65 | Dust-tight, low-pressure water jets | Under a sprinkler, open lawn | Only when the case is already opened |
| IP67 | Dust-tight plus temporary immersion | Pond edges and fountain surrounds | Not for permanent submersion |
If the manufacturer names an approved sealant, use that. Silicone meant for bathrooms or aquariums is fine on most plastics; construction adhesive, solvent-based glue and general epoxy are not, and they can haze a lens or make a housing brittle.
Inspect the Light Before Adding Sealant
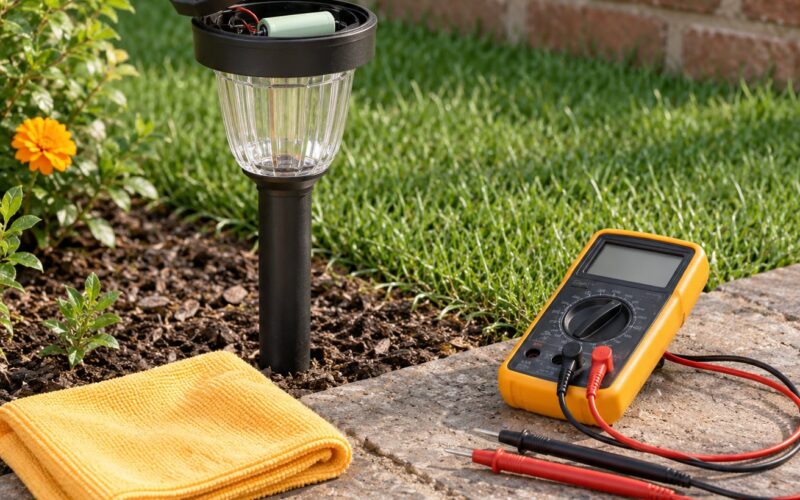
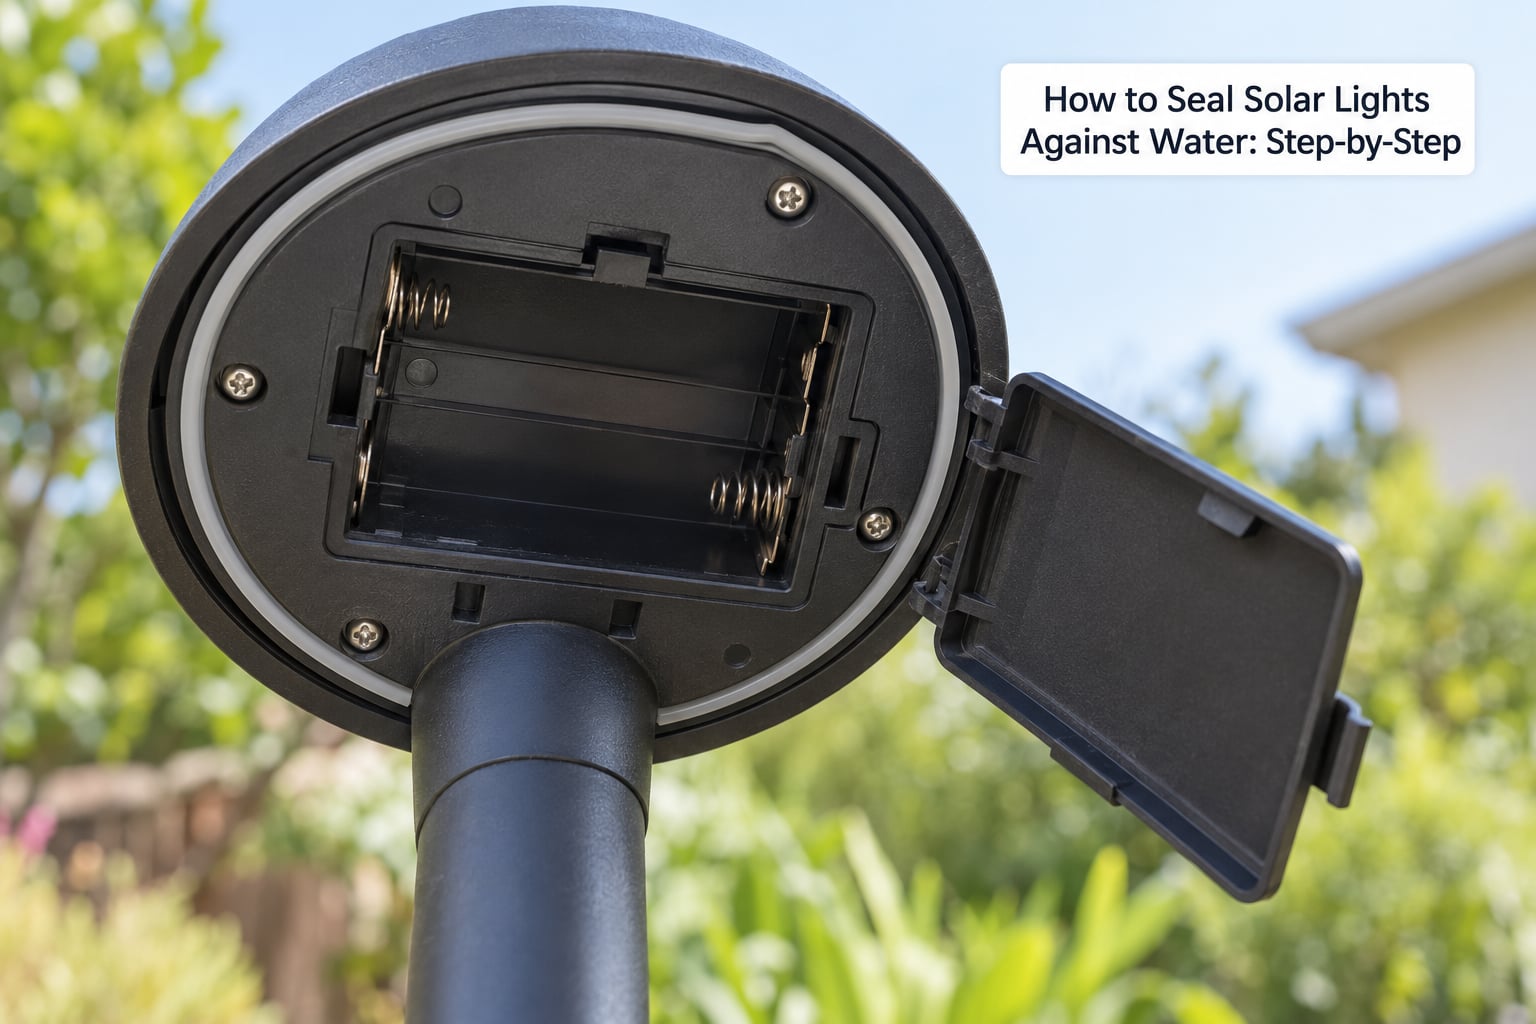
Open the battery hatch and look before you seal anything. Run a light that worked fine in dry weather to rule out the simpler causes, since a dirty panel or a dead rechargeable battery looks a lot like water damage at night.
Look for these signs, in the order water usually causes them:
- Standing water, damp foam or a white salt ring inside the case
- Green or white crust on the battery terminals or around the driver chip
- A battery that is swollen, dented or leaking
- A squashed, torn or missing gasket, or a cover that no longer clips on
- Hairline cracks radiating from a screw boss or the stake sleeve
- A wire entering the base with no grommet, or a cable that moves freely
Corrosion on the board itself means the fixture has already taken on water and sealing alone will not bring it back.
Remove, Clean, and Dry Every Sealing Surface
Switch the light off, then remove the battery if the manual allows it. Leaving a battery in while you work risks a short when you set tools down.
Open the case without forcing it. If a clip resists, stop and work the seam gently with a plastic scrap card rather than a metal blade, because a gouged channel will never seal again. Brush out dirt and old sealant, wipe the seams with alcohol, and rinse any corrosion with clean water.
Drying is the step that decides whether the job works. Water under a bead of silicone becomes a bubble that pops later, and the light fails anyway. Give every joint and every gasket channel at least a few hours of airflow, or a cool hair dryer, and do not reassemble a part that still feels cool and damp to the touch.
Apply the Right Sealant Without Blocking the Light
Mask the solar panel, the photocell, the on/off switch and any ventilation slot with tape before you squeeze anything. A light that charges one hour less every evening because of a seal bead is not waterproof, it is just dim.
| Material | Best surface | Safe near the panel? | Cure before rain | Weather resistance |
|---|---|---|---|---|
| Clear silicone sealant | Housing seams, battery hatch rim | Yes, if kept off the glass and cells | 24 hours, longer in cool damp air | Good, holds up to UV for years |
| Marine spar varnish | Metal posts, stakes and housings | Yes, thin coats only | 24 to 48 hours between coats | Very good, built for sun and salt air |
| Heat-shrink tubing | Wire joints and cable entries | Yes | Immediate once shrunk | Good, but seals a single joint only |
| Closed-cell foam strip | Replacing a worn battery hatch gasket | Yes | None | Good, compresses and recovers |
| Conformal coating | Circuit board and battery contacts | Yes | Several hours | Very good on electronics, poor on structural cracks |
| Two-part epoxy | Cracked housing corners | Only away from the panel | 24 hours full strength | Good, rigid and brittle in cold weather |
Run one continuous bead along the designed joint rather than several dabs, and use less than you think. Push the foam strip into the channel so it sits below the surface, then let it be. On wire entries, slip a small rubber grommet over the cable before the shrink tube.
On a circuit board, a thin conformal coating over the contacts is cheaper than replacing the board, and a thin film of dielectric grease on battery terminals buys another season.
Reassemble and Test the Light Outdoors
Refit the gasket so it sits evenly, tighten the case screws just enough to draw the halves together, and wipe away any sealant that squeezed out onto a surface it should not be on. Reinstall the battery and turn the switch on. Test the light sensor by covering the photocell with your hand, and the motion sensor by walking past it.
Wait out the full cure time before the light sees rain. Silicone that feels dry to the touch is usually still off-gassing and holding water for a day.
Then test it the way water will actually arrive. Stand the light in a shallow dish and pour a slow stream over the seams, then watch the interior for a dark mark. A spray bottle mist test works too, and a diluted dish-soap solution shows leaks as slow bubbles forming at the seam. Let it sit through one full watering cycle and check again in the morning.
While you are out there, give the panel a wipe with a damp cloth. Dirt on the cells is the most common reason a solar light stops charging, and it looks a lot like a dead fixture.
Common Mistakes
- Sealing wet parts. Water trapped under the bead guarantees a leak. Dry for a full day, longer in humid weather.
- Using household silicone or super glue. General adhesives outgas, craze in UV and turn plastic housings brittle. Use a sealant labelled for outdoor plastic and metal.
- Coating the panel or the photocell. Any film over the cells cuts charging output, and haze on the lens is permanent. Mask them first.
- Covering the switch or a ventilation slot. The switch is the entry point itself, so seal around it, never over it. Blocking vents traps condensation inside the case.
- Using too much sealant. Excess squeeze-through is cosmetic at best and can wick water along the seam at worst. One steady bead is enough.
- Ignoring a damaged gasket. Sealant cannot replace a squashed O-ring. Fit new foam strip or a correct replacement gasket first.
- Sealing a light with corroded internals. Green residue, a swollen battery or a crusty chip means the board is already gone. Clean it and reseal, or retire the fixture.
How to Know Whether the Repair Worked
Check for these five things after a week of weather:
- The interior stays dry, with no water mark or tide line above the previous level
- The gasket sits flat and compresses evenly with no gap at the hatch rim
- The light sensor and motion sensor still switch on as before
- No new condensation forms on the inside of the lens overnight
- No fresh corrosion, flickering, or a shorter run time than the previous season
Two useful habits keep a sealed light that way. Wipe the panel every few months so the cells keep charging, and leave snow off it in winter, because melting snow works its way into damaged seals. Store lights indoors during hard freezes with the batteries removed, and do not use a torch or strong solvent to clean the lens. Users on r/DIY restore clouded panels with mineral spirits and polishing compound on a clean rag instead of harsher solvents.
When Replacing the Light Is the Better Option
Sealing is worth the effort when the housing is intact, the panel still charges, and the only fault is water getting through a seam. It is not worth the effort when the damage is structural.
Stop and replace the fixture if the housing has a crack that reaches the battery cavity, the battery is swollen or has leaked, corrosion has eaten through the board, the panel is cracked or no longer charges, or the correct gasket and screws are no longer available. Repairing a light with an IP67 rating also puts you outside what the manufacturer tested, and a warranty may not cover a resealed case.
If you do replace it, match the rating to the spot rather than to the price. For a low-lying bed where water collects for days, choose IP65 or higher and set the stake so the case sits above the soil line. Under a sprinkler, no rating below IP65 is realistic. Along a coastal yard with salt air, stainless steel parts and a sealed lens matter more than any sealant you can buy.
Handle batteries with care, and never seal a case with a battery installed while the light is switched on. If a light sits in deep shade, a replacement will not fix it either. Run time there comes down to charge time, and the fix is a brighter panel or a different location.
Frequently Asked Questions
Can I use silicone to seal a solar garden light?
Yes, as long as it is a clear, outdoor-rated silicone labelled for plastic and metal, applied in a thin continuous bead along the housing seam or battery hatch rim. Keep it off the solar panel, the photocell and the on/off switch. Mask those surfaces first, and give it a full 24 hours of cure time before the light goes back out in the rain.
Is it safe to put a solar light in the rain after resealing it?
It is, once the sealant has fully cured. Silicone that feels dry to the touch is still releasing solvents, and rain in that window can weaken the bond or leave bubbles in the bead. Give outdoor silicone 24 hours, epoxy the same, and heat-shrink tubing no time at all. After curing, check the interior the next morning for a fresh water line.
What type of waterproof sealant works best for solar lights?
Clear outdoor silicone is the best all-round choice for housing seams and battery hatch rims. Marine spar varnish suits metal posts and stakes, heat-shrink tubing handles wire entries, and a thin conformal coating protects the circuit board and battery contacts. Avoid household super glue, construction adhesive and solvent-based sealants, which craze under UV and can haze the lens.
Why does my solar light flicker after it gets wet?
Flickering after rain usually means moisture reached the board or the battery contacts. Corrosion bridges the contacts and the charge cycles erratically, and a swollen or water-damaged battery behaves the same way. Remove the battery, rinse the case with clean water, neutralise crusty contacts on the terminals with a light vinegar soak followed by a rinse, then dry for 24 to 48 hours before resealing.
Should I remove the battery before sealing a solar light?
Remove it whenever the manual allows. An installed battery can short when you set a screwdriver down on the open case, and it keeps weight and moisture against the contacts while you work. Note which way it sits, take a photo before you disconnect anything, and reinstall it after the sealant has cured and the case is closed.
Conclusion
The safest first step is to confirm what your model actually claims. Read the IP rating and the warranty language, open the case and look at what you find inside, then decide whether you have a sealing job or a replacement job.
If it is a sealing job, work on clean, bone-dry surfaces, mask the panel and photocell, run one steady bead of outdoor-rated sealant on the designed joint, and wait the full cure time before the light sees rain. If the internals are already corroded, the battery is swollen, or the case is cracked through, replacing the fixture is the cheaper and more honest fix.