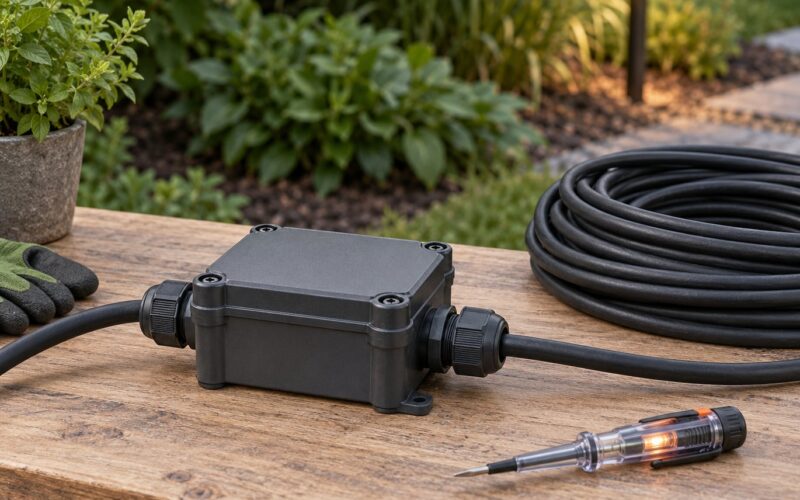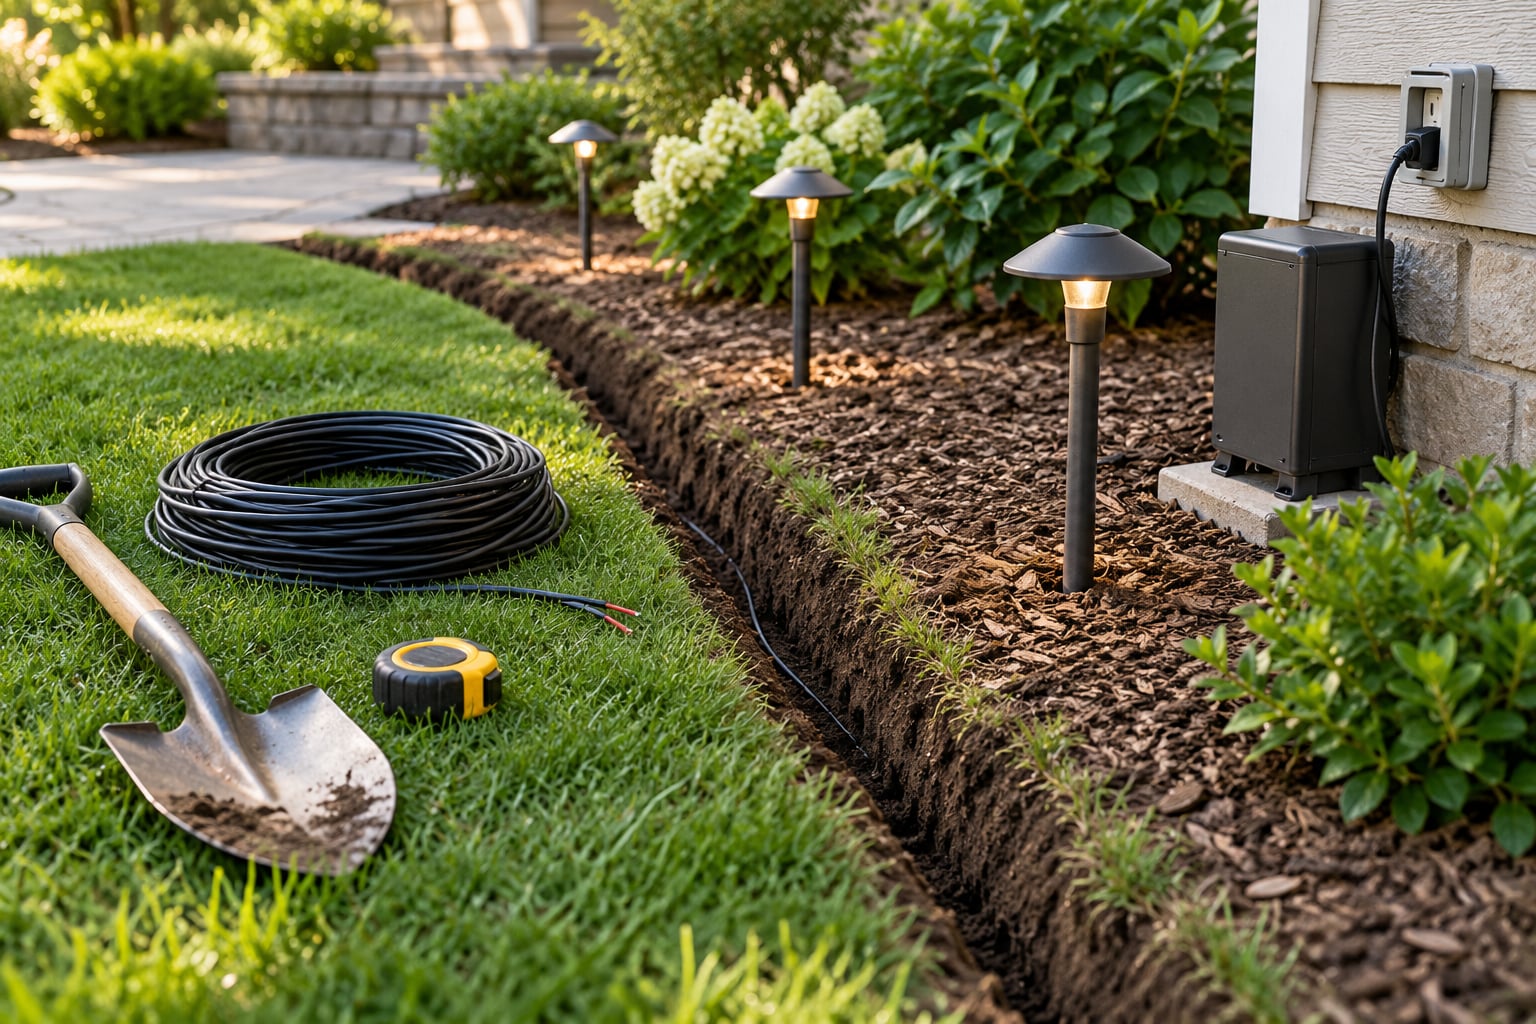
Running low voltage lighting wire is a one-weekend job once you get the order right: plan the route, size the transformer, dig a shallow trench, lay direct-burial cable, and daisy-chain the fixtures with waterproof connectors. The digging is the easy part. Almost every bad install comes down to a decision made before the first shovel went in — a wire that was too thin for the run, a transformer with no headroom, a splice buried in wet soil.
This guide covers how to run low voltage lighting wire through a typical yard, from picking cable to the final backfill. It includes the depth to bury it, how far you can go on each gauge, and how to make connections that survive a wet winter.
A low voltage system steps household power down to 12 volts at a transformer plugged into a GFCI-protected outlet. Because the voltage is safe to touch, you can work on it with the transformer unplugged, but the primary side is still mains electricity. Follow the transformer manual, and check your local rules on permits and where the cable may be buried.
Table of Contents
- What You Need
- How to Plan the Cable Route
- Step-by-Step: How to Run Low Voltage Lighting Wire
- Step 1: Lay out and mark your fixtures
- Step 2: Add up the wattage and size the transformer
- Step 3: Pick the gauge before you buy cable
- Step 4: Dig a shallow trench and lay the cable
- Step 5: Make the connections and keep them dry
- Step 6: Connect the transformer and plug it into a GFCI outlet
- Step 7: Install and aim the fixtures
- Step 8: Test the whole run before you backfill
- Choose the Right Cable and Transformer
- Make Weather-Resistant Connections
- Test the System and Finish the Route
- Common Mistakes
- Frequently Asked Questions
- Can you run low voltage wire without conduit?
- Does low voltage wire have a positive and negative?
- How deep should I bury low voltage lighting wire?
- How far can I run 14-2 low voltage wire?
- What wire should I use for low voltage under cabinet lighting?
- Do I need a permit to install low voltage outdoor lighting?
- Conclusion
What You Need
Low voltage outdoor lighting needs fewer parts than people expect, but every part has to be rated for the job. Buying indoor-rated wire or a garden ornament transformer is the fastest way to a system that fails in a year.
- Plan and permit check — your layout sketch, a call to 811 (in the US) or your local utility locate service before any digging, and confirmation that your municipality does not require a permit for a 12V system.
- Outdoor transformer — listed for wet locations if it sits outside, with a built-in GFCI or timer/photocell, and enough wattage for your fixtures plus 20-25% headroom.
- Direct-burial two-conductor cable — 14/2 or 16/2 AWG for short runs, heavier gauge for long ones. Look for a direct-burial or UF rating printed on the jacket.
- Outdoor-rated fixtures — path lights, spotlights or step lights with a wet-location rating such as IP65, plus low-voltage LED lamps that match the transformer output.
- Waterproof low voltage connectors — the gel-filled or heat-shrink type rated for the connector size you use. These are not the twist-on wirenuts from a household box.
- Stakes or mounting hardware — outdoor landscape spikes, wire clips, and a cable guard or staple system for surface runs.
- Tools — spade or trenching shovel, wheelbarrow or tarp, tape measure, marker paint, wire strippers, cable cutter, utility knife, multimeter, and a work light.
If the transformer will sit in a basement or utility room instead, add an outdoor-rated low voltage cable run out to the yard through a wireable exterior box, and keep the splices above ground.
How to Plan the Cable Route
Plan the whole route on paper before you measure cable. Walk the yard, decide where each light goes, and connect the dots into one continuous loop starting and ending near the transformer. A single loop with fixtures daisy-chained along it is far easier to test and extend than several separate home runs.
Then look at what the route crosses. Direct-burial cable handles ordinary soil, but it is not the right choice everywhere. Keep it well away from tree roots, drip irrigation lines, gas lines, and any existing low voltage cabling such as an irrigation controller feed or camera run. Avoid the path of your lawn mower if you can route around it.
Call for utility locating before you dig, every time, even for a six-inch trench. Paint the route on the ground with marking paint once the locate marks are on the ground too, and photograph it. When a line shows up that is not yours, that is the moment to reroute rather than guess.
Measure the full route and add 10-15% for slack at each fixture. Extra length costs a few dollars; a too-short run means another trench and another day.
Step-by-Step: How to Run Low Voltage Lighting Wire
Work through these in order. Each step assumes the previous one is complete and tested.
Step 1: Lay out and mark your fixtures
Set the fixtures in place and mark each stake location with paint or a small flag. Walk the route in daylight and at night if you can, so you see the shadows trees will cast once the lights come on. Adjust spacing before anything is buried — moving a light later means reopening a trench.
Step 2: Add up the wattage and size the transformer
Read the wattage stamped on each fixture or lamp and add them all up. Multiply by 1.2 to 1.25 for headroom, then buy the next transformer size up from that number. Headroom matters more than it sounds: a transformer at full capacity runs hot and shortens the life of the electronics inside it, and it leaves you no room to add a light next season.
Step 3: Pick the gauge before you buy cable
Match the cable to the longest run from the transformer to the last fixture, not to the total length of the loop. Thin wire over a long distance is the number one reason distant fixtures look dim and LEDs flicker. Check the gauge guide in the next section and buy one size heavier if you are unsure.
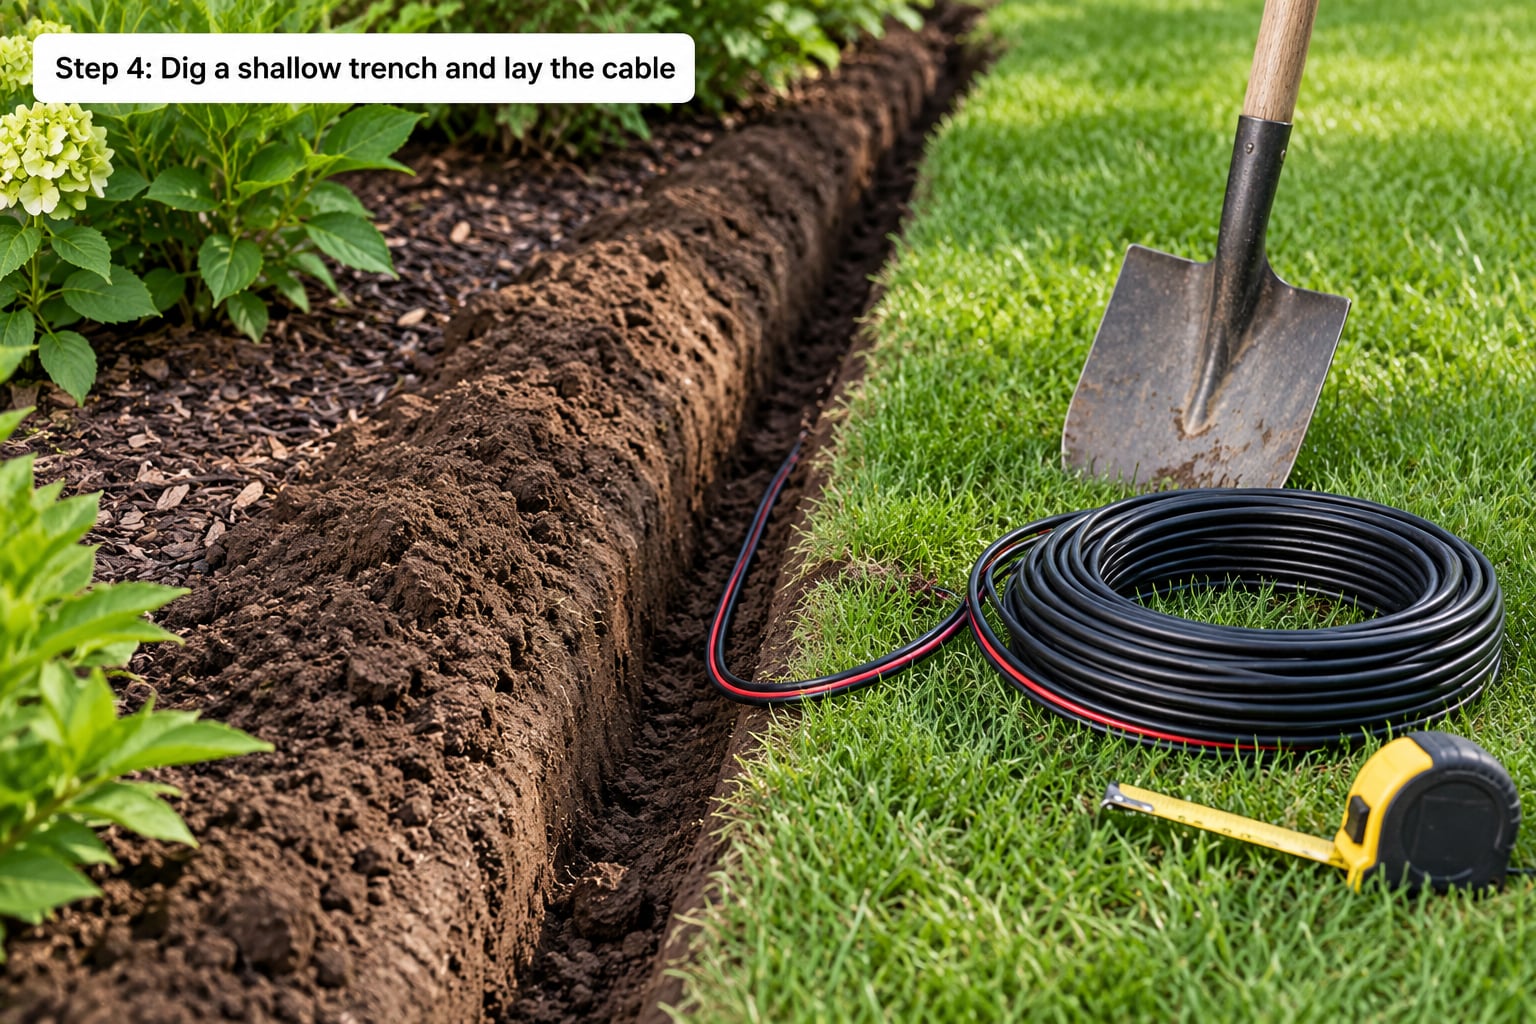
Step 4: Dig a shallow trench and lay the cable
Dig 6 inches deep in normal soil, deeper where the cable crosses a driveway, sidewalk, or an area you mow. Wide and shallow beats narrow and deep — you will have to dig it up someday, and a shallow trench is easier to open. Lay the cable in the trench with a slight twist in it and leave a loop of slack at every fixture location rather than running a taut line from point to point.
Where the route must cross a walkway or driveway, do not dig a trench across it. Slide a length of PVC pipe or heavy-duty sleeve into the hole, run the cable through it, and seal both ends. A sleeve also means you can pull a bigger cable through later without re-digging.
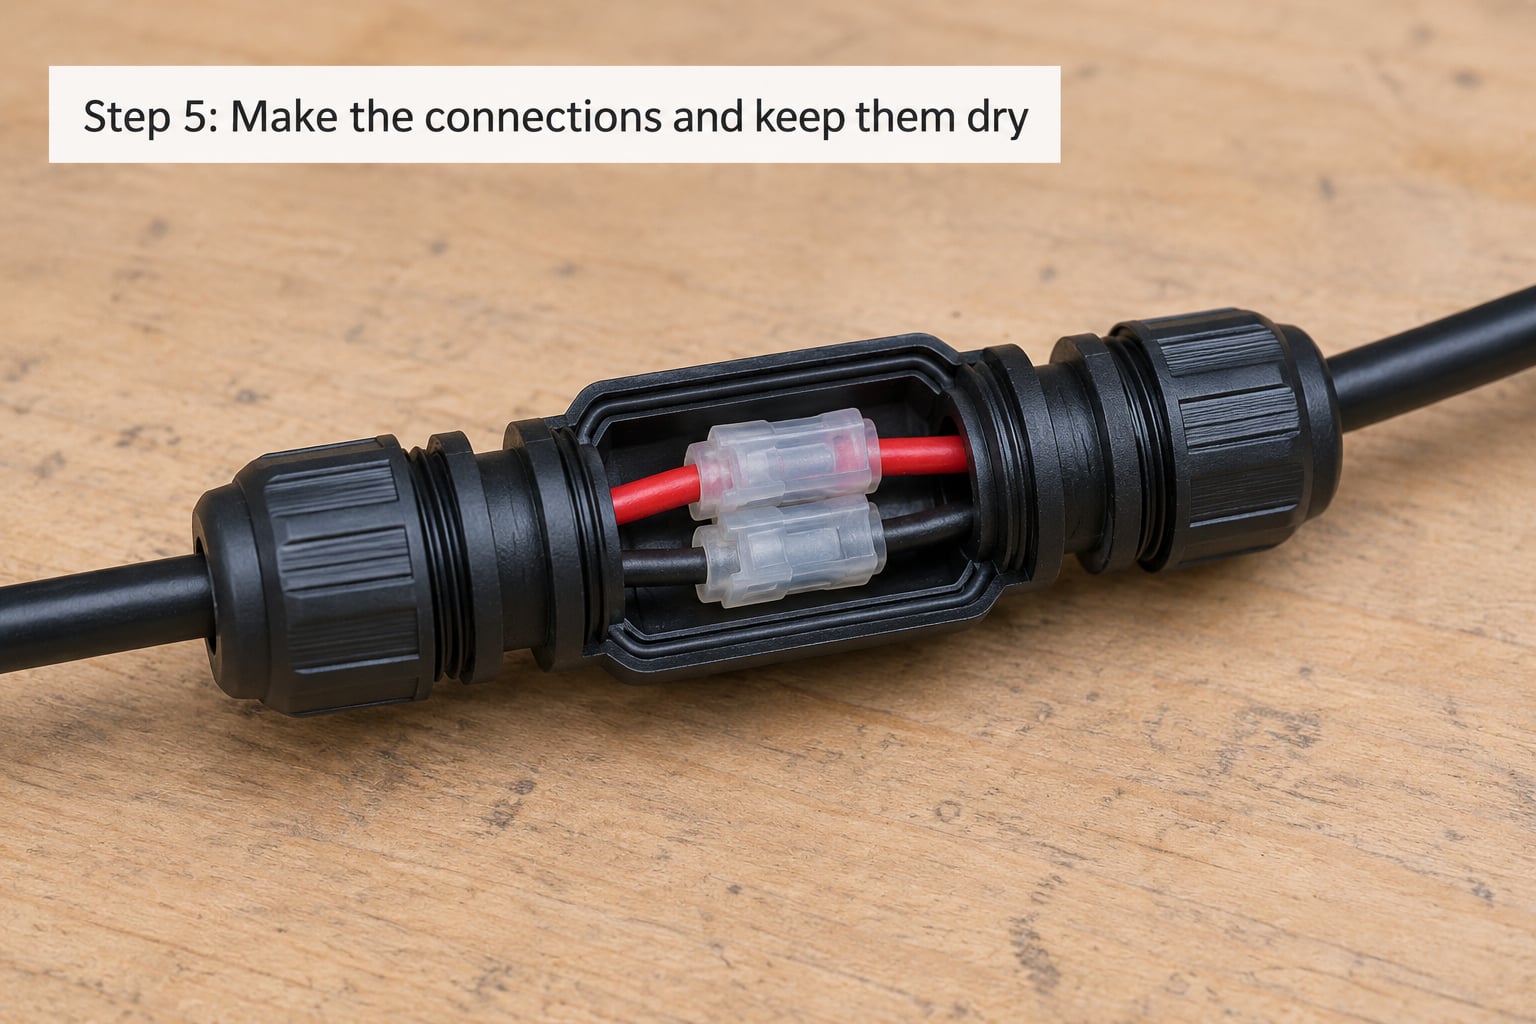
Step 5: Make the connections and keep them dry
Strip only enough insulation from each conductor to reach the connector. Leaving bare copper sticking out of a fitting is the single most common cause of a dead or flickering run, because the exposed copper corrodes and the resistance heats the joint. Push each connector fully on, seat the gel or heat shrink, and keep the joint on the fixture side of the stake where it stays above the wet line.
Step 6: Connect the transformer and plug it into a GFCI outlet
Run the two conductors from the transformer into the low voltage port, seat the connector, and mount the transformer where it cannot be hit by a mower or buried in soil. If it lives outside, it needs a weatherproof location and a covered outlet. If it lives inside, use an exterior-rated box and keep every splice above the finished grade.
Step 7: Install and aim the fixtures
Push each stake into the soil, attach the cable with the clip or heat-shrink connection the fixture uses, and aim the light while the system is still open. Turning on the power at this stage lets you set beam angles before backfilling.
Step 8: Test the whole run before you backfill
With the transformer still unplugged, check the cable end to end for continuity and confirm there is no short between the two conductors. Then plug the transformer in and switch it on. Walk the run, confirm every fixture lights, and check brightness from the last fixture back to the transformer. Fix problems now while the trench is still open.
Choose the Right Cable and Transformer
Cable gauge, run length, and load together decide whether your lights are bright and steady or dim and flickering. In AWG terms, a lower number is a thicker conductor, and the “2” means two conductors — so 14/2 is 14-gauge two-conductor cable.
- 16/2 AWG — runs up to about 50 ft, load around 60 W. Short hops near the transformer, light LED loads only.
- 14/2 AWG — runs of 50-100 ft, load around 120 W. Most yard runs and garden beds.
- 12/2 AWG — runs of 100-200 ft, load around 200 W. Long runs, heavy fixtures, future expansion.
- 10/2 AWG — 200 ft and beyond, 300 W and up. Large properties and the farthest fixtures.
Voltage drop is the reason those numbers are conservative. Resistive loss in the cable eats into your 12 volts, and the farther a fixture sits from the transformer, the less it receives. A run of thin cable can lose several volts by 100 feet, which is why the far end of the line dims first. Keeping total load under about 80% of what the cable is rated for is a simple habit that prevents most of it.
Two details about the cable itself are worth knowing. Direct-burial or UF-rated cable has a jacket designed for contact with soil and moisture; standard indoor NM or Romex-style wire corrodes in the ground and should never be substituted. And if a roll is labelled copper-clad aluminum (CCA), expect early failure — it is lighter and cheaper than copper, but it corrodes faster and connections loosen. Pure copper is worth the difference for a run you intend to bury.
For the transformer, add up fixture wattage, add 20-25%, and round up to the next size. Match the output to your fixtures too: a transformer that puts out 12V AC works with most LED landscape lights, while fixtures with an internal driver expect a specific DC range and may flicker or shut off when the supply does not match.
Make Weather-Resistant Connections
Every connection in a low voltage system is a place water eventually gets in. Use only connectors made for low voltage lighting and matched to the conductor size — mixing connector brands or forcing a conductor into a connector rated for a smaller size causes exactly the corrosion you are trying to avoid.
On polarity: yes, low voltage lighting wire does have two conductors that people call positive and negative, and they are not interchangeable in every case. Most residential transformers output 12V AC, where reversing the two conductors makes no difference. DC output and fixtures with a polarity-marked connection do care, and reversed polarity on those can cause flicker or early failure. Match the labels when your system marks them, and leave the rest alone.
Three habits keep joints dry: no bare copper visible outside the connector, every joint above the wet line on the fixture side, and no splices buried in the trench. If a splice must sit in the ground, use a listed waterproof connector rated for direct burial and note the location so you can find it later.
Test the System and Finish the Route
Testing in stages saves rework. Check the cable for continuity and shorts with the transformer unplugged, then power up and confirm brightness at the transformer and at the last fixture before you touch the soil. If the far end is noticeably dim, the cable is undersized for that run and no amount of backfilling will fix it.
When everything is lit and aimed, backfill loosely. Avoid dropping rocks or frozen clods straight onto the cable, and compact the soil gently so you do not displace the run. Restore any edging or sod you lifted.
Keep the run visible in the places it matters. Where the cable runs across a mower path or a footpath, keep it in a sleeve or cover it with a cable guard rather than relying on depth alone. If you want to add lights next year, note where the main run sits and leave a little slack at the end of the loop.
Common Mistakes
- Undersized cable for the run. Fix: size on the longest single run from the transformer to the last fixture, and step up one gauge if you are unsure.
- Transformer with no headroom. Fix: total fixture wattage plus 20-25%, rounded up to the next size.
- Buried connections. Fix: keep every splice above the wet line, or use a listed direct-burial waterproof connector where it must stay.
- Exposed copper at a fitting. Fix: strip only as much insulation as the connector needs and seat it fully.
- Transformer in a damp location. Fix: an outdoor transformer needs a covered, weatherproof spot; an indoor one needs a dry room and a proper exterior box.
- Crossing roots, drip lines, or hardscape with an open trench. Fix: reroute where you can, and sleeve any unavoidable crossing under a walkway or driveway.
- Wrong connector for the conductor. Fix: use low voltage lighting connectors matched to the conductor gauge; never reuse household wirenuts outdoors.
- Forgetting 811 before digging. Fix: request utility locating every time, and wait for the marks before the first shovel.
If lights are dim at the far end, flickering, or one fixture is dead, start at the transformer and work outward — loose or corroded connectors cause most failures, and undersized cable causes most dimness.
Frequently Asked Questions
Can you run low voltage wire without conduit?
Yes, for most residential yard runs. Direct-burial rated two-conductor cable is designed to be buried in soil without conduit, and that covers ordinary garden beds and lawn edges. Use a sleeve or conduit when the cable crosses a driveway or sidewalk, runs through a mower path, sits near tree roots, or where your local code asks for it. Planning on expansion is another good reason to lay empty conduit now.
Does low voltage wire have a positive and negative?
It has two conductors, often labeled positive and negative, but for most residential systems it does not matter which way you connect them. A standard 12V AC transformer treats the two conductors as interchangeable. Polarity matters on DC output and on fixtures that mark a polarity connection, where a reversed pair can cause flicker or early LED failure. Match the labels whenever your equipment provides them.
How deep should I bury low voltage lighting wire?
Six inches is the usual minimum in ordinary soil. Go deeper where the cable crosses a driveway, a walkway, or anywhere a mower or foot traffic runs, and follow the burial depth printed on the cable jacket. Cover crossings with a sleeve or a cable guard rather than relying on depth alone. Always call for utility locating before you dig, regardless of depth.
How far can I run 14-2 low voltage wire?
For a typical 12V LED system, treat 14/2 AWG as good for runs of roughly 50 to 100 feet, and keep the total load around 120 watts or less. Going beyond that, step up to 12/2 for runs up to about 200 feet or heavier loads. If your transformer is putting out DC or your fixtures draw more current, use a heavier gauge than these figures suggest.
What wire should I use for low voltage under cabinet lighting?
Use two-conductor 16/2 or 14/2 rated for damp or wet locations inside cabinets, because kitchens and sinks get humid. Keep total load within the transformer’s rating, since under cabinet runs often chain a long stretch of LED strip. Mount the transformer where it can be reached, keep every splice accessible, and check that any installed wire carries a listing for the space.
Do I need a permit to install low voltage outdoor lighting?
In many places a 12V system does not require a permit, but rules vary by municipality and some require one regardless of voltage. Low voltage is not a code exemption for carelessness: the transformer still plugs into a required GFCI-protected outlet, and the cable rating and burial depth still apply. Check your local building department, and hire a licensed electrician for anything touching the 120V side.
Conclusion
Start with the route, not the cable. Walk the yard, mark every fixture, measure the longest single run from where the transformer will sit, and get your utility locate done before anything else.
Then add up your fixture wattage, add 20-25% for headroom, and pick a transformer that covers it. Choose cable rated for direct burial, size the gauge to the longest run, and keep pure copper rather than copper-clad aluminum. Install in small stages — lay and connect a section, test it, then move on — and backfill only once the whole line lights evenly.
Take your time on the connections. That is where low voltage lighting systems fail, and it is the one part of the job you will not want to redo.