Solar lights flicker because something in the chain that turns sunlight into light is starving or misfiring. Three causes account for most cases: a rechargeable battery that no longer holds a charge, a panel that is dirty or shaded so it never charges properly, or a nearby light that keeps flipping the dusk sensor on and off. Fix the cheap causes first, because most flickering solar path lights come right after a panel wipe and a full day of sun.
I have a set of stake lights along a driveway that started flashing every few minutes in early autumn. The panels were under a maple, which is exactly the situation this guide is about.
Table of Contents
- Why Do Solar Lights Flicker?
- What Does Flickering Usually Mean?
- What Causes Solar Lights to Flicker?
- 1. An inadequate battery charge
- 2. A failing or incorrect battery
- 3. Loose or corroded connections
- 4. Faulty dusk-to-dawn or motion sensors
- 5. Poor panel output
- 6. Water, moisture or seal damage
- 7. An incorrect switch or operating mode
- 8. Manufacturing or LED control problems
- Causes at a glance
- How to Diagnose the Flickering
- What to Do When Solar Lights Flicker
- When Is Solar Light Flickering a Safety Problem?
- How to Prevent Flickering in the Future
- Frequently Asked Questions
- Is it normal for a solar light to flicker when it turns on?
- Why do solar lights flicker after a few hours?
- Can rain or moisture make solar lights flicker?
- How long should a solar light charge in the sun before testing it?
- Will replacing the battery stop solar lights from flickering?
- Why does my solar light flicker even when the panel is clean?
- Conclusion
Why Do Solar Lights Flicker?
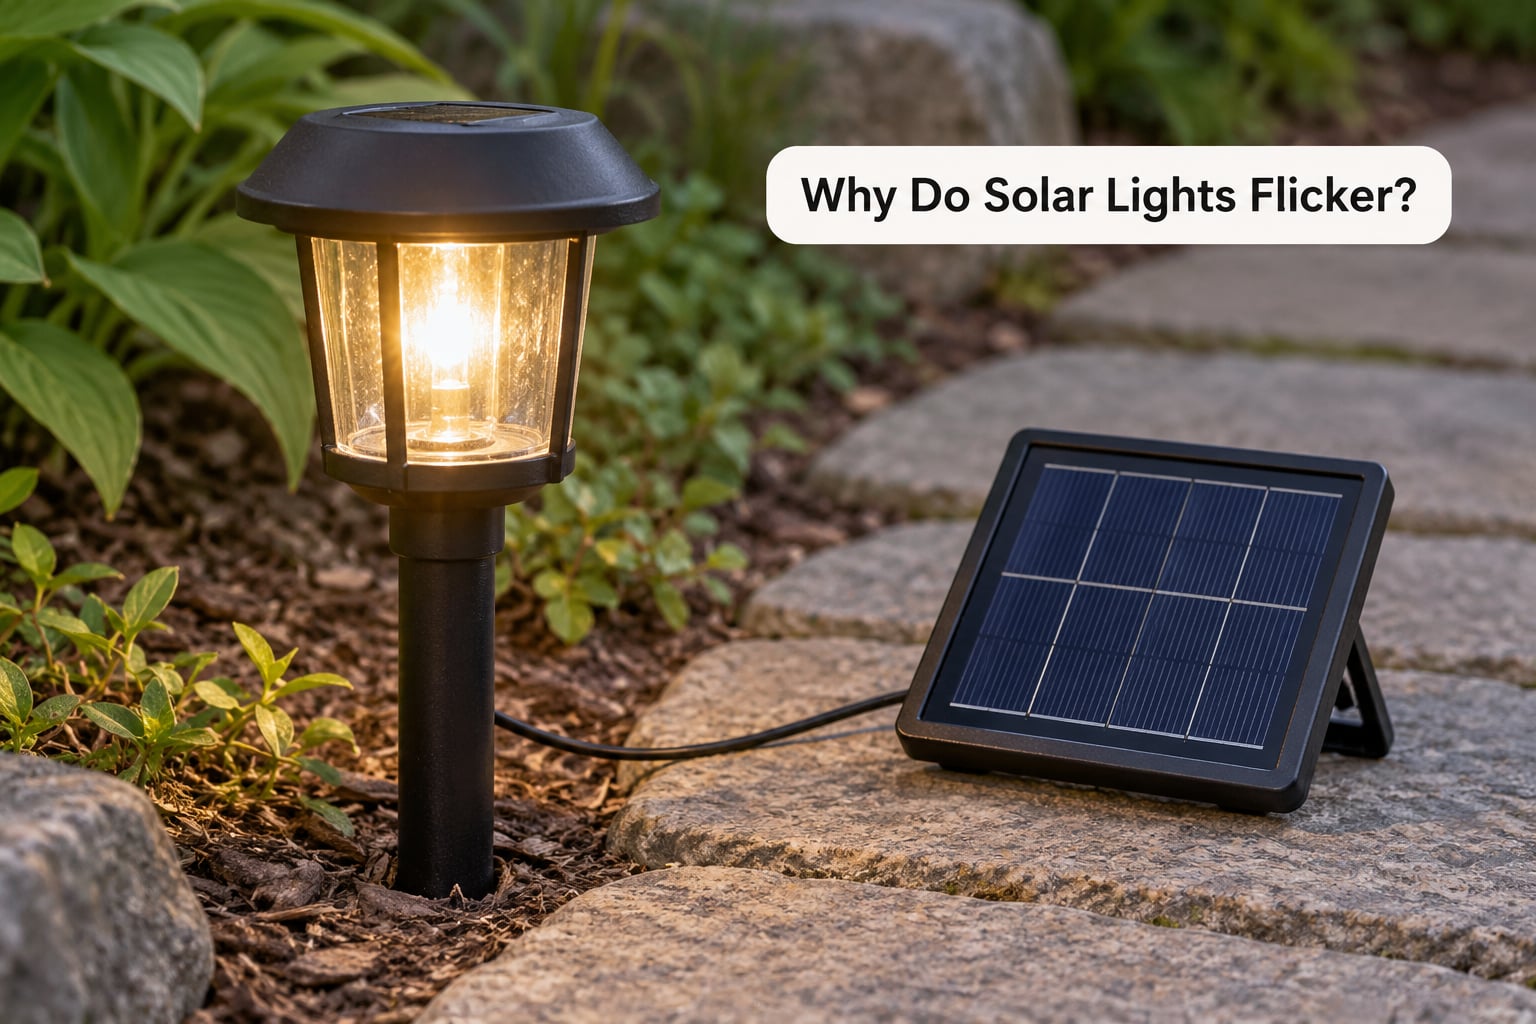
Understanding why do solar lights flicker starts with the four parts doing the work. The panel turns daylight into current, the current charges a small rechargeable battery, a photocell switches the circuit on when light drops, and an LED driver pushes that stored power to the LEDs. Every stage can interrupt the flow.
Flicker is what a partially starved LED circuit looks like from the outside. When the battery sags below the voltage the driver needs, the driver cuts out, comes back on, and cuts out again. Owners describe it as flashing, blinking, pulsing or dimming after a few hours, and all four words mean the same underlying instability.
No mains electricity is involved anywhere in the chain. That is what separates solar light flickering from the LED flicker people see on indoor or mains-fed fittings, where ripple current from the AC supply is the usual culprit.
What Does Flickering Usually Mean?
A short flicker right at dusk is normal. The photocell is deciding where night begins, and a light that sits under a porch lamp or a bright security camera can switch itself off again a minute later. A single brief flash while you walk past also just means the fixture is re-checking darkness.
Persistent flicker means something is genuinely failing. The pattern tells you which thing: dim and fading after an hour points to a weak battery, steady on-off cycling all night points to the sensor, and flicker that returns on every cloudy day points to the panel or the charge path.
If several lights that were installed on the same day started flickering together, skip straight to the shared-cause check below. Three identical fixtures failing together after a board fault is not three dead cells.
What Causes Solar Lights to Flicker?
Eight causes account for nearly every case. Each one shows up with a recognisable pattern, and the pattern is how you pick which fix to try.
1. An inadequate battery charge
The panel collected too little energy during the day. Short days, heavy shade, a panel tilted the wrong way, dirt, leaves or a light film of pollen all reduce charging, and the LED driver starts cutting out as the stored voltage falls.
Fix: wipe the panel with a damp cloth, move the fixture into direct sun, and leave it a full day with the switch on. If it still fades early, the battery is next.
2. A failing or incorrect battery
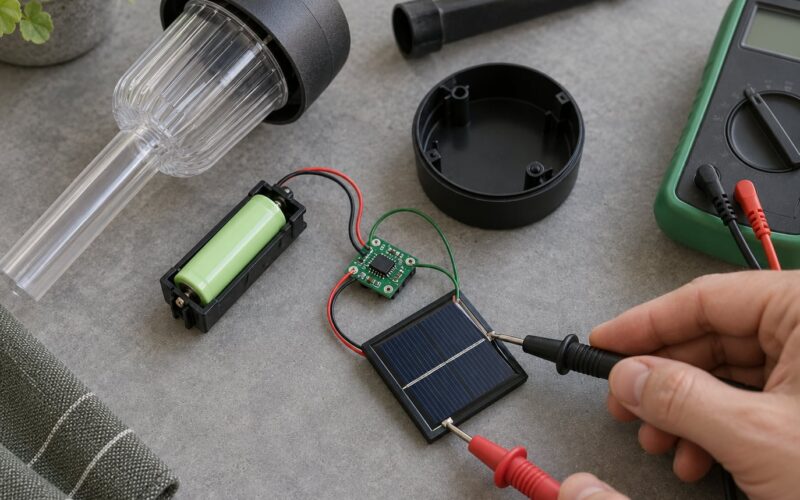
Rechargeable cells wear out. Most solar lights run on 1.2V NiMH or NiCd packs, and after roughly 300 to 500 charge cycles they hold far less charge than new ones. A cell with corrosion, swelling or internal damage behaves the same way, flickering more the longer the light has been running.
Fix: replace with cells matching the manufacturer’s specification, same chemistry and voltage. Alkaline batteries cannot be recharged, so they heat up, leak and can damage the holder. Sealed packs cannot be replaced, which is a reason to retire the whole fixture rather than keep patching it.
3. Loose or corroded connections
A battery contact that has relaxed, a spring clip that no longer grips, or a green-white crust on the terminals interrupts current in bursts. The light flickers and the pattern is erratic rather than rhythmic.
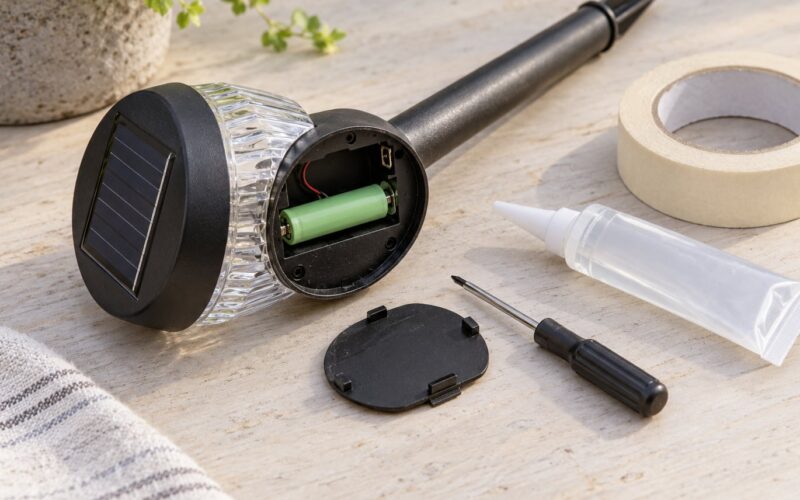
Fix: open the battery compartment, pull the contacts clean with a cloth and a little baking soda solution, then reseat the cells firmly. Leave sealed housings alone; if the fault is inside a sealed unit, replacement is the safer route.
4. Faulty dusk-to-dawn or motion sensors
A photocell covered in grime, insect residue or a spider’s web reads darkness incorrectly and keeps re-triggering. A motion detector with the wrong range or sensitivity can also flip the light on and off as animals pass. These are the main reasons a light cycles every few minutes for hours.
Fix: clean the sensor window with a dry cloth, then test it by covering the panel completely with your hand or an opaque cloth after dark. A healthy light stays lit while covered. If the light behaves differently every time you cover it, the sensor or its control board is failing.
5. Poor panel output
Dirt, leaves, snow, bird droppings, mineral deposits, shading from plants that have grown taller since installation, or a panel physically moved out of alignment all reduce current. Scratched or cracked panels do the same. A separated panel-to-controller plug is the version people miss.
Fix: clean gently, aim the panel toward open sky, and reseat any plug. Do not use metal tools or an abrasive sponge; a scratched panel loses output permanently.
6. Water, moisture or seal damage
Moisture that gets into a cracked seal or a poorly closed battery door causes corrosion and unstable readings, sometimes shorting part of the circuit. Flickering that appears after heavy rain or a long wet winter fits here. Check the housing in daylight for a misted lens, a rust-coloured trail, or a soft or swollen battery.
Fix: dry the unit thoroughly, remove corrosion, and use only outdoor-rated equipment in damp spots. Once a sealed housing has been water-damaged, replace the fixture.
7. An incorrect switch or operating mode
Many lights have a small on/off switch and a mode button. A switch that is not fully engaged, a mode stuck in test, or a mode setting that switches between steady and motion sensing produces what looks exactly like electrical flicker. Forum users regularly find the fix behind the panel on the first check.
Fix: move the switch firmly to on, then cycle the mode button through its documented settings until the light behaves as the manual describes.
8. Manufacturing or LED control problems
Inexpensive charge controllers, failing LED drivers, poor solder joints and internal damage from freezing or scorched summer heat all produce intermittent output. A cold night often makes it worse, because the battery’s internal resistance rises and pushes the driver’s input voltage down.
Fix: there is nothing to clean or re-seat here. Check the warranty, contact the manufacturer, and replace the unit.
Causes at a glance
| Cause | Symptom | Fix | Difficulty |
|---|---|---|---|
| Undercharged battery | Bright for an hour, then dim and flickering | Clean panel, full day of direct sun | Easy |
| Worn or wrong battery | Fades early every night, gets worse over weeks | Replace with matching rechargeable cells | Easy |
| Loose or corroded contacts | Erratic flicker at any brightness | Clean contacts, reseat cells | Easy |
| Dirty or confused sensor | Cycles on and off all night | Clean sensor, remove nearby light source | Easy |
| Panel not charging | Returns on cloudy days only | Clean, re-aim, clear shade | Easy |
| Water ingress | Flicker starts after rain or winter | Dry out, or replace sealed unit | Medium |
| Switch or mode setting | Changes behaviour when nudged | Set switch and mode as documented | Easy |
| Controller or driver fault | Flicker on a fully charged, clean fixture | Warranty or replacement | Replace |
How to Diagnose the Flickering
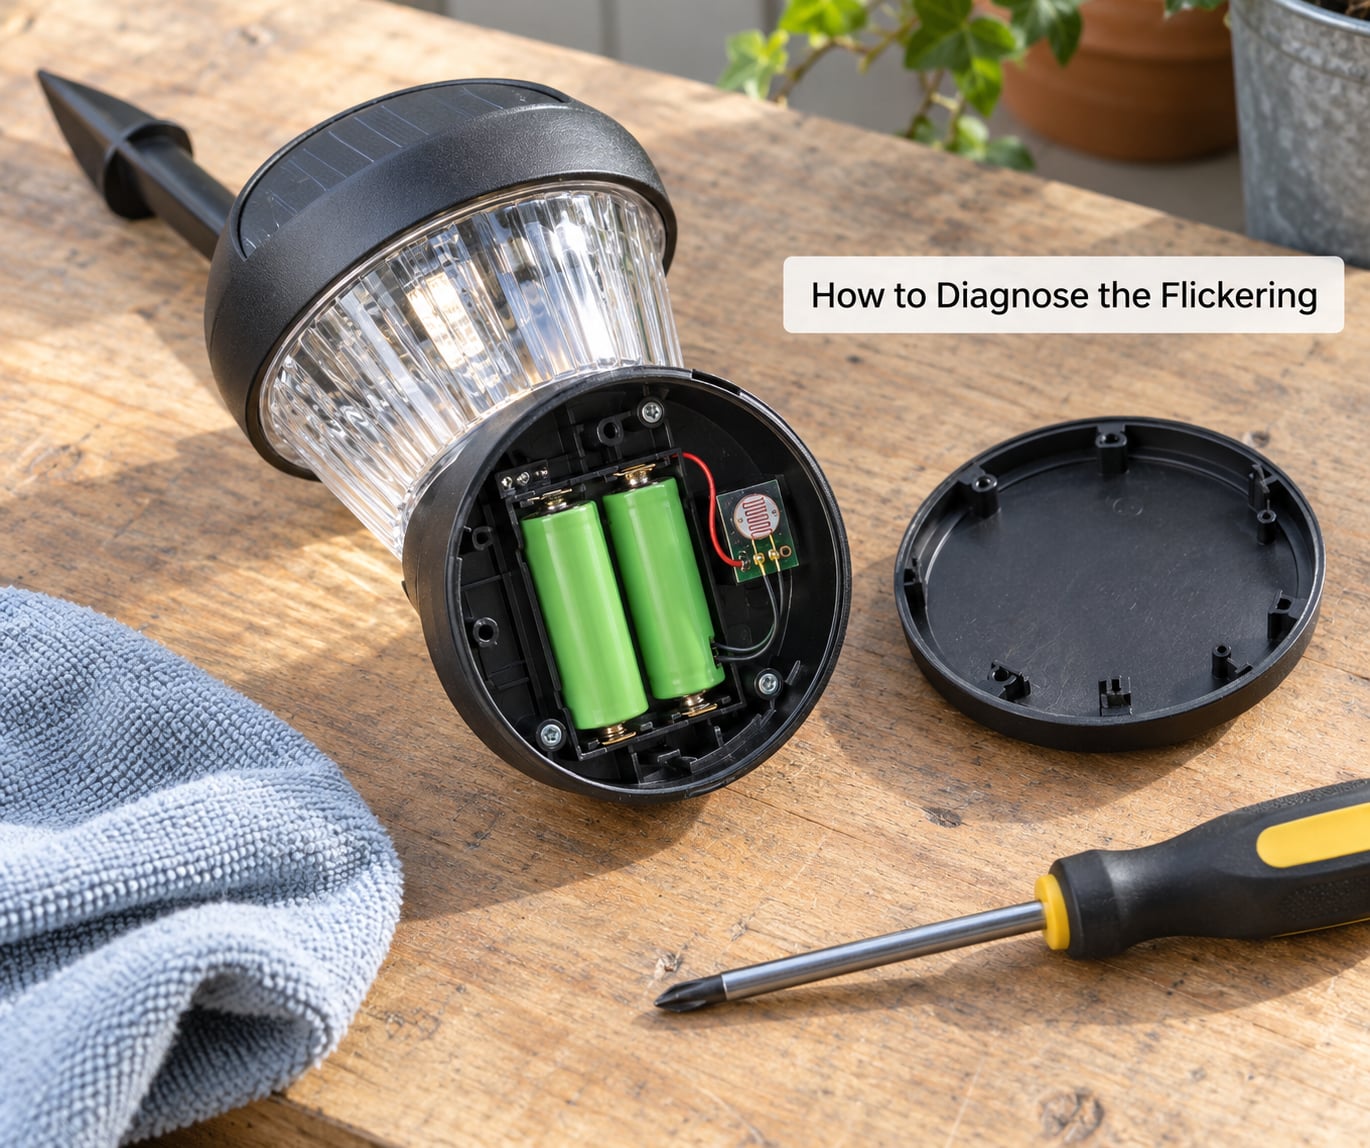
Work in this order, cheapest test first, and stop as soon as the flicker stops.
- Wipe the panel and the sensor window with a damp cloth and let the light sit in full sun for a whole day with the switch on.
- Check the switch and mode button, then test the photocell by covering the panel with an opaque cloth after dark.
- Open the battery compartment and look for corrosion, a swollen cell or contacts that wobble.
- Compare the fixture with its neighbours. One flickering light among healthy ones points to that unit; several together points to shade, a new porch light, a shared switch position or a batch fault.
- Read the indicator LED in daylight to see whether charging is happening at all.
That last step settles more arguments than any other. On most fixtures a red or green LED that is solid in direct sun means charging is underway, a slow or blinking light means partial charge or interrupted charging, and no light at all means the panel, its wiring or the controller has no output.
| Indicator LED in daylight | What it usually means |
|---|---|
| Solid on | Charging normally in direct sun |
| Slow blink | Weak or partial charge, or the panel is shaded |
| Fast or continuous blink at night | The light is switching on and off, usually a sensor or low-battery fault |
| Off in full sun | No charging, so check the panel, the plug and the controller |
Brand names differ, so read the indicator legend printed on the back of the unit before treating any of this as gospel. On a light you have just unpacked, some flicker in the first few nights is normal. Break-in charge cycles let the cells settle, and a brand new fixture often looks dim and unsteady until it has had two or three full days of sun.
Do solar lights need to be turned off during the day? No, and leaving them on is normally what keeps the controller running at the right point. Some models do charge slightly better with the switch off, so try it for a day if yours is marginal.
What to Do When Solar Lights Flicker
Clean the panel first, give the light a full day of sun, and test it in darkness. That sequence resolves a surprising share of cases and costs nothing.
Then check the switch and mode, clean the photocell, and look for anything that could be tripping it, including a wall light, a motion sensor on a camera and reflections off a window or car park. Wipe the battery contacts and reseat the cells. If the light still fades early, fit a matching rechargeable cell.
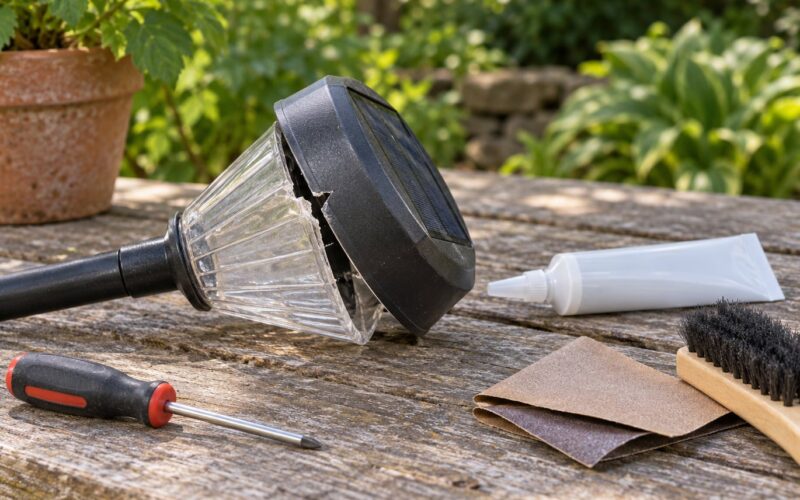
Beyond that, stop taking the fixture apart. Sealed housings, cracked panels and failed controllers are not repairable in a way that lasts, and forcing one usually ends with the whole unit going in the bin.
When Is Solar Light Flickering a Safety Problem?
Most flickering is a nuisance. A small solar light on a stake is a low-voltage device, and an under-charged battery is an inconvenience rather than a hazard.
Treat it as a safety problem the moment you see exposed copper, a cracked or swollen battery, a burnt smell, a warm housing, smoke, sparking, or water sitting inside the unit. Switch it off at the switch, or remove the battery if the compartment is accessible, and stop using the fixture.
Any solar light wired into your home’s fixed wiring, any light on a mains adapter, and any sign of scorching around a wall box are jobs for a qualified electrician. So is any fixture that has been wet inside and is now warm to the touch.
Repeated flicker is worth taking seriously for a different reason. Eye strain and headaches are reported by people who sit near a flashing light, and photosensitive conditions make fast-flickering sources genuinely difficult. If the light is beside a door you use daily, fix or remove it rather than living with it.
How to Prevent Flickering in the Future
A monthly wipe of the panel takes two minutes and prevents most repeat cases. Do it in the morning after dew, with a damp cloth and nothing abrasive, and never a metal scraper.
Clean twice a year as a minimum, and more often where dust, pollen or bird droppings build up. Re-aim panels after seasons of leaf growth, and keep the sensor window clear of foliage.
Check the switch position in spring and autumn. Expect the first battery replacement between two and four seasons depending on how many cycles your area gets through the winter, and expect faster wear in heat, which is the real enemy of cell life.
If you are buying a replacement fixture anyway, look for a replaceable battery pack rather than a sealed one, a panel with enough surface area for your latitude, a stated IP weather rating, and a documented mode switch. A USB bypass port is a bonus, since it lets you test the LED and driver independently of the panel.
Frequently Asked Questions
Is it normal for a solar light to flicker when it turns on?
A brief flicker or a short flash as the light switches on at dusk is normal. The photocell is deciding where night begins, and a fixture under a porch lamp or near a security camera can switch itself off again a moment later. Flickering that continues for minutes or repeats all night is not normal and points to a low battery, a dirty panel or a confused sensor.
Why do solar lights flicker after a few hours?
Because the battery is draining faster than it is being replaced. A worn cell, a panel that is not collecting enough sun, or shade from a growing tree means stored voltage falls below what the LED driver needs. The driver cuts out, recovers, and cuts out again, which is the dimming and flashing people see after the first hour or two of the evening.
Can rain or moisture make solar lights flicker?
Yes. Water that gets past a cracked seal, a worn gasket or a battery door closed carelessly causes corrosion and unstable connections, so the light can flicker or switch off unpredictably. Once moisture reaches a sealed housing or a control board, drying it out rarely restores reliable operation. Take the unit out of service and replace it.
How long should a solar light charge in the sun before testing it?
Give a new or serviced light at least two or three full days of direct sunlight before judging it. The first nights are break-in cycles, when the cells settle and the light often looks dim and unsteady. Keep the switch on, place the fixture where nothing shades the panel, and only then test it in darkness.
Will replacing the battery stop solar lights from flickering?
It fixes the most common cause, around a worn rechargeable cell, but not all of them. If the new cell fades early again, look at the panel, the contacts and the sensor. Note that many budget fixtures use sealed packs that cannot be replaced, so there is no battery to swap and the whole light has to be retired.
Why does my solar light flicker even when the panel is clean?
A clean panel rules out one cause and leaves several. The battery is the usual suspect, followed by corrosion on the contacts, moisture inside the housing, a switch or mode setting that is not engaged, or a failing charge controller and LED driver. Cover the panel with an opaque cloth after dark to test the sensor, then open the battery compartment in daylight to check the cells.
Conclusion
Start with the free fix. Wipe the panel, give the light a full day of direct sun, and test it in darkness with the sensor covered by your hand. That tells you in five minutes whether the problem is charging, the sensor or the cell itself.
If the light still fades after a couple of hours, replace the battery with a matching rechargeable cell and clean the contacts while you are in there. If several lights failed together, or one has been wet inside or will not hold a charge, replace the fixture rather than the cell, and choose a replacement with a replaceable battery pack and a decent-sized panel.