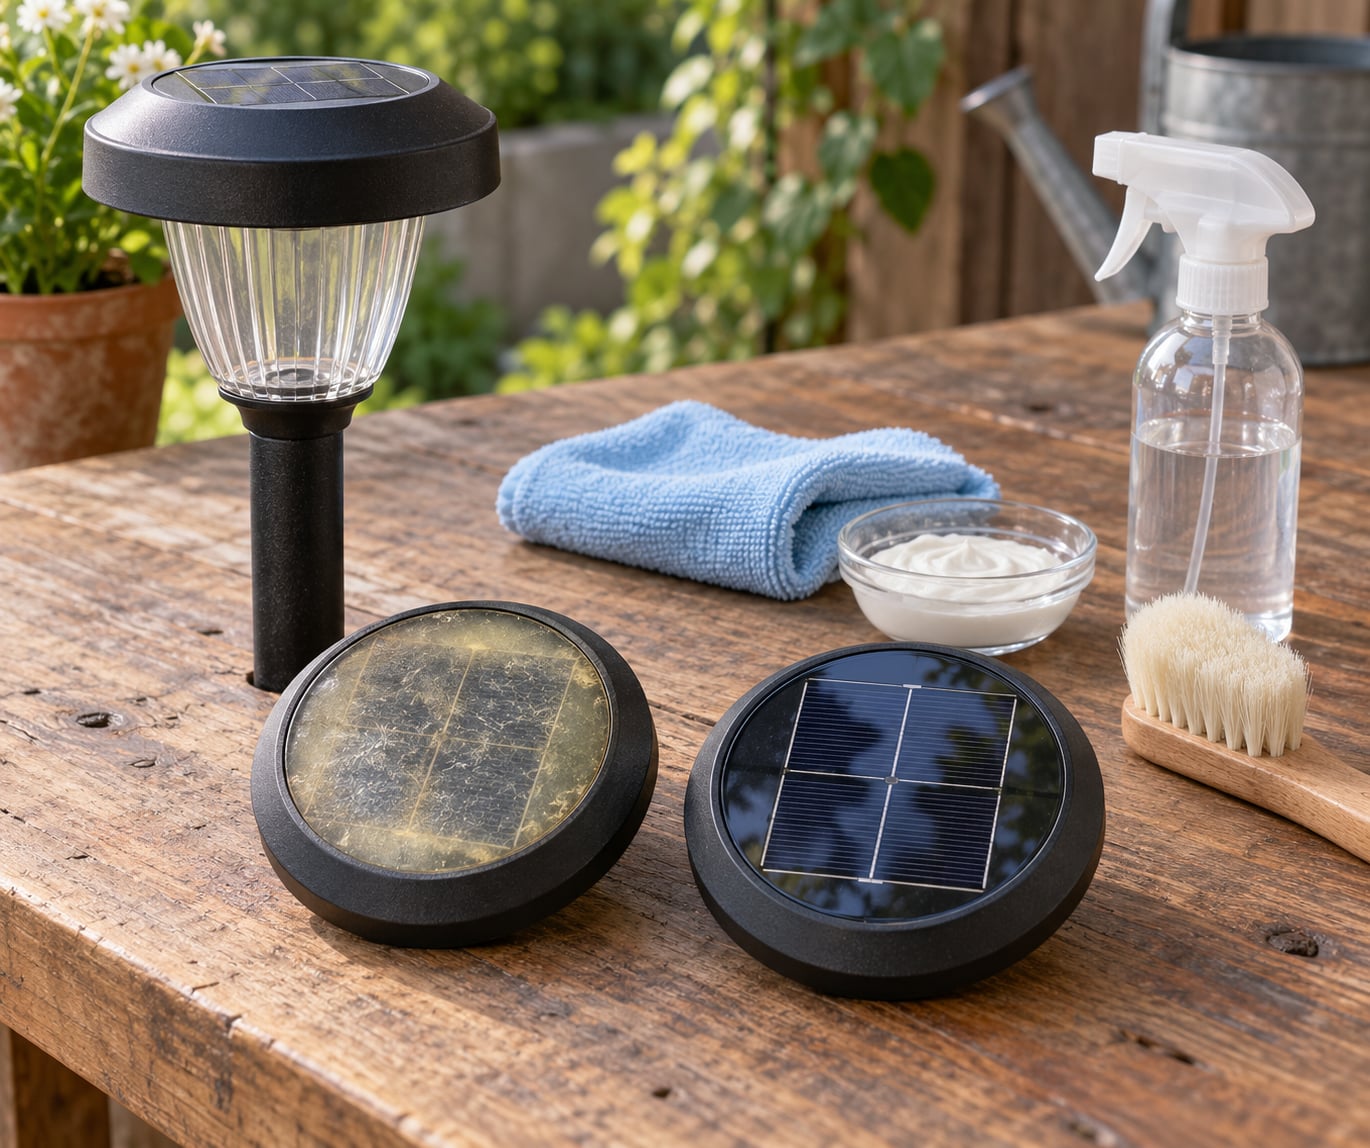
Oxidation on a solar panel is UV photo-oxidation: sunlight breaks down the polymer chains in a clear epoxy or polycarbonate lens until the plastic turns yellow and cloudy and light stops reaching the cells underneath. You remove it by washing the surface, buffing away the degraded top layer with a mild plastic polish, then sealing the fresh surface with a UV protectant. On a garden light that is about 20 minutes of work.
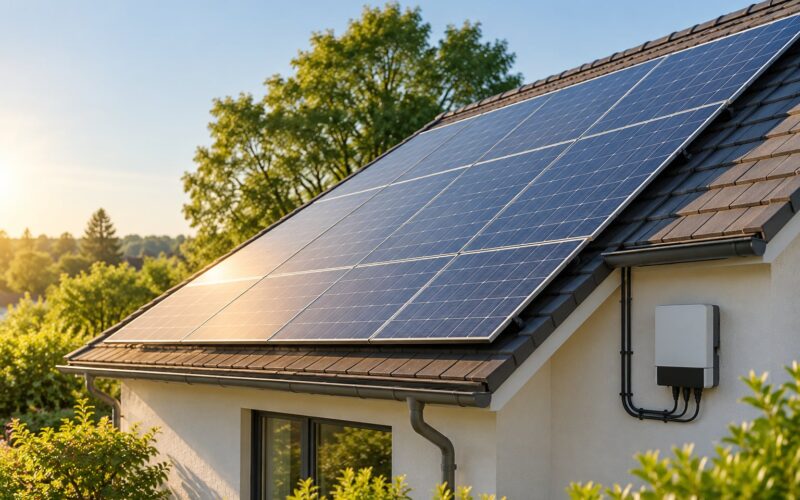
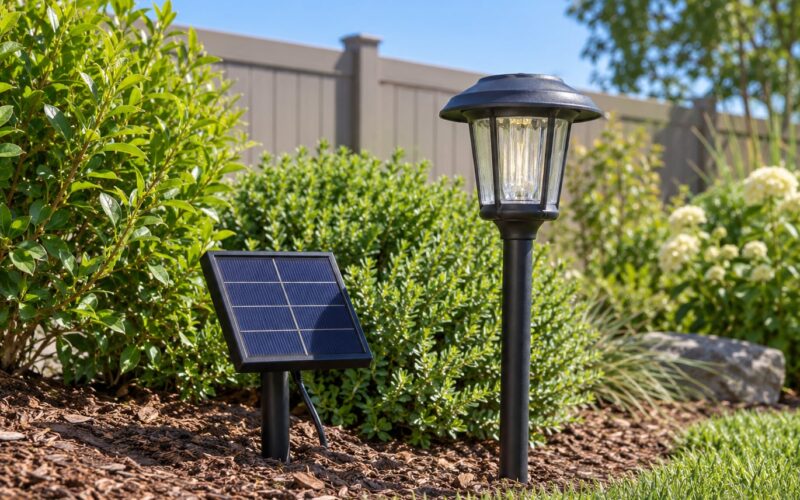
One thing to sort out before you buy anything: this guide is mostly about small solar garden, pathway, stake, string and spotlight panels, which are the ones that actually go yellow. Rooftop and ground-mounted PV arrays are a different job entirely, and buffing them can permanently strip the anti-reflective coating. I have flagged where the advice changes as we go.
Being honest about the ceiling: a lens that is crazed, cracked or yellow all the way through cannot be made clear again. You can slow the next round of yellowing, but the fix is a replacement panel or a new light. More on that near the end.
Updated for 2026.
Table of Contents
- What You Need
- Step-by-Step: How to Remove Oxidation from Solar Panels
- Step 1: Inspect the Panels and Identify the Oxidation
- Step 2: Choose a Safe Cleaning Method
- Step 3: Clean the Glass Gently
- Step 4: Rinse, Dry, and Check the Result
- Common Mistakes
- When Oxidation Cannot Be Removed or May Be Corrosion
- Frequently Asked Questions
- Can you use WD-40 to clean solar lights?
- Can I use rubbing alcohol to clean solar lights?
- Can you revive solar lights?
- Do solar panels actually need to be cleaned?
- How do I remove oxidation from solar panels at home?
- Will a solar panel still charge if it’s cloudy?
- What to Do First
What You Need
For a small solar light panel, the whole supply list is short and most of it is already in a kitchen drawer.
- A soft-bristle brush. A clean, soft paintbrush or a bottle brush works. Nothing with stiff or wire bristles.
- Microfiber cloths. Two or three, so you can keep a clean one for the final dry-off.
- Mild dish soap and a bowl of water. A few drops per litre is plenty. More is not better.
- Distilled or demineralised water for the final rinse. Ordinary tap water is what leaves the mineral crust behind in the first place.
- White vinegar. For mineral scale, diluted roughly 1:8 with water.
- A mild abrasive for genuinely yellowed plastic. Non-gel white toothpaste, a paste of baking soda and water, or a plastic and headlight restoration polish. A poster on diysolarforum described using Meguiar’s PlastX on a garden light, with regular toothpaste as the cheaper option, and that is still the most commonly recommended route.
- UV protectant. A plastic UV protectant spray, a UV-resistant clear coat, or car wax. This step is not optional, and I will come back to why.
- A plastic-blade squeegee or soft towel for pushing water off without scratching.
- 70 percent isopropyl alcohol and cotton swabs for grime around edges and connectors.
- Nitrile gloves and a plastic blade scraper for bird droppings and hardened residue.
If the panel sits above a fence or needs a ladder, add a stable step stool or an extension pole with a soft brush head so you are not reaching overhead. Anything on a roof is different: get a qualified solar installer to look at it, because falling is a worse outcome than a dirty panel, and rooftop glass should never be buffed anyway.
Step-by-Step: How to Remove Oxidation from Solar Panels
Step 1: Inspect the Panels and Identify the Oxidation
Look at the panel dry and in daylight before you wet anything, because the four common problems look similar and need different treatment.
- Dust, pollen and general grime. A soft, even dulling that lifts off with water and a finger. This is not oxidation, and it accounts for most complaints.
- Hard water mineral deposits. White, chalky or crusty patches, often in rings or around the edges where water evaporates. They sit on top of the surface and dissolve with acid.
- Water spots and dried droplet rings. Annoying, easy to remove, and nothing more.
- Algae, moss and lichen. Green or grey growth usually on the shaded lower edge or in a frame channel.
- True UV oxidation. A uniform yellow or milky cloudiness across the whole panel, sometimes with a crazed or spiderweb texture. It does not wipe off, and it is the thing this guide is actually about.
While you are there, check the frame, the back sheet, the cable entry and the mounting hardware. Rust on the frame or a chafed cable is corrosion, not oxidation, and cleaning will not fix it. Look for a gap in the seal, a lifted back sheet edge or a cracked connector housing. Any of those and you have an electrical problem, not a cleaning problem.
Then switch the light off. Most solar lights have a panel, a controller, a rechargeable battery and an LED; the battery is usually an 18650 or an AAA cell behind the housing. Removing the cell before you wet anything protects you and the light, and it is the only way to test properly afterwards.
Step 2: Choose a Safe Cleaning Method
Match the method to the material and the symptom, because the two mistakes people make are using a solvent where a surfactant was needed and using an abrasive where neither was needed.
| Method | Best for | How to use it | Risk |
|---|---|---|---|
| Water only | Loose dust and pollen | Warm water, soft brush, rinse with distilled water | None on any panel type |
| Mild dish soap | Greasy film and caked pollen | A few drops per litre, wash, rinse with distilled water | None if heavily diluted |
| Vinegar 1:8 | Hard water scale and droplet rings | Apply, dwell a few minutes, rinse, scrub lightly | Prolonged use dulls coatings |
| Baking soda paste | Mild haze on plastic lenses | Rub in small circles with a microfiber cloth, rinse | Light scratching if pressed hard |
| Non-gel white toothpaste | Yellowing plastic and epoxy lenses | Pea-sized dab, buff 30 to 60 seconds, wipe, repeat | Micro-scratches glass and coated panels |
| Plastic or headlight polish | Deep yellowing and light crazing | Apply to a damp cloth, work one panel at a time, seal after | Strips coatings on glass PV modules |
| 70 percent isopropyl alcohol | Sticky residue, sap, fingerprints | Dab on a cotton swab, keep off seals | Attacks some rubber gaskets over time |
| UV protectant or clear coat | Preventing the next round of yellowing | Two thin coats on a fully dry panel, cure in shade | Cloudy if applied in direct sun |
Two rules to keep in view. First, a glass panel never photo-oxidizes, because glass does not have polymer chains to break down, so if the surface is milky on a glass module you are looking at mineral scale, a damaged anti-reflective coating, or a delaminated backsheet, and abrasives will not help. Second, on large rooftop arrays, skip the whole abrasive column of that table. Water, a mild detergent and a soft brush, plus a professional with proper roof access equipment, is the correct method there.
Step 3: Clean the Glass Gently
Work on a cool, overcast day or early in the morning. A panel heated by midday sun can crack when cold water hits it, which is called thermal shock, and the same heat bakes cleaner into the surface and leaves you with more haze than you started with.
Start at the top and work down in sections about the size of your hand, so you can see the difference between a cleaned area and an uncleaned one. Wet the surface first with your diluted solution, then apply a pea-sized amount of cleaner with the microfiber cloth rather than pouring it on. More solution is how people end up with streaks and residue.
Scrub with light, even pressure in small circles. Let the abrasive do the work, not your arm. A panel should take a couple of minutes per section, not a hard scrub. Keep the brush moving and keep the surface wet, because a dry abrasive dragged across plastic is exactly how micro-scratches happen.
On a heavily yellowed plastic lens, do a few passes of 30 to 60 seconds, wipe the panel down, look at it, and only then repeat. Stop when it stops improving. Once you are into a layer that is not degraded, you are just removing good plastic, and the panel will be permanently micro-scratched and cloudier than before, not clearer.
Rinse with distilled water while the panel is still wet, and do not let the solution dry on the surface. That drying is what leaves the new haze people blame on the polish.
The exception is glass. If the panel is tempered glass, the correct treatment for a milky look is a mineral-removal soak, not a polish. Give the 1:8 vinegar a few minutes, rinse, and reassess. If it is still cloudy, the coating or the laminate underneath has gone and no amount of elbow grease will change that.
Step 4: Rinse, Dry, and Check the Result
Drying depends entirely on how the panel is mounted.
For a ground-mounted or stake light, squeegee the water off with a plastic blade, then buff the surface dry with a clean microfiber cloth. Hold it up to the sky and look for swirl marks; if you see them, they come from a dirty cloth rather than a bad panel, so swap cloths and do it again while the surface is still damp.
For a roof-mounted panel, do not climb up to dry it. Run water off with a long-handled squeegee from a stable position, and let the sun and wind finish the job. If the panel is steeply pitched or above a two-storey drop, stop and call an installer.
For an elevated panel such as a spotlight on a wall or fence, work underneath with a bucket and a soft brush, and never stand directly under the panel while you are wetting it.
Then check the result in this order. Look at the panel in daylight and confirm the yellowing has lifted evenly. Look for loose fittings and bent brackets, since a panel that has been walked on or knocked can be cracked without you noticing. Check the cable entry and the back sheet for any sign of water ingress or a lifted edge. Confirm the battery is seated and the switch is on. Finally, put the panel in full sun for a whole day and see whether the light comes on at dusk; if it is noticeably brighter than before, the work did what you hoped.
If the panel looks clear and the light is still dim, the haze was never the problem. Move on to the next stage.
Common Mistakes
Almost every ruined panel I have seen come from one of the products in this table. All of them are cheap, all of them are easy to find, and all of them are a mistake.
| Do not use | Why it damages the panel or light |
|---|---|
| WD-40 | Attacks silicone seals and rubber gaskets, leaves a greasy film that traps dust, and pulls plasticizers out of the lens over time |
| Ammonia and window cleaner | Strips anti-reflective coatings permanently and can haze glass that never had a problem |
| Acetone, paint thinner, mineral spirits | Dissolves the lens itself and dulls the finish beyond recovery |
| Bleach | Corrodes frames and connectors, and residue in the frame channels causes white mineral crust |
| Steel wool, scouring pads, green scrubbers | Scratch the lens and the anti-reflective coating permanently |
| Dry melamine sponges used aggressively | A damp one lifts haze from plastic quickly, but it acts as fine sandpaper on glass and on coatings |
| Pressure washers | Force water past seals and into the frame, and can crack glass through thermal shock |
| Paper towels | Shed lint and scratch as they dry |
The correction in each case is the same shape: use more water, less product, and a softer tool than you think you need. If a panel is genuinely beyond a gentle clean, the honest answer is a replacement, not a stronger chemical.
Two more mistakes are about timing rather than products. Never clean a hot panel with cold water, and never assume every white mark will come off. In a hard water area, a white crust that keeps returning after cleaning is mineral scale from the spray water, and the permanent fix is a rinsable coating rather than scrubbing. A r/solarenergy poster described using an outdoor panel treatment that cleared caked-on pollen and then repelled dirt, which is the outcome worth aiming for.
For maintenance, most solar lights need a gentle wash twice a year. Do one in early spring after winter grime and pollen, and one in late summer before the light has to carry the darker months. Clean more often under trees, near a road, or anywhere birds perch, and less often on an open, dry roof. Keep the battery compartment dry, and check the panel for bird droppings weekly in the first month of spring because they are acidic enough to etch glass if you leave them.
When Oxidation Cannot Be Removed or May Be Corrosion
Some panels are done. Know which category you are in before you spend a weekend on it.
The yellowing is inside the panel, not on it. If the colour is uniform, the surface feels smooth rather than gritty, and no amount of gentle cleaning shifts it, you are looking at degraded resin that has yellowed through its full depth. Polish removes a surface layer. It cannot rebuild a polymer.
The lens is crazed. A spiderweb of fine cracks under the surface feels like orange peel to the touch. Crazing lets moisture in, which makes the yellowing worse every year, and buffing it smooths the outside without fixing the inside. Expect the panel to re-haze within a season or two at best.
It is corrosion rather than oxidation. Rust bloom on the frame, white powder around a bolt, a green or grey crust at a cable entry, or a swollen or cracked connector housing are all signs of water getting where it should not. Do not clean your way out of this. Do not probe it with a screwdriver. Get a qualified solar installer to do an electrical assessment.
The back sheet is damaged. A lifted, torn or bubbled back sheet exposes the cells and the encapsulant to moisture. That is a panel-replacement job, and on a rooftop it is a job for a professional.
For a cheap stake light, replacing the whole fixture is usually more sensible than replacing a single panel, and for a string light it is often one bulb position rather than the whole run. If the battery is more than three or four years old, replace it at the same time as the panel, because a battery that has sat at partial charge for a year or two often will not recover even with a perfectly clean panel.
On rooftop or ground-mounted arrays, the threshold for calling a professional is much lower. If the output drop is significant, if any module has a crack, discolouration across several panels, or corroded connectors, stop and have it inspected. An electrical fault on a live system is not a DIY job.
Frequently Asked Questions
Can you use WD-40 to clean solar lights?
No. WD-40 is a petroleum solvent and plasticiser, and it attacks the silicone seals and rubber gaskets that keep water out of the fixture. The greasy film it leaves behind traps dust, so the panel gets dirty again faster than before, and the lens can yellow unevenly over time. Use a diluted mild dish soap for grime and a plastic polish for yellowed lenses instead.
Can I use rubbing alcohol to clean solar lights?
Seventy percent isopropyl alcohol is useful for sticky sap, fingerprints and residue, applied on a cotton swab rather than sprayed. Keep it away from rubber gaskets and cable entries, since repeated exposure swells and dries them. It will not remove yellowing or mineral scale, so it is a finishing step rather than a cleaning method. It is also not needed on garden lights sitting in rain most of the year.
Can you revive solar lights?
Often, yes. Test the panel in full sun, then check the switch position, the battery contacts and the battery age. If the panel is yellowed or hazy, clean and buff it as described above, then leave the light in direct sun for a full day. A light that stays dim after a clean panel and a fresh charge usually has a dead battery, which is a two-minute swap on most stake lights.
Do solar panels actually need to be cleaned?
Yes, but far less often than most people assume. A panel that loses charge to a layer of dust and pollen recovers a meaningful share of its output from a single gentle wash, and a hazy yellowed lens can cut charging efficiency badly enough to age the battery prematurely. Twice a year suits most garden lights. Clean more often under trees or near birds, and follow the cleaning interval in your installer’s manual for a rooftop array.
How do I remove oxidation from solar panels at home?
Wash the panel with water and a few drops of mild dish soap, dry it, then buff the yellowed area with a pea-sized dab of non-gel white toothpaste or a plastic polish in small circles for 30 to 60 seconds. Rinse with distilled water while the surface is still wet and wipe it dry. Finish with two thin coats of UV protectant, which is the step that stops the haze coming straight back.
Will a solar panel still charge if it’s cloudy?
Yes, a cloudy panel still charges, just far less. Output tracks the light available, so a bright overcast day delivers a fraction of what direct sun does, and heavy cloud, shade or a dirty surface can cut charging by much more than the weather alone. That is why a light left shaded through winter can end the season with a flat battery. Cleaning helps, but it cannot make up for a panel that sits in permanent shade.
What to Do First
Start by telling two problems apart. If the panel is dull and dirty rather than yellow, a wash with a few drops of mild dish soap and a soft brush fixes it in ten minutes and no abrasive is involved. If it is genuinely yellow and cloudy, buff it with a plastic polish, rinse while wet, and seal it with two thin coats of UV protectant. If it is crazed or yellow all the way through, replace the panel rather than repeating the buff, and leave anything on a roof to a qualified solar installer.