Learning how to repair a cracked solar light housing is mostly about three things: getting the two broken faces clean and dry, bonding them with an adhesive that survives sun and rain, and resealing the seam so water cannot get back in. Most plastic garden lights can be saved this way in an afternoon, as long as the crack is not through the solar panel and the battery has not already been destroyed by moisture. A typical job takes 30 to 60 minutes of work plus curing time, and the tools are ordinary household ones.
The catch is timing. Most solar light repairs I have watched fail because the owner reassembled the light before the adhesive had cured, or used a household glue that turned brittle in the sun. Read the whole procedure first, then work through it in order.
Table of Contents
- What You Need
- Step-by-Step: How to Repair a Cracked Solar Light Housing
- 1. Check Whether the Light Is Safe to Repair
- 2. Remove Power and Inspect the Damage
- 3. Clean and Dry the Housing
- 4. Choose a Repair Method for the Housing Material
- 5. Apply the Repair and Let It Cure
- 6. Reassemble and Test the Solar Light
- 7. Know When to Replace the Light Instead
- Common Mistakes
- Frequently Asked Questions
- Is super glue waterproof enough for a cracked solar light housing?
- Can a cracked solar light be fixed or must it be replaced?
- How long should I wait for silicone sealant to cure before rain?
- Will a repaired solar light charge as well as it did before?
- The solar panel is cracked, not the housing. Is that the same fix?
- Why do only some of my solar lights work?
What You Need
Gather your tools before you take anything apart, because you will want both hands free once the housing is open.
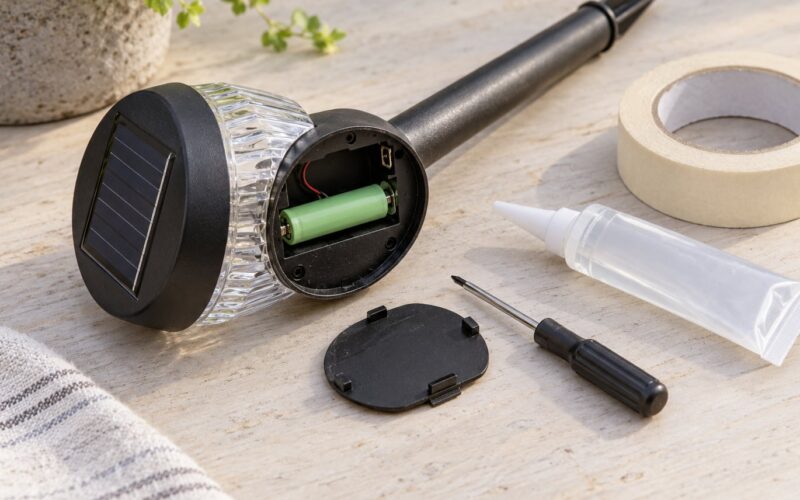
- Small Phillips or flathead screwdriver for the base screws, the battery cover and the panel cap
- Plastic pry tool or a guitar pick for snap-fit seams, so you do not lever against the crack
- Isopropyl alcohol and cotton swabs for degreasing the broken faces
- 120 to 220 grit sandpaper or a plastic scuff pad to roughen glossy plastic
- Clamp, rubber-banded bricks, or tape to hold the halves aligned while the adhesive sets
- Adhesive matched to the material: two-part epoxy for plastic and metal, a clear exterior silicone sealant for resealing, a plastic welding kit for deeper splits
- Utility knife for trimming a cured bead flush
Housing materials change what works. Polycarbonate and ABS plastic need a plastic-compatible adhesive, glass and polycarbonate lenses can be bonded with an optical epoxy or a UV-cured glue, and a metal housing wants a two-part epoxy rated for outdoor metal.
Check the manufacturer’s instructions first, if the light still has them. Some sealed units are not meant to be opened, and a light with a built-in USB port or a sealed battery pack may have glue rather than screws holding the shell together.
Step-by-Step: How to Repair a Cracked Solar Light Housing
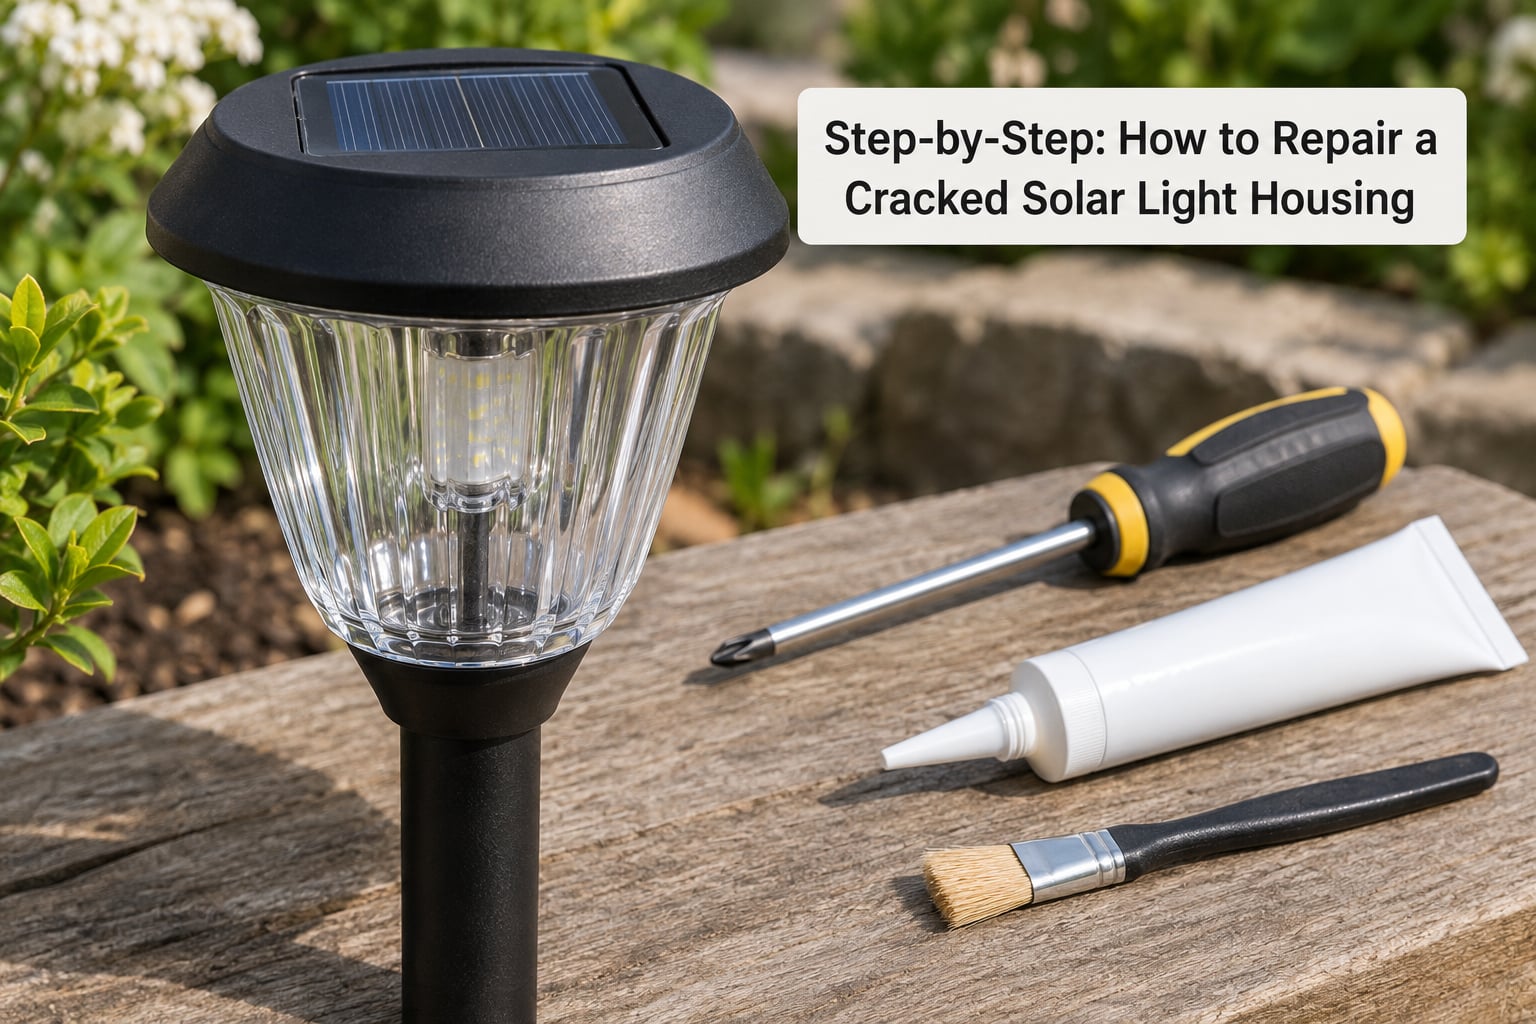
1. Check Whether the Light Is Safe to Repair
Some damage means stop, not start. Put the job aside and buy a replacement if the crack exposes bare wiring or the circuit board, if the battery is swollen, dented or leaking, if there is standing water inside, or if the split runs through the solar panel itself.
Heat damage is another stop signal. If the plastic around the panel feels soft or has warped, the housing has lost its structural strength and a bonded repair will not hold.
2. Remove Power and Inspect the Damage
Switch the light off and pull the rechargeable battery out before anything else. Unscrew the base plate, then release the snap-fit seam with a pry tool working from the corners inward. Work slowly along the seam and stop the moment you feel the crack give.
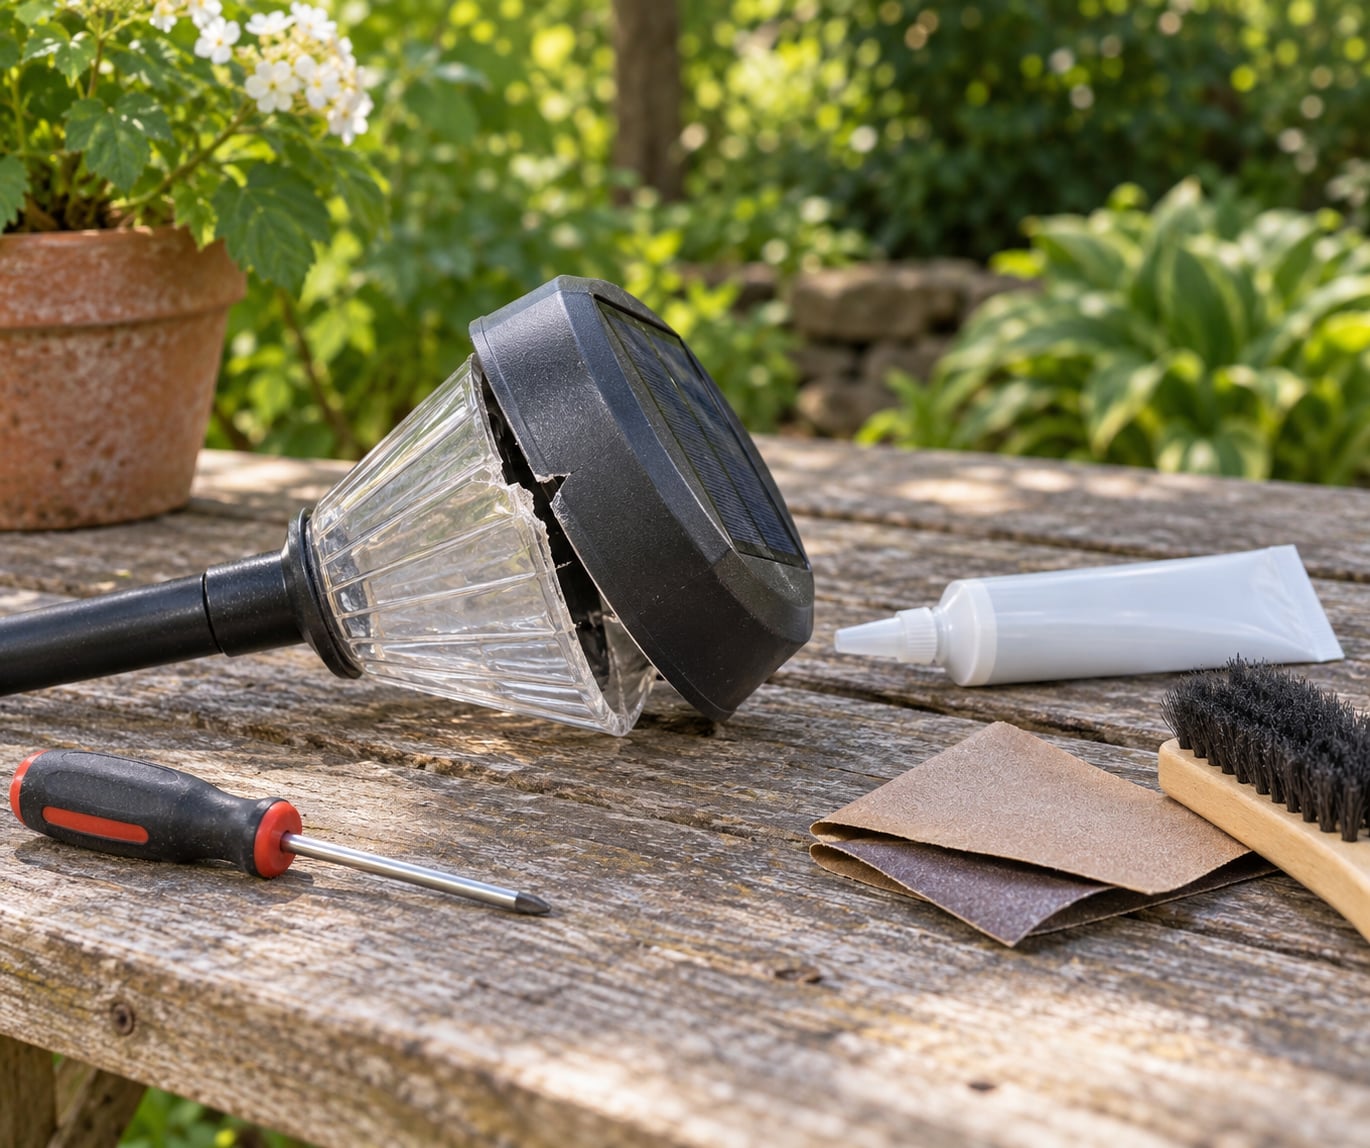
Hold the two halves together and look at the break. A clean split in the side wall or stake is usually repairable. A crack that shatters into loose fragments, or one that runs through a screw boss or the panel cap, is not.
If water has been inside, take the battery out now and set it aside. Do not try to reuse it.
3. Clean and Dry the Housing
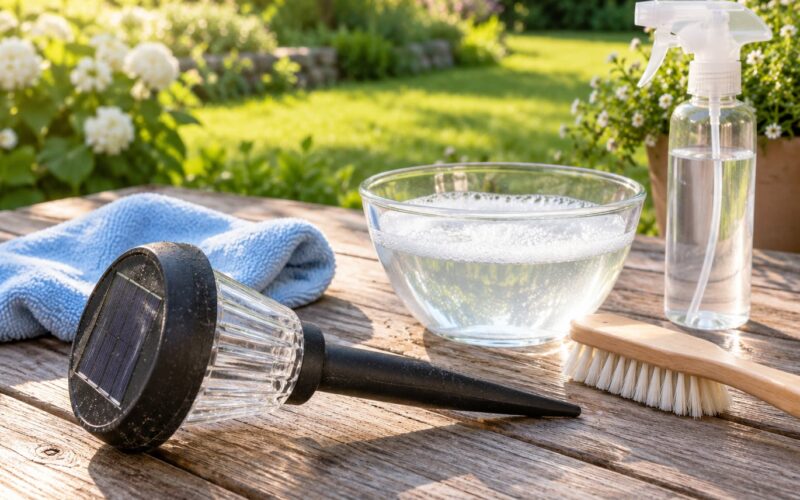
Wash both halves in warm soapy water and rinse thoroughly. Scrub salt deposits and green corrosion off the broken faces with a soft brush, then wipe with isopropyl alcohol to remove grease and fingerprints.
Let the parts dry completely. Overnight is safer than an hour on a radiator, because heat can distort the plastic. If the light was wet inside, dry it for 24 to 48 hours with the halves apart and a sachet of silica gel in the battery compartment.
4. Choose a Repair Method for the Housing Material
Two-part epoxy is the safest general choice for a cracked plastic housing. It bonds well to polyolefins and ABS, tolerates sun and heat, and sands back flush. A UV-cured adhesive works when you can hold the parts together in direct sunlight. Silicone sealant is for the seam, not for the structural break.
Skip super glue and hot glue outdoors. Cyanoacrylate turns brittle in sunlight and fails at the first cold night, and hot glue softens and lets go on a surface that gets warm in the sun.
If the housing is glass, use an epoxy or adhesive labelled for glass. If it is metal, clean the rust back to bare metal with a wire brush before bonding.
5. Apply the Repair and Let It Cure
Dry-fit the halves first and confirm they align before you mix anything. Then roughen the broken faces lightly with sandpaper, mix the epoxy, and apply a thin bead along the entire break. Use less than you think you need.
Clamp the parts or tape them, and support the repair on a flat sacrificial mat so you do not glue the light to the bench. Follow the cure time printed on the adhesive. Most two-part epoxies hold in 10 minutes and reach full strength after 24 hours. Do not close the housing or put the light back outside until then.
6. Reassemble and Test the Solar Light
Once cured, trim any squeeze-out with a utility knife and sand the repair flush with 220 grit so the panel sits flat when you reassemble. Run a continuous bead of clear exterior silicone along the seam you opened, then refit the screws and the battery.
Turn the switch to on and leave the light in direct sun for two full days before judging it. That gives the battery a complete charge. Then test the dusk sensor by covering the photocell with your hand; the light should come on within a few seconds.
The last check is the enclosure itself. Hold the light under a slow stream of water for a minute and watch for drips inside. If you see any, the bead missed a spot and the repair is not finished.
7. Know When to Replace the Light Instead
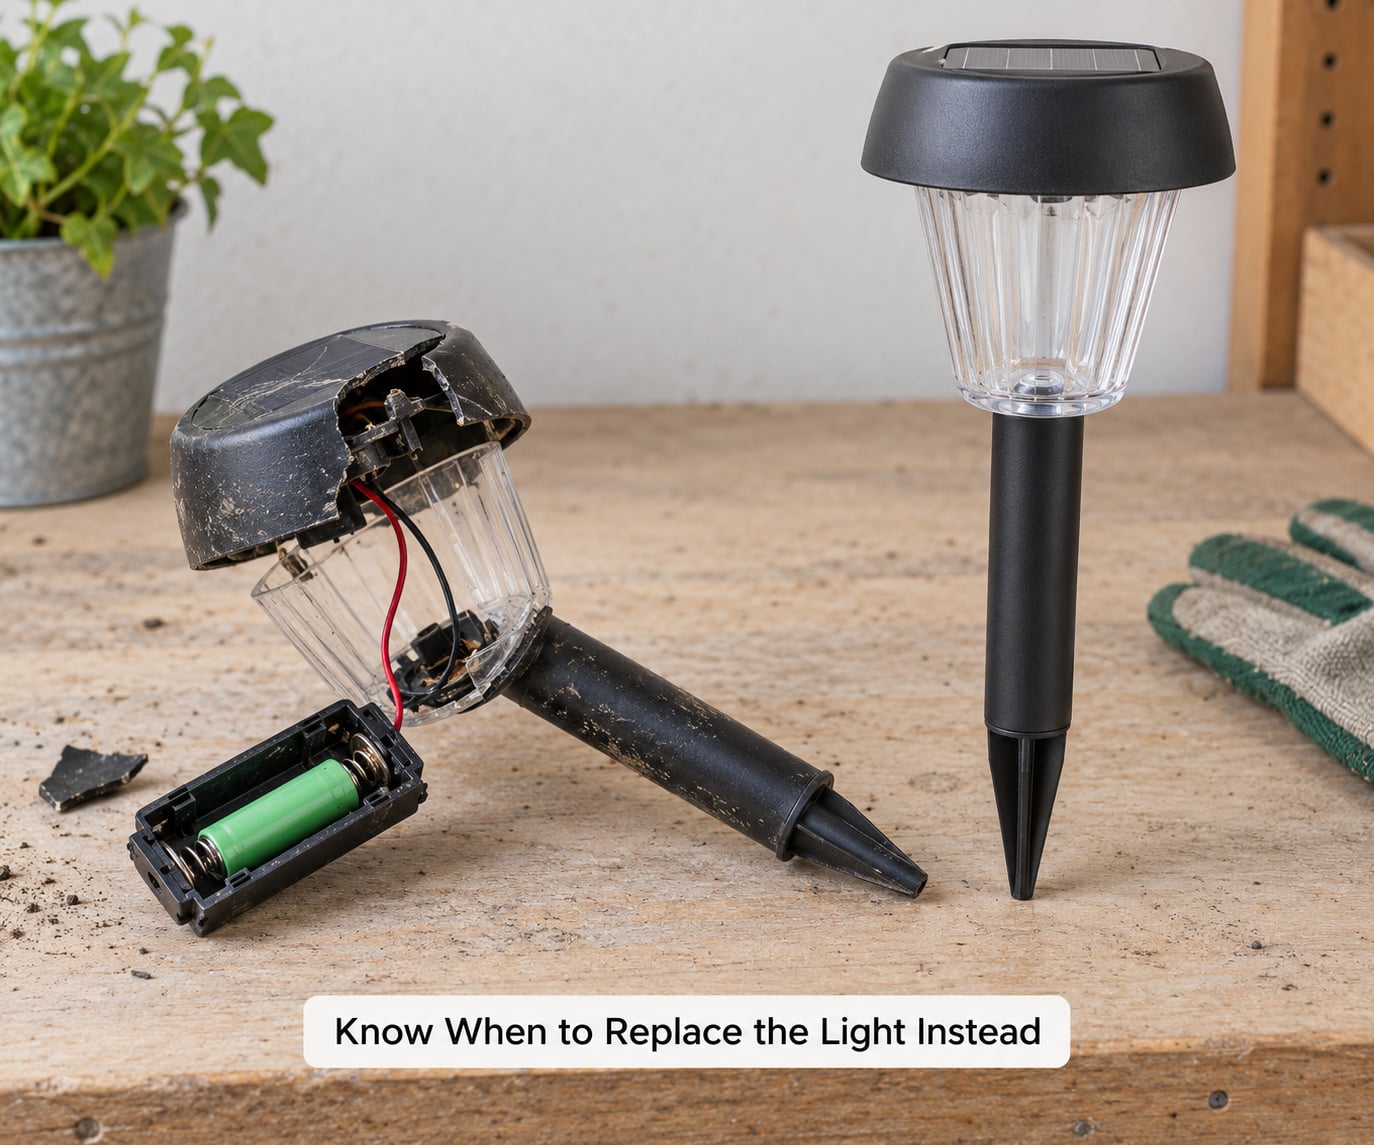
Replace rather than repair when the crack splits the panel cap or the stake, when the internal contacts or wiring have corroded through, when the rechargeable battery will not hold a charge, or when the drip test fails twice. These repairs run past the value of the light.
A cracked solar panel is a different repair from a cracked housing. Covering panel glass with laminate or sealant slows output loss, but it does not restore the housing’s seal, and it is not what the epoxy procedure above is for.
Common Mistakes
Almost every failed repair comes down to one of these.
- Repairing a wet or dirty surface. Adhesive bonds to clean plastic, not to salt, mould or corrosion. Fix: degrease with alcohol and wait until the parts are completely dry.
- Using household glue on a waterproof fixture. Super glue and hot glue are the two most common causes of a repair that fails within a season. Fix: two-part epoxy for the break, exterior silicone for the seam.
- Trapping moisture inside the enclosure. Sealing a damp housing locks water in against the battery and contacts. Fix: dry for 24 to 48 hours with the halves apart first.
- Overfilling the crack. Excess epoxy squeezes out and shows as a cloudy blob, and it makes the repair harder to sand flush. Fix: a thin bead, then clamp and let the squeeze-out be cut away.
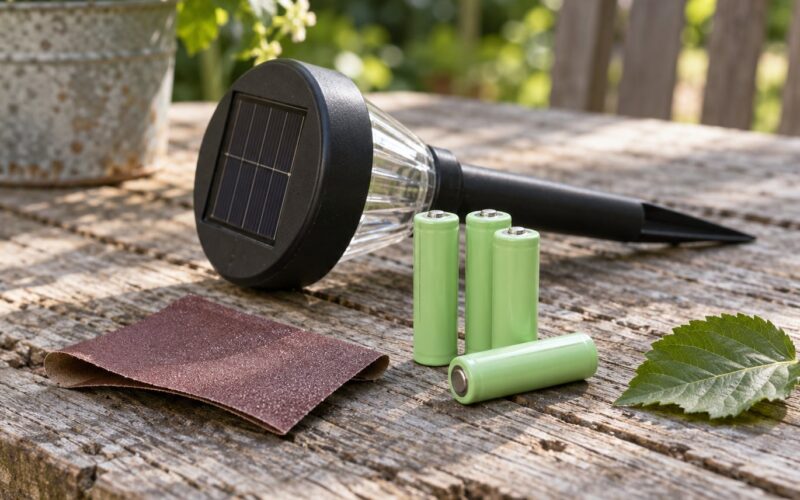
- Ignoring the battery after water got in. A battery that has been wet may work for a while and then fail. Fix: fit a new rechargeable battery every time you reseal a light that had water inside.
- Testing before the adhesive has cured. Handling a half-set repair ruins the bond. Fix: wait the full cure time on the label, not the handling time.
Frequently Asked Questions
Is super glue waterproof enough for a cracked solar light housing?
No. Cyanoacrylate super glue turns brittle when it is heated by the sun, and a housing sits in direct sun all day. It may hold a piece together indoors for weeks and then let go in the first cold night. Use two-part epoxy for the structural break and clear exterior silicone for the seam instead.
Can a cracked solar light be fixed or must it be replaced?
A cracked plastic housing can usually be fixed, provided the break is in the side wall or base and not through the solar panel, a screw boss or the wiring. Replace the unit if the housing has shattered, if contacts or wiring have corroded away, or if the battery will not hold a charge after a full day of sun.
How long should I wait for silicone sealant to cure before rain?
Most exterior silicone sealants need at least 24 hours before they are exposed to water, and full cure can take longer in cool or damp weather. Treat it as skin-dry at one hour and water-ready at one day. If rain is likely sooner, bring the light under cover and let it cure there.
Will a repaired solar light charge as well as it did before?
If the panel and the battery are undamaged, charging is unchanged, because neither depends on the housing. If water got in through the crack, fit a new rechargeable battery and clean the contacts, since corrosion quietly reduces charging over time. A light that still will not light after two full days of sun has another fault, often the sensor or the switch.
The solar panel is cracked, not the housing. Is that the same fix?
No, they are different repairs. A cracked panel needs the break in the panel laminate or cells addressed, usually by covering it with laminate film or a panel sealant, and it will not restore the waterproof seal. A cracked housing needs bonding and a silicone reseal. Doing the housing fix on a cracked panel wastes your time.
Why do only some of my solar lights work?
Shade, panel grime, battery age and water ingress all vary across a set of lights, so a row often fails one unit at a time. Lights in leaf shade charge less, panels under accumulated dust charge less, and lights with a cracked housing lose their battery to corrosion first. Test each unit on its own before assuming the whole set is faulty.
Start by taking the battery out and looking at the break. If the crack is in the plastic side wall and the panel is intact, clean the faces, bond them with two-part epoxy, wait the full cure time, and finish with a bead of exterior silicone along the seam.