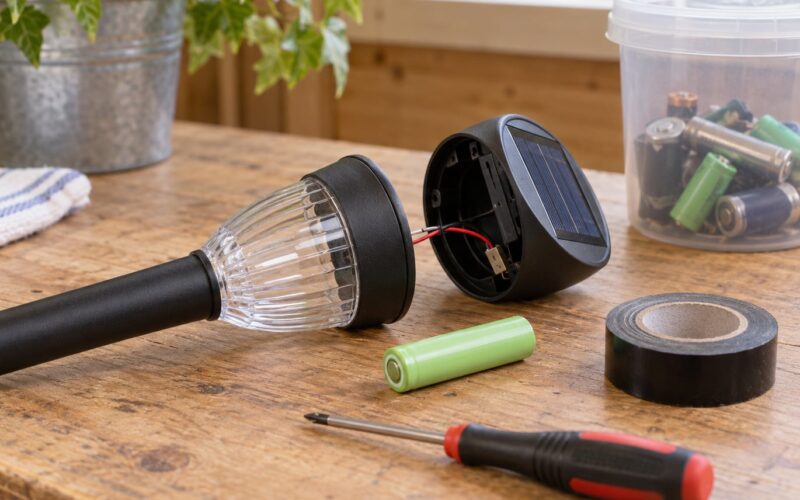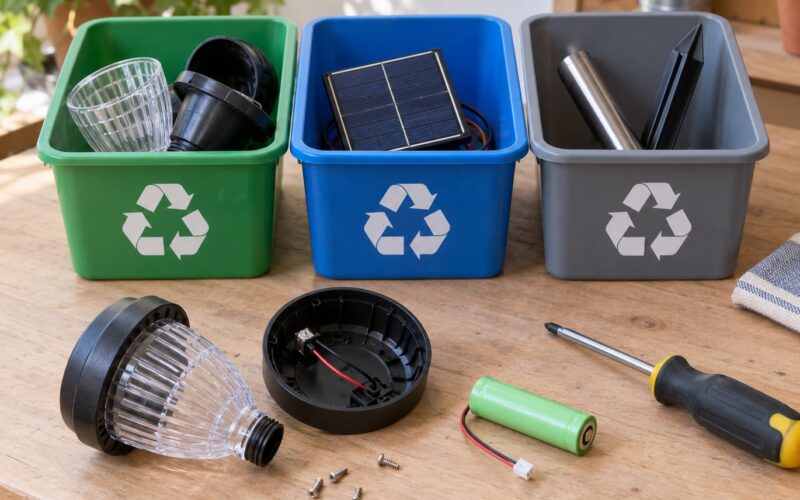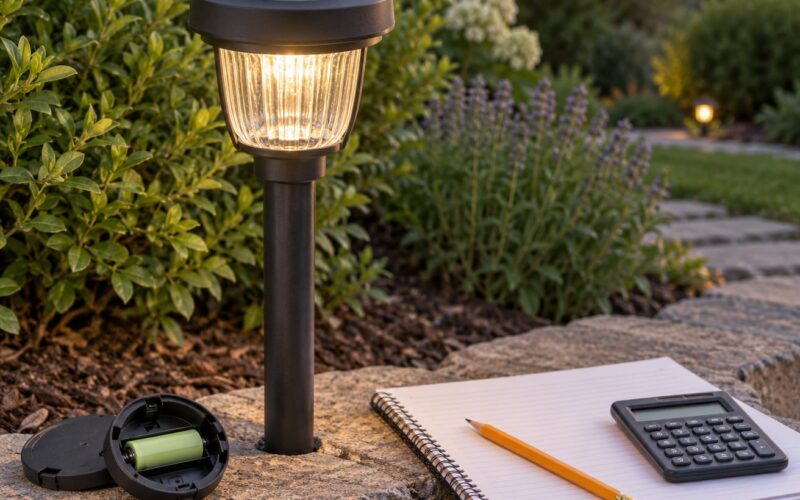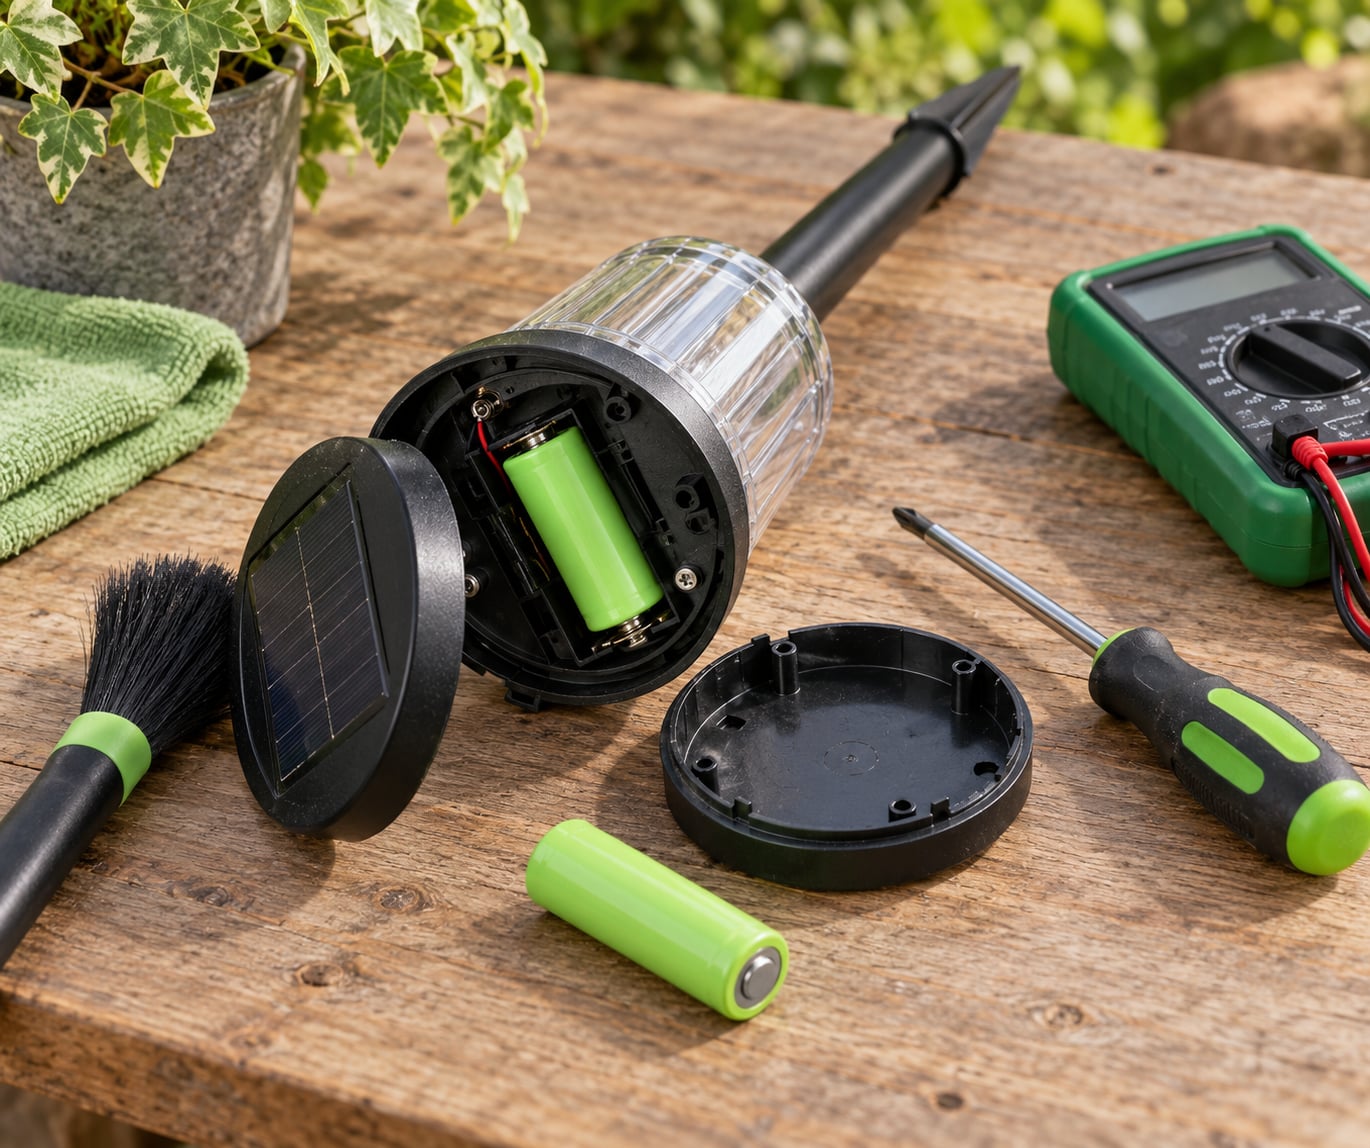
Most solar lights that go dark are not broken. They are dirty, switched off, starved of sun, or running on a rechargeable battery that has reached the end of its life. DIY solar light repair basics come down to four checks in order: cover the panel to test for power, clean the panel, confirm the switch, then test the battery. The whole triage takes about ten minutes and needs nothing more exotic than a soft cloth and a screwdriver.
I have repaired more of these than I care to count, and the pattern holds almost every time. A light that worked last summer and stopped working this year is nearly always a battery. A light that never worked since you bought it is nearly always the switch, the shipping tab, or a spot with too much shade.
This guide covers pathway lights, garden stake lights, step lights, post caps and wall-mounted fixtures from a few dollars to a few hundred. It is brand-neutral on purpose. If your housing is sealed shut, or the panel is the problem, at some point replacing the fixture is the honest answer, and I will tell you when.
Table of Contents
- What You Need
- Step-by-Step Solar Light Repair
- DIY Solar Light Repair Basics: Confirm the Light Is Receiving Power
- Clean the Solar Panel and Sensor
- Test the Battery and Charging Circuit
- Replace a Failed Battery or Switch
- Check Wiring and Re-Test the Light
- Common Mistakes
- Frequently Asked Questions
- Why is my solar light dim or shutting off early?
- Can I replace the battery in any solar garden light?
- How do I test whether a solar light battery is dead?
- Should a repaired solar light be charged in direct sun?
- Can I use petroleum jelly to seal a solar light after repair?
- When is replacing the whole solar light safer than repairing it?
- Conclusion
What You Need
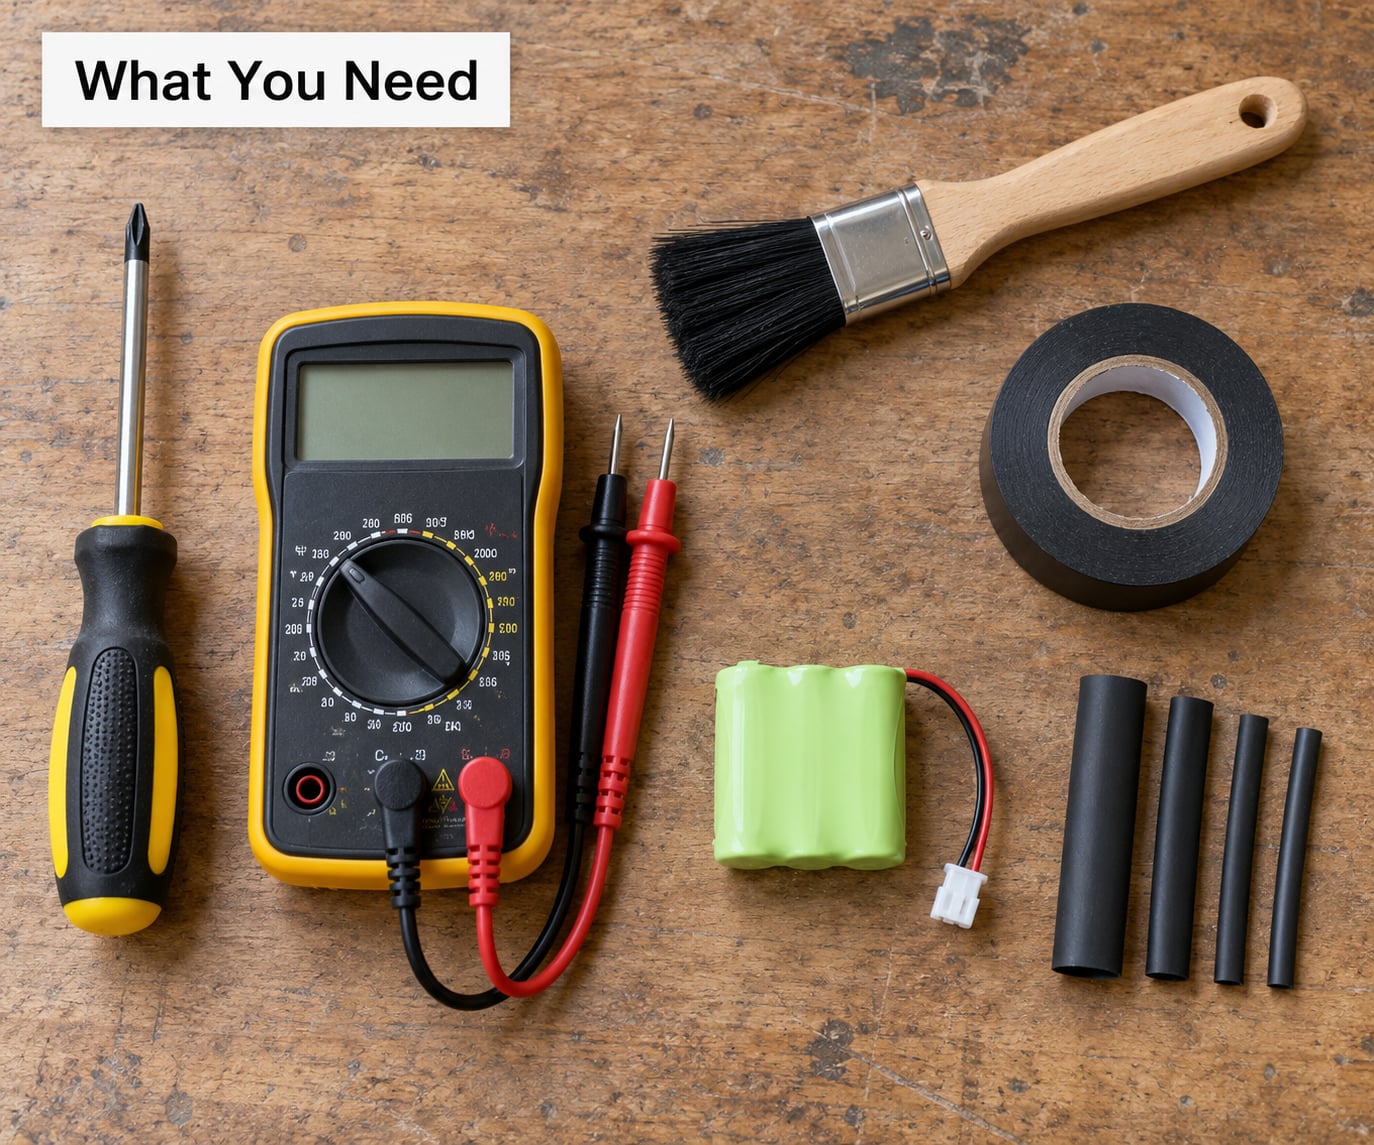
- Soft cleaning brush and a microfiber or soft cloth
- Clean water with a drop of mild dish soap
- Cotton swabs and a pencil eraser for corroded contacts
- Phillips and flat-head screwdrivers, plus a plastic pick or spudger
- Multimeter for voltage and continuity checks
- Wire cutters, strippers and small pliers
- Electrical tape and heat-shrink tubing for insulated connections
- Dielectric grease for terminals and resealed seams
- Manufacturer-compatible replacement rechargeable cells or switch
Before you open anything, find the owner’s manual or the part number on the base. It tells you the cell chemistry and size, which is the one detail that decides whether the repair works or bakes the charge controller. If the fixture is potted, glued or wired with leads you cannot reach, stop there and read the warranty terms instead of levering the shell apart.
Step-by-Step Solar Light Repair
Work in this order and stop as soon as the light behaves normally. Later steps assume the earlier ones passed.
| Symptom | Likely cause | First move | Difficulty |
|---|---|---|---|
| No light at all at night | Switch off, dead battery, or a broken photocell | Cover the panel and check for power | Easy |
| Dim or short runtime | Dirty panel, aged battery, or too much shade | Clean the panel, then check the sun exposure | Easy |
| On during the day | Photocell shadowed or stuck in the on position | Clean the sensor window, use the override switch | Easy |
| Flashes or fades early | Weak cell or a loose connection | Measure battery voltage after a full day of sun | Medium |
| White, green or crusty residue | Corrosion from moisture inside the housing | Open, clean contacts, reseal | Medium |
| Dead after rain | Failed seal letting water reach the board | Dry the housing fully before reassembly | Medium |
DIY Solar Light Repair Basics: Confirm the Light Is Receiving Power
The fastest test costs nothing. Flip the on/off switch to ON, take the fixture into a dark room or cover the solar panel completely with your hand, and wait five to ten seconds. If the LED comes on, the battery, sensor and LED are all fine and you have a charging or switching problem. If nothing happens, the fault is in the power path.
Next, look at the switch itself. A thin plastic tab on the bottom of the base often slides to OFF for shipping and gets pressed back on during installation. Some lights also have a rubber plug covering a second sensor for the OFF position. A switch that feels mushy or sits halfway is usually the whole fault.
Use a multimeter only at points the manufacturer exposes. Set it to DC volts and touch the probes to any labelled test pads or battery contacts: roughly 1.2V per cell for nickel-metal hydride and 3.2V for an 18650 lithium iron phosphate pack. Never probe the bare panel itself while it is in the housing, and never open a live solar panel. If the battery reads near zero volts after a full day of charging, you have found it.
Clean the Solar Panel and Sensor
A film of dirt, pollen, leaf litter and mineral deposit can cut charging by more than half, which is why the cheapest fix on this list is a cloth. Wipe with a lightly dampened microfiber cloth, add a drop of mild soap if the film is greasy, then dry with a second clean cloth.
Skip paper towels, scouring pads and pressure washers. Abrasives scratch the panel’s anti-reflective coating, and a pressure washer drives water past the housing gasket and into the board you were trying to protect.
Give the photocell the same attention. Wipe the small sensor window with a cotton swab, then hold the light in open shade rather than under a porch lamp or next to a wall that bounces light back at it. Finally, check the site: a panel in partial shade can produce a fraction of the charge of the same panel in full sun, which is why lights near an overhang or under a tree seem to die every few weeks.
Test the Battery and Charging Circuit
Rechargeable cells are designed to be cycled, not immortal. Expect roughly 300 to 500 charge cycles from a nickel-metal hydride cell, which works out to a few years of nightly use, and expect heat and deep discharge to shorten that. Water that gets past the seal does it faster.
Measure voltage with the meter on DC, after a full day of direct sun. Compare the reading with the type printed on the cell: about 1.2V for a single NiMH cell, 1.5V when two cells are in series, or 3.2V for a lithium iron phosphate pack. A reading far below that usually means a failed cell, a tripped protection circuit, or a dead charge controller drawing the pack down overnight.
The confusing symptom is the ghost charge. The light accepts a surface charge in the afternoon and then dies within an hour of sunset, because the cell cannot hold real current. If you see that pattern with a healthy-looking panel, the battery is the problem, not the sunlight.
Stop opening the fixture when the panel itself is the fault. A scratched or delaminated panel, or a board with burned components around the controller, means a new light or a new panel. There is no sensible DIY fix, and forcing one usually destroys the seal.
Replace a Failed Battery or Switch
Open the compartment first and photograph the wiring before you touch a single connector. Screws hide under a rubber plug or the mounting stake; some housings release with two plastic clips, which a spudger lifts without damage.
Disconnect the old cell, noting which wire meets which terminal. Fit a replacement of the same size, chemistry and voltage. Never fit a standard alkaline cell: at 1.5V it overdrives a controller set for 1.2V, and in a multi-cell pack the mismatch can leave a unit that will not charge again. Match capacity too, since an undersized cell gives you the short runtimes you are trying to escape.
Wrap each bare connection in tape or heat-shrink tubing and add a light film of dielectric grease before pushing the terminals together. A corroded switch on a wall-mounted or string light is usually a sealed part; swapping it means opening the body, which is only worth doing if you can reseal the housing afterwards.
Reassemble gently. Cracked corner posts and stripped screw bosses turn a battery job into a replacement, and overtightening is the usual culprit.
Check Wiring and Re-Test the Light
Look for connections that are loose, greenish, fuzzy with corrosion, pinched under a clip, or chewed through by a squirrel or mouse along an external run. Rub an eraser gently across battery contacts to lift light oxide, then swab with a cotton swab and re-grease them. Repair only wiring you can actually reach from outside the housing, using insulated connectors rated for the wire gauge.
Put the light in direct sun for a full day with the switch ON. Do not judge the result from a few hours or from a partly cloudy morning; a partially charged battery looks almost healthy and still fails at midnight. After dark, cover the panel again and confirm the lamp lights, stays lit, then switches off once you uncover it.
If it charges all day and dies in an hour, the battery is finished. If it never charges and the battery reads full, suspect the controller or the panel. If it works when you cover the panel but never lights outdoors, the photocell is stuck or shaded.
Common Mistakes
Using the wrong chemistry. This is the expensive one. Alkaline cells, lithium coin cells and mismatched packs do not belong in a solar light, and forum posts show how often they end up there after an online suggestion. Match what came out.
Cleaning too hard. Scouring powder, metal polish and pressure washing all damage the panel coating or drive water inside. A soft brush and a damp cloth are enough.
Ignoring corroded contacts. A green crust on a terminal steals voltage under load even when the meter reads fine at rest. Clean it, then coat it with dielectric grease so it does not come back.
Leaving bare wire exposed. Twist is not a connection. Insulate every joint, and remember that a solar panel in daylight puts voltage on those leads whenever they are connected.
Sealing moisture in. Never reassemble a wet housing. Give it 24 to 48 hours open in a warm, dry room; a bowl of uncooked rice or a hairdryer on a low, cool setting helps speed that up. Trapped moisture corrodes the board from the inside.
Calling it fixed too early. A light that runs for an hour after a four-hour charge has not passed. Full day, full night, and a correct off state is the test.
A couple of habits prevent most repeat failures. Wipe the panel and sensor every few weeks, check for corrosion twice a year, and pull the lights in for the winter rather than leaving them frozen and half-charged. Cold storage in a dry place protects the cells from the capacity loss that makes spring failures look permanent.
Frequently Asked Questions
Why is my solar light dim or shutting off early?
A dim or short-runtime light usually stores too little energy. Clean the panel first, then check whether the fixture gets 6 to 8 hours of direct sun. If it charges all day and still fades early, the rechargeable battery has lost capacity and DIY solar light repair basics say replace it with a matching cell.
Can I replace the battery in any solar garden light?
In most lights, yes. Standard AA and AAA NiMH cells swap in minutes once the compartment is open. Match the original size, chemistry and voltage, and never use a 1.5V alkaline cell in a charger built for 1.2V rechargeable. Fully sealed or glued housings are the exception, because opening them usually breaks the weather seal.
How do I test whether a solar light battery is dead?
Charge the light in direct sun for a full day, then set a multimeter to DC volts and measure across the battery contacts. Compare the reading with the cell type: roughly 1.2V for NiMH, 1.5V for a two-cell pack, or 3.2V for an 18650 lithium iron phosphate pack. A reading well below that after a full charge means the cell is finished.
Should a repaired solar light be charged in direct sun?
Yes. After any repair, give the fixture one uninterrupted full day in direct sun with the switch ON before judging it. Partial sun produces a surface charge that looks promising but collapses after sunset. Testing after a genuinely full day tells you whether the battery, panel and controller are working or whether more repair is needed.
Can I use petroleum jelly to seal a solar light after repair?
Not for the housing seam. Petroleum jelly is fine on battery terminals and switch contacts, where it blocks corrosion, but it dissolves some rubbers and will not restore a gasket or a water-tight joint. For a housing seam, refit the original rubber seal or use a clear silicone sealant rated for outdoor use, then let it cure fully before the light gets wet.
When is replacing the whole solar light safer than repairing it?
Replace it when the housing is glued or sealed with no fasteners, when the panel or charge controller shows burn damage, when the wiring is moulded in and unreachable, or when repairs cost more in time than a new fixture. Multiple simultaneous failures in an old unit are the usual signal. Stop when the seal cannot be restored; water inside the board ends the life.
Conclusion
Start with the free checks, in this order: cover the panel for a darkness test, clean the panel and sensor, confirm the switch is on, and measure the battery. That sequence finds the fault in most fixtures within ten minutes, and it costs nothing but a soft cloth.
If the battery is finished, replace it with a matching rechargeable cell and reassemble gently. Beyond that, the sensible stopping point is a panel, charge controller or sealed housing you cannot work on safely, and there is no shame in buying a new light instead.