To find the sunniest spot in your yard, look for the open area that faces south in the Northern Hemisphere and stays in direct sun for six or more hours a day. The whole check takes one afternoon and a pencil, and it tells you exactly where solar lights, raised beds and containers will genuinely perform.
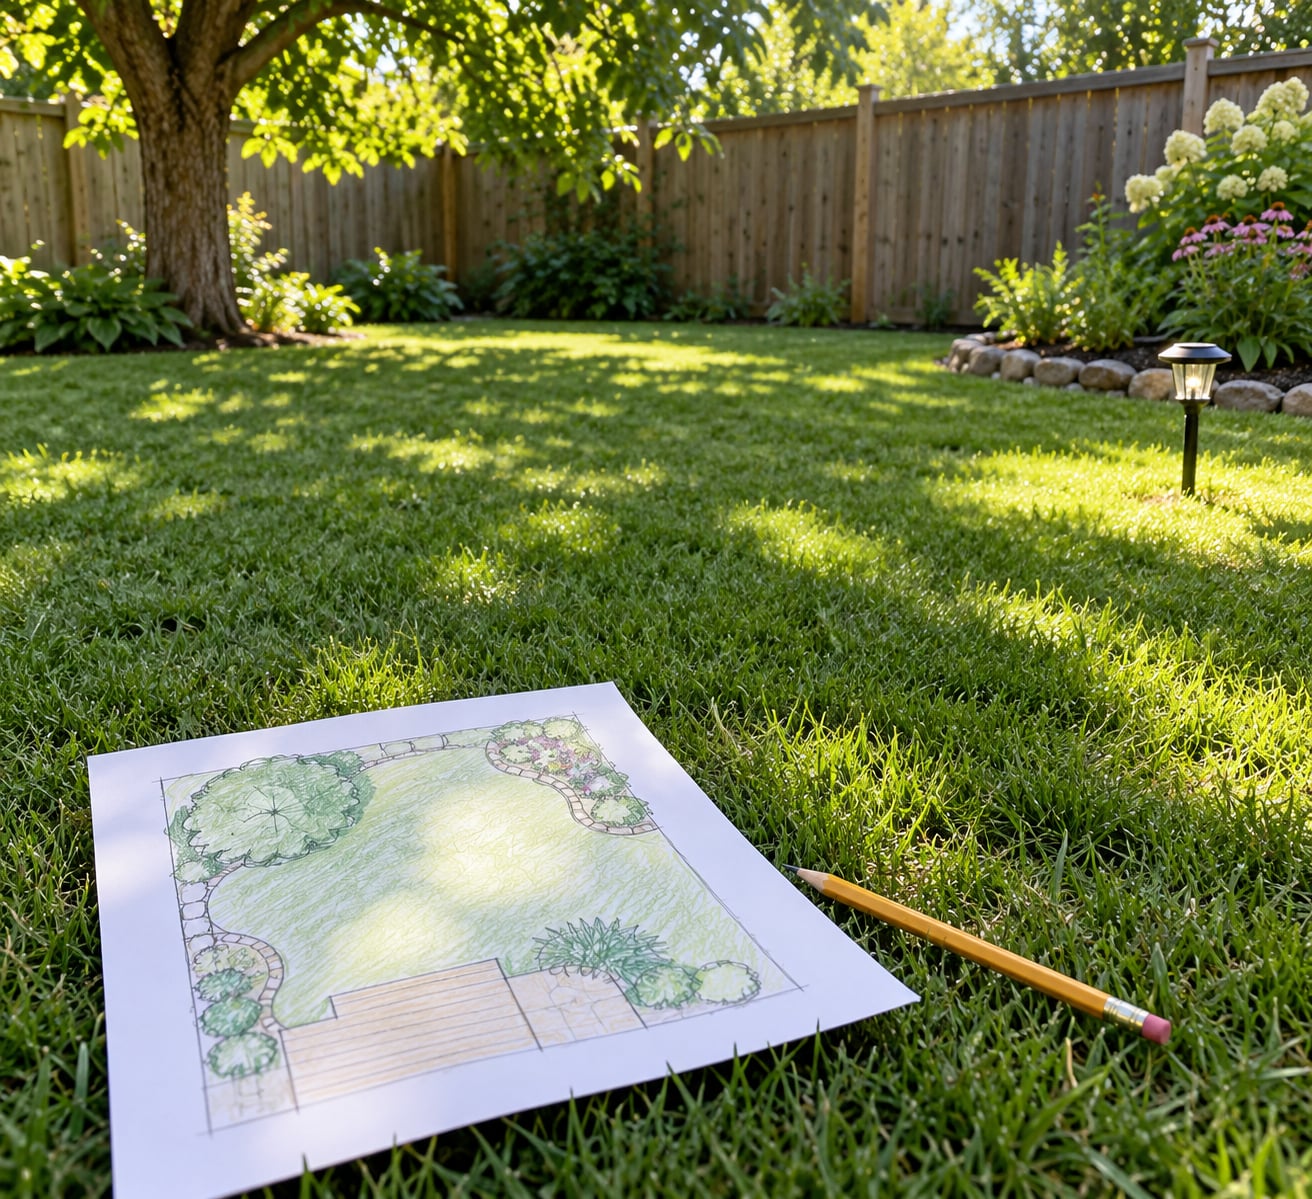
Most yards are not uniformly sunny or shaded. A fence, a shed and one big maple carve a patchwork out of any lawn, and the brightest corner is rarely the one facing the house. Walk it, sketch it, mark it at four times of day, and the answer falls out on paper.
What follows is the method I use and the one gardeners describe most often in forum threads: start with a hand sketch, confirm it with four time checks around 9:00 a.m., noon, and 4:00 p.m., then overlay them into one map. No meter, no subscription, no contractor.
Table of Contents
- What You Need
- Step-by-Step: How to Find the Sunniest Spot in Your Yard
- Check the yard’s fixed shade first
- Record direct sunlight throughout the day
- Use a shadow and sun-tracking test
- Compare the best locations across seasons
- Choose a location that works for the solar light
- Sun Exposure Categories at a Glance
- Choosing a Free or Paid Sun-Mapping Tool
- Common Mistakes
- Frequently Asked Questions
- How much sunlight does a solar light need?
- Which direction gets the most sun in my yard?
- Is five hours of afternoon sun enough for a vegetable garden?
- How can I calculate the sun exposure in my garden?
- What is the best free app for tracking the sun’s position?
- Is ShadeMap accurate?
- Conclusion
What You Need

The kit is short enough that you can gather it in two minutes. Grab something to draw on, a compass (or the compass app on your phone), and a way to keep track of time.
- Paper and pencil — a single sheet of paper is plenty. Graph paper helps if your yard has odd angles.
- Compass — a physical one or the compass app built into most phones. This is how you confirm which side of the yard is south.
- A timer — set alarms for your checkpoint times so you are not guessing when the sun moved.
- Chalk or masking tape — optional, but handy for marking a patch of ground you want to check again later.
- A phone camera — useful for a time-lapse shortcut if you would rather not sit outside for four hours.
- A sun-mapping app or website — optional. Free ones confirm what you drew; they rarely replace it.
No professional equipment is required. If you want to sanity-check brightness in lux, a three-in-one light meter soil probe costs little, but treat the reading as a comparison between your own spots rather than an absolute number.
One note before you start: pick a day in late spring or summer to do the first pass. The sun sits much higher then, so a yard that looks bare in December can be quite bright in June. Judging a yard in winter is the single most common mistake, and it sends people hunting for sun that will not arrive until April.
Step-by-Step: How to Find the Sunniest Spot in Your Yard
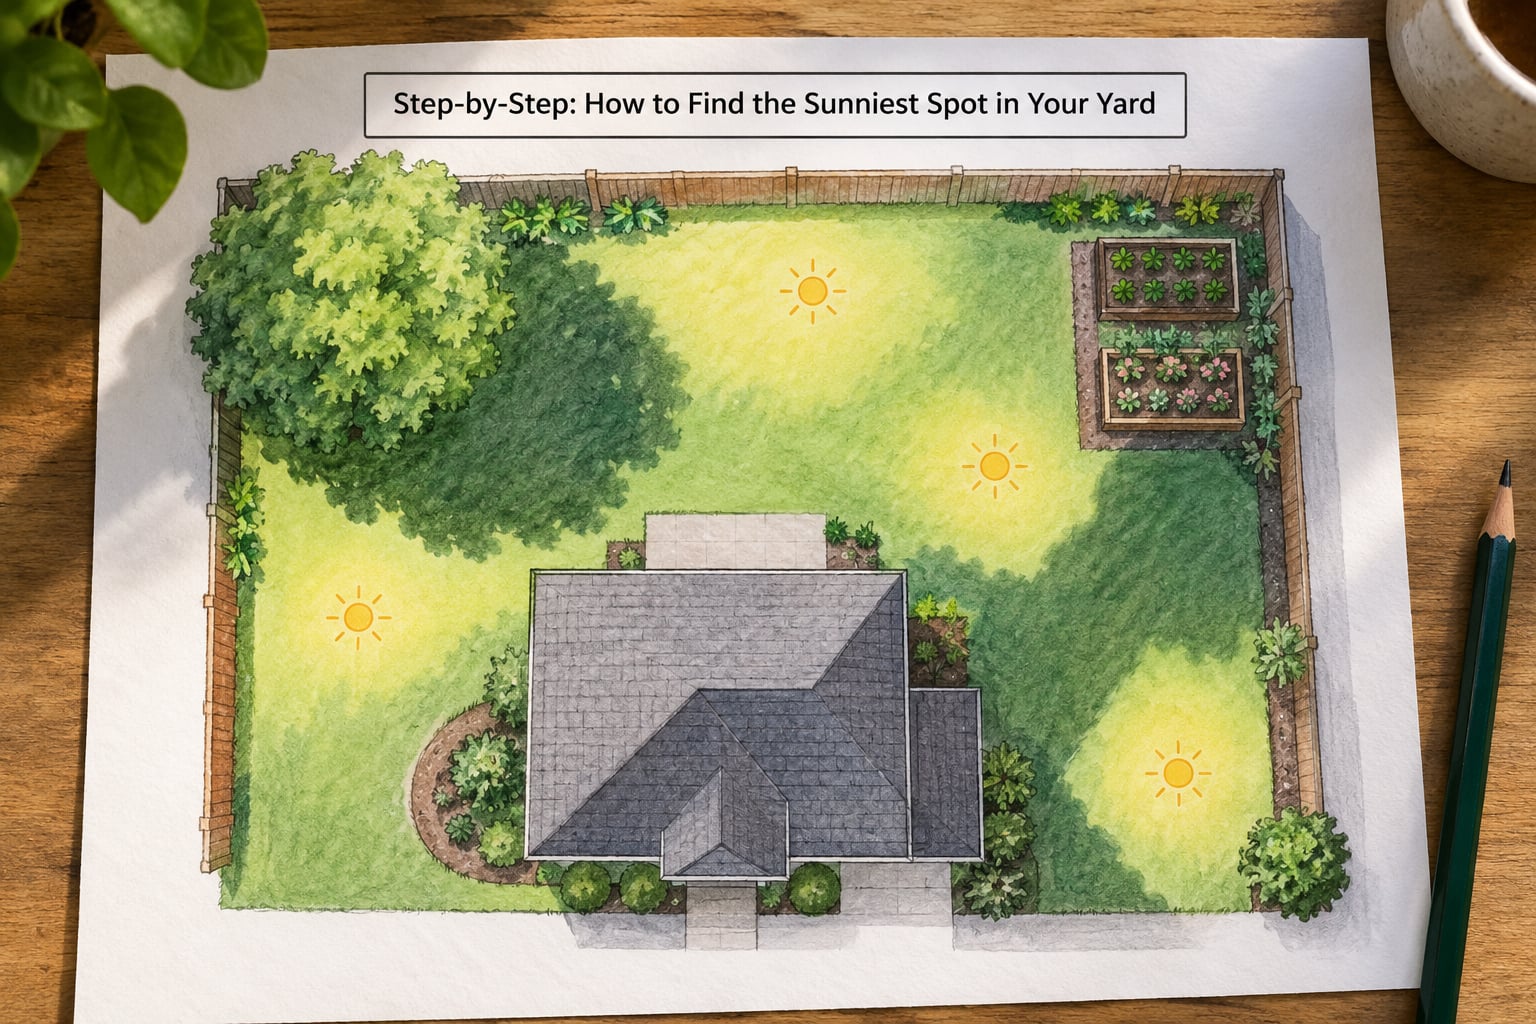
Check the yard’s fixed shade first
Before you measure anything, map the shade you already know about. Walk the property boundary and draw in every fixed object: the house, garage, fence, shed, deck, utility poles and any tall structure a neighbour has built close to the line.
Mark deciduous trees differently from evergreens. An evergreen blocks sun in August the same way it blocks it in January, while a maple gives you dappled light in spring and a solid wall of shade once it leafs out. A young 20-foot tree can move a bed from full sun to part shade in three growing seasons, so note the size as well as the species.
Shade from your own house deserves special attention because it shifts dramatically across the day. The north wall is in shadow most of the day in the Northern Hemisphere; the west wall glows in the late afternoon; the south wall is lit nearly all winter. Fences reflect light back and throw a soft shadow upward, which is why the strip beside a light-coloured fence usually gets more usable brightness than it appears to.
How do you know the pass worked? Every structure in your drawing should have a note beside it, and every empty patch of lawn should still be unmarked. That clean slate is what you test next.
Record direct sunlight throughout the day
Set checkpoints at 9:00 a.m., noon, and 4:00 p.m. — four if you have the patience, adding 6:00 p.m. for long summer evenings. At each one, stand where you can see the whole yard and note which spots are in direct sun versus shade.
Direct sun means an unobstructed beam from the sky. It puts a hard-edged shadow. Dappled light is different: the sun reaches the ground through moving leaf gaps, which shifts minute to minute and cannot be mapped with a single observation. Mark dappled areas separately and never count them as direct sun.
Use a colour code so the four passes stack later. Orange for direct sun, blue for shade, and a light shade of grey or green for dappled light. Draw a small legend in the corner of the page — without a key, four overlapping sheets become unreadable by the second afternoon.
You do not need to observe on several consecutive days for a first answer. One clear, representative day is plenty for most yards. If you can spare it, a second day confirms that what you marked was the sun and not a passing cloud.
What you are looking for at the end is not the brightest single moment. It is the spot that stayed lit at the most checkpoints. That consistency is what separates a genuinely sunny location from a patch that gets one bright hour at two in the afternoon.
Use a shadow and sun-tracking test
Pick your top two or three candidates and stake a marker in each: a bamboo stake, a ruler, a chopstick pushed into the soil. Come back with a notebook and record the tip of each shadow at the same four times. A shadow pointing north means the sun is south of that spot, so the spot is receiving direct light.
This works even on an overcast day, because you can read the brightest part of the sky and aim the marker at it. It also tells you something the eye-level checks cannot: how far the shadow travels. A short shadow at noon means a wide-open location. A long shadow at noon means something tall is standing between your marker and the southern sky.
If four trips outside sound like too much, set your phone on a tripod or stack of books at a window and record a time-lapse from morning to evening. Scrubbing through it at speed shows the shadow line sweeping across the yard and takes about fifteen minutes of setup. Several gardeners describe a video doorbell working the same way.
Compare the best locations across seasons
Repeat the four checkpoints near the summer solstice, then again around the equinox, and once more if you plan to grow through winter. The ranking of your candidates will change. A spot that wins in December may be mediocre in June, and a spot that is ordinary in midsummer may become your brightest window in March.
Do the timing when it matters for your project. Solar garden lights and outdoor solar lighting need reliable charging through the shoulder months, not just a bright July afternoon, so map in autumn and winter before you commit. Paneling and vegetable beds care most about the growing season, so map between late spring and early summer.
Also watch what changes over the years. A neighbour’s new fence, a fence replaced with a taller one, or a tree that finally matured can quietly move the line. Mark the date on the map and treat it as a living document rather than a one-time drawing.
One more variable is worth separating: when, not just how long. Morning sun is cool and gentle, which suits leafy greens, ferns and houseplants that scorch in afternoon heat. Intense afternoon sun in the South can cook a bed that would have been happy three hours earlier. Sun-loving crops such as tomatoes and peppers want the long, hot afternoon; root crops and tender seedlings often prefer the cooler morning end.
Choose a location that works for the solar light
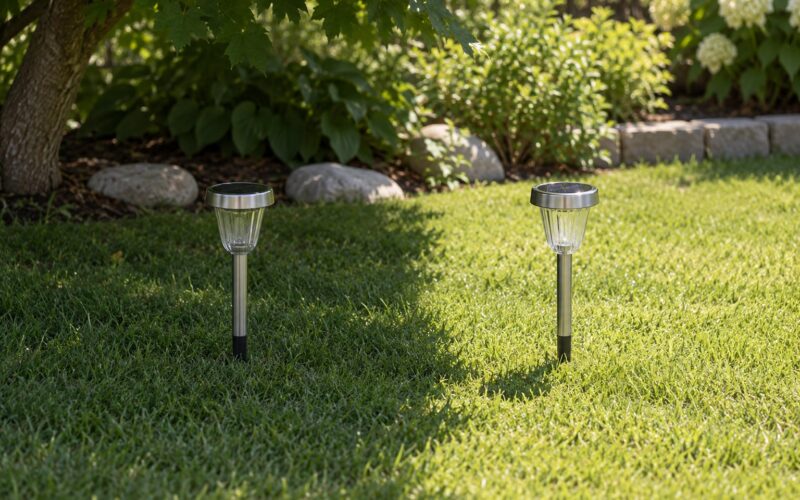
Once the map is finished, cross-reference brightness with the practical constraints. A solar light needs to sit where the panel gets direct sun for most of the day with nothing overhead, so the brightest patch usually wins — but check a few things before you stake it there.
Look at how low the sun sits in your region in winter. If your latitude puts the winter sun very low, a spot next to a fence or shrub may get almost nothing for months, and a light placed there will be dark on the longest nights of the year.
Check visibility and reach. The brightest corner behind the shed may charge beautifully and light nothing. Solar lights along a path need to be visible from the house and spaced so the whole walkway is covered rather than clustered in one bright point.
Confirm the ground itself. Avoid low spots that hold water, since standing moisture shortens the life of the panel and the battery. Keep some clearance so a shrub you add in three years does not become the shade source you mapped around.
Finally, walk it at night. Stand where the light should land and check that the placement does not glare into a neighbour’s window, a bedroom or a neighbour’s pool area. The best-lit corner is not always the considerate one.
Sun Exposure Categories at a Glance
Once you have hours counted, here is how the standard categories line up. These thresholds come from general horticultural guidance and apply to the growing season in the Northern Hemisphere.
| Category | Hours of direct sun | Quality of light | Typical uses |
|---|---|---|---|
| Full sun | 6-8 hours or more | Unobstructed for most of the day | Tomatoes, peppers, sun-loving perennials, solar panels |
| Part sun | 4-6 hours | Direct for part of the day, rest in shade | Root vegetables, herbs, most flowering annuals |
| Part shade | 3-4 hours, often dappled light | Sun filtered through canopy or a light obstruction | Leafy greens, berries, ferns, hostas |
| Full shade | Under 3 hours | Mostly indirect or reflected light | Shade-tolerant natives, woodland planting |
Count hours of direct sun only, and count them across the season you care about. A spot that reads full sun in June and full shade in April is not a full sun spot for a northern climate where the growing season is short.
Choosing a Free or Paid Sun-Mapping Tool
A sketch beats any app on accuracy, because only you know about the neighbour’s new shed. Tools are still worth using, mostly to confirm a shortlist, check a spot you cannot reach, or see how a tall obstruction will cast shadow years from now.
| Tool | Cost | What it shows | Best for | Where it falls short |
|---|---|---|---|---|
| SunCalc (suncalc.net) | Free, no sign-up | Sun position, sunrise and sunset, shadow angles for a date and location | Quick answer on whether a wall or fence will block the winter sun | handles the sun’s geometry well; it knows nothing about your trees until you enter them |
| Shadowmap.org | Free, no sign-up | 3D shadow simulation over a real map, month by month | Previewing a proposed fence, shed or tree before you build | You have to add buildings and tree height by hand |
| Sunseeker | Free tier, paid unlock | Live sun and moon path in augmented reality | Standing in the yard and pointing the phone to see the arc | Shows the sun, not your garden; you still translate it to the ground |
| Sun Tracker AR | Free | Augmented reality sun path with time and date controls | Quick checks from inside a window | Same limitation — geometry only, no planting advice |
| Sollumis | Free tier, paid features | 3D garden model with shade simulation across a year | Planning a full bed layout before digging | Time to build the 3D model; overkill for a single corner |
| Three-in-one light meter probe | Low-cost one-time buy | Lux reading plus soil moisture and pH | Comparing brightness between your own shortlisted spots | A single reading at one moment, not a daily total; cloudy days skew it |
If your yard is small, crowded or unfamiliar because you have just moved in, work from a free browser tool to a real observation, in that order. The tool narrows the field, the walk settles it.
Common Mistakes
Checking only at midday. Noon is the easiest moment to stand outside and the least informative one. A spot lit at noon tells you nothing about the other eleven waking hours. Fix: always use the same three or four checkpoints so every spot gets compared on the same terms.
Placing lights under dense trees. A canopy that looks open in March is a solid roof by June. Fix: map at the time of year your lights need to work, and if the tree is deciduous, plan for its mature canopy rather than its current one.
Ignoring seasonal change. A yard judged in December in a northern climate will look hopeless, and a yard judged in June can look better than it is in spring. Fix: map at least twice, once in the season you care about most.
Judging brightness by eye alone. Human vision adapts to changing light, which is exactly what you are trying to measure. Fix: use hard-edged shadow as your test. A visible, sharp shadow means direct sun; soft, undefined edges mean dappled or indirect light.
Picking a sunny spot that is awkward. The brightest corner may be behind the bins, beside the downspout, or in the only patch that floods after a storm. Fix: rank candidates on brightness first, then cross out any that fail drainage, reach or safety.
Not rechecking after changes. A new fence, a removed tree or a grown shrub quietly redraws your map. Fix: put a date on the sketch and re-run the four checkpoints once a year, or any time the property changes.
Frequently Asked Questions
How much sunlight does a solar light need?
Most solar garden lights need about three to four hours of direct sun to charge enough for a full night, though brighter models with larger panels can manage on two. What matters most is consistent direct sun rather than a single bright hour, so place lights where your sun map shows sun at the middle checkpoints, ideally with nothing overhead blocking the panel.
Which direction gets the most sun in my yard?
In the Northern Hemisphere, south-facing areas get the most sun because the sun tracks across the southern sky for most of the day. The eastern end gets cooler morning light and the western end gets intense afternoon sun. South of the equator the pattern inverts and north-facing areas receive the most sun, so check which hemisphere you are in before using a compass.
Is five hours of afternoon sun enough for a vegetable garden?
Five hours of direct sun supports a decent vegetable garden, especially for beans, squash, brassicas and fall crops. Warm-season favourites such as tomatoes and peppers do best with six hours or more, while leafy greens and root vegetables tolerate four. If the five hours all land in the hottest part of the afternoon, add afternoon shade cloth over the seedlings until they harden off.
How can I calculate the sun exposure in my garden?
Sketch the yard, confirm south with a compass, then mark which areas are in direct sun at 9:00 a.m., noon and 4:00 p.m. on a clear day in late spring or summer. Count the checkpoints where each spot stayed lit, and treat anything sunlit at three or more as full sun. Overlay the four passes to see which locations held up across the whole day.
What is the best free app for tracking the sun’s position?
SunCalc is the most commonly recommended free option because it needs no sign-up and shows sun position, sunrise and sunset for any date and location. Shadowmap is the strongest free companion for previewing how a fence, shed or tree will cast shade month by month. Both model the sun accurately; neither knows about your garden until you enter your buildings and tree heights.
Is ShadeMap accurate?
The sun calculation is accurate for a given date, time and location, so its shadows are reliable. Its limits are your inputs: buildings, fences and trees must be added by hand, and an estimate of tree height is usually just that. Use it to shortlist locations and to preview future growth, then confirm your shortlist with a real observation before you plant or install anything.
Conclusion
Start with the simplest version of how to find the sunniest spot in your yard: step outside at 9:00 a.m., noon, and 4:00 p.m. on a clear day, note which areas hold direct sun at the most checkpoints, and record that location on your sketch. Add the compass and seasonal pass when you want more confidence, then site your solar lights and planting plans on the patch that stayed bright longest.