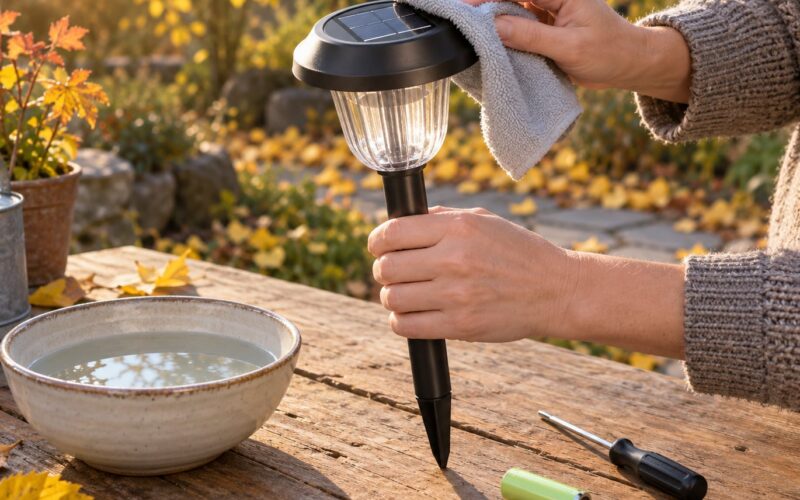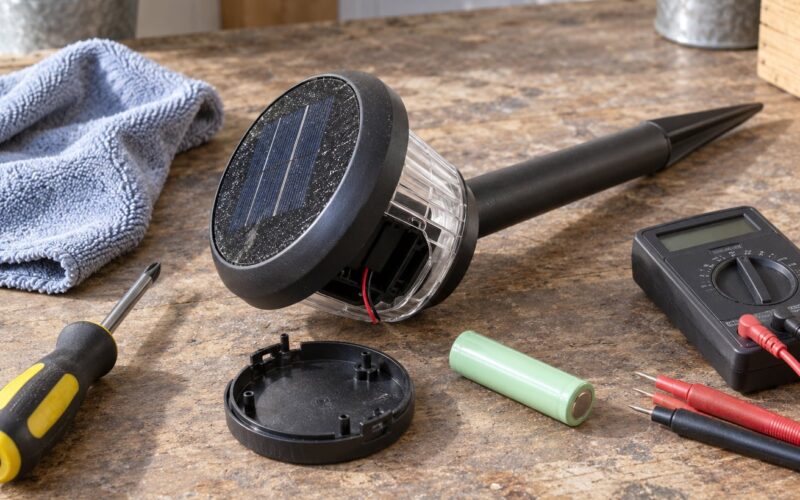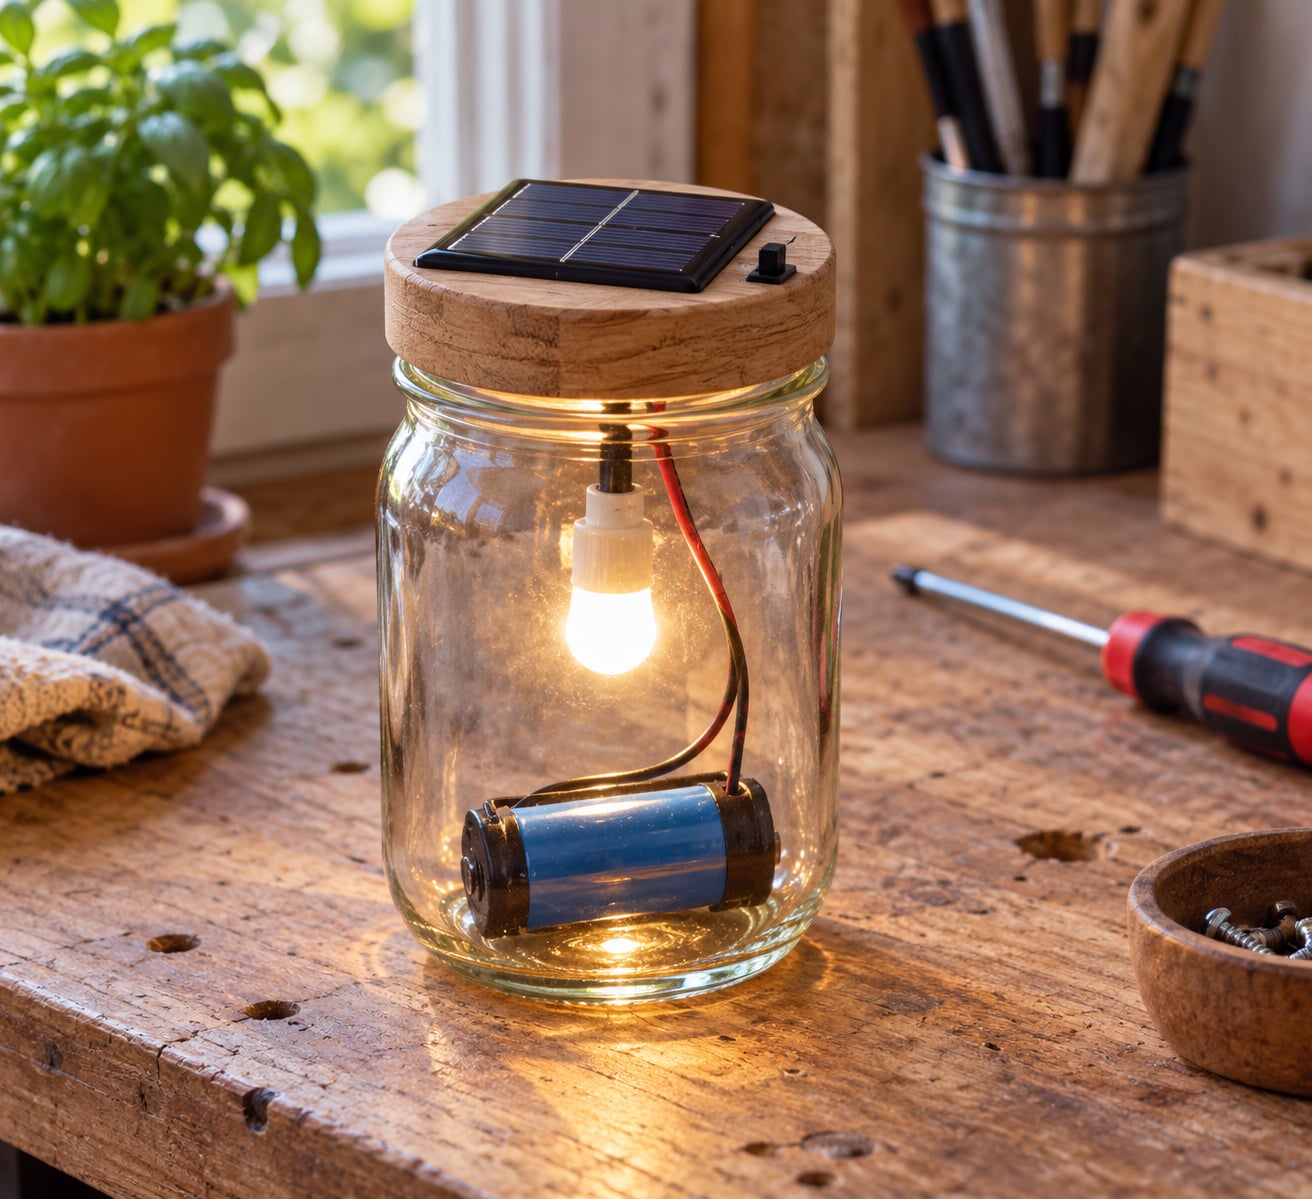
A DIY solar lantern comes down to three parts: a small solar panel that turns daylight into current, a rechargeable battery that stores that energy, and an LED that switches on at dusk through a built-in light sensor. That is the whole circuit, and once you size the three components against each other the build gets much easier. How to make a solar lantern at home takes about an hour on a workbench, costs very little in parts, and needs no mains cable.
You have two routes to the same result. The easy one upcycles a cheap solar stake light inside a mason jar or a small tin lantern. The from-scratch route wires a bare panel, a rechargeable cell and an LED yourself, which gives you a lantern body you fully control and a circuit you can repair later.
This guide covers the from-scratch build in full, plus the mistakes that make finished lanterns die after a few days.
Table of Contents
- What You Need
- How to Make a Solar Lantern at Home: Step-by-Step
- 1. Choose the Lantern Design and Check the Parts
- 2. Prepare the Battery and Circuit
- 3. Connect the Solar Panel and Add a Charge Controller
- 4. Assemble the Lantern
- 5. Charge, Test and Weatherproof the Project
- Common Mistakes
- Frequently Asked Questions
- Can I make a solar lantern without a battery?
- What size solar panel do I need for a lantern?
- How long does a DIY solar lantern take to charge?
- Can a homemade solar lantern be used in the rain?
- How do I make a solar lantern last all night?
- Why did my solar lantern stop lighting, and how do I reset it?
- Conclusion
What You Need
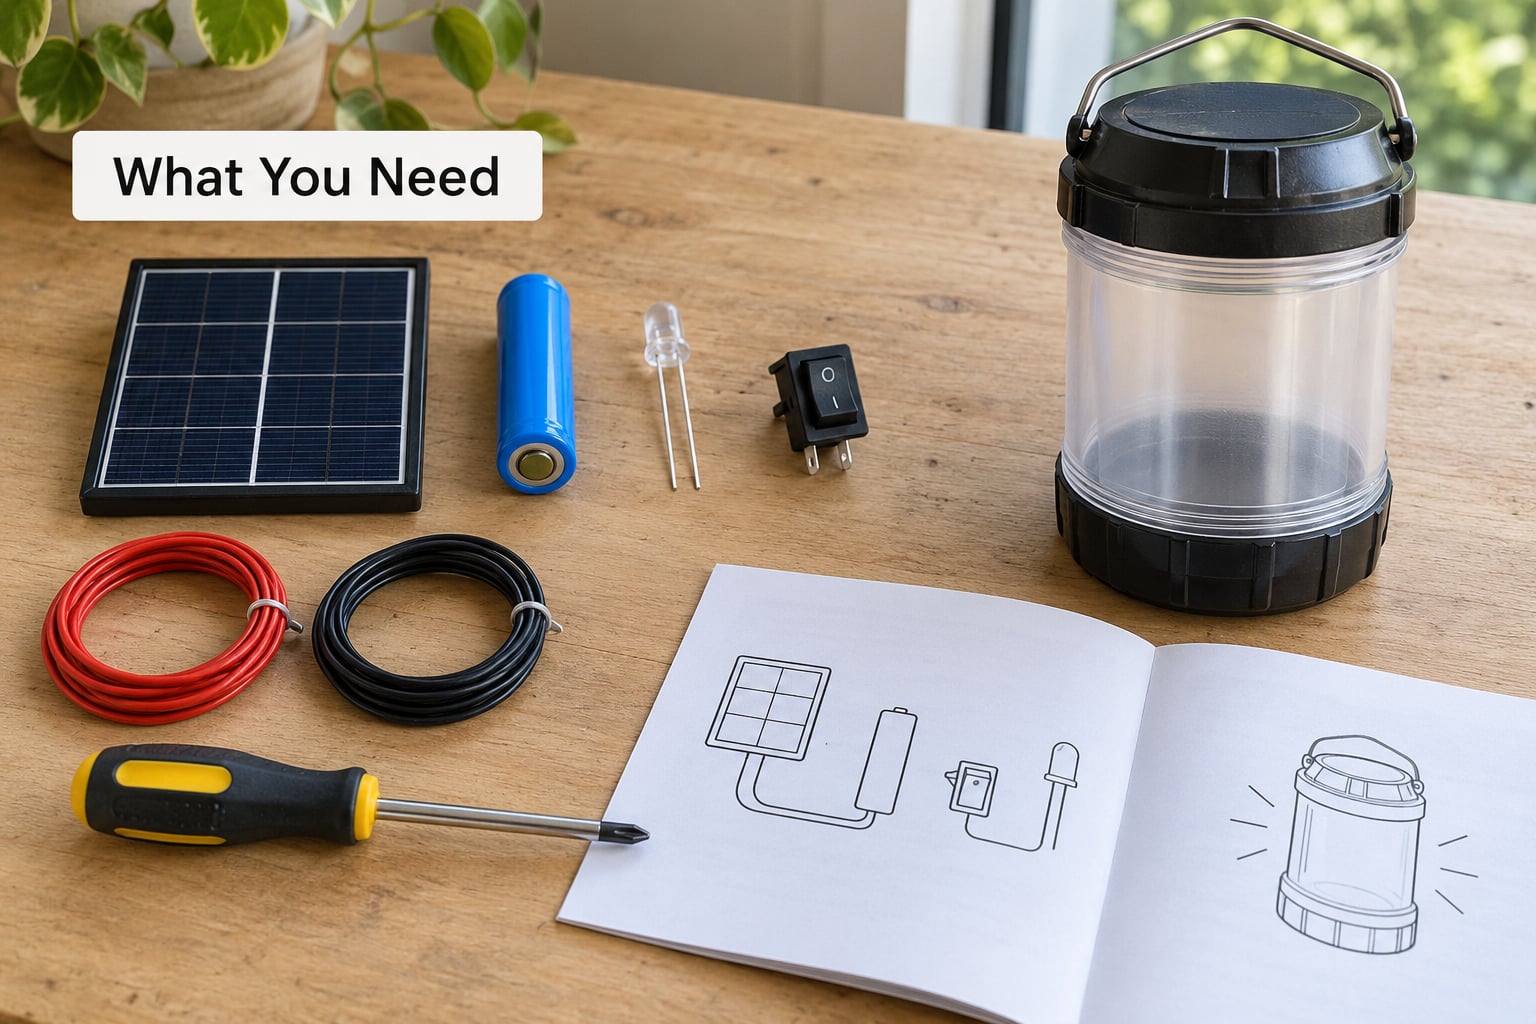
Pick a container before you pick anything electrical. A mason jar, a wide-mouth tin, or a small wooden box with a drilled hole all work, and the container decides how big your panel can be. Measure the top surface and the depth inside before you wire anything.
Here is what the core build needs, with the spec ranges that work for a single-LED lantern:
| Component | Useful spec | Why it matters |
|---|---|---|
| Solar panel | 1 W to 2 W, 6 V nominal mini panel | Must outsize the LED’s draw so the battery still charges on a partly cloudy day |
| Rechargeable battery | 1.2 V NiMH cell at 800 to 2000 mAh, or a 3.7 V 18650 lithium-ion cell with a protection board | Capacity in mAh decides how many hours of light you get after one sunny day |
| LED | 5 mm warm-white, roughly 20 mA at 3 V | Warm white reads softer at low brightness and is easier on the battery |
| Series resistor | 150 to 220 ohm, 1/4 watt | Limits LED current so it does not burn out in a few minutes |
| Light sensor | Dusk-to-dawn photocell, or a light-dependent resistor with a small switch board | Closes the circuit at dark and opens it at sunrise |
| Charge controller | 6 V PWM solar charge controller | Stops the panel overcharging the battery on a long, bright day |
| Switch | Single-pole slide switch rated for low-voltage DC | Lets you switch the lantern off for travel or storage |
| Wiring | 22 to 26 AWG stranded wire with a silicone jacket | Stranded wire flexes instead of snapping at a solder joint |
| Lantern body | Mason jar, tin can or wood block | Holds the battery and lets the light spill out |
| Weatherproofing | Exterior silicone sealant, silicone cord, rubber grommets | Keeps rain out of the enclosure and off the wiring |
The sizing rule is simple. A 20 mA LED at 3 V draws about 0.06 W while it is lit, but the panel needs headroom for conversion losses and weak light. A 1 W panel gives you roughly ten times the LED’s demand, which is why a 1 W panel still charges a battery on an overcast morning when a 0.5 W panel sits idle.
On the battery side, divide mAh by LED current to get a rough runtime. A 1000 mAh NiMH cell at 20 mA is theoretically 50 hours, but no panel charges a cell fully overnight and cold nights cut usable capacity, so plan on something closer to a fifth of that figure.
You also need a few tools: a low-temperature solder iron and solder, wire strippers, a small screwdriver, a hot glue gun, and a multimeter if you want to check polarity and charge voltage properly.
How to Make a Solar Lantern at Home: Step-by-Step
1. Choose the Lantern Design and Check the Parts
Decide first whether you want decorative accent light or something bright enough to light a pathway step. Accent light from one warm-white LED inside a marbled jar needs a smaller panel than a multi-LED cluster, and it is far more forgiving on battery life.
Confirm the parts fit together before you cut anything: the LED should be small enough to sit inside the container without touching the glass, the battery should sit flat or on its side without pressing the panel’s contacts, and the panel should sit where nothing casts a shadow across it during the day.
Check the panel’s labelled open-circuit voltage with a multimeter if you have one. A panel reading well below its label in an indoor room is normal; a panel reading far below its label in direct sun may have damaged cells.
2. Prepare the Battery and Circuit
Identify polarity before you solder. NiMH and lithium-ion cells are marked, but bare cells often are not: the flat end of a lithium-ion cell is normally positive, and an NiMH cell with a button top usually has that raised button as positive.
Solder the LED to the resistor, then solder the resistor into the positive leg. Add the slide switch in the positive line so it breaks the circuit before the LED rather than after, which keeps the sensitive component from sitting on a live rail all day.
Wire the photocell side last. If you bought a dusk-to-dawn sensor module, it already contains the resistor network and comparator, so it only needs power in, power out and an output wire to the switch or LED. If you are wiring a bare light-dependent resistor, it needs a comparator or transistor to make a clean on-off decision, and that is the part beginners most often get wrong.
Never solder directly onto a cell’s terminals if you can avoid it; crimp or use a battery holder instead. Add heat-shrink tubing over every joint, and never leave bare copper exposed where moisture could reach it.
3. Connect the Solar Panel and Add a Charge Controller
Run the panel’s output into the charge controller’s input, and the controller’s battery output to the battery. The order matters: current has to pass through the controller before it reaches the cell.
A controller matters more than most tutorials admit. Without one, a panel can push a full day’s worth of energy into a cell in a single bright afternoon, which raises its internal pressure, shortens its life and in a lithium-ion cell can be genuinely unsafe.
Match the controller to the cell type you chose. A controller set up for NiMH and lithium-ion behaves differently on each, and using the wrong profile is a common reason a replacement battery seems to die early.
Check the wiring order once more before you connect the battery: panel to controller, controller to battery, battery to the switch, switch to the LED and resistor. Then confirm with a multimeter that you have not created a short across the cell terminals.
4. Assemble the Lantern
Mount the panel on the top or the sun-facing side of the container with a dab of exterior sealant or a screw bracket, and angle it so nothing above it blocks the light. A panel mounted flat on a windowsill will still work; the same panel under a shelf will charge about half as much.
Secure the battery so it cannot slide and touch the panel or the LED leads. Hot glue works on the outside of a jar or the base of a wooden box, but keep glue off the cell terminals and off the photocell, since both need a clear line to the outside.
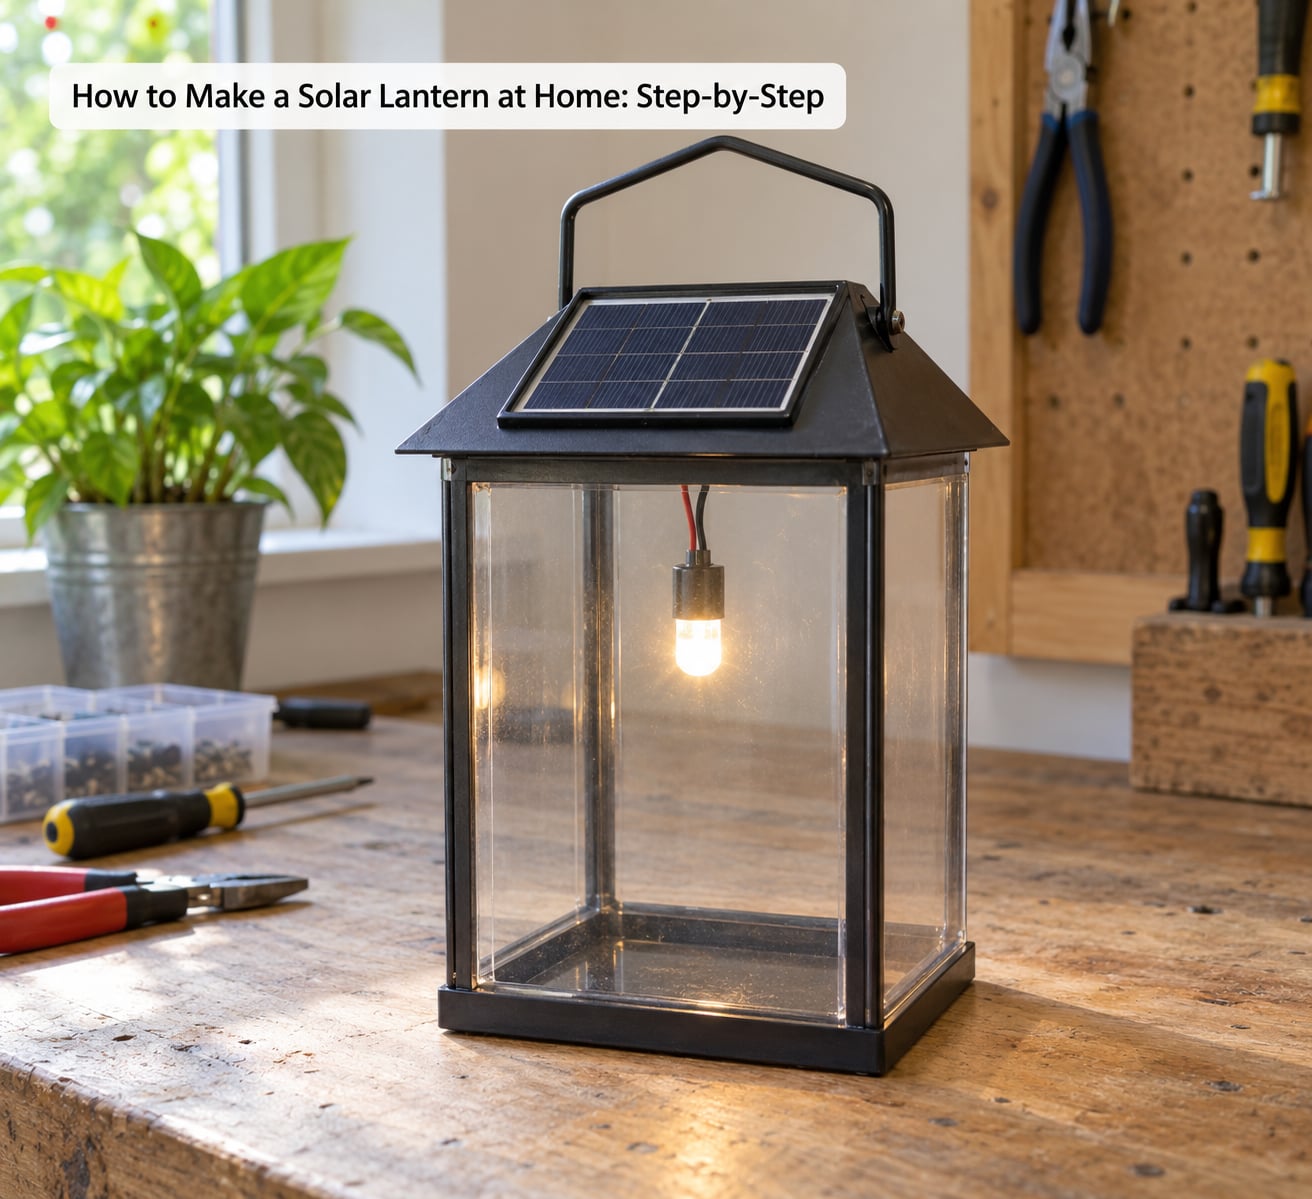
Position the LED near the middle or lower third of the container rather than at the rim. Hanging the LED down into the body of the jar is what turns a jar of light into a lantern, because the light source stops shining straight up and scatters through the glass instead.
Run your wiring along the inside wall and leave enough slack that you can open the base and swap the cell later. A lantern you cannot open is a lantern you will throw away when the battery dies.
5. Charge, Test and Weatherproof the Project
Charge before assembly finishes. Give the bare cell at least one full day of direct sun, then two if the cell is new. Many first failures are simply a battery that was never properly conditioned before it was sealed into a jar.
Test the whole circuit in the dark. Cover the photocell with your hand and the light should come on within a second or two; uncovered, it should go out again. If it stays on in daylight, the sensor is wired backwards or the LED legs are reversed.
Seal it once the test passes. Run a bead of exterior silicone where the panel meets the lid and around any hole you drilled, and use silicone cord or a rubber grommet at the wire entry. Drill drainage holes at the lowest point so condensation has somewhere to go, because trapped water is what ruins these lanterns.
How long it glows depends almost entirely on the day it had. Here is roughly what to expect from a single 1000 mAh NiMH cell with a warm-white LED at 20 mA, after a proper charge:
| Season and conditions | Usable sun that day | Expected light |
|---|---|---|
| Summer, clear sky | 6 hours or more | 5 to 7 hours into the night |
| Spring and autumn, mixed sun and cloud | 3 to 4 hours | 3 to 4 hours |
| Winter, low sun and short days | 1 to 2 hours | 1 to 2 hours, often dimmer |
| Multi-day overcast stretch | Under an hour | Under an hour, or not at all |
Cold cuts usable battery capacity, so a lantern that runs all evening in August may barely light a step in January. That is chemistry, not a fault, and no amount of troubleshooting will fix it. Give the panel the sunniest spot you have, away from tree shade, and expect shorter winter nights.
Common Mistakes
Using an undersized solar panel. A panel that barely covers the LED’s draw leaves the battery flat every night, which is the number one reason homemade solar lights die within days. Match the panel to at least ten times the LED’s power draw and stop worrying about it.
Reversing battery polarity. A NiMH cell pushed in backwards will not charge normally, and a lithium-ion cell run backwards can vent or rupture. Identify polarity with a multimeter before the cell goes in, and label it.
Omitting the charge controller. A panel wired straight to a battery overcharges it on a long bright day. A basic 6 V PWM controller is the cheapest insurance in the build.
Poor waterproofing. Water collecting inside the jar is the most common complaint in reader comments on jar lantern tutorials. Seal every hole, add a gasket where the lid meets the body, and drill a drain at the lowest point.
Heating the LED. Running an LED without a series resistor drops the cell’s full voltage across a 3 V diode, and it will cook in minutes. Always include a current-limiting resistor sized for your cell voltage.
Blocking the panel. A panel under a shelf, behind a decoration or facing north charges a fraction of what its label claims. Mount it in direct sun with no shadow falling across it from late morning onward.
Expecting it to work without sunlight. A solar lantern has no stored fuel of its own. After several grey days it will not light, and that is expected behaviour rather than something to repair.
Leaving the activation tab in. Stake lights and pre-built modules ship with a small insulating tab or switch in the off position. Pull the tab before charging, or the battery charges against an open circuit and stays flat.
Sealing the cell in permanently. Rechargeable cells age out after a couple of seasons. Leave the base removable or use a hinged base so a dying cell is a five-minute swap, not a rebuild.
A couple of placement tips that matter more than any trick: put the panel where it gets sun for most of the day rather than where the lantern looks prettiest, and keep the lantern where people walk, since that is where a dim accent light actually earns its keep. On a patio table or a porch step, one dim lantern reads as intentional. Along a dark path, it barely reads at all.
Frequently Asked Questions
Can I make a solar lantern without a battery?
Not as a working lantern. The battery is what stores daytime energy for the night, so without it the LED only runs while the panel is lit. You can leave the battery out for a daytime-only decorative piece, but anything meant to glow after dark needs a rechargeable cell between the panel and the LED.
What size solar panel do I need for a lantern?
For a single warm-white LED drawing about 20 mA at 3 V, a 1 W panel gives you plenty of headroom and a 2 W panel charges faster and holds up better in winter. Anything under half a watt tends to leave the battery flat every night. Bigger panels only help if the battery can absorb the extra charge.
How long does a DIY solar lantern take to charge?
Give it one full day of direct sun for the first charge and two for a brand-new cell. A 2 W panel typically reaches a useful charge in about five hours of hard sunlight, while a 1 W panel wants closer to eight. In winter or under cloud, treat the charge as a bonus rather than a plan.
Can a homemade solar lantern be used in the rain?
Yes, as long as every opening is sealed. Run exterior silicone around the panel mount and any drilled hole, use silicone cord or a grommet where wiring enters the enclosure, and leave a small drain at the lowest point so condensation escapes. A jar with an unsealed rim will collect water within a few storms.
How do I make a solar lantern last all night?
Match the panel to roughly ten times the LED’s draw, use the largest cell that fits, and place the lantern in full sun rather than partial shade. Runtime falls in cold weather because usable capacity drops, so a winter lantern needs a bigger panel and a bigger battery than the same lantern in summer.
Why did my solar lantern stop lighting, and how do I reset it?
Cover the photocell with your hand: if the light comes on, the circuit works and the battery is simply flat. Leave it in direct sun for two full days with the switch off and the activation tab removed. If nothing happens with the panel in full sun for two days, the battery has likely lost capacity and needs replacing.
Conclusion
Start by choosing your container and sizing the panel, the battery and the LED against each other. A 1 W panel with a 1000 mAh rechargeable cell and a single warm-white LED is the combination that works for most beginners, and it gives you a lantern that runs several hours on a sunny day.
Build the circuit on the bench and test it in the dark before it goes anywhere near a window. Seal the enclosure once the test passes, leave the base openable for a future battery swap, and follow the instructions that came with your panel, controller and cell, since their voltage and charge limits are not interchangeable.