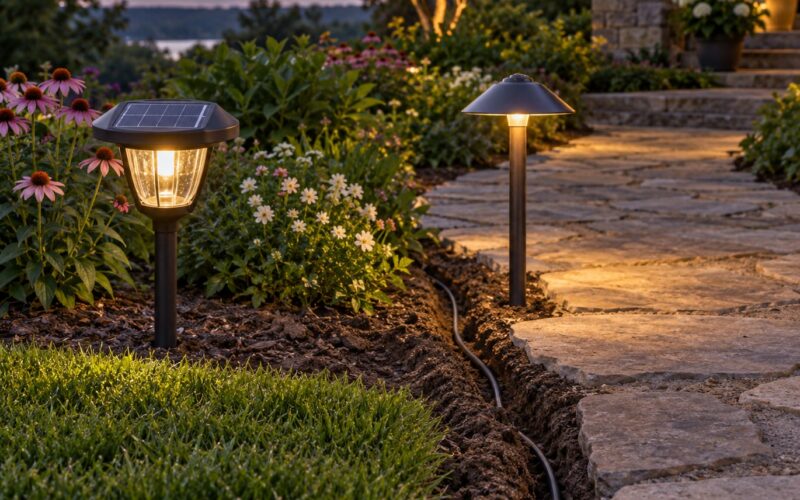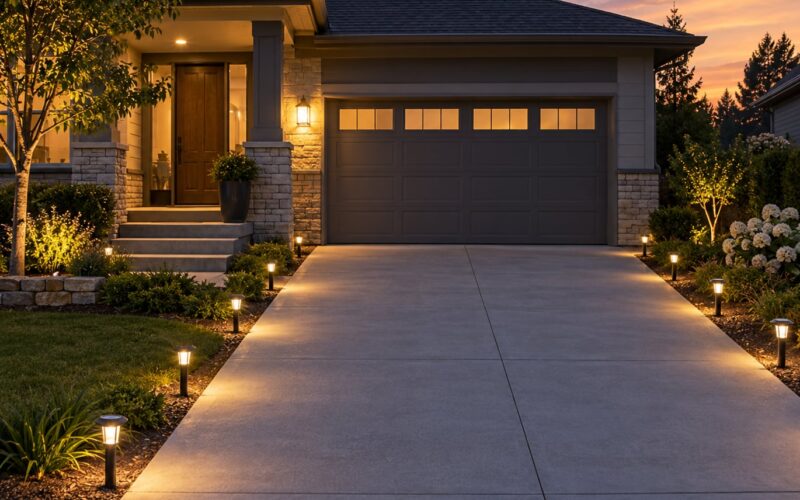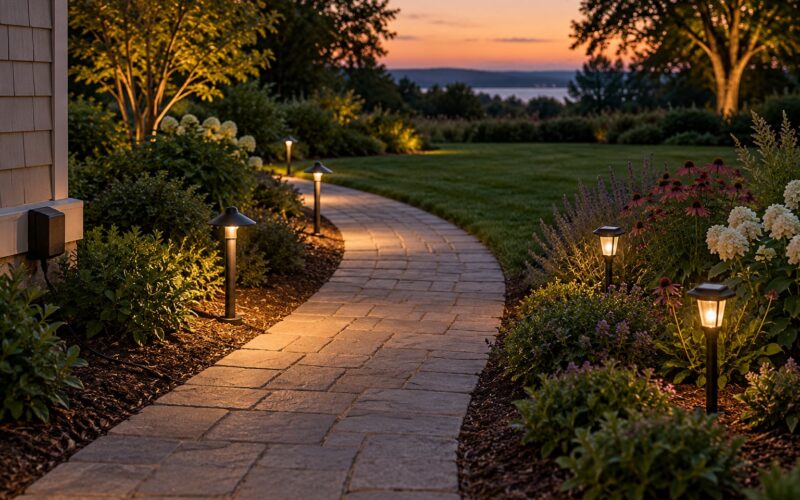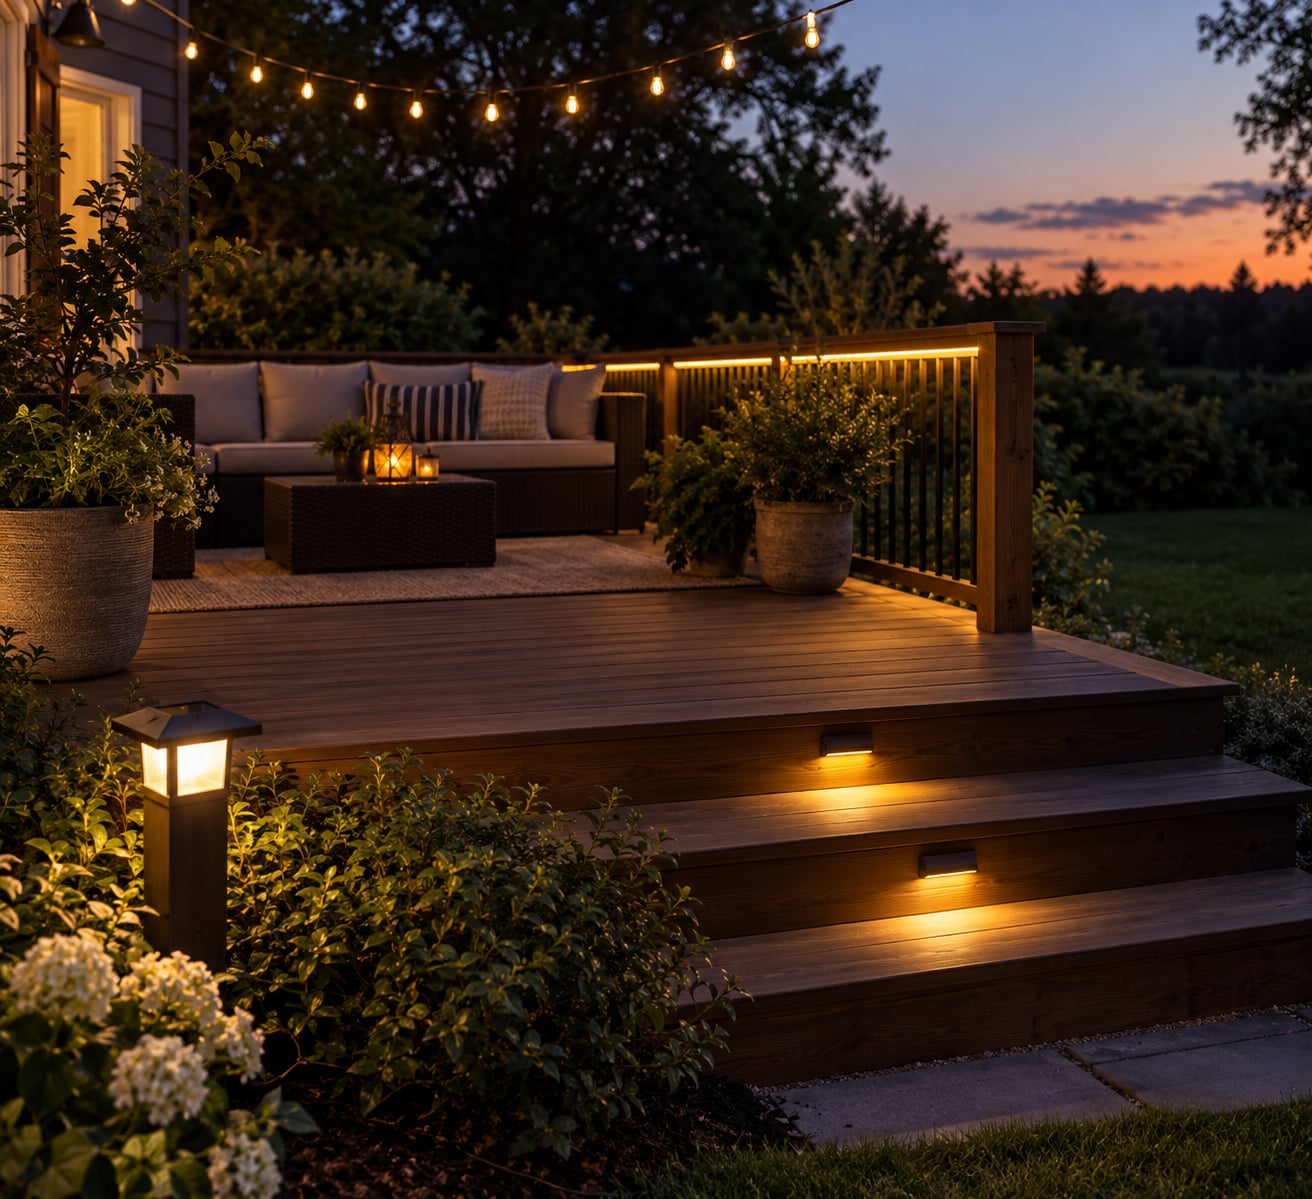
To light a deck at night, layer your fixtures rather than reaching for one bright bulb: dedicated light on stairs, steps and walkways, softer light on posts and railings, and warm overhead or string light where people actually sit. Plan the layout in the dark, pick a power source first, then mount fixtures so their light pools just overlap.
Last updated: October 2026
A solar or plug-in layout takes an afternoon. A 12V low-voltage system takes a weekend and some planning, because the work is routing cable and choosing fixture positions rather than connecting wires. Anything on a 120V circuit belongs to a licensed electrician, and a permit may be required in your area.
Most of the trouble I see with deck lighting comes down to two things: too few fixtures spread too far apart, and fixtures mounted at eye level where the bulb is in your line of sight. Fix those two and the deck reads well from the house and from the yard.
Table of Contents
- What You Need
- How to Light a Deck at Night: Step-by-Step
- 1. Map the deck and identify dark areas
- 2. Choose a layered lighting layout
- 3. Place lights where people walk
- 4. Install or position the main fixtures
- 5. Add light for atmosphere and visibility
- 6. Set controls and timers
- 7. Test the lighting at night
- Common Mistakes
- Frequently Asked Questions
- How many lights are needed to light a deck at night?
- Are solar deck lights bright enough for steps and walkways?
- Should deck stair lights point up or down?
- What kind of outdoor light is best for a wooden deck?
- Can I install deck lighting without running electrical wires?
- How do I prevent deck lights from creating glare?
- Conclusion
What You Need
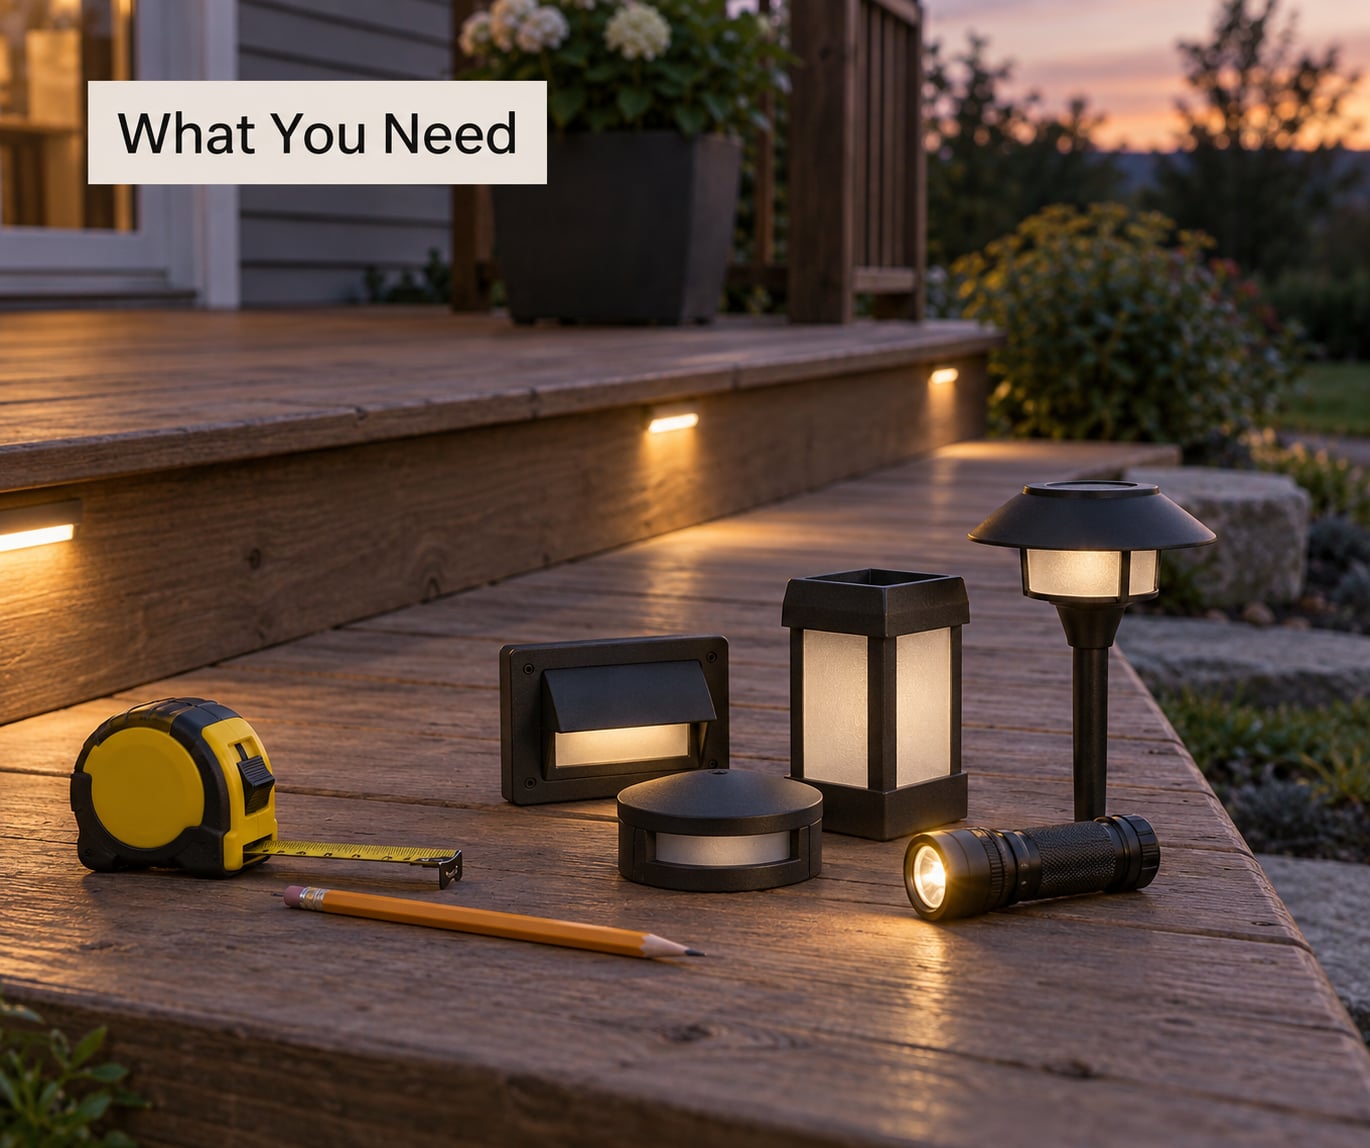
Start with the plan, not the fixtures. Buy lights once you know how many you need and what each one has to do.
- Measuring and marking: a tape measure, pencil, and chalk line or painter’s tape. Note step height, post spacing, the length of each stair run, and the distance from the house door to the first step.
- Fixtures by job: stair or riser lights, one wall sconce by the door, post cap lights, a strip of under-rail LED, pathway lights, and string lights for overhead light.
- Tools: a drill with a bit sized to your fixture, exterior-rated screws, and either a shallow wire loop or surface conduit for exposed runs.
- Optional controls: a photocell for dusk-to-dawn switching, a motion sensor for paths, a timer plug, or a dimmer.
- Safety gear: gloves, eye protection and a work light. Anything you plug in belongs in a GFCI-protected outlet, never an indoor one through a window.
If you are on an existing deck where the joists are already enclosed, plan for surface-mounted fixtures, solar, or a low-voltage cable run under the deck. Drilling into structure you cannot see is how people hit wiring or moisture.
How to Light a Deck at Night: Step-by-Step
Work through these seven steps in order. Most people finish the whole layout in one evening plus a night test.
1. Map the deck and identify dark areas
Walk the deck after sunset with a flashlight and note everywhere you slow down or stop to look. Those spots are your lighting plan.
Measure the deck, then write down the step count and riser height for every stair run, the width and spacing of railings, the position of posts, and the distance from the door to the first step. Mark seating zones, the grill or outdoor kitchen, and any path that runs off the deck into the yard.
The things to watch are level changes and edges. Stairs, a drop to the yard, and a post you can walk into at shin height cause more injuries than anything else on an unlit deck.
2. Choose a layered lighting layout
Four layers do the work, and you need at least the first two.
- Safety lighting: the brightest layer, on stairs, step edges, doorways and changes in elevation.
- Task lighting: over the grill, the outdoor counter and the dining table, bright enough to work by.
- Ambient lighting: general light across the deck boards so the space is comfortable to sit in.
- Accent lighting: low output aimed at railings, planters, trees or a pergola. It adds depth without flooding the yard.
Decide how each layer gets its power before you pick fixtures. This table is the whole decision in one place.
| Power source | Wiring needed | Brightness ceiling | DIY difficulty | Ongoing cost |
|---|---|---|---|---|
| Solar | None | Low to moderate, depends on sun hours | Easy, no wiring | None |
| Battery or plug-in | None, or a cord to an outdoor outlet | Moderate | Easy | Battery replacements |
| 12V low-voltage | Low-voltage cable to a transformer | High | Weekend of planning and routing | Small transformer draw |
| 120V hardwired | New circuit from the panel | Highest | Licensed electrician, permit likely | Standard household draw |
Solar suits accents and paths in open sun. A 12V system suits anything you want bright, and it is the one most homeowners run themselves. Homeowners on r/homeowners report the same pattern repeatedly: solar that looks fine in the store goes dim within a season, mostly because the panel ended up somewhere the sun does not reach.
3. Place lights where people walk
Spacing matters more than brightness. Put fixtures so their light pools touch or nearly touch, with no dark gap between them, and stop before they start overlapping heavily and flattening the space.
A few numbers that hold up well:
- Along a walkway or deck edge, one light every 6 to 8 feet.
- On stairs, light every third step minimum, and use both sides when the run is wide or the steps are shallow.
- At a door, one sconce 6 to 8 inches above the frame, offset to the side rather than directly overhead, so the light rakes across the surface instead of shining in your eyes.
- On a level change, place the light before the drop, not after it.
Mark positions with tape before you drill. Moving tape costs nothing; moving a wired fixture costs an afternoon.
4. Install or position the main fixtures
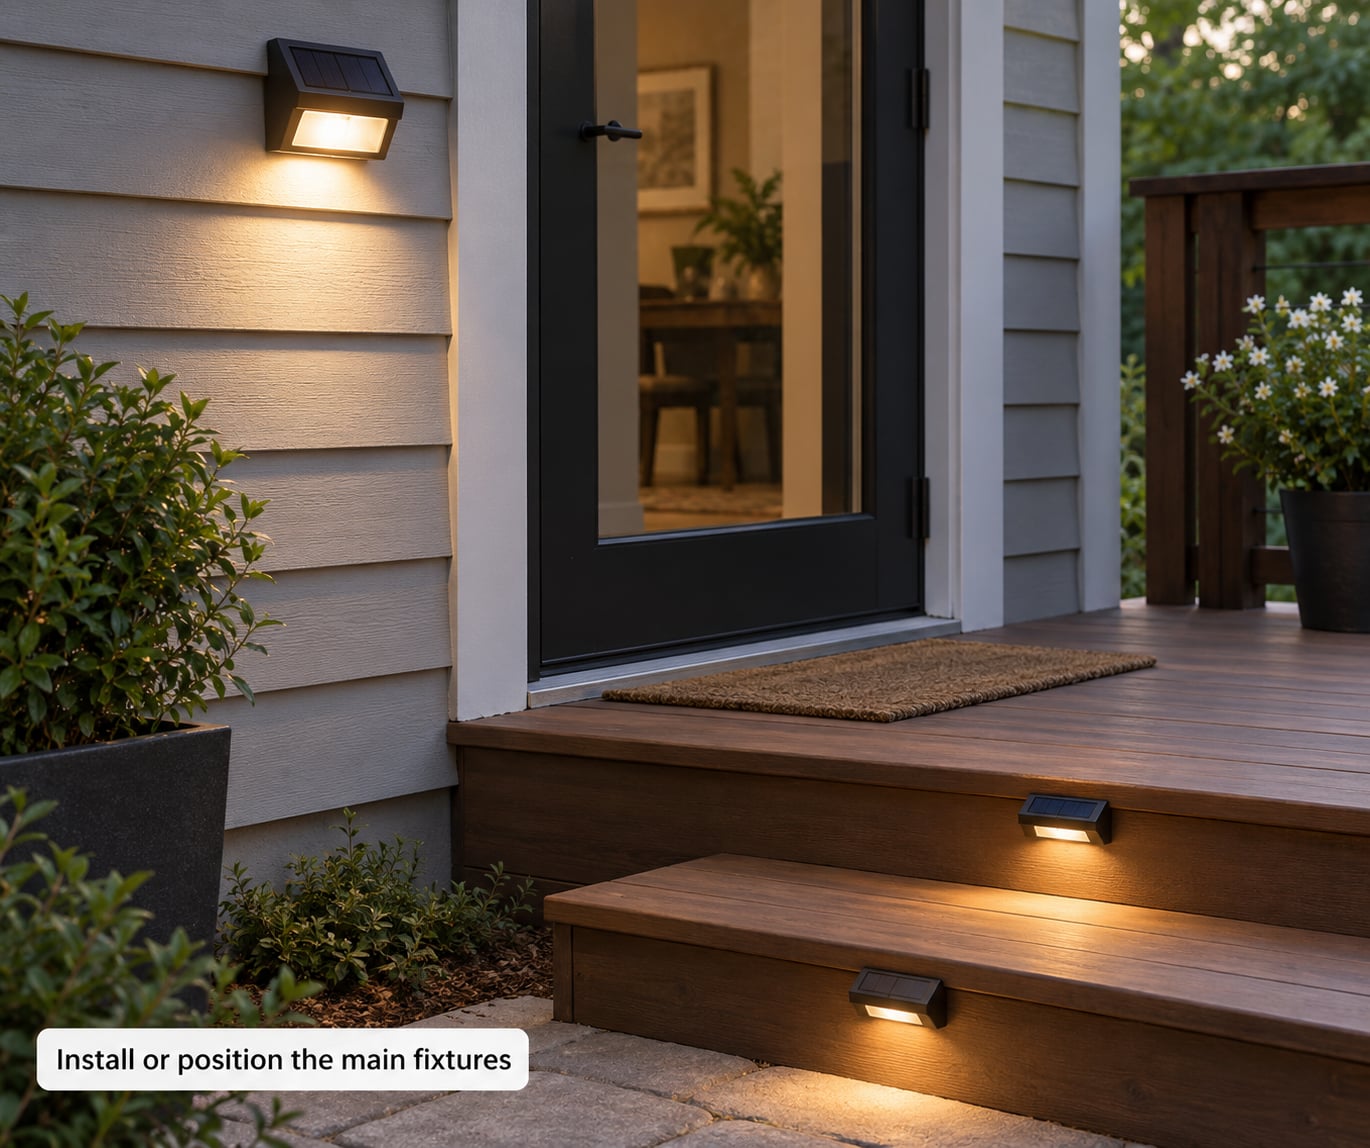
Follow the manufacturer’s instructions for each fixture, and treat them as the final word on mounting height, wire gauge and ratings.
For solar post and stair lights, the panel decides the location. It needs several hours of direct sun, and a rail, an umbrella or a leafy tree that shades it in the afternoon will cost you most of the output. Wipe the panel off in spring; a thin layer of pollen and dust is a real brightness cut.
For a wall sconce, mount it on the house wall or the post nearest the door, caulk the screw holes, and check the gasket sits flat. For riser lights, recess them into the stair facing down or across the tread so the nose of the step is the brightest part.
Low-voltage cable can usually be run through joists on a new build or fished under the deck on an existing one. If a run is long, voltage drop is the reason a distant fixture looks dim, and thicker cable or a higher-output transformer is the fix.
Any 120V work, new circuits and panel connections go to a licensed electrician. Outdoor circuits need GFCI protection, and that is not optional.
5. Add light for atmosphere and visibility
Once the walking route is covered, add the layer that makes people want to stay out. Hang string lights so the strands sit 8 to 10 feet above the deck, and run a warm LED strip under the rail to outline the shape of the deck after dark.
Uplighting a shrub or a small tree gives depth without adding glare, and homeowners on r/homeowners describe shrubs as the thing that makes the yard look good rather than flat. Keep that output low.
Two habits prevent most complaints. Aim fixtures down or at a surface, not out at eye level, and keep the number of color temperatures consistent, since mixing warm white and cool white in one small space looks accidental. For insects, warmer light around 2700K and fixtures on motion timers both help.
6. Set controls and timers
Almost every fixture has a sensor option, and the type matters less than the habit you build around it. A photocell switches lights on at dusk with no schedule to maintain. A motion sensor limits runtime on paths and stairs where light is only needed when someone is moving.
Timers and smart schedules let you set scenes instead of one flat state: bright for the first ten minutes after arrival, then dimmed to ambient. That also cuts battery drain on solar and battery fixtures, which is where runtime is usually lost.
Check where the light lands, not just whether it is on. Shielded fixtures and a downward aim keep your deck lit and your neighbour’s bedroom dark.
7. Test the lighting at night
Stand up, walk the full route from the door to the far corner, and down the stairs, with a friend. That is the only test that counts.
Watch for dark gaps between pools, glare from any bulb you can see directly, and shadows cast across a step. Then check the controls: does the photocell switch at dusk, does the motion sensor trigger from the right distance, does a timer hold through the evening.
For solar, give the system three or four clear days before judging it. Panels that were installed partly charged look fine on night one and disappoint on night three. Note the dimmest fixtures and either reposition their panels, add a second light, or accept them as accents.
Common Mistakes
- Too few lights spread too far apart. Fix it by adding fixtures rather than swapping in brighter bulbs, and close the gaps along walking routes first.
- Ignoring the weather rating. Any fixture on an open deck needs to be labelled for outdoor use with at least an IP44 rating. Use IP68 near a pool or a water feature.
- Leaving stairs and edges in the dark. Stairs need the most light on the deck, not the least, and the beam belongs on the tread, not in the eyes of someone at the bottom.
- Over-lighting. More output than the space needs flattens it and spills into the yard. Dimming or a lower-output layer fixes what adding fixtures cannot.
- Putting solar panels in shade. Check the sun path for the site before you buy. A panel under a tree or behind a railing is a decorative light.
- Even spacing everywhere. Uniform spacing looks mechanical. Vary it, cluster light where people walk, and let the rest stay dim.
- Mixing color temperatures. Pick one Kelvin value for the whole deck, usually 2200K to 3000K for a warm outdoor look, and stick with it.
- Overloading a circuit or transformer. Total wattage has to stay under the rating, and a long cable run needs a check for voltage drop. Both are cheap to plan and annoying to fix later.
Frequently Asked Questions
How many lights are needed to light a deck at night?
For a typical 12 by 20 foot deck, plan one light every 6 to 8 feet along walking routes, plus dedicated light on every step. Stairs, doorways and level changes come first. If you run out of budget, stop there and add rail and post lighting later, because more fixtures at lower brightness beat fewer bright ones.
Are solar deck lights bright enough for steps and walkways?
They can be, but only where the panel gets several hours of direct sun. Solar fixtures are usually sized for accents and path marking rather than lighting a whole deck. A shaded or snow-covered panel means a dim light by the second night, so put solar where the sun lands and use a brighter source for steps.
Should deck stair lights point up or down?
Downward, or shielded so the beam lands on the tread and riser rather than in someone’s eyes. A riser light shining up the stairwell is the classic glare complaint, because anyone standing at the bottom looks straight into it. Side-mounted fixtures tucked under the handrail also work and light the tread edge.
What kind of outdoor light is best for a wooden deck?
Any fixture labelled for outdoor use with a weather-resistance rating of IP44 or better, and sealed LED strip or low-voltage fixtures are the safest choice on wood. Post cap lights, under-rail strips, riser lights and wall sconces all hold up well. Skip anything rated for indoor use only, and use IP68 near water.
Can I install deck lighting without running electrical wires?
Yes. Solar post and stair lights, battery lanterns, candle lanterns, tiki torches and a fire pit all need no wiring at all. Plug-in string lights need a GFCI-protected outdoor outlet. A 12V system only needs low-voltage cable and a transformer, which many homeowners install themselves, but 120V circuits need a licensed electrician.
How do I prevent deck lights from creating glare?
Aim fixtures down or at the surface, keep them below eye level, and use hoods that cut off the view of the bulb from a seated position. Dimmers help more than people expect. Warm white around 2700K reads softer than cool white, and spacing fixtures so pools just overlap removes the bright hotspot that causes glare.
Conclusion
Map the deck after dark first, then light the walking route: stairs, the door and every place the height changes. Once that is solid, add ambient and accent light a layer at a time, keeping bulbs out of eye level and solar panels in full sun.