Falls on outdoor steps are one of the most common household injuries, and most of them happen for the same reason: the tread edge is invisible at night. Learning how to light stairs outdoors safely comes down to one goal — make that horizontal nosing line readable from the top of the flight to the bottom. Two layouts do the job well: riser lights placed every few steps, or path and railing lights that wash the flight from the sides. Add downward aim, warm light, and weather-rated fixtures, and an ordinary set of steps becomes safe to walk after dark. Most retrofits take an afternoon and a weekend evening to test.
Table of Contents
- What You Need
- Planning and measurement
- Fixtures and power
- Safety gear and materials
- Step-by-Step: How to Light Stairs Outdoors Safely
- How to assess outdoor stairs and find the dark areas
- Choose the right type of outdoor stair lighting
- How to light stairs outdoors with even spacing and no glare
- Install the lights using the manufacturer instructions
- Test the lighting after dusk and fix dark spots
- Maintain outdoor stair lighting through the year
- Common Mistakes
- Frequently Asked Questions
- What is the best lighting for outdoor stairs?
- Are solar stair lights bright enough for outdoor steps?
- How far apart should lights be placed on outdoor stairs?
- Should outdoor stair lights be installed by an electrician?
- Do motion-sensor lights work well for stairs?
- How do I prevent glare from outdoor stair lighting?
What You Need
Gather these before the first screw goes in. Most homeowners can handle a solar install or a plug-in low-voltage system without an electrician; anything involving new line-voltage wiring should go to a licensed pro.
Planning and measurement
- Tape measure and a pencil — note the total run, riser height, tread depth, and whether a wall, railing or planting bed runs alongside the stairs.
- Phone with a flashlight — to test coverage at dusk before and after you install anything.
- Masking tape — for marking fixture positions on the riser face and letting you check the pattern in daylight first.
Fixtures and power
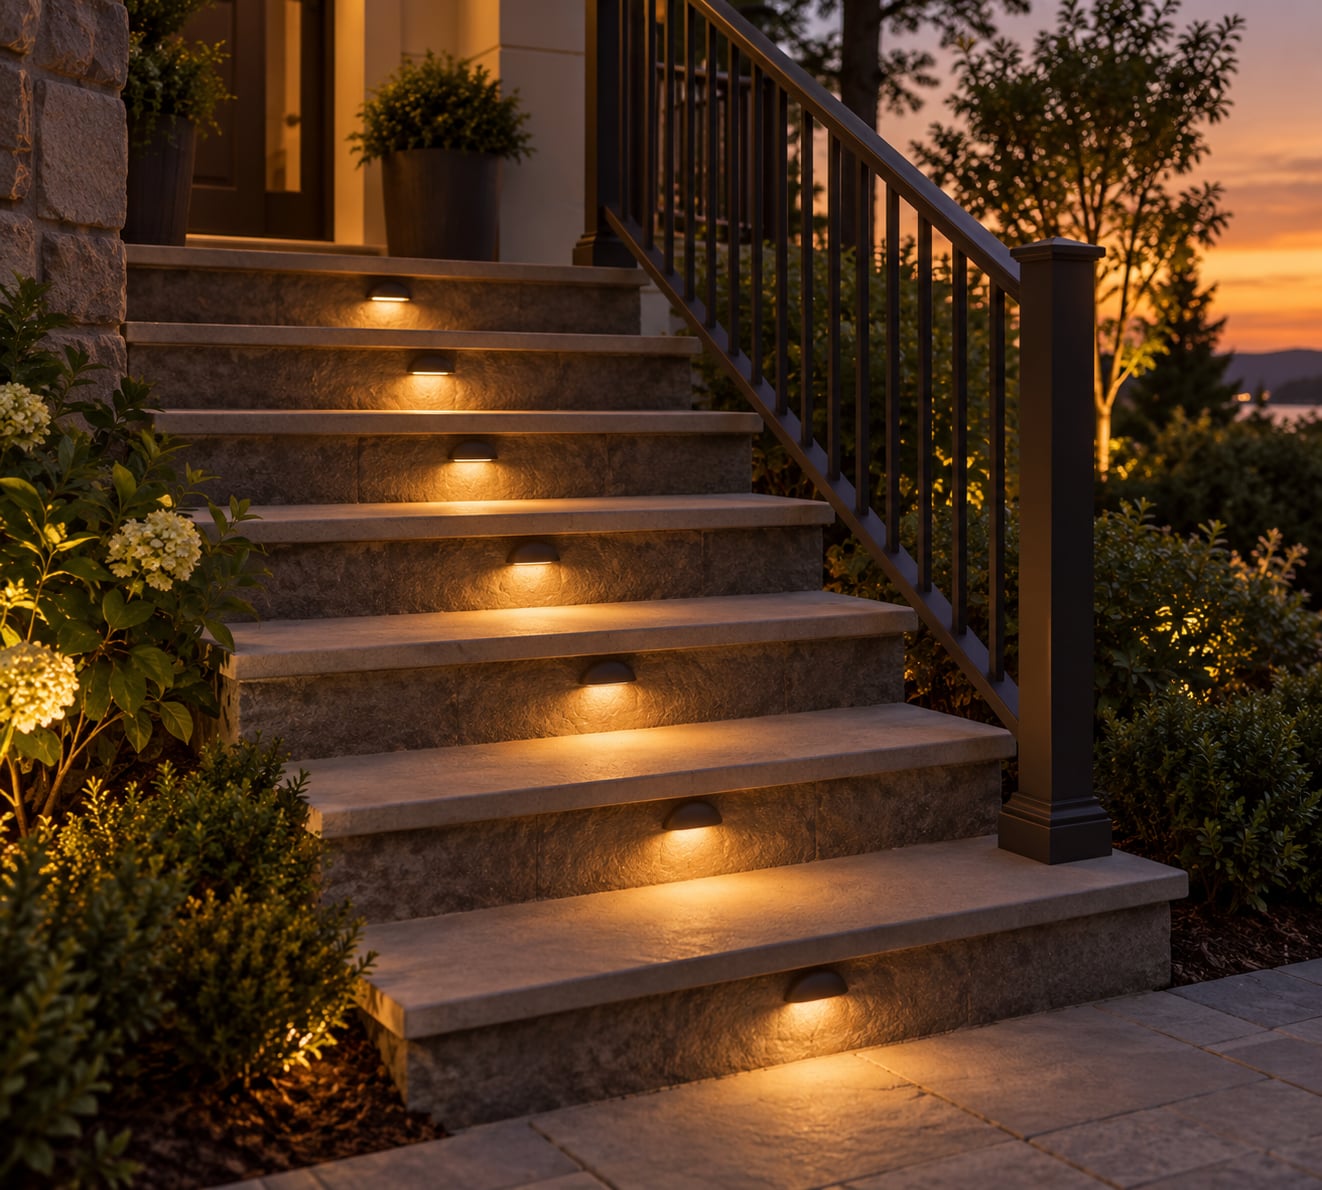
- Riser step lights — small shielded or recessed fixtures that mount to the vertical face of the step and throw light down onto the nosing.
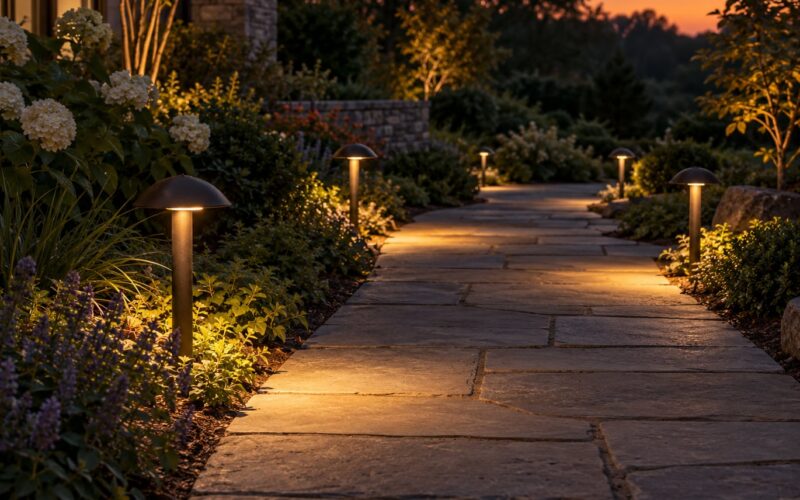
- Path lights or bollards — for stairs bordered by a lawn or planting bed.
- Wall sconces — the best choice when the stairs run alongside a house wall or a retaining wall.
- Solar step lights — no wiring, no transformer, the right call for renter-friendly or remote installs.
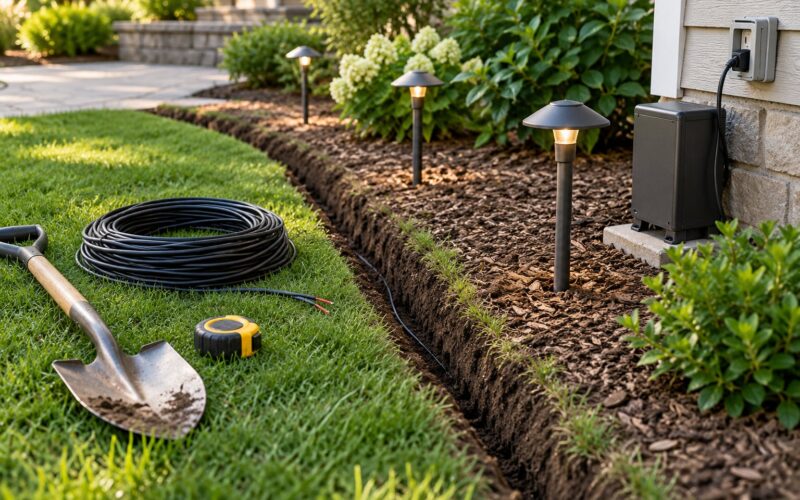
- A low-voltage transformer with a photocell — required for wired runs; the photocell handles dusk-to-dawn switching so you never leave the lights on by accident.
Safety gear and materials
- Outdoor-rated wire nuts or watertight connectors plus a dab of exterior sealant on the back of every box, the most-used fix for a fixture that weeps water into the wall behind it.
- Non-slip gloves, sturdy shoes, and a stable step stool or ladder — you will be working at height on wet or icy treads more than once.
- A GFCI-protected outlet for any transformer or power supply, and outdoor-rated conduit where cable crosses soil or runs along a deck.
Step-by-Step: How to Light Stairs Outdoors Safely
How to assess outdoor stairs and find the dark areas
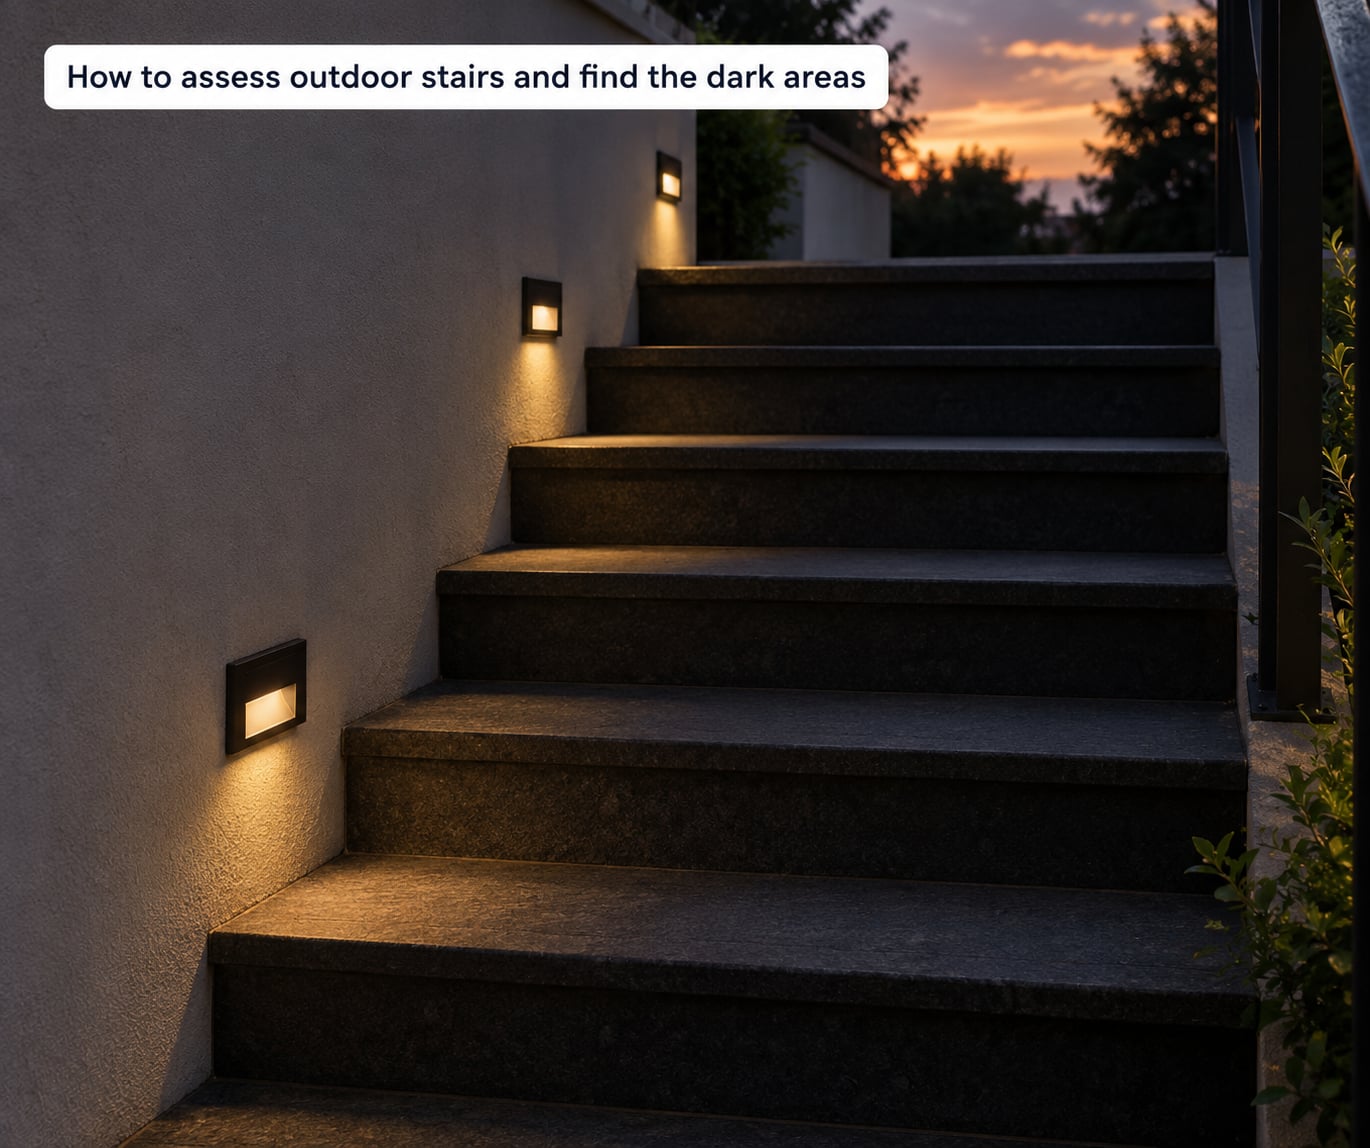
Walk the stairs in daylight first and note what the eye can and cannot find. Then walk them again at dusk, and again at full dark, and mark each trouble spot with tape. You are looking for three specific failures: a tread where the front edge disappears against the tread below it, a landing with no light at all, and any fixture or reflection that puts brightness directly in the field of view.
Also note what sits beside the flight. A wall on one side changes your options dramatically, and heavy planting or a tree canopy means any solar fixture gets less charge than its label suggests. Deck stairs sitting right under an eave or a dense shrub line are where poorly lit stairs become dangerous stairs.
Choose the right type of outdoor stair lighting
There are two layouts that reliably work, and the right one depends on where you can mount fixtures.
- Riser lights every two to three steps. Best for stairs with a solid riser face or a wall beside them. Install effort is moderate, since each fixture needs a wiring run or its own solar panel, but uniformity is excellent and the tread edge stays defined the whole way down.
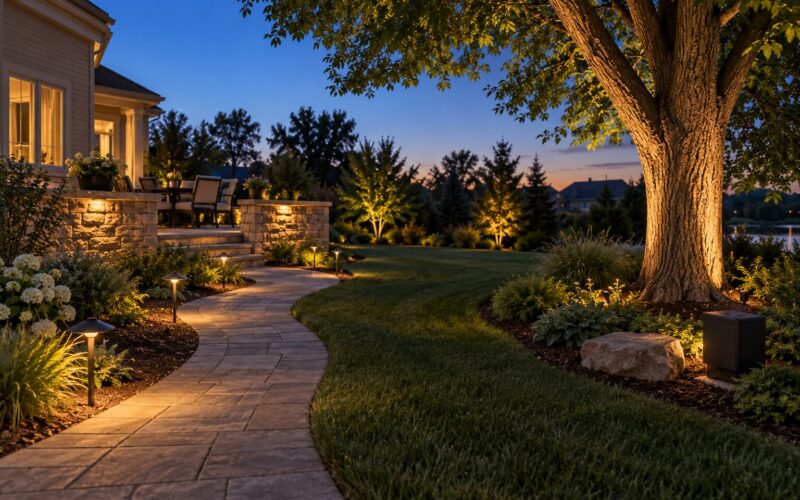
- Path lights plus railing or wall lights. Best for stairs bordered by planting or running alongside a house. Effort is low to moderate — mostly shovel work and a wall mount — but shadows fall between fixtures.
- A combination of both. Best for long flights, split levels, or stairs used regularly by older adults. It is the most work and gives the best overall coverage, because the landings get lit too.
If you are still deciding between power sources, the choice is usually clearer than the fixture style. Solar wins on installation ease and on stairs with no practical place to run cable. Low-voltage wired lighting wins on brightness consistency, and it is the better answer for shaded or north-facing stairs where a solar panel never charges fully.
How to light stairs outdoors with even spacing and no glare
Space riser lights every two to three steps, alternating sides on wide staircases so no single tread sits in deep shadow. The placement rule that separates working installations from disappointing ones is simple: mount the fixture no more than four inches from the front edge of the step, on the riser face. Mount it higher up the riser and the beam lands on the tread behind the nosing instead of on the nosing itself, which is the exact line a foot needs to see.
Every light aims down. Never point a step light upward or at eye level, because light hitting a railing, a wall, or a wet leaf surface bounces straight back into the eyes and destroys the depth perception you installed the fixture to create. Shielded housings with a hood or a louvered face solve this automatically.
Light both sides where the layout allows it. Alternating left and right reads as a pattern the eye follows quickly, while a single line of lights on one side leaves the opposite tread edge undefined.
Install the lights using the manufacturer instructions
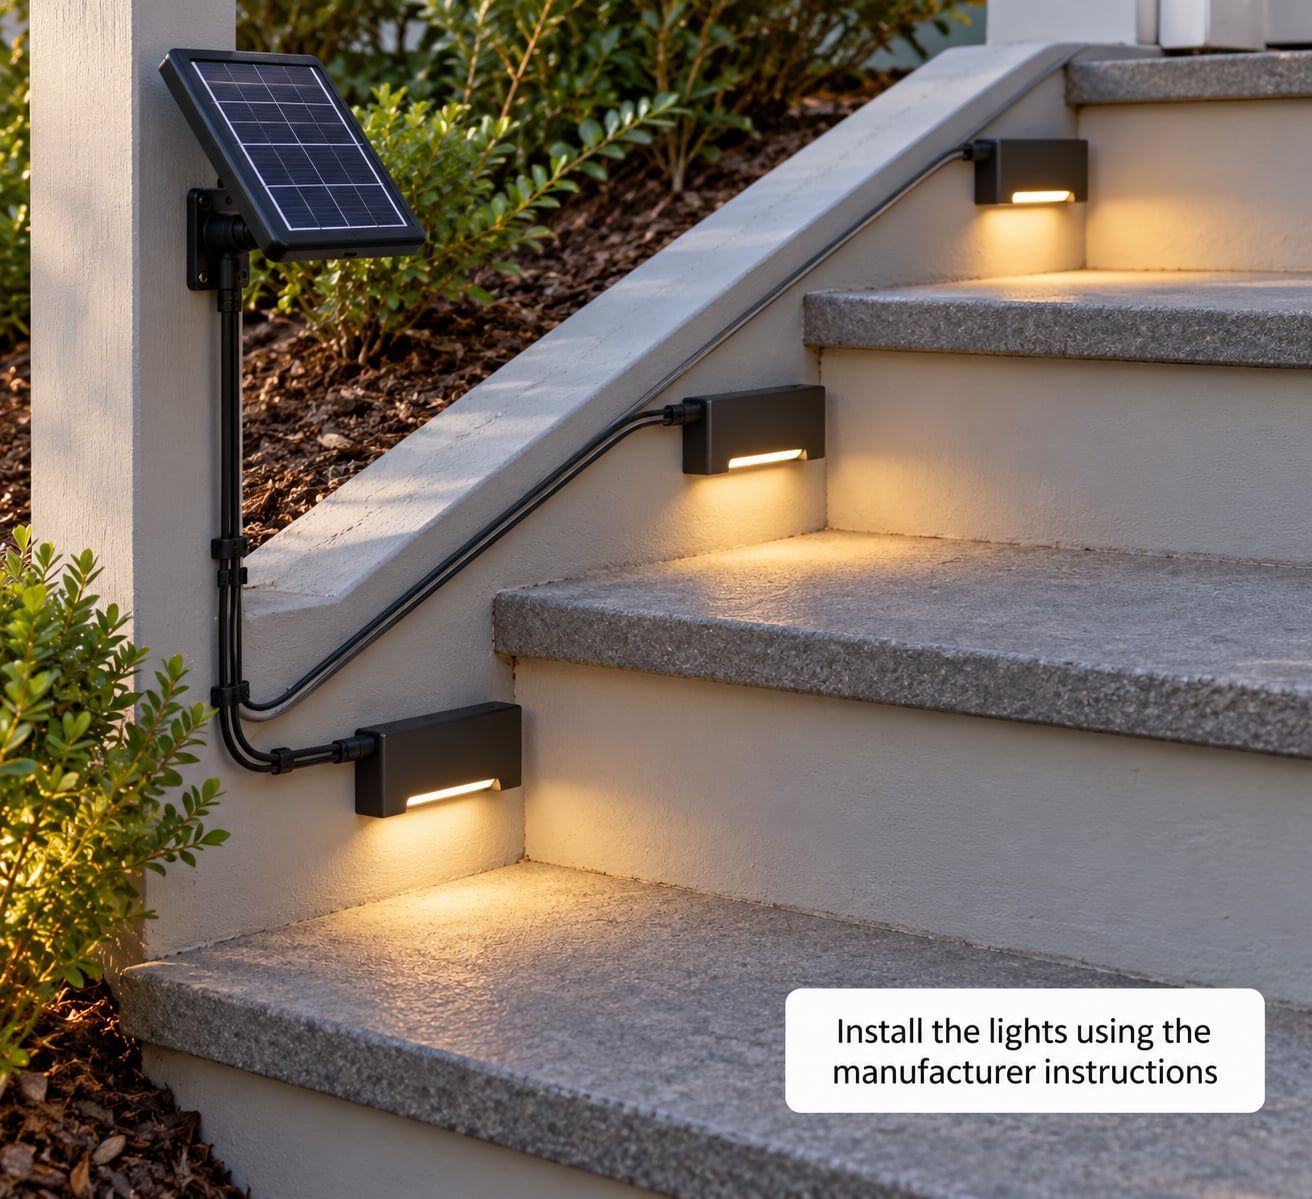
Follow each fixture’s instructions for drilling, sealing and spacing — the mounting height and the beam angle differ between recessed housings and surface-mounted boxes, and forcing a fixture off its specified position is how glare problems start.
For solar fixtures, choose the panel position before you commit. A panel that gets a few hours of direct sun is worth more than a brighter light with a shaded panel, so on a north-facing flight mount the panels to the rail post or a wall that faces the sun rather than tucking them under a tread. For wired runs, mount the transformer where it stays dry and stays reachable — never inside a closed junction box in the soil, where a failure means digging.
Run cable in conduit where it crosses soil, sits on a deck, or passes near a door swing. Use watertight connectors and exterior-rated boxes, and confirm the outlet you power from is GFCI-protected. If your layout needs new line-voltage wiring, a new circuit, or any work inside an exterior wall, stop and call a licensed electrician. That call is also the right move if you cannot confirm the existing circuit’s load.
Test the lighting after dusk and fix dark spots
Wait until the sky is fully dark, then walk the stairs as a guest would — slowly, from the top, with no flashlight. Watch the risers for the reflection that comes off a wet step face and consider whether you can see the first and last tread from the door without moving.
Mark anything unclear, then re-aim rather than add brightness. Rotating a shielded fixture a few degrees often solves a shadow that more lumens would only make worse. If a whole section stays dark, add one more light at the midpoint rather than cranking output everywhere.
Test with the family, and pay attention to anyone who walks the stairs slowly. Older adults and small children need the tread edge defined consistently more than they need more light, which is why two-brightness setups come up so often: a dim always-on level for pathing, a brighter level triggered on demand.
Maintain outdoor stair lighting through the year
A short routine keeps the installation working. Wipe solar panels off in spring and after any leaf fall, since a shaded panel is the single most common reason solar step lights fail. Check that batteries still hold a charge and replace them if the lights dim after a full day.
Tighten loose fixtures, check that sealant has not cracked around mounted boxes, and clear leaves, snow and ice from the treads themselves. Trim back planting that has grown into the beam path — a shrub that was harmless the first summer can shade a riser light completely within two. Test the photocell occasionally by covering the sensor to confirm the lights switch off at dawn.
Common Mistakes
Most unsafe stair lighting comes down to a handful of repeat errors. Here they are with the fix.
- Aiming lights up or sideways. Upward aim bounces off the tread and the underside of the landing straight into the eyes. Fix: aim every fixture down and re-test at dusk, when the real discomfort shows up.
- Over-bright fixtures. Brightness is not the same as safety. A hot spot above a dark tread edge makes the step harder, not easier, to read. Fix: match output to the space and favor uniformity over lumens.
- Mounting too high on the riser. Mounted more than four inches back from the step edge, a light illuminates the tread instead of the nosing. Fix: reposition to within four inches of the front edge.
- Lighting only one side of a wide flight. The far tread edge stays undefined. Fix: alternate sides or light both.
- Leaving gaps longer than three steps. Long dark runs appear at the bottom of the flight, where falls are most likely. Fix: space at two to three steps and keep the landings covered.
- Running cable loose along a deck or soil. It gets stepped on, dug up by landscaping and cracked by weather. Fix: conduit for any exposed run, and watertight connectors with sealant on every box.
- Forgetting the GFCI. A wet fixture on an unprotected outlet is a shock risk. Fix: GFCI-protected power and outdoor-rated connections throughout.
- Hiding the transformer where it cannot be reached. If it is buried in a closed box, the first failure means excavation. Fix: dry, accessible, and above grade.
Two more choices come up constantly. Warm white at 2700K gets recommended more often than anything else, largely because of dark-sky and avian concerns with blue-rich light, so avoid cool white and daylight-rated outdoor fixtures. And string lights get called the best value for a quick fix — genuinely true for a renter or a temporary solution, tucked behind a handrail or run straight across the top of the flight, but not a substitute for defining each tread edge.
Across every install, aim for outdoor-rated fixtures at IP65 or better, a color temperature in the 2700K-3000K range, and uniform coverage from bottom step to top landing. Those three choices resolve most of what people dislike about unlit outdoor stairs.
Frequently Asked Questions
What is the best lighting for outdoor stairs?
Shielded riser lights placed every two to three steps, aimed down, give the most consistent tread-edge definition. For stairs beside a wall, add a wall sconce at the top and bottom; for stairs bordered by planting, use low-voltage path lights along the side. Warm white at 2700K-3000K suits residential outdoor use and reduces glare for the eye.
Are solar stair lights bright enough for outdoor steps?
On a sunny, unshaded flight, yes — a decent solar riser light will define a tread edge fine. On north-facing stairs, under a dense canopy, or where a deep overhang blocks the sun, output drops sharply and the lights can stop working through winter. If your stairs are shaded, low-voltage wired lighting with a small transformer is the more dependable choice.
How far apart should lights be placed on outdoor stairs?
Every two to three steps is the working rule, and two steps suits wide, shallow treads while three suits narrow, steep ones. Also cover both landings, since the top and bottom steps are where an unlit run tends to disappear. Mount each riser light no more than four inches from the front edge of the step so the beam lands on the nosing.
Should outdoor stair lights be installed by an electrician?
Solar fixtures, plug-in low-voltage kits, and string lights need no electrician at all. Hire a licensed electrician whenever the job involves new line-voltage wiring, a new circuit, work inside an exterior wall, or a run from an existing circuit whose load you cannot confirm. Low-voltage wiring itself is well within normal DIY scope, provided the transformer and connections are outdoor rated.
Do motion-sensor lights work well for stairs?
They work well as an addition rather than the only light. A sensor leaves the stair dark until someone approaches, which defeats the purpose when the goal is seeing where every tread edge is before you step onto it. A better pattern is a dim always-on level plus a brighter level on motion, so the flight reads from a distance and brightens as someone approaches.
How do I prevent glare from outdoor stair lighting?
Aim every fixture down and choose shielded or hooded housings that cut off the line of sight to the bulb. Keep bright fixtures off the wall or railing surface at eye height, where a person climbing the stairs looks straight into it. Warm light at 2700K-3000K feels easier at night than cool white, and dimming or two-level control cuts glare further.
Start tonight, in the dark, and walk your stairs from the top with someone else on the steps. Whatever you cannot see from the door is what you are lighting next. Most people find one or two dark treads and a landing, and a handful of shielded fixtures aimed down at two- to three-step spacing fixes the whole flight in an afternoon.