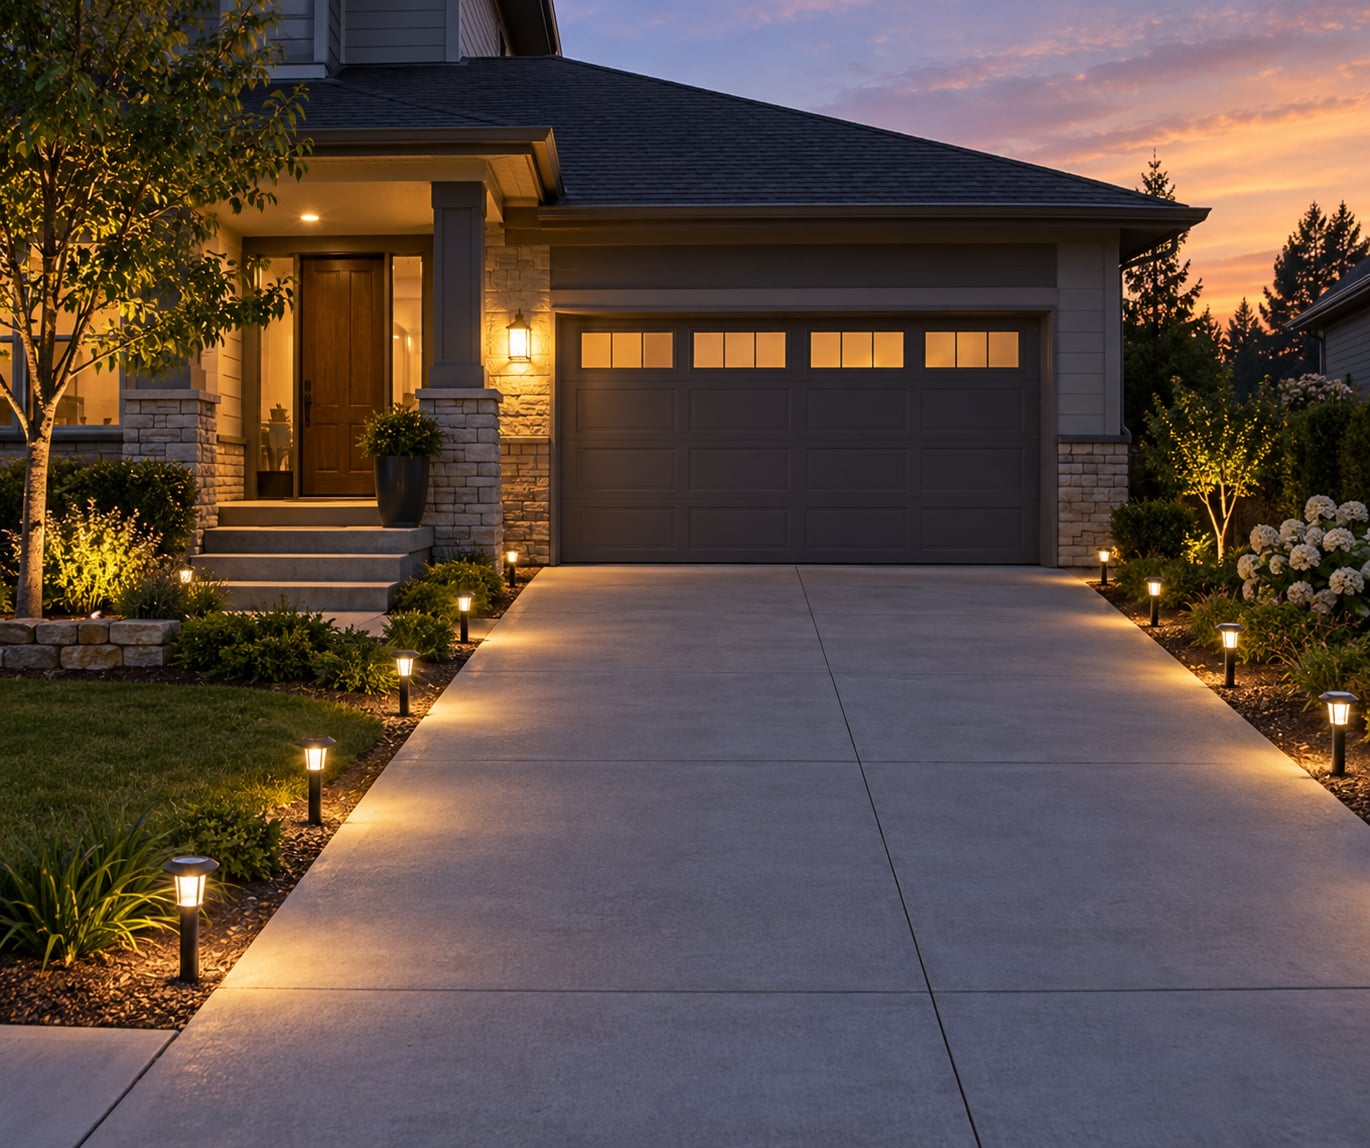
Most driveways get lit the same way: solar lights staked along both edges, spaced until the beams overlap, and aimed down so the pavement reads clearly without dazzling anyone. That works because the goal is not brightness. The goal is even coverage, with no dark gaps where a tire, a step, or a drop-off can hide.
For a typical single-family driveway, measuring, placing, and testing after dark takes a couple of hours on a weekend. The only version of this job that needs a professional is the one where you are running cable.
The short version by driveway type: a short drive under 40 feet takes six to eight solar path lights; a long drive needs downlights mounted high on trees or poles plus bollards at the entrance; a rental or a driveway with no electrical access is entirely solar; a sloped drive with steps needs lights on both sides of the slope, staggered so the beams cross.
Table of Contents
- What You Need
- Step-by-Step: How to Light a Driveway for Safety
- How to map the driveway and identify dark areas
- How to choose solar lights for the route
- Where to place lights for even coverage
- How to set dusk and motion sensors
- How to test and adjust the lighting
- Common mistakes to avoid
- Safety Tips for Driveway Lighting
- Frequently Asked Questions
- How many lights does it take to light a driveway?
- Will solar driveway lights work under shade trees?
- What is the best motion sensor light for a driveway?
- How bright should driveway lighting be?
- Do solar driveway lights work in winter?
- Do I need an electrician to install driveway lighting?
- Conclusion
What You Need
Start with measurements and a tape measure, then a way to test coverage in the dark, which is usually your phone on a timer or a helper with a flashlight.
- Tape measure and chalk or painter’s tape to mark fixture positions on the ground before you dig or stake anything.
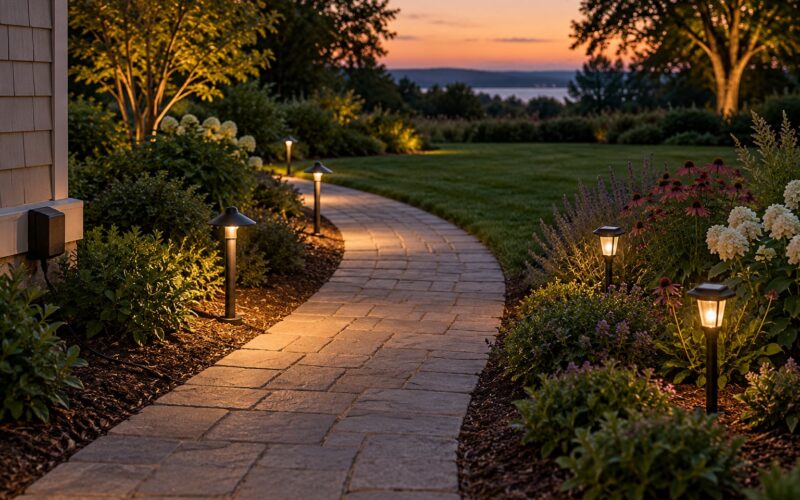
- Solar path lights for the walkway edge, in a style that matches your house rather than a bright white plastic stake.
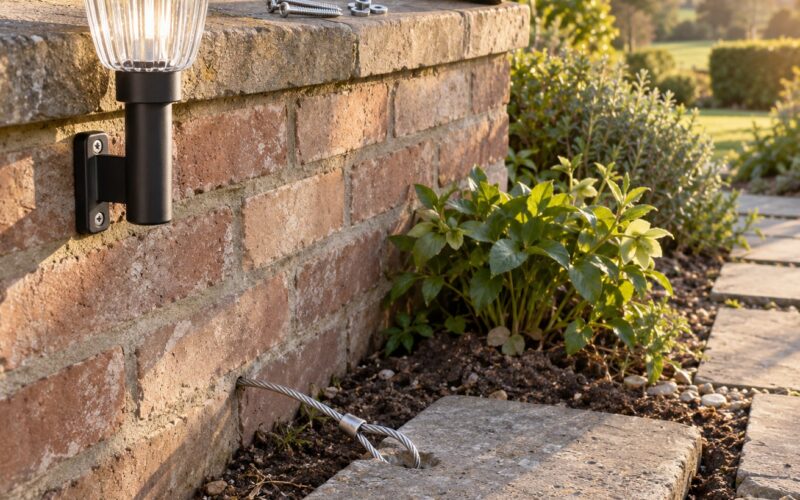
- Wall-mounted or pole-mounted solar lights for the entrance, where path lights alone leave a gap over the driveway throat.
- Driveway-edge markers if you want the pavement line readable but not the whole surface lit.
- A short step ladder for aiming anything mounted above head height.
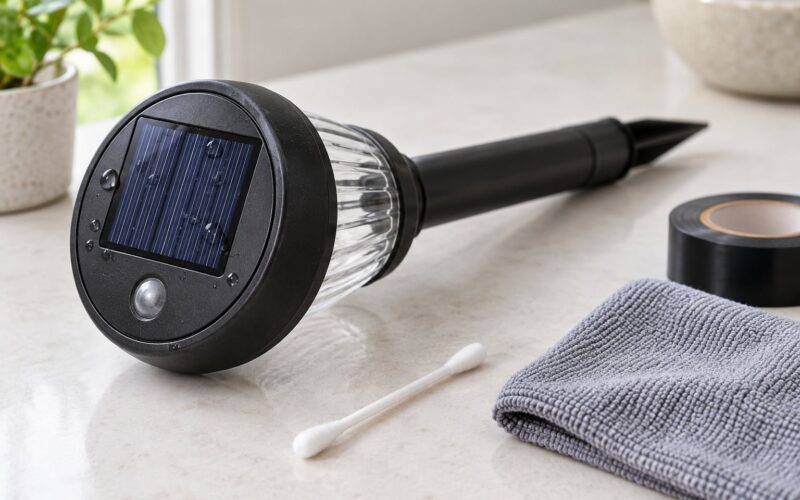
- A soft cloth and water for cleaning solar panels, which you will do more often than you expect.
Most solar setups need no wiring at all, which is the entire appeal. If you want line-voltage fixtures, an existing low-voltage transformer with buried cable, or anything attached to a house circuit, that is electrical work: get a licensed electrician, and check whether your municipality requires a permit.
One more thing worth buying: fixtures with an IP65 wet-location rating or better. Driveways get wet in ways a patio does not, with tire spray, snow melt, and sprinklers that overshoot.
Step-by-Step: How to Light a Driveway for Safety
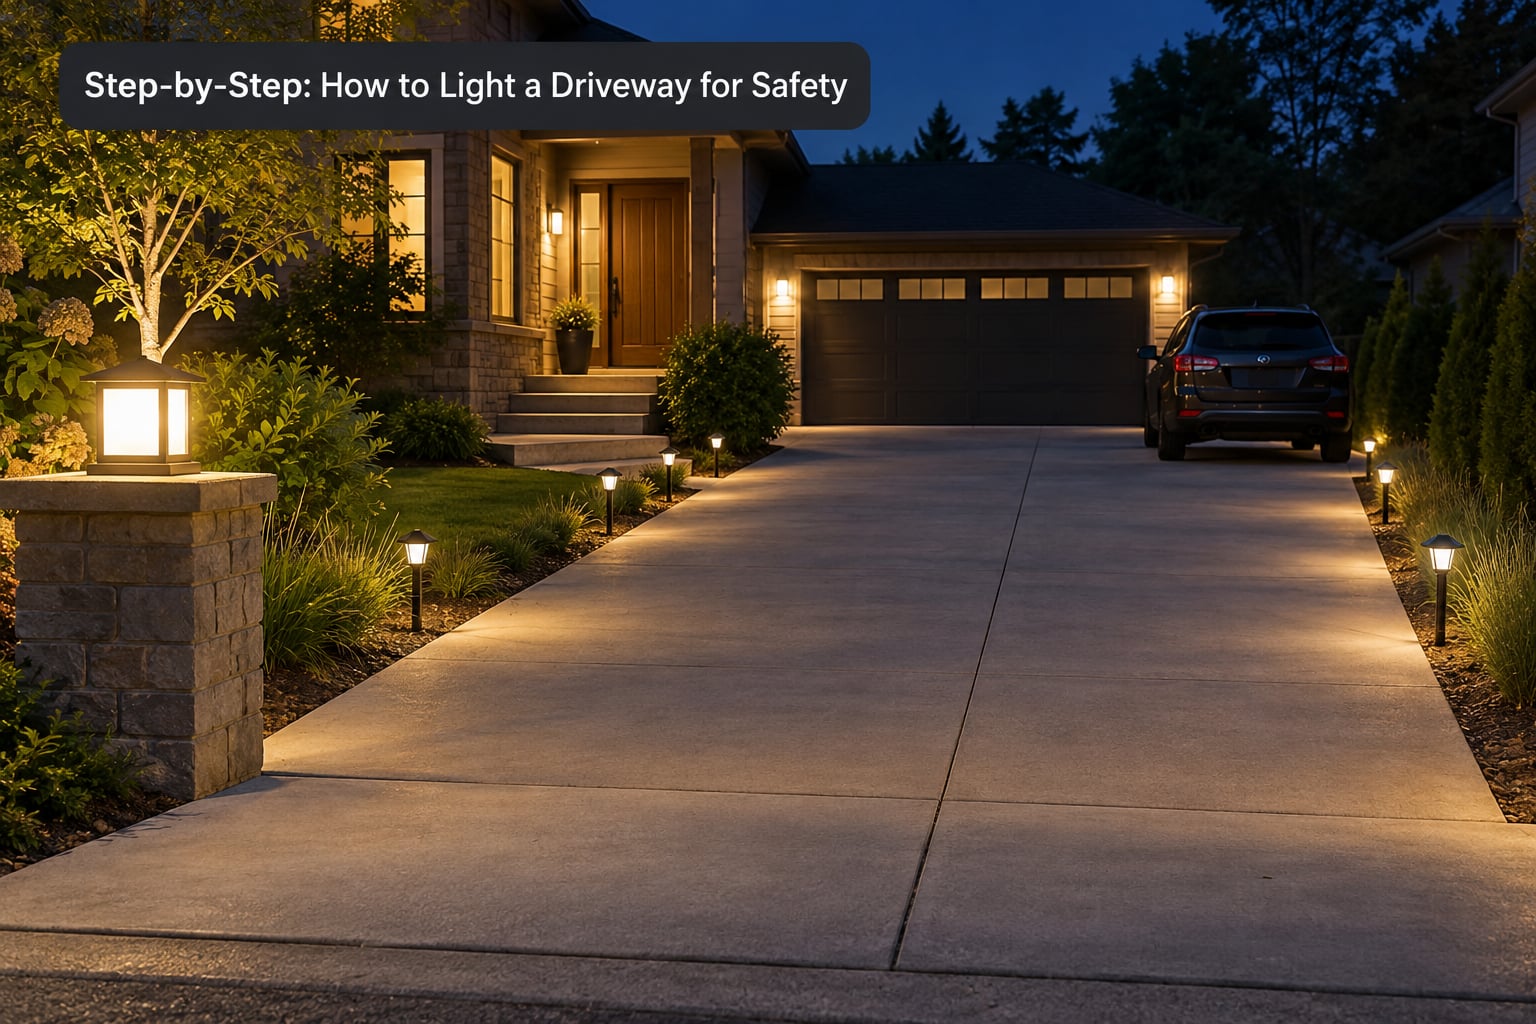
Six steps, in this order. Do the measuring before the buying, because the count changes with driveway length and how much of the run sits under trees.
How to map the driveway and identify dark areas
Measure the length and the width, then walk the route at dusk and note where you slow down or look twice. Those are the places that need light first.
Mark, in chalk or tape:
- Every step, drop-off, and change in driveway level.
- The point where a car actually turns in, usually where the apron meets the street.
- Gates, posts, mailboxes, and anything a vehicle could clip.
- The front door swing, because a door that opens into darkness is how people trip.
- The house number, if it is not visible from the street.
Also mark where the sun hits. A fixture whose panel sits under a mature tree canopy will not earn its keep, and that is the single most common reason people decide solar lights “don’t work.”
How to verify: your marked list should have at least three items on it, and the tree-shadow map should cover the whole run of the driveway rather than just the ends.
How to choose solar lights for the route
Path lights, wall-mounted fixtures, and bollards solve different problems, and mixing them usually looks better than buying one kind for everything.
| Fixture | Mounting height | Brightness | Power | Best for |
|---|---|---|---|---|
| Solar path light | 14 to 24 inches | Low, ambient | Battery, solar cell | Lighting the edges of a walkway |
| Bollard light | 30 to 42 inches | Medium, shielded | Battery, solar cell, or low-voltage | The entrance throat and driveway apron |
| Wall-mounted solar light | 7 to 9 feet | Medium to high | Battery, solar cell | Garage or house wall facing the drive |
| Downlight or well light | High, in trees or on a pole | High, narrow | Usually low-voltage wired | Long drives and slopes, out of vehicle reach |
| Driveway-edge marker | In the ground or on a low curb | Very low | Battery or wired | Marking the pavement line in snow |
For brightness, judge fixtures by beam width rather than lumens on the box. A wide-beam fixture that throws light 12 feet is more useful along a driveway than a narrow one at twice the output, because dark gaps between fixtures are what create risk.
Color temperature matters for how the space feels and how neighbors read it. Warm white, roughly 2700K to 3000K, reads as welcoming and matches most porch lights. Anything above 5000K looks like a parking lot, and it turns glare into a real problem at night.
How to verify: before you install, switch one fixture on in a dark room or closet at 9pm. If you cannot see the front of your hand comfortably, the output is right for a path. If you wince, it is too bright and you have a glare problem coming.
Where to place lights for even coverage
Here is the rule that matters most: space fixtures so their beams overlap slightly, based on the manufacturer’s stated beam range rather than the spacing on the box. In practice, that means 6 to 10 feet between path lights, and 5 to 8 feet back from the pavement edge so the light lands on the surface instead of the lawn.
Line both edges rather than one. A single row of lights leaves the middle of the driveway in shadow whenever a post, a tree, or a parked car sits between the fixture and the pavement. Staggering lights alternately on each side, rather than putting two in a row opposite each other, spreads the shadows instead of stacking them.
On a slope, put a fixture at the top and one at the bottom of the grade rather than spacing them evenly down the hill. Even spacing on a slope leaves the transition between the two grades unlit, which is exactly where a car catches its bumper and where a person carrying groceries loses footing.
For a long drive, low fixtures alone will not carry you to the house. Mix in downlights mounted high in a tree or on a pole, at 10 to 14 feet, aimed down and across the drive. Nothing at that height can be hit by a car or a snow plow, and the beams cross the pavement in a way ground-level lights cannot.
How to verify: measure the center-to-center distance between your first and last position and divide by the number of gaps. Every gap should fall inside the stated beam range of the fixture beside it.
How to set dusk and motion sensors
Solar panels need direct sun. Aim them south if you are in the northern hemisphere, and give them at least six hours of unobstructed daylight. A panel parked under a canopy or beside a fence collects a fraction of what it needs, and the light comes on dim or not at all.
Nearly every solar light has a photocell that wakes the fixture at dusk. Some ship with the switch set to off, so check the panel or the base for a slider and turn it on during daylight, where you can actually see it. Cover the panel with your hand to confirm the sensor responds.
For motion sensors, aim the detection zone across the driveway rather than toward the house. Facing it at the house means passing cars never trigger it while pedestrians on the sidewalk do nothing for you, and it can wash out your own windows. Set the sensitivity as high as it goes while you test, then back it off once you see how far the detection actually reaches.
How to verify: walk the route at dusk and confirm each light wakes. If one stays dark in full view of the panel, it is shade, not a fault.
How to test and adjust the lighting
Test after dark, from the driver’s seat, then on foot. Drive the approach slowly the way a guest would, and note where the pavement disappears, where the light flares, and where you cannot read the house number.
Fix dark patches by adding a fixture or shifting one into the gap. Fix glare by lowering or re-aiming the beam, or by swapping a brighter fixture for a shielded one. Glare from a light aimed along the driveway is worse for safety than a dim corner, because a dazzled driver misses what they would otherwise have seen.
Check the neighbor angle too. Aim light down and away from the roadway, and keep beams below the horizon so they do not wash out the sky or spill into nearby windows. It costs nothing to walk out to the property line at night and see what you are handing your neighbors.
How to verify: a second dark walk after a couple of clear sunny days. Lights that look fine on night one often fade by night ten as the batteries settle into their real capacity.
Common mistakes to avoid
These are the errors that come up over and over, and most of them are cheap to avoid before the first stake goes in.
- Putting solar panels in shade. Six hours of direct sun is the requirement. Under a canopy, buy fixtures instead of sunlight.
- Spacing lights too far apart. Gaps between beams are the hazard. Overlap them, even if the fixture count goes up.
- Using dim fixtures for a long driveway. A forty-foot-plus drive needs downlights at height. Path lights alone will read as decoration.
- Aiming lights into neighbors’ windows. Shield fixtures and aim below the horizon. Nobody wants their bedroom lit up at 1am.
- Forgetting to switch the units on. The most common reason a brand-new solar light does nothing at night.
- Letting leaves, snow, or grime sit on the panels. A dirty panel behaves like a shaded one. Wipe them off in spring and fall.
- Mounting path lights where cars and plows reach. Anything inside the travel lane or at bumper height will eventually be broken and knocked out of level.
Safety Tips for Driveway Lighting
Push each stake or post firmly and check it by leaning on it. A fixture that wobbles becomes a trip hazard the first time someone brushes it with a shoulder in the dark.
Keep the route itself clear. Lights should sit off the walking surface, level with the ground or above it, never proud of the surface where a heel can catch.
Never work on live electrical wiring. If your plan involves a transformer, buried low-voltage cable, or a fixture on a house circuit, that is licensed-electrician territory, and permits are required in many jurisdictions before the trench is dug.
Use outdoor-rated fixtures only, follow the manufacturer’s instructions for spacing and mounting height, and use GFCI-protected circuits for anything mains-powered. In cold climates, expect a battery to deliver less in January than in July, so a fixture that only just covers the night in autumn may need a brighter light or a second panel before winter.
Finally, make the house number readable from the street. It is a small addition that helps guests, couriers, and the people who need to find you in an emergency.
Frequently Asked Questions
How many lights does it take to light a driveway?
For a short driveway under 40 feet, six to eight solar path lights spaced 6 to 10 feet apart along both edges will cover it. Longer drives need downlights mounted 10 to 14 feet up in a tree or on a pole, spaced every 20 to 30 feet, plus a brighter fixture at the entrance throat. Spacing should always match the stated beam range so the beams overlap.
Will solar driveway lights work under shade trees?
Only if the panel gets at least six hours of direct sun. Under a mature tree canopy the cell collects a fraction of what it needs, so the light comes on dim or not at all. If your driveway runs under trees, put the panel out to the side of the shade, choose fixtures with a larger cell, or use low-voltage downlights on a pole instead.
What is the best motion sensor light for a driveway?
Aim the detection zone across the driveway, not toward the house, so cars actually trigger it and your own windows stay dark. Mount it high enough that the beam covers the pavement rather than sweeping a car. Set sensitivity high while testing, then reduce it once you see the real detection range, since branches and passing animals trigger the unit constantly at maximum.
How bright should driveway lighting be?
Brightness matters less than even coverage. Aim for a soft, even wash where you can read the pavement, see a step edge, and pick out a post or mailbox without squinting. Warm white at 2700K to 3000K suits most homes. Very bright fixtures create glare that dazzles arriving drivers, which makes the driveway more dangerous rather than less.
Do solar driveway lights work in winter?
They work, but expect less. Cold weather reduces both panel output and battery capacity, so a light that runs all night in October may fade by January in a snowy climate. Clean the panels before winter, keep snow off them, and expect to replace the rechargeable battery every one to two seasons in a cold region. Choose fixtures with replaceable batteries rather than sealed ones.
Do I need an electrician to install driveway lighting?
Solar fixtures need no wiring and any homeowner can install them. Line-voltage fixtures, low-voltage transformers with buried cable, and anything connected to a house circuit are electrical work that should go to a licensed electrician. Many municipalities require a permit before cable is buried, and digging without checking for underground utility lines is a real hazard.
Conclusion
Measure the driveway and mark the darkest, highest-risk points first, then buy fixtures whose beams overlap at that spacing. Aim everything down and away from the roadway, and check the whole route again after dark from the driver’s seat.
Your first move tonight: walk from the street to the front door and mark every spot where you lose sight of the pavement. That list is your lighting plan, and the rest is just spacing it out.