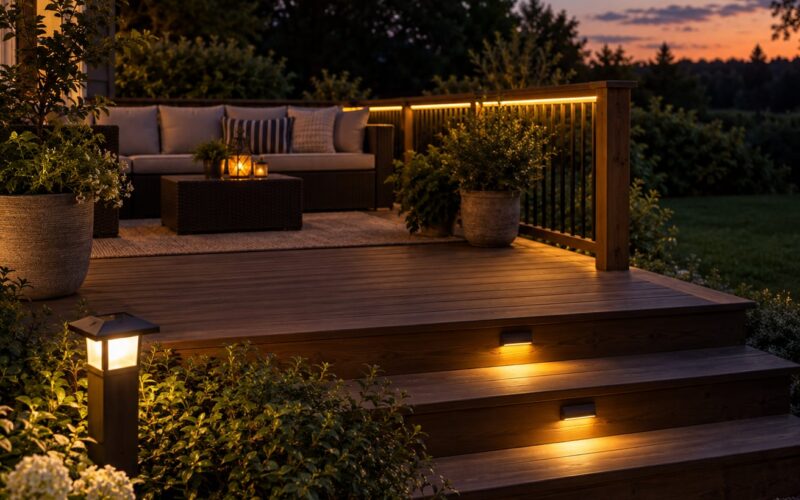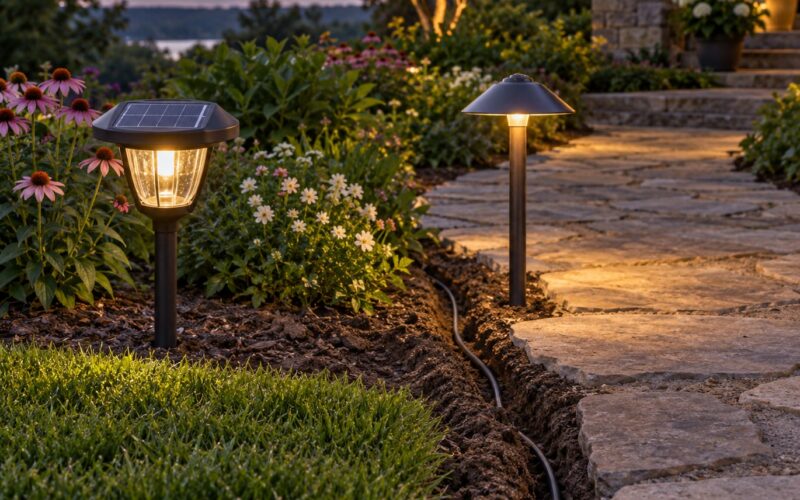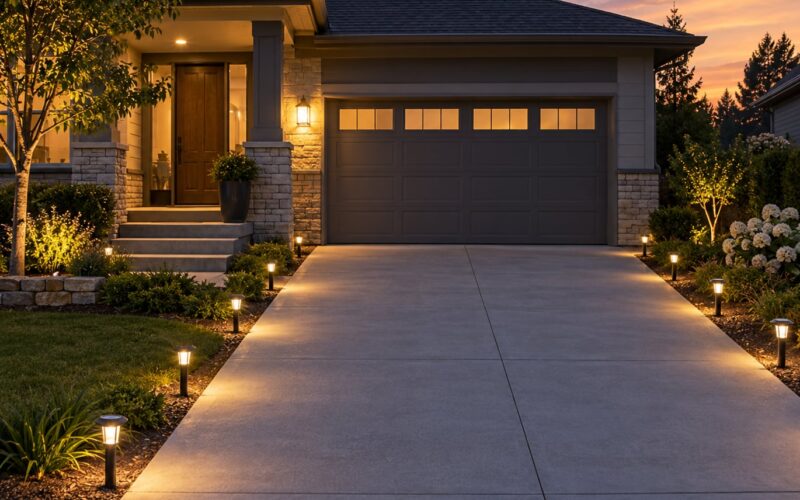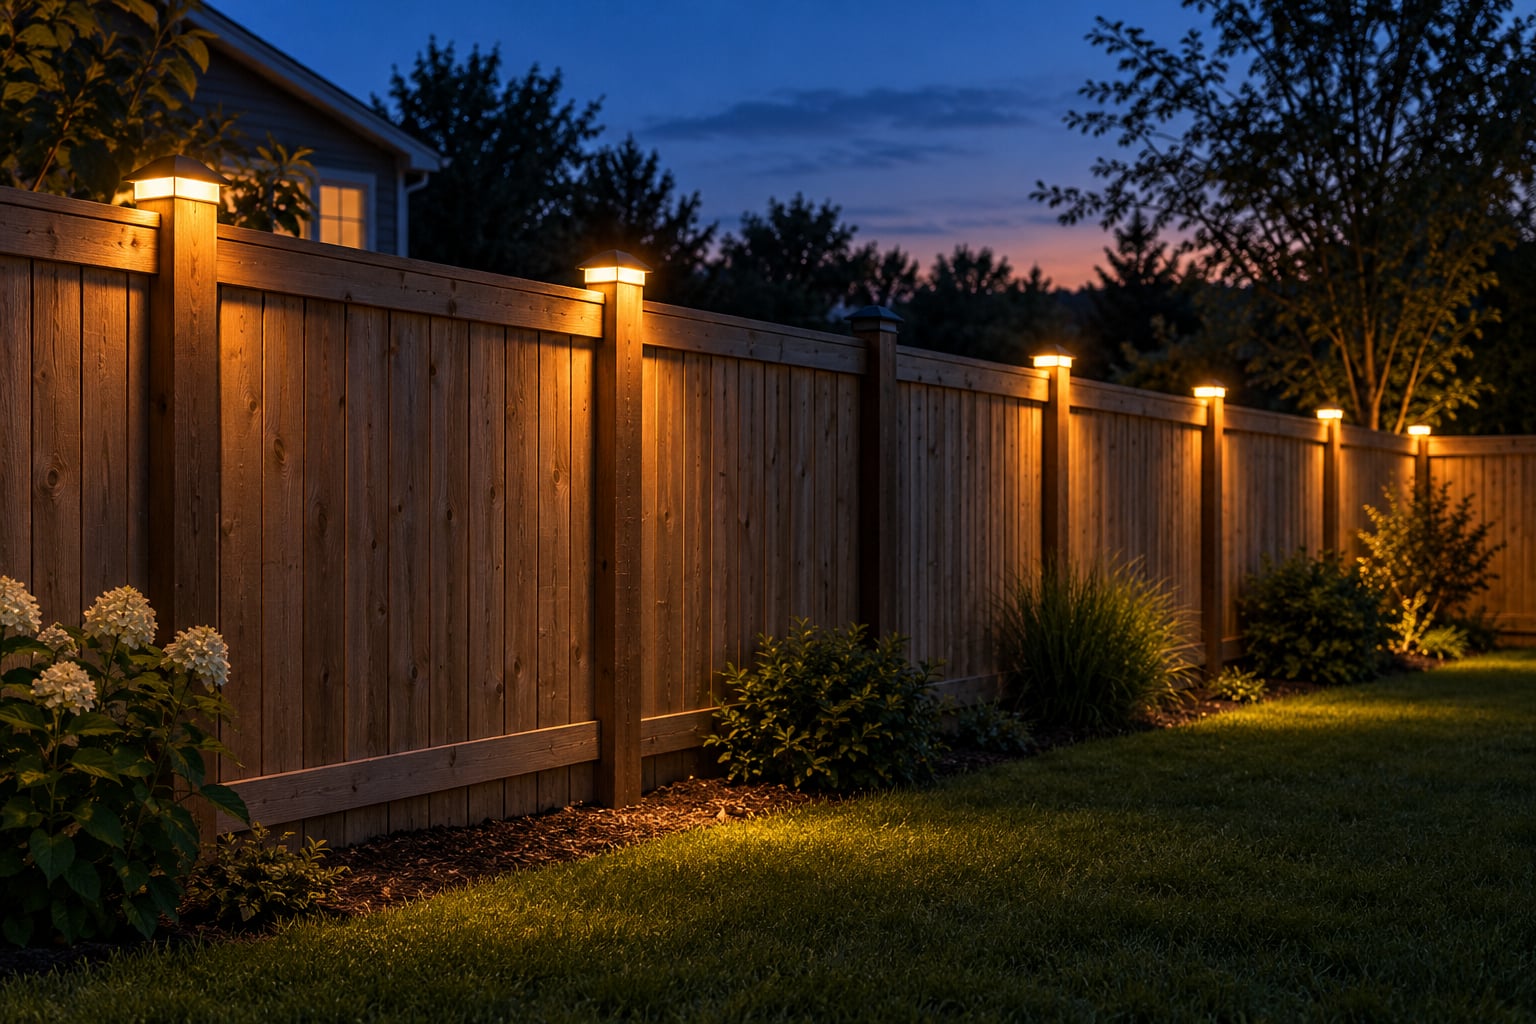
To light a fence line you measure the whole run, match a fixture to each spot, and space them about 6 to 10 feet apart so the light overlaps instead of leaving dark gaps. Solar post caps suit a wooden privacy fence, stake and wall lights work for chain link, vinyl, and the ground along a path.
A 60-foot side yard takes me about two hours with a drill and a step ladder, plus an evening to test it properly. The testing is the part people skip, and it is the part that tells you whether the layout actually works.
Nothing here needs an electrician as long as you stay with solar fixtures and plug-in string lights. Low-voltage wired systems are a different job, and those go to a licensed installer. Below is the process I use, in the order that avoids the usual rework.
Last checked in October 2026.
Table of Contents
- What You Need
- Step-by-Step: How to Light a Fence Line
- 1. Map the fence line and identify dark areas
- 2. Choose the right solar fixture for each location
- 3. Measure spacing and plan the layout
- 4. Install or position the lights
- 5. Test the lighting after dark
- 6. Adjust and maintain the fence lighting
- Common Mistakes
- Frequently Asked Questions
- How do I light up my fence?
- How do I put string lights on a fence?
- Can I attach lights to my fence without nails or drilling?
- Can I put lights on my side of a shared fence?
- Do solar fence lights actually work well?
- How high should fence lights be mounted?
- Conclusion
What You Need
Gather everything before you climb anything. Half-finished installs happen because the string ran short, the clips were the wrong size, or the panel ended up in a shaded corner.
- Fixtures — solar post caps for wooden posts, solar stake lights for soft ground, solar wall lights for vinyl and metal, and outdoor string lights if you want a run instead of points.
- Tape measure — a 25-foot tape handles most runs; use a wheel or a second person for anything past 50 feet.
- Chalk or painter’s tape — to mark post positions and spacing on the ground before you drill.
- Mounting hardware — screws matched to the material, fence clips or clamps for chain link, cable ties, and cup hooks or snap hooks for string lights.
- Drill plus bits — a cordless drill with a bit one size smaller than your screw shank avoids splitting wood.
- Wire or a guide line — a taut cable between posts keeps a long string run straight.
- Level, step ladder, work gloves, and eye protection — a level keeps post caps flat, a ladder keeps you off the top rail.
- Optional — a remote or timer control for string lights, a spare battery pack if your solar units use removable cells, and a plastic tray for screws.
If you live in a rental or share a boundary fence, add hook-and-loop straps or over-the-top clips to that list so you can remove everything without leaving holes.
Step-by-Step: How to Light a Fence Line
1. Map the fence line and identify dark areas
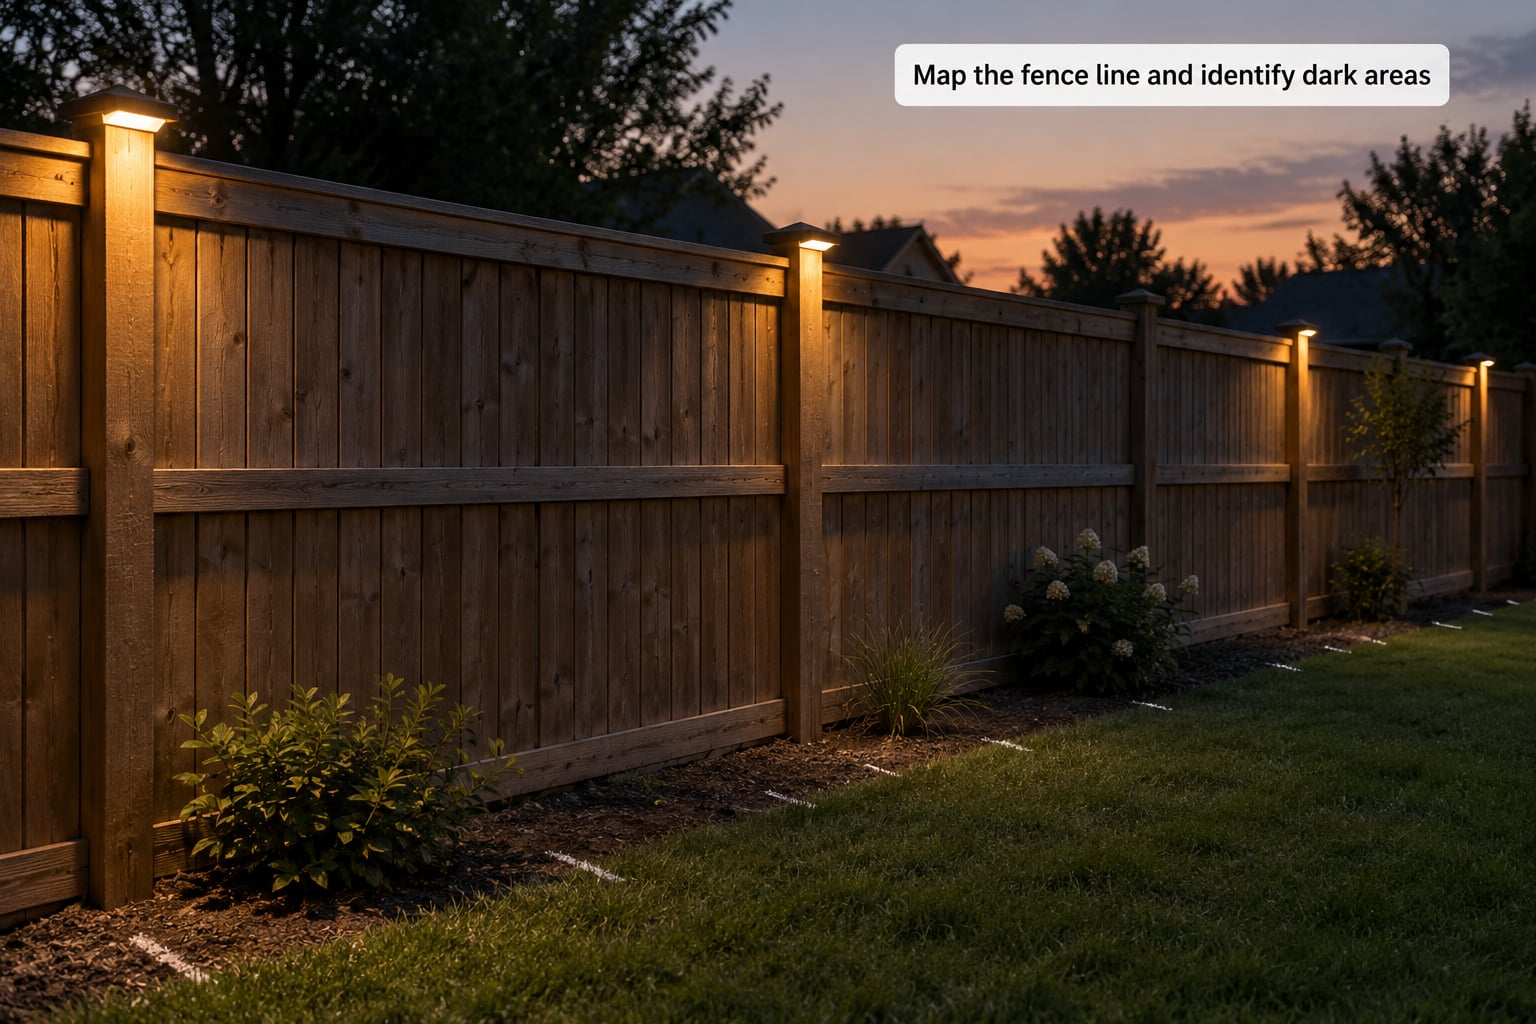
Walk the fence at ground level after sunset and note where it goes black. Gates, the step down to a gate, corners, a path running alongside, and the stretch between the house and the fence are the spots people trip over.
Measure the full run in writing, including the height of the fence and the spacing of the posts. If your fence has posts every 6 to 8 feet, that spacing already decides your light spacing and you just pick a fixture per post.
Chalk the dark spots while you are out there. You will not see them as clearly in daylight, and a mark made at 9 p.m. saves you guessing in the morning.
2. Choose the right solar fixture for each location
Match the fixture to the surface and the job. A wooden post cap throws light down onto the ground and both sides of the fence. A wall light throws light sideways across a face. A stake light lights a path from below.
- Solar post cap lights — best for wooden privacy fences and ranch rails. They sit on top of the post, need no wiring, and look finished from the street.
- Solar stake lights — best along a path or the base of a fence where grass or gravel leaves room.
- Solar wall lights — best on vinyl or metal fence panels, or the side wall of a house facing the fence.
- Solar string lights — best for a continuous outline. The panel sits on one post and the run carries the rest.
- Electric string lights — brightest and most consistent, but you need a safe outdoor outlet and a route for the cord.
Check the lumens before you buy anything. Under 20 lumens is decoration. 30 to 60 lumens marks a path. Above 100 lumens reads as a security light, which may be more than you or your neighbors want.
3. Measure spacing and plan the layout
Space fixtures so their beams touch. Most solar post caps and stake lights carry light about 8 to 10 feet, so spacing them at 6 to 8 feet gives you overlap and removes the dark seams that make a lit fence look patchy.
Three things change the number: fence height, brightness, and obstruction. A taller fence throws its light further, so a 6-foot fence can be spaced wider than a 4-foot fence. Dimmer units need to sit closer. Shrubs, a shed, or a house corner between two posts block light no matter how good the fixture is, and that gap needs its own light.
Work out the count before you open a box. When people ask how to light a fence line, the spacing math is the part they skip and then wonder why the result looks patchy. Divide the run by your chosen spacing, round up, then add two lights for gates and steps. For a 60-foot run at 8-foot spacing that is 8 fixtures, plus 2 for the gate area.
4. Install or position the lights
Put the lights up in daylight, starting at one end and working down the run so you can step back and see the pattern as it builds.
For a post cap, set it on the post top and turn it until the light faces where you want it. Most have a screw or a spike on the base; drive the screw into the post centre, not near an edge, to avoid splitting. Two screws on opposite sides hold up better in wind than one.
For stake lights, push them into the ground until only the panel is above the soil line, and set them so nothing shades the panel for more than an hour a day. A panel in a shaded corner charges at a fraction of its capacity and the light will disappoint you all winter.
For wall lights, use the mounting plate that came with the fixture and seal the screw holes with exterior sealant after tightening.
For a string run, screw cup hooks or eye hooks into the posts, run a guide wire or thin cable between them, and tension it with a turnbuckle before the string goes on. This is what keeps the lights straight. Zip ties to the cable at each post stop the string from twisting in the wind.
Never assume a fixture can be hardwired. Follow the manufacturer’s instructions exactly, and stop there if they do not cover your setup.
5. Test the lighting after dark
Wait until full dark, then walk the fence the way a guest would. Most layout mistakes show up only at night.
Check for four things: gaps where two pools of light do not meet, glare shining into a window or a neighbour’s yard, uneven colour if you mixed fixtures from different sets, and lights that stay on all night because a dusk sensor is blocked or sitting in a dim corner.
Note any section that is dim on a clear night after a full day of sun. That is a charging or placement problem, not a brightness setting problem.
6. Adjust and maintain the fence lighting
Move the awkward ones now, while you still remember which post each one came from. Swapping two fixtures is easier than adding another unit later.
Once a season, wipe the panels with a damp cloth. Dirt and leaf litter cut charging noticeably, and a panel in shade needs checking more often. Leave the switch in the on position if your fixture has one — many solar lights do not charge at all when switched off.
Trim anything that has grown over the panels. In fall, remove the string lights and store the cable coiled, not folded, so the sockets do not crack. Bring post caps down if heavy ice is normal where you live, or loosen them so ice loads the screws rather than the wood.
Common Mistakes
Spacing too wide. The most common fault. Lights 15 feet apart on a fence read as separate dots, not a lit line. Cut the gap to 6 to 8 feet.
Panels in shade. A panel that sees a few hours of sun will run a couple of hours on an overcast night and go dark in winter. Check the sun path at both noon and late afternoon before you mount, and move the panel on a small standoff if a fence shadow covers it.
Too-bright fixtures. High-lumen floodlights wash the fence out, blow out the colour, and spill onto neighbouring property. Stay in the 20 to 60 lumen range for ambience and use one brighter light only where you genuinely need to see, such as at a gate.
Skipping the night test. A layout that looks fine at 3 p.m. can have three dark patches. Budget one evening for it.
Attaching to a fence you do not own. On a shared boundary fence, use over-the-top clips or removable straps, keep your light pointed at your own side, and ask before drilling. It is the one fault on this list that turns a weekend project into an argument with a neighbour.
Ignoring the wind. String lights on a long run twist and chafe against posts without a guide wire and ties. Two extra minutes of fastening prevents a snapped run.
Cords across walkways. An extension cord crossing a path is a trip hazard. Run it along the fence base, or behind a planter, and use an outdoor-rated cord only.
Frequently Asked Questions
How do I light up my fence?
Run a line of fixtures along the fence at 6 to 8 foot spacing, choosing solar post caps for wooden posts, wall lights for vinyl or metal panels, and stake lights along a path. Walk the fence after dark first and mark the spots that go black, then place lights there and at each gate and step. Solar needs no wiring, which makes it the quickest option for most homeowners.
How do I put string lights on a fence?
Screw cup hooks or eye hooks into the posts, run a thin guide wire between them, and tension the wire with a turnbuckle before hanging anything. Hang the string from the wire and tie it to each post with a cable tie so it cannot twist. This is what keeps a long run straight instead of sagging between boards. Add the string after the wire is tight.
Can I attach lights to my fence without nails or drilling?
Yes, if the fence is chain link, use clamps or C-hooks that grip the wire mesh, and for wood or vinyl use over-the-top fence clips that hook over the top rail. Hook-and-loop straps work for a temporary run. These options cost nothing to remove, which is why they suit rentals and shared fences. They do not sit as firmly as a screw, so expect to check them after a strong wind.
Can I put lights on my side of a shared fence?
In most places you can, as long as the fence sits on the boundary line and you are not cutting into, leaning on, or damaging it. The practical limits are your neighbours and any HOA rules, not usually the law. Ask before drilling, use removable clips as a courtesy, and aim the light at your own yard rather than across the boundary. Bright fixtures aimed outward are the ones that cause complaints.
Do solar fence lights actually work well?
They work well when the panel gets six hours or more of direct sun and the fixture has enough capacity for the run. They underperform in deep shade, in heavy winter cloud, or when several lights share one undersized panel. Post caps usually hold a charge longer than tiny stake lights because they see more sky. Set the switch to on, keep the panel clean, and expect a dimmer run in midwinter.
How high should fence lights be mounted?
For post caps, mount at the top of the post, which throws light down and along the fence line. Wall lights usually sit 6 to 8 feet above the ground, high enough to stay clear of splash and mowing damage. Avoid putting a light where a person walks at head height, and keep fixtures at least a few inches off the fence face so water can drain instead of running down the panel.
Conclusion
Start by walking your fence after dark and marking the dark spots before you buy anything. Those marks, plus the post spacing you already have, tell you exactly how many lights you need and where each one goes. Pick solar post caps if you have a wooden fence, solar wall or stake lights for anything else, and stay inside 6 to 8 foot spacing so the beams meet.