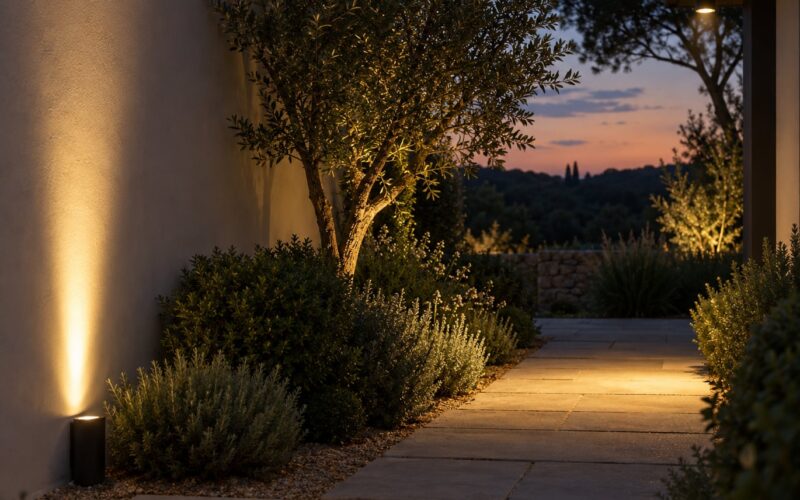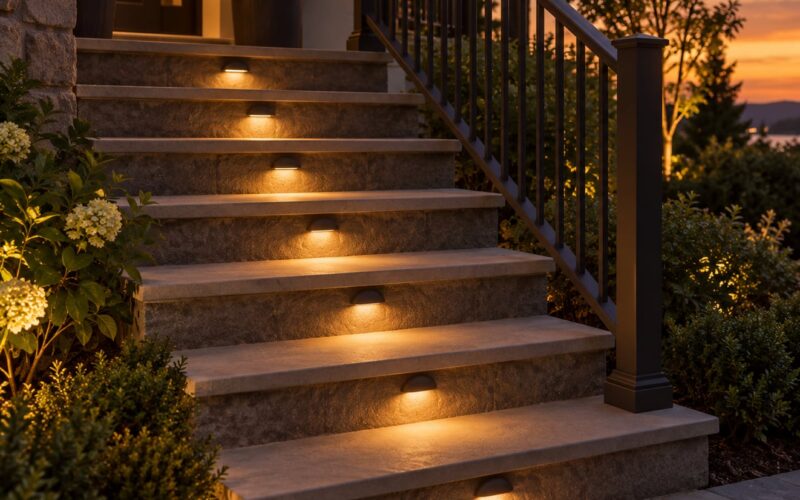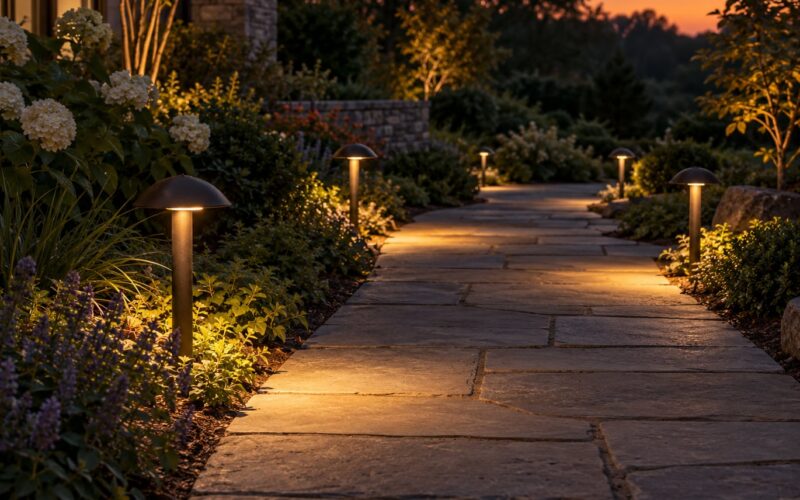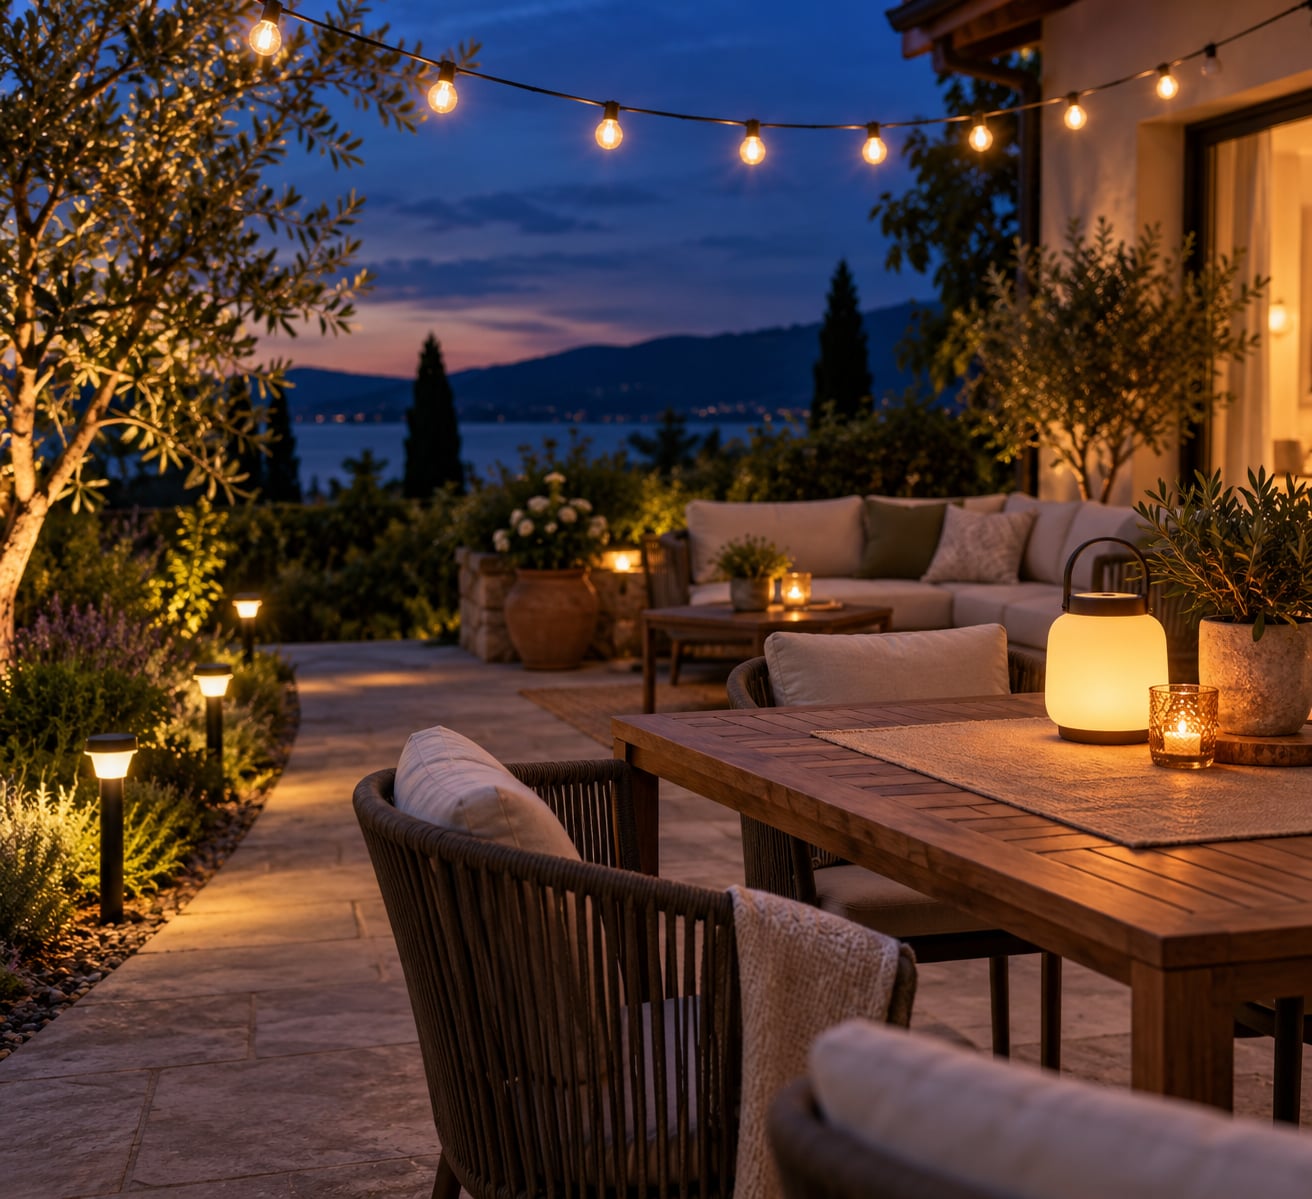
You can light a patio without electricity with solar path and wall lights, solar or battery string lights, rechargeable lanterns, candles in jars, and a fire pit or tiki torch. Most patios need two or three of those combined, not one fixture trying to do everything. A whole setup takes an afternoon.
The reason people ask this is almost never technical. There is no outlet on the back wall, the nearest one is inside the garage around a corner, and running a cord across the grass to the house looks like something you did in a hurry. Renters hit the same wall a step earlier, since they cannot drill into siding or a fence at all.
Good no-electricity lighting also behaves differently from wired lighting, and that is where most disappointing setups come from. A single bright bulb over a table reads harsh. What works is warm light at low level, spread across a few spots, aimed down rather than out. That is the whole idea behind everything below.
One note on scope: nothing here touches running new electrical circuits. If you want a hardwired chandelier or low-voltage landscape lighting on a transformer, that is licensed electrical work with permits and a trench in some cases, and worth it only when you are already redoing the space.
Table of Contents
- What You Need
- Step-by-Step
- How to Choose Solar Lights for a Patio
- How to Create Layers of Patio Lighting
- Common Mistakes to Avoid
- Frequently Asked Questions
- What is the best way to light a patio without electricity?
- Can you use candles on an outdoor patio safely?
- Do solar lights work on cloudy days?
- How long do the batteries last in outdoor solar lights?
- Can battery-powered lights be used outside in the rain?
- How do you light a covered patio with no outlet and no sun?
- Conclusion
What You Need
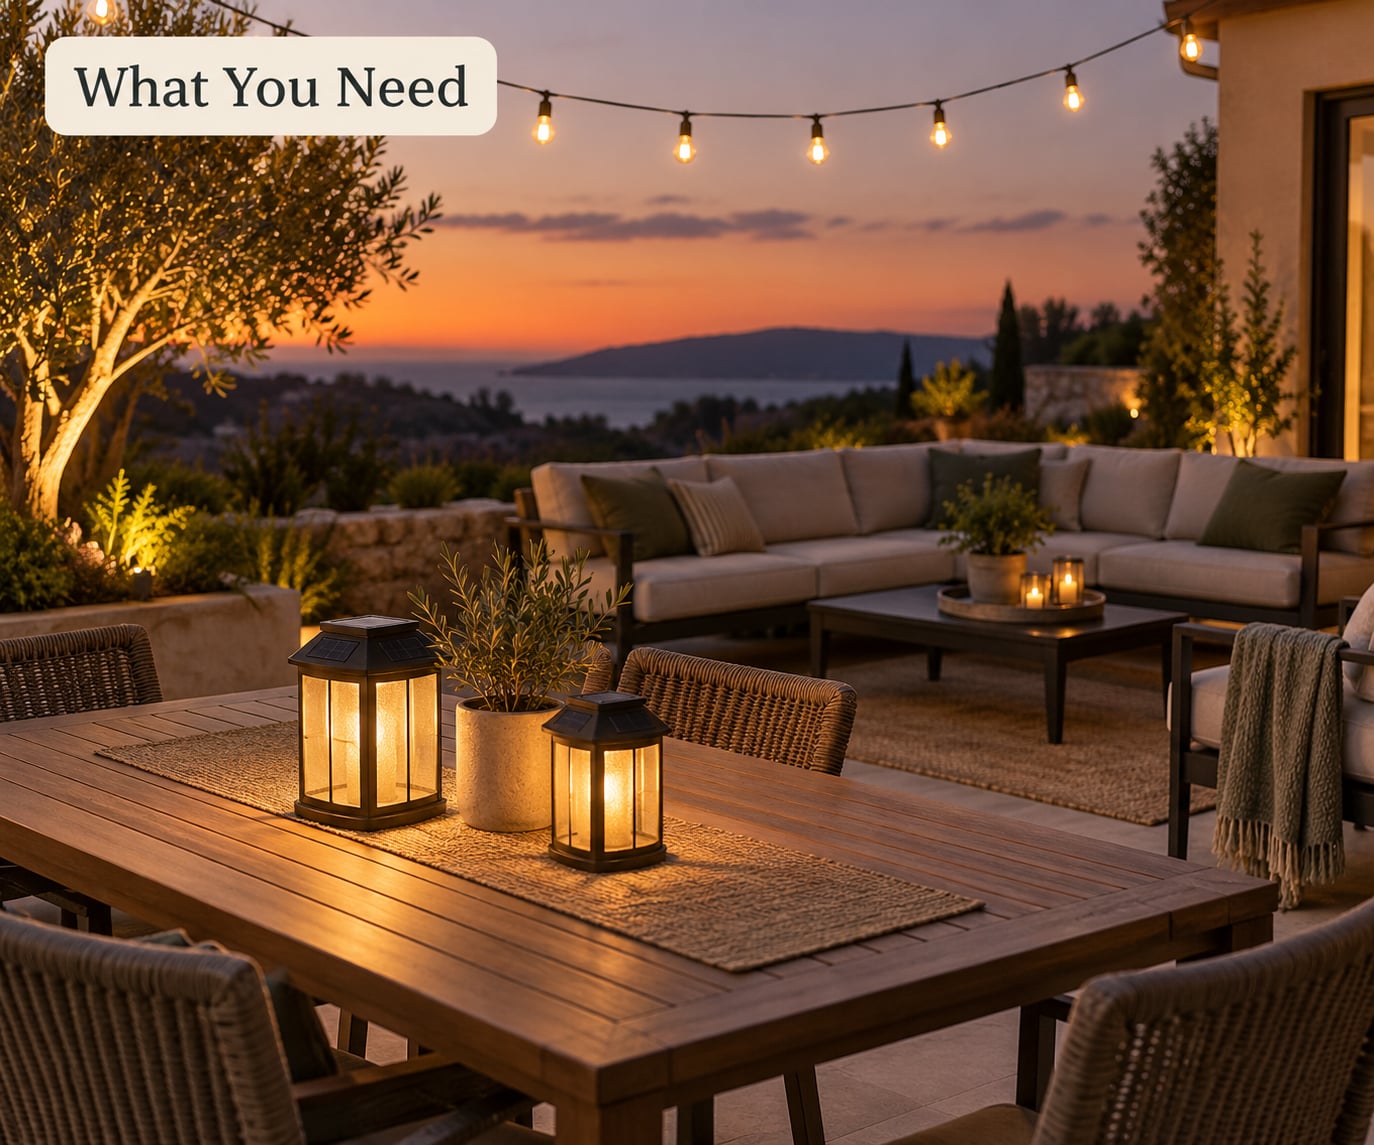
Six approaches cover nearly every patio, and they differ mostly in what they need from you and from the weather.
- Solar stake and path lights. A panel and battery in one stake pushed into a border. Needs direct sun on the panel, usually 6 to 8 hours, and nothing else. No charging, no wiring, and they switch themselves on at dusk.
- Solar wall and post lights. Mounted to a fence, post cap or wall with screws. Better for doors and steps than path lights, since they throw light sideways and down instead of up into neighbouring windows.
- Battery string lights. The most flexible option. A USB power pack or a battery box feeds a strand you can hang anywhere, with a remote and often a timer. Runtime runs from about 5 hours on the lowest setting to roughly 20 on a short strand at low brightness, and you recharge the pack indoors.
- Solar string lights. One panel per strand, no battery box in sight. The catch is that the panel needs the same full sun as a stake light, which is exactly what a covered patio does not get.
- Rechargeable lanterns and lamps. The workhorse for a dining table. Move them around, use them as task light, and put them on the charger in bad weather. Many also run as a plain USB power bank.
- Candles, mason jars and a fire pit. No charging at all, which makes candles the reliable fallback in a dead battery. A fire pit is light plus heat plus the reason people end up outside in October.
Whichever mix you pick, judge lights on four things rather than on how bright they look in a photo.
- Brightness. Path and ambience lights sit around 5 to 40 lumens. A table needs roughly 100 to 300 lumens in the fixture to make food and faces readable. Anything brighter than that at eye level is what makes a patio feel like a car park.
- Color temperature. 2700K to 3000K warm white. Cool white above 4000K reads clinical outdoors and picks out bugs instead of faces.
- Weather rating. IP44 handles splashes on a covered patio, IP65 survives a hose-down and driving rain, IP67 is for fixtures that sit in or near water. Anything you leave out through winter should be IP65 or better.
- Runtime and recharge. Check how many hours the light lasts at its brightest, not at its dimmest. If the answer is under 6 hours, you are buying a light that dies at midnight in June.
Step-by-Step
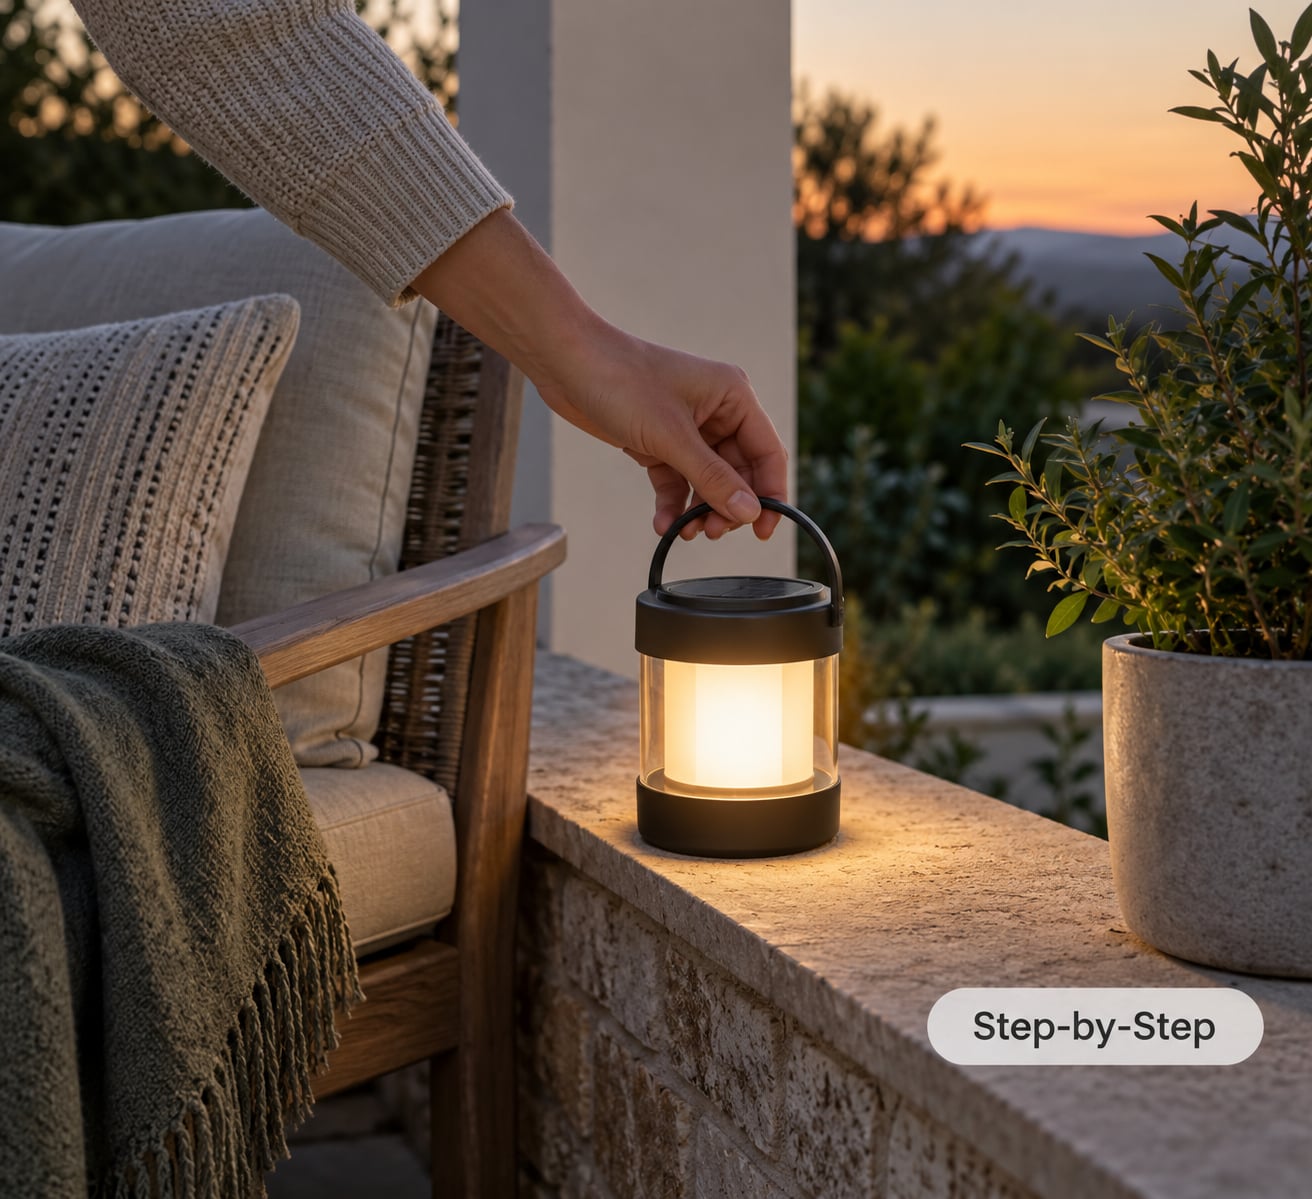
Work in this order and you avoid the usual problem of buying lights before you know what the space needs.
Step 1: Look at the space at the same hour you will use it. Stand on the patio around 9 pm and note what is actually dark. Typically it is the dining surface, the two or three steps up to the door, and the stretch of path between them. Those are the jobs. The rest is decoration.
Step 2: Pick your mix, then buy. Decide which of those three jobs each light will do. Solar for anything by a sunny border, battery or rechargeable for the table, candles for atmosphere, and one low light at every step. Mixing sources is normal and nobody notices the difference once the color temperature is right.
Step 3: Place the ambient light first. Put stake lights 2 to 3 feet apart along a path or at the edge of a deck, angled so the beam lands downward. On a wall, aim down at about 30 degrees. This is the layer that stops the patio reading as a void, and it should be the dimmest thing you own.
Step 4: Add one brighter light where hands are needed. A rechargeable lantern on the table beats four ceiling fixtures, because you can move it when the conversation shifts. For hanging light, run a strand from the house to a pole or tree and let the middle sag; the droop is doing visual work.
Step 5: Light the way, not the whole garden. One light per step or per two steps, at ground level, is what prevents a guest from tripping. Nobody needs the fence lit.
Step 6: Test after dark, then adjust. Switch everything on at the hour you normally sit outside and walk the route from the door to the table. Anything that glares at eye level gets dimmed or shielded with a shade hood, and anything you have to look at directly to see the step gets moved.
How to Choose Solar Lights for a Patio
Solar lighting fails for a boring reason, which is that the panel did not get what it needed. Choose on the panel and the rest mostly looks after itself.
Panel position matters more than the price tier. A stake light sits in soil, so its panel sees whatever the canopy above allows, and a patio table or a fence will block far more sun than the product listing suggests. Wall-mounted panels can be placed on the sunniest face of the house even when the patio itself is shaded, which is the single best trick for a covered area.
Battery capacity and charging time decide runtime. Small built-in cells give you 4 to 6 hours, which fades by 1 am; larger cells or a separate remote panel give 8 to 10 hours. Check the stated charge time too. Anything asking for 10 hours of sun is realistically producing a light for long summer evenings only.
Lumen output is quoted optimistically by most small solar lights. Treat a listed 100 lumens on a stake light as marketing and expect something closer to a soft marker glow. For actual brightness at the table, use a rechargeable lamp rather than pushing a solar panel that size.
Color temperature and sensor quality are where cheap lights separate. A dusk-to-dawn sensor with a proper photocell will not flicker on at a passing shadow, and 2700K to 3000K keeps the glow warm. A hood or downward shield over the LED keeps it off the neighbours.
IP rating decides whether it survives a season. IP44 is fine under cover. Anything beside a path or a flower bed wants IP65 or above, since sprinklers hit harder than rain.
When a solar light that used to work goes dark, check these in order:
- Wipe the panel with a damp cloth. Dust, pollen and dried bird mess cut charging sharply, and this is the most common cause.
- Confirm the switch is set to on and the pull tab or film on the battery is removed.
- Move it out of shade for a full day and test again before buying anything.
- If the light flickers dimly rather than switching off, the rechargeable cell has usually swollen or lost capacity after a year or two, and the fix is a replacement cell or a new light.
How to Create Layers of Patio Lighting
One layer gets you light. Three layers get you a room outdoors, and that is the difference between a patio you use and a patio you walk through to the back door.
Ambient is the base. Stake lights, a dim strand overhead or small lanterns at both ends of a bench. Aim to see shapes and edges but not read a menu by it.
Task light sits where people need detail: a lamp on the dining table, a lantern by the steps, a light inside a wall shelf. This is the only layer allowed to be bright.
Accent light marks things. A candle in a jar at the base of a plant, a clipped-on light under a bench lip, or a wall light grazing a fence turns a flat wall into a backdrop without adding another bright source.
Warm and layered beats bright and flat every time. When a patio looks wrong, the cause is almost never too little light. It is too much of it at eye level, pointed outward.
Common Mistakes to Avoid
Mistake 1: putting the solar panel in shade. A light in the shadow of a wall, a patio roof or a large tree will charge at a fraction of its rating and fail exactly when you need it. Fix: give every solar fixture a clear southern or western stretch of sky, and move the panel rather than the light if you can.
Mistake 2: expecting a cloudy week to recharge. Solar lights store what they collect during the day and spend it at night. Three dull days means three weak nights, and it does not recover while you are watching it. Fix: keep one battery or candle light as the backup for the dining table, and treat solar as the path and step layer rather than the main light.
Mistake 3: open flame next to décor. Pillars, dried grasses, paper lanterns and a pergola roof are a bad combination with a table candle. Fix: hurricane lanterns with a glass sleeve, flameless candles on a timer for the long evening, and keep real flame at least a foot from anything that can catch. Nobody under a roof should be holding a lit jar.
Mistake 4: over-lighting the space. Bright cool-white fixtures at eye level make a patio look harsh and light up the whole neighbourhood. Fix: drop to 2700K, aim beams downward and add a shield hood. Lower and warmer beats brighter every time.
Mistake 5: mixing batteries and cells carelessly. Mixing old and new cells, or a rechargeable pack with alkaline batteries in the same box, causes flickering and short runtimes that people blame on the light. Fix: one type per pack, matched pairs from the same batch, and replace the whole set rather than one cell.
Mistake 6: putting lights where they can be knocked over. A candle jar at the edge of a table or a stake light in the middle of a path is a trip hazard. Fix: lanterns on the table’s centre, jar lights on a shelf or in a wall niche, stake lights off the walking line.
A few last things. Skip extension cords across walkways, even outdoor-rated ones, since they trip people and collect water at the connection. Clean panels twice a season. And if you rent, freestanding poles, clamp-on fixtures, tree straps and heavy planters are your mounting options.
Renters and people with no outlet also ask about hanging string lights, which is where a lot of these setups get stuck. The methods get shared reliably enough on r/DIY and r/HomeImprovement, and the reliable version comes down to four hardware options: exterior-rated eye hooks screwed into wood fascia with turnbuckles tensioning the cable at both ends, freestanding poles weighted at the base, tree straps for branches, and trellis or pergola hooks. Weight the poles properly in wind or they will lean, and keep every cord and cable off the ground.
Frequently Asked Questions
What is the best way to light a patio without electricity?
Most patios do best with a mix: solar stake lights along paths and steps, one rechargeable lantern or battery strand over the dining table, and candles in jars for atmosphere. Layering a dim base light with one brighter task light gives you a usable patio, where one fixture trying to light everything leaves the space either dark or harsh.
Can you use candles on an outdoor patio safely?
Yes, with care. Use hurricane lanterns or jar lights with a glass sleeve rather than open pillar candles, keep real flame a foot away from dry grasses, paper décor and any pergola roof, and never leave one unattended. For long evenings a flameless candle on a timer gives you the look without the open flame.
Do solar lights work on cloudy days?
They work, but at reduced output. A solar light charges during the day and spends that charge at night, so a run of cloudy days means dimmer, shorter nights with no chance to catch up while you wait. Keep one battery light or candle as backup for the table, and use solar for paths and steps rather than as your only source of light.
How long do the batteries last in outdoor solar lights?
Most built-in rechargeable cells give two to four seasons before runtime noticeably drops, since heat and cold both wear them out faster than mild weather. A light that flickers dimly instead of switching off has usually lost its cell capacity. Wipe the panel and test in full sun before replacing anything, because dirt causes far more dead lights than worn cells do.
Can battery-powered lights be used outside in the rain?
Yes, as long as the rating matches the location. IP44 is splash-rated and fine on a covered patio, while IP65 or IP67 is what you want for anything exposed to rain or sprinklers. Charged lights belong indoors or in a sealed box, and any string light you leave out all winter should be rated for it.
How do you light a covered patio with no outlet and no sun?
Skip solar, because a roof blocks the panel from charging at all. Use battery string lights hung from joists, a rechargeable lantern on the table, magnetic rechargeable puck lights stuck to a metal plate for chandelier-style light, or candles and flameless candles for warmth of effect. Those options also work well for renters, since they need no drilling.
Conclusion
Start with two solar lights in the sunniest part of the patio, aimed at the steps and the door. Add one rechargeable lantern on the table, keep a hurricane or two in reserve, and stop there. Warm and layered always beats bright and flat, and you can build out the rest next season.