Uplighting vs downlighting outdoors comes down to where the fixture sits. Uplighting puts the light below the subject and aims it up, which adds drama to trees, columns, and facades. Downlighting puts the fixture above, aimed at the ground, which lights paths, steps, and patios evenly and safely. Most yards need both, and the answer depends on what you are trying to see.
Direction matters more than brightness. A brighter fixture aimed the wrong way still leaves a walkway dark and puts a hot spot in your neighbor’s window. Pick the direction for the surface you want to see, and the rest of the decision gets easy.
Table of Contents
- Uplighting vs Downlighting Outdoors at a Glance
- What Is Uplighting Outdoors?
- What Is Downlighting Outdoors?
- How Does Uplighting vs Downlighting Outdoors Change the Effect?
- Shadows and texture
- Perceived size of the yard
- Glare and eye comfort
- Light spill and neighbors
- What stays visible
- Where Should You Use Uplighting or Downlighting?
- What Factors Should You Consider Before Installing Outdoor Lighting?
- Placement and aiming
- Beam angle and brightness
- Color temperature
- Shielding and waterproofing
- Power source
- Local rules and who does the work
- Which Should You Choose?
- Frequently Asked Questions
- Is uplighting or downlighting better for outdoor paths?
- Are outdoor uplights more likely to cause glare?
- Can uplighting and downlighting be used together?
- What color temperature works best for outdoor lighting?
- Can solar lights provide both uplighting and downlighting?
- Conclusion
Uplighting vs Downlighting Outdoors at a Glance
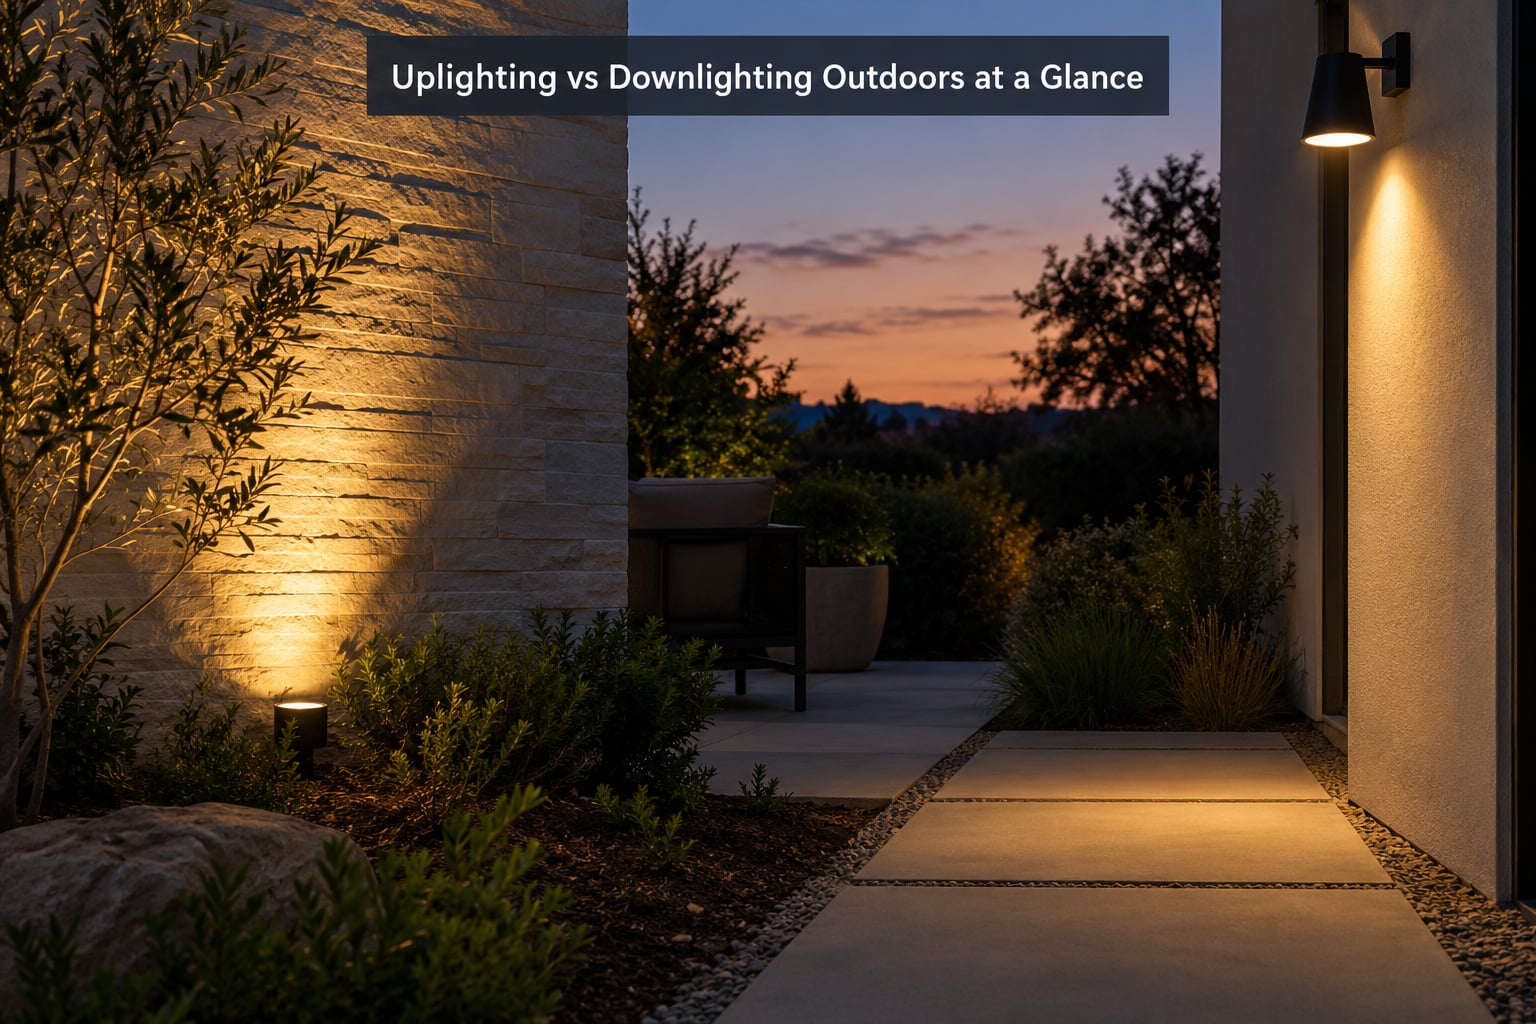
| Aspect | Uplighting | Downlighting |
|---|---|---|
| Light direction | Upward, from ground level or below the subject | Downward, from eaves, soffits, walls, or tree canopy |
| Main purpose | Accent and atmosphere, highlighting shape and texture | Visibility and safety, lighting the ground you walk on |
| Visual effect | Dramatic, sculptural, high contrast | Even, functional, low contrast |
| Shadows | Strong, patterned shadows from branches and foliage | Short shadows, less visual noise |
| Glare risk | High if fixtures are visible at eye level | Moderate, mainly from low soffit lights near seating |
| Perceived space | Makes vertical elements feel taller | Makes open ground feel wider and flatter |
| Best targets | Trees, columns, facades, statues, fountains | Paths, steps, driveways, patios, decks, pools |
| Installation difficulty | Simple for single fixtures, tricky near walls and windows | Easier on ground; soffit work needs a ladder and safe access |
| Maintenance | Fixtures get knocked by mowers, so bury or shield them | Higher mounting means fewer collisions, more access work |
| Best locations | Against walls, tree bases, planting beds | Eaves, canopy, deck edges, gravel borders |
What Is Uplighting Outdoors?
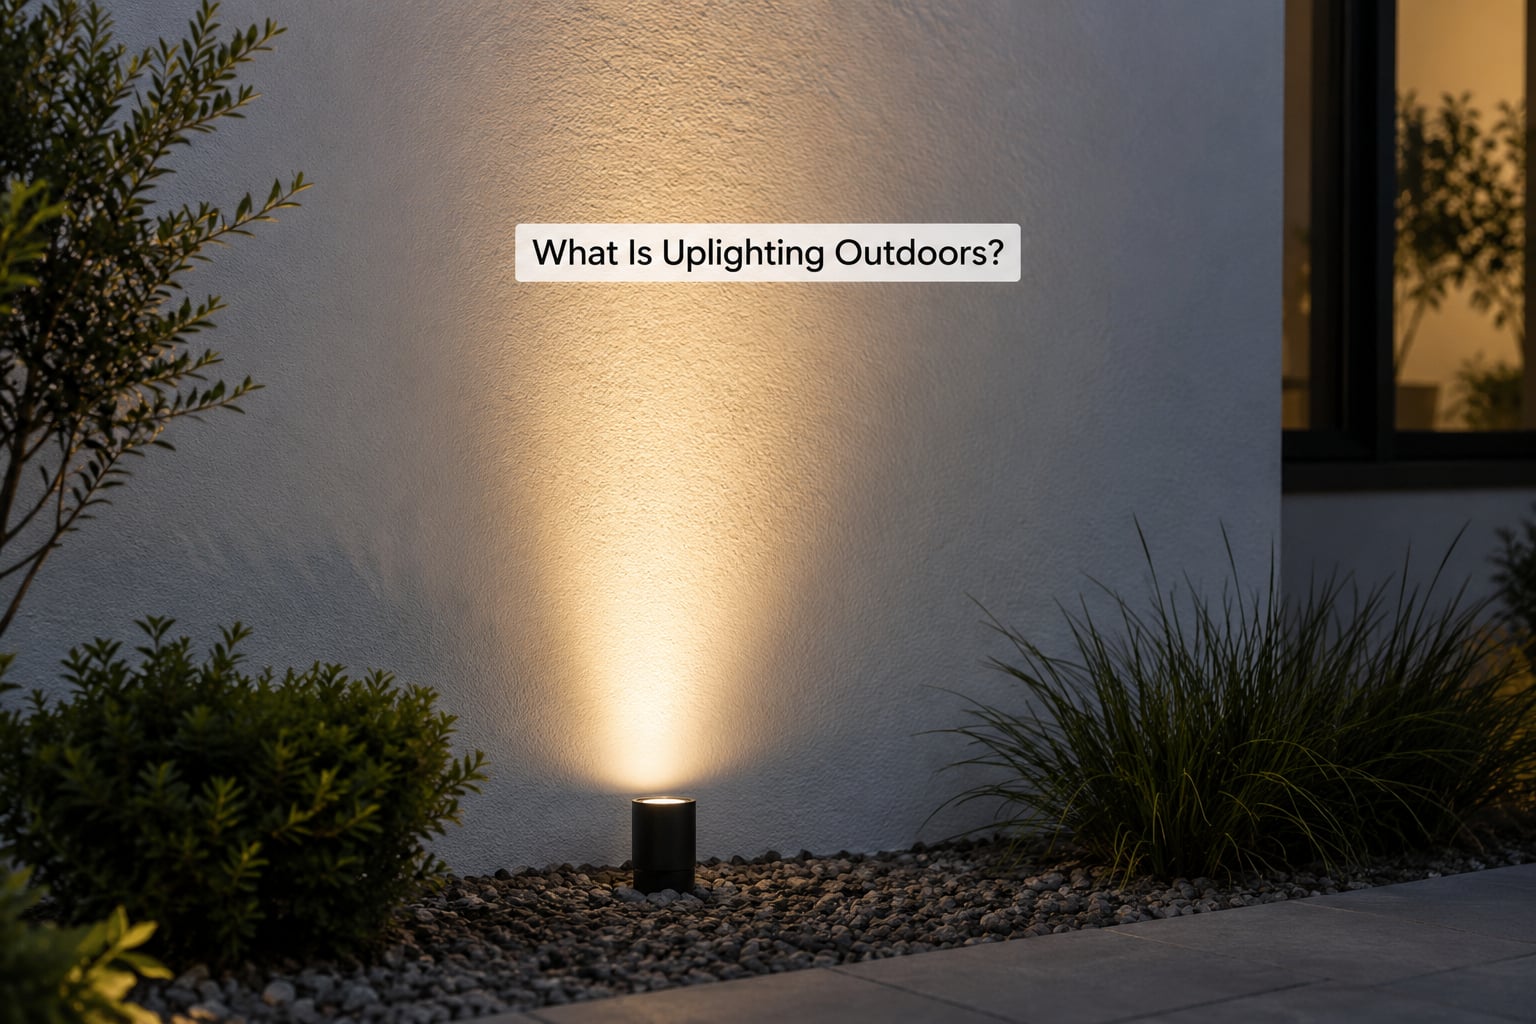
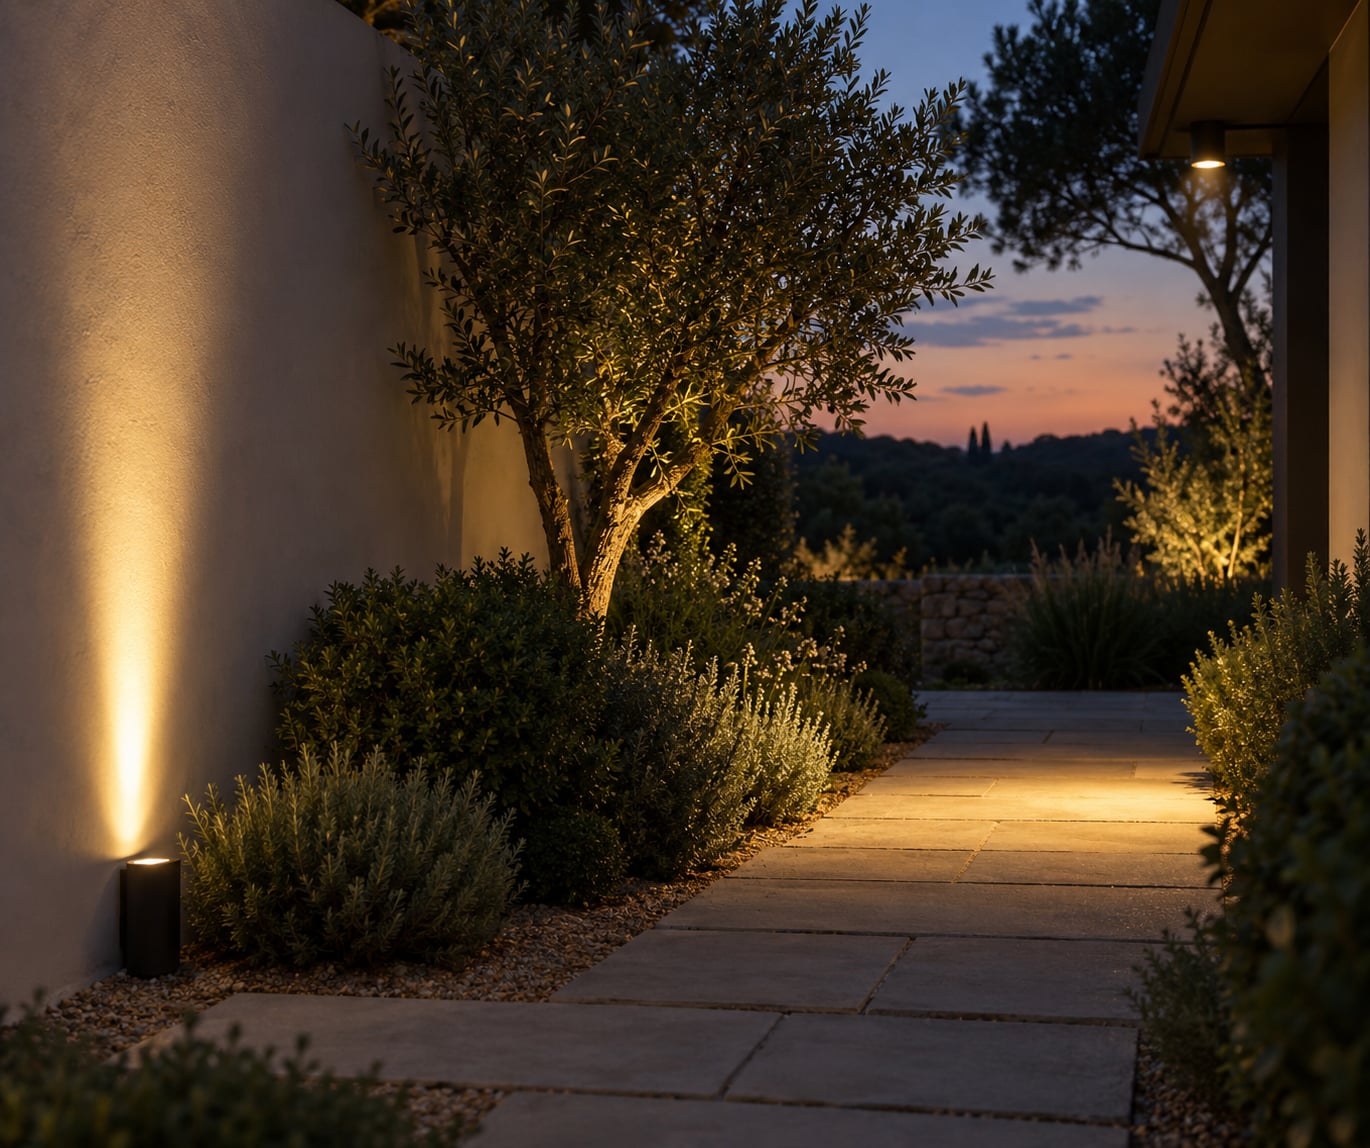
Outdoor uplighting means placing a fixture below the thing you want to highlight and pointing it up. The light rakes across the surface, and every texture it touches picks up contrast. Bark, stone, brickwork, and shingle all show more texture under raking light than under flat light.
Two fixture types do most of the work. Directional uplights are adjustable, often hooded, and good for facades and statues. Well lights sit flush in the ground inside a cylindrical housing, so nothing shows above the grass line. Well lights look tidy in open lawns, but they can wash out grass and collect soil in the housing.
The effect is architectural. A tree lit from the base looks taller than it is, and a stone column gains a vertical line of brightness that separates it from the wall behind. A Texags homeowner who replaced plain door lighting with landscape lighting aimed at the house told forum readers they liked the shadow play shrubs cast across the facade. That reaction is common, because it is the whole point of the technique.
What Is Downlighting Outdoors?
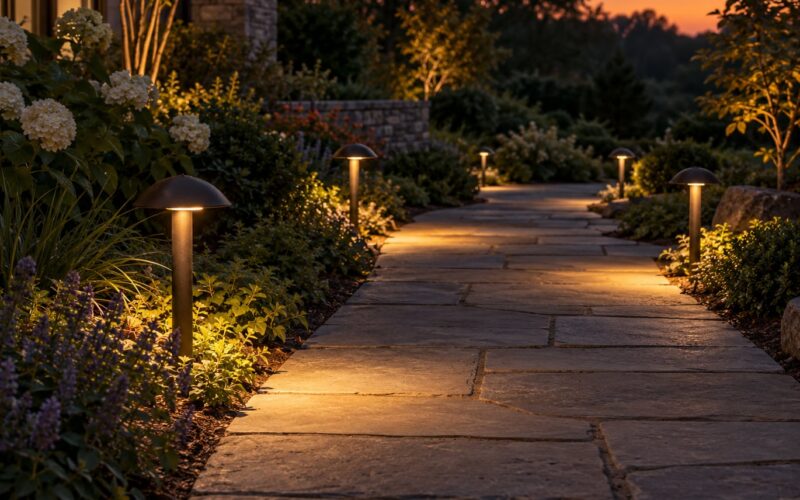
Downlighting means the fixture sits above the surface and the light travels down. Soffit and eave lights under a roof overhang are the familiar version. Recessed soffit lights give an even wash with no visible hardware, which is why the landscaping community leans on downlighting for anything people walk on. As one r/landscaping answer put it, the rule of thumb is to downlight a path of travel, whether that is a hardscaped walk, the edge of a deck, or a lawn border.
Moonlighting is the downlighting subtype people get excited about. Instead of a ground fixture, a small waterproof light mounts high in a mature tree and points down through the canopy. It gives a soft, wide, slightly ethereal spread across the lawn. Lawn Care Forum posters describe exactly that effect and contrast it with uplighting, which is much more intense and pointed.
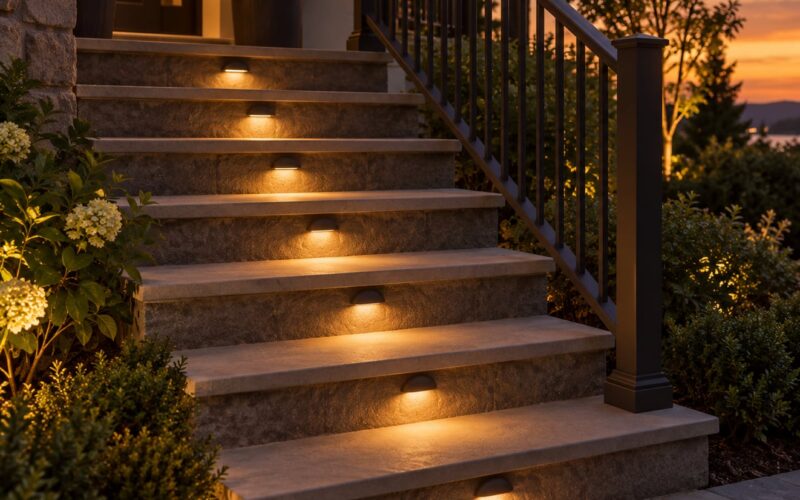
Downlighting also handles safety work. Steps, handrails, driveway edges, and the transition from driveway to front door all benefit from light coming from above, because you see the ground surface and the edges of things at the same time.
How Does Uplighting vs Downlighting Outdoors Change the Effect?
Shadows and texture
Light coming from below puts shadows above the object, which reads as drama. Light from above puts shadows underneath, which reads as clarity. If you want a wall to look interesting at night, you want uplighting. If you want to know where the third step is, you want downlighting.
Perceived size of the yard
Uplighting pulls the eye upward and makes vertical things feel taller, which is exactly what people mean when they say a facade looks grander. Downlighting spreads light across horizontal surfaces and flattens them, which makes a patio or driveway read as one continuous plane. A small yard often benefits more from the downlighting than the drama, since horizontal spread is what makes an area feel usable.
Glare and eye comfort
Glare is the biggest complaint I see about outdoor lighting, and direction is most of the cause. A fixture visible at eye level sends light straight into the eyes of anyone sitting on the patio. One r/Lighting poster put it simply: they detest any outdoor recessed lights that are not extremely low glare. If you are adding uplights, hood them, aim them past the viewing window, and keep them behind shrubs or boulders.
Soffit downlights cause their own version of the problem when they are too low or too bright, which is why shielded optics matter more than raw output. People consistently say shielded fixtures beat brighter ones in a real yard.
Light spill and neighbors
Uplighting is the direction most likely to send light somewhere it should not go. Aim a wall light at a two-story facade and you are lighting the upstairs bedroom window of a neighbor who did not ask for it. Light trespass is a genuine complaint, and in many places local ordinances set limits on how much light can leave a property.
What stays visible
Downlighting shows people, edges, and trip hazards. Uplighting shows surfaces. Deciduous trees look nearly bare in winter under downlighting and dramatic under uplighting, so the look changes through the year with the canopy. Evergreens behave the opposite way, keeping their volume under downlight.
Where Should You Use Uplighting or Downlighting?
| Outdoor zone | Recommended technique | Why |
|---|---|---|
| Front path and walkway | Downlighting | Shows the path of travel and hides trip edges |
| Steps and handrails | Downlighting | Reads surface depth and riser edges from above |
| Mature tree | Either, deliberately | Uplighting for bark and height, moonlighting for a soft lawn wash |
| Facade and entry columns | Uplighting | Emphasizes vertical texture and separates the wall |
| Stone wall or sign | Uplighting | Grazing light reveals surface relief |
| Driveway and walkway junction | Downlighting | Defines the boundary without lighting the whole drive |
| Patio and seating wall | Both | Downlight for the floor, uplight for the wall texture behind seats |
| Deck | Downlighting | Mounted under railings or on posts, out of walking clearance |
| Pool and pond edge | Downlighting | Even coverage around water plus safety at the coping |
| Garden bed and low planting | Either | Uplight for upright plants, downlight for ground cover spreads |
| Front porch | Downlighting | Entry function beats decoration at the front door |
| Fountain or statue | Uplighting | Forms the focal point of the yard |
| Bedroom window elevation | Neither, or shielded downlight | Light at this height hits the upstairs window directly |
One more caution on trees. Mounting fixtures in a tree works, but it means climbing equipment, straps that can scar bark, and a fixture that has to be serviced from a lift later. Most people who want the soft canopy effect start with base uplighting and add moonlighting only if the tree is genuinely large. Uplighting from the ground will not harm the plant, though leaving a fixture pressed against bark for years can leave a mark.
What Factors Should You Consider Before Installing Outdoor Lighting?
Placement and aiming
Decide what the light is for before you pick a fixture. Accent means narrow beam, close in, aimed at one object. Task and safety means a broader spread covering a surface. Aiming is everything: a hooded uplight pointed slightly past a column lights the column without lighting the window above it.
Beam angle and brightness
Narrow beams make hotspots and dark gaps between fixtures. Wider beams overlap and even things out. Rather than cranking up output to compensate for a bad aim, aim first and use the lowest output that reads correctly from the street. Dimmable fixtures let you dial it back later instead of over-lighting the yard, which is the most common mistake on this list.
Color temperature
Outdoor lighting reads best warm. Most homeowners prefer 2700K or lower, and landscapers tend toward the 2200K to 3000K range. Cooler white above 4000K looks like a parking lot. Warm light also flatters stone and bark and keeps insects from clustering as aggressively around the fixture. Most homeowners and lighting designers settle on that warm end of the range for good reason.
Shielding and waterproofing
Outdoor fixtures need an IP65 rating or better, which means they are dust tight and protected against water jets. That is a non-negotiable spec for anything outside. For glare, use integrated hoods, regressed lenses, or honeycomb louvers instead of hoping the angle holds up after a storm shifts the fixture.
Power source
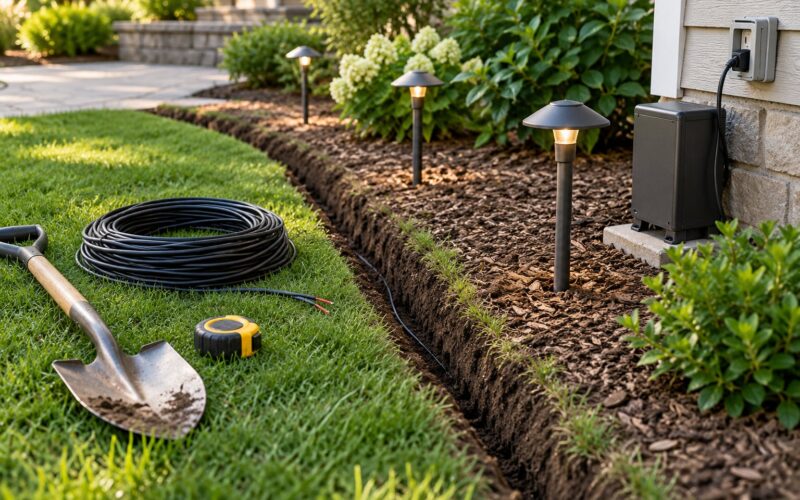
Low voltage systems run through a transformer or driver, which is what most professional installations use. Solar fixtures work well for path markers, bed lights, and other low-output accents that get a few hours of sun. I would not try to run a moonlighting effect from a panel, because you need both the fixture and the sun access that a large tree rarely offers. A useful rule: solar for markers and small accents, wired for anything you want to be reliably visible after dark.
Local rules and who does the work
Check local ordinances on light trespass and brightness before you buy fixtures, especially in neighborhoods with close spacing. Then follow the manufacturer’s instructions, and use a licensed electrician for anything hardwired or involving new circuits. Low voltage is safer to work with, but you still need to bury cable to code depth and avoid cutting roots or irrigation lines.
Which Should You Choose?
Choose uplighting when the thing you care about is vertical: a tree, a column, a stone wall, a front facade. Choose downlighting when the thing you care about is horizontal and you need to see it: paths, steps, driveways, decks, patios, pool edges.
Do not pick by brightness or by fixture count. Pick by the surface you need to see, then decide whether your yard is big enough and dark enough to want a second layer.
If you want a plan that reads as professional, start with downlighting for the path from the driveway to the door, then add two or three shielded uplights on the strongest vertical features. Homeowners describe exactly that combination, porch downlight plus uplight on stonework, as the warm and inviting version. That is layered lighting, and it is the answer most designers give when asked which direction to pick.
Frequently Asked Questions
Is uplighting or downlighting better for outdoor paths?
Downlighting is the right choice for paths, steps, and driveways. Light from above lands directly on the walking surface and the edges of each riser, which is exactly what you need to see. Light from below rakes across the surface and throws branch shadows over the path, which looks attractive but makes the ground harder to read. Aim soffit or rail-mounted fixtures at the path itself, not at the planting beside it.
Are outdoor uplights more likely to cause glare?
Yes, uplights cause glare more often because they sit at or below eye level where people sit and stand. Any part of the fixture that is visible sends light straight back at the viewer. Hooded or regressed fixtures, aiming the beam slightly past the target instead of directly at it, and placing fixtures behind shrubs or boulders all reduce the problem. If you see the bulb from the patio, it is in the wrong place.
Can uplighting and downlighting be used together?
Yes, and most good outdoor lighting plans combine the two. Downlighting handles the path of travel and any surface you need to see, while uplighting handles vertical features like trees, columns, and stone walls. Doing only one direction tends to leave the yard looking flat or the path looking dark. Layering them, with downlighting first and a few accent uplights on the strongest features, reads as a deliberate design.
What color temperature works best for outdoor lighting?
Warm white in the 2200K to 3000K range suits outdoor spaces best. Most homeowners and landscapers prefer 2700K or lower because it flatters stone, brick, and bark and keeps insects from clustering as tightly around fixtures. Anything above 4000K reads cold and commercial outdoors. Staying consistent across fixtures also matters, since mismatched color temperatures are one of the most common complaints from people replacing fixtures years later.
Can solar lights provide both uplighting and downlighting?
Solar fixtures handle uplighting and downlighting in different ways. Solar path markers and stake lights send light down onto paths and bed edges, and a small solar spotlight aimed at a tree can work for accent lighting. Large effects such as moonlighting, where a fixture is mounted high in a mature tree, rarely work on solar because the tree blocks the panel from the sun. Use solar for markers and small accents, wired power for anything you want reliably visible after dark.
Conclusion
Uplighting is for vertical features and atmosphere. Downlighting is for ground-level visibility and safety. Pick the direction that solves the problem you actually have, then worry about fixture placement and shielding so the light stays where you want it.
Start with the one area you want to fix. If the path is dark, downlight it. If the house looks flat, put two hooded uplights on the best vertical surfaces. Then stop and look at it from the street before adding anything else, because over-lighting is the mistake that turns a good plan into a hot spot.