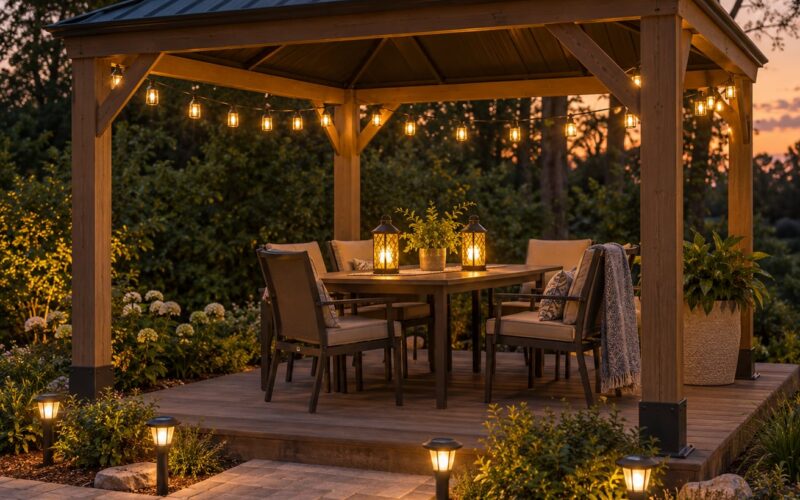
If you are wondering how to hang string lights on a patio, it comes down to two jobs: put a solid anchor point at each end of the run, then hang the strand from something that carries the weight. The simplest version is a screw eye or adhesive hook at each corner with the strand zip tied between them. The version that holds up in wind runs a galvanized or vinyl-coated steel guide wire first, tensions it with a turnbuckle, and zip ties the lights to that wire so the light cord never carries the load.
Start with outdoor-rated strands, an exterior GFCI outlet, and either two anchors or two poles. A single 20-foot run across a patio takes about an hour once the hardware is out. If you have brick, stucco, or a lease that says no holes in the siding, jump to the no-drill section further down.
Table of Contents
- What You Need
- Lighting and cable
- Hardware
- Tools
- Electrical
- Skip the tools when you can
- Step-by-Step: How to Hang String Lights on a Patio
- 1. Measure the span and sketch the run
- 2. Find solid material for each anchor
- 3. Install the anchors or poles
- 4. Run the guide wire and tension it
- 5. Zip tie the strand to the wire
- 6. Route the power safely
- 7. Test it at night, then walk the run
- How to Choose the Right Mounting Point
- How to Plan the Layout Before Drilling
- How to Hang Lights Without Drilling
- How to Secure Cords and Protect Connections
- Common Mistakes
- Using indoor-rated lights
- Drilling into brittle masonry and splitting the trim
- Daisy-chaining extension cords
- Cabling around a tree
- Leaving cords across the walkway
- Skipping the test
- Forgetting the manual
- Frequently Asked Questions
- Can patio string lights stay outside in the rain?
- What can you hang string lights from?
- How do I hang string lights from a pergola?
- Will command strips hold string lights?
- Do outdoor string lights need to be plugged into a GFCI outlet?
- When should I hire an electrician instead of doing it myself?
What You Need
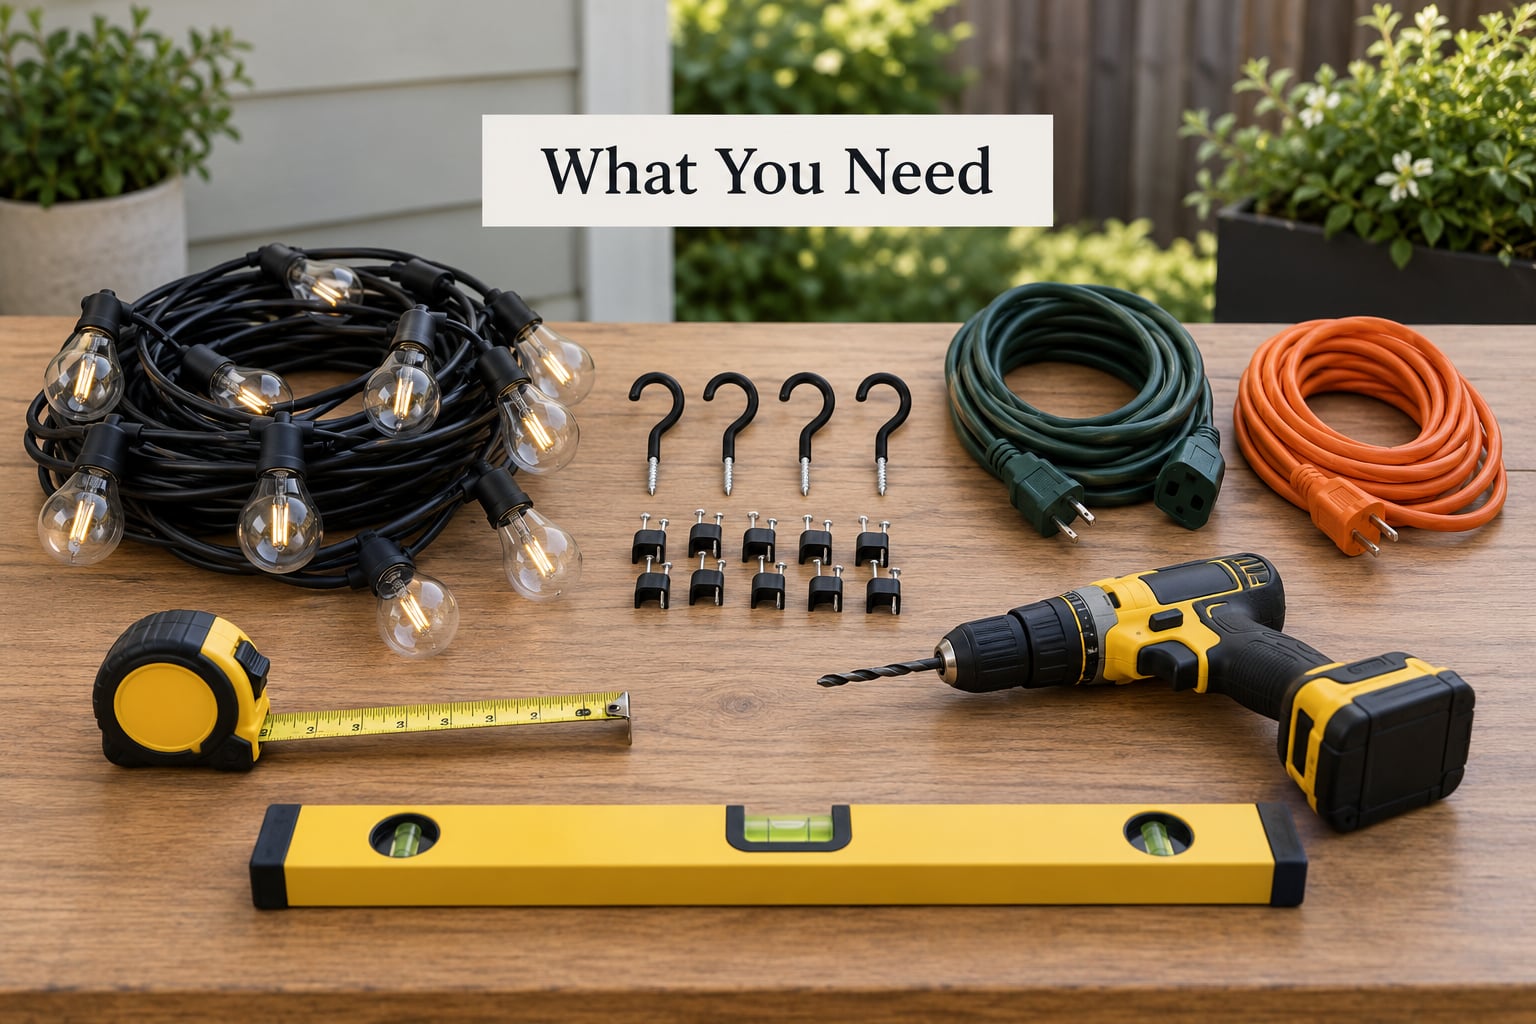
Most of this list is small hardware, and the pieces that look expensive are usually the least specialized. Group what you need into four buckets so you can tell at a glance if something is missing.
Lighting and cable
- Outdoor-rated string lights with a weather-resistant socket and a fused or replaceable bulb system. Skip anything labeled for indoor use only.
- Galvanized or vinyl-coated steel cable for the guide wire. Vinyl coating resists rust and hides the cable against dark wood.
- Enough cable for the full span plus 6 inches at each anchor for the knot or clamp.
- Outdoor-rated zip ties or cable clips, 4 to 6 inch, for attaching the strand to the wire.
Hardware
- Screw eye hooks or eye bolts for wood, siding, and masonry anchors
- Turnbuckles at one end of each run to tension the wire
- Spring snap hooks so you can remove the lights in a hurry for storms or winter
- Masonry bits and anchors if you are hitting brick, stucco, or stone
Tools
- Tape measure, pencil, and a level
- Drill with a bit matched to the surface
- Adjustable pliers for the turnbuckle
- A ladder tall enough to reach the anchor without stretching
Electrical
- Exterior-rated cord if your nearest outlet is more than about 10 feet away
- In-use weatherproof cover for the outlet
- An outdoor smart plug if you want a timer or app control
Skip the tools when you can
If your run is under 15 feet, both ends are smooth siding, and the lights weigh very little, you need a tape measure, a level, and some adhesive hooks. No ladder, no drill, no cable. Know when a job is small before you buy a drum of wire.
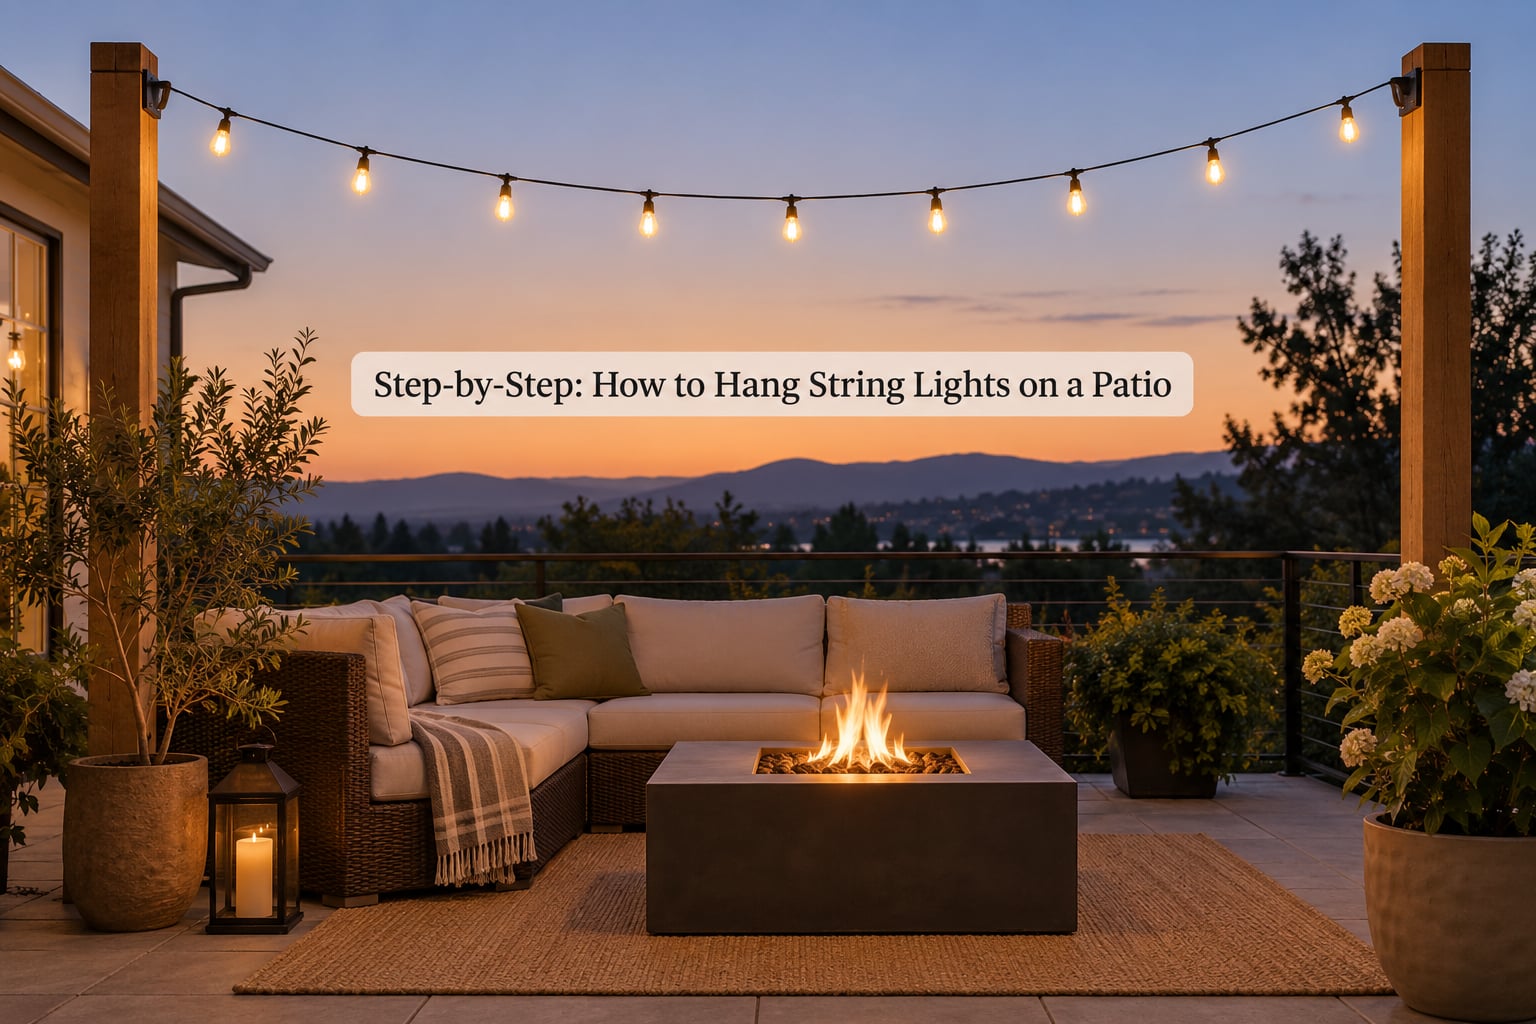
Step-by-Step: How to Hang String Lights on a Patio
1. Measure the span and sketch the run
Measure from anchor point to anchor point, not the patio width. Then add 3 feet of slack per 20 feet of span so the wire has somewhere to hang without pulling hard on the anchors. Sketch the run on paper before you touch a drill. You want to see where it crosses a door swing or a walking line before it is already there.
How you know it worked: the measured number matches the distance between your planned anchor points.
2. Find solid material for each anchor
On the house side, look for a rafter tail or a ledger board behind the fascia. The trick every builder uses: look for the trim nails at the top plate through the soffit vent, then drive your screw into that framing rather than into the thin trim. If you cannot find framing, use a masonry anchor in brick or stucco. A pilot hole about three-quarters the diameter of the screw makes the job cleaner and keeps the fastener from splitting the wood.
How you know it worked: each eye hook or eye bolt wiggles less than a quarter inch before you start hanging anything.
3. Install the anchors or poles
Screw the eye bolt into wood, or drill and set a masonry anchor and let it cure. On the far end, install the freestanding pole in a planter weighted with concrete or sand, and leave the pole sticking up at least 8 feet above the ground so the wire clears head height.
How you know it worked: both anchors sit at the same height. Hold the tape across them and the bubble stays centered.
4. Run the guide wire and tension it
Thread the cable through one eye and attach a turnbuckle at the other. Turn the turnbuckle body until the wire is tight but not singing. A good sag is about one tenth of the span, so a 20-foot run drops roughly 2 feet at the middle. Check the cable working load limit on the spool and stay well under it.
Without the guide wire, the light cord carries the whole load and sags into a frown within a season. The consensus on r/landscaping is to run a 1/8 or 3/16 inch galvanized steel cable between the posts first, then hang the lights from that, because the cable takes the load and the strands last longer. Snap hooks also make takedown for winter a five-minute job.
How you know it worked: the wire is straight enough to read a level against, with an even, deliberate curve in the middle.
5. Zip tie the strand to the wire
Add the bulbs last if the strand is long, because an unlit strand is much lighter to lift. Starting at one end, loop an outdoor-rated zip tie around both the cable and the light cord, snug it, and clip the tail. Space ties every 2 to 3 feet, and skip the hanging holes built into many bulbs since zip ties let you swap a dead strand without touching the wire.
How you know it worked: tug the strand gently along its length and it does not slide on the cable.
6. Route the power safely
Plug into an exterior GFCI outlet inside an in-use cover. If you need a cord, use an outdoor-rated extension cord with a jacket built for wet locations, and never daisy-chain two cords together. Keep the cord along the house wall or under a railing rather than stretched across a walkway.
How you know it worked: the lights hold steady when you spray the connection with a hose for ten seconds.
If there is no outlet anywhere near the patio, you have three ways forward. The first is a licensed electrician adding an exterior receptacle, which is the right answer for a permanent install. The second is an outdoor-rated cord run along a wall to wherever power already is. The third skips wiring entirely: solar string lights charge during the day and switch on at dusk, and battery strands give you the same freedom with a swap-in pack. Solar runs shorter on cloudy stretches and you have no say over the brightness level, but for a patio with no power nearby it beats running a cord through a doorway.
7. Test it at night, then walk the run
Turn everything on and look from the middle of the patio, not from the door. Look for dark gaps, ties sitting crooked, and any part of the run low enough to catch a shoulder. Adjust the tension before you call it done.
How you know it worked: the light reads as an even glow across the space and nobody has to duck.
How to Choose the Right Mounting Point
Patio walls are the strongest option when you can hit framing or use masonry anchors, and they double as a place to hide the plug end. Fascia and soffit are popular but thin, so drive into the rafter tail behind them rather than the board itself. Posts and fence pickets work if they are thick enough to hold an eye hook, and railings work for short runs along a deck edge.
For longer spans, pick the cable diameter by distance rather than by how strong it feels.
| Span between anchors | Suggested cable | Expected sag |
|---|---|---|
| Up to 10 ft | 1/16 in galvanized steel | About 8 to 12 in |
| 10 to 20 ft | 1/8 in galvanized steel | About 1 ft |
| 20 to 30 ft | 3/16 in galvanized steel | 1 to 1.5 ft |
| Over 30 ft or heavy commercial bulbs | 3/16 in vinyl-coated wire rope | Split into two spans |
These are working rules, not load ratings. Read the working load limit printed on the spool and stay well under it, because the limit assumes the cable is straight and rain and ice add weight most people forget.
Pergolas and gazebos need attention to the ceiling, not the walls. Screw into a beam or rafter, never into the thin canopy fabric or a decorative slat, and stay clear of any ceiling fan blade path. Manuals vary, so check the fan’s own instructions and keep the run well out of the swing. Under a covered patio, attach to the joists above the ceiling panels if you can reach them; moisture collects on the top of a panel and a wire stapled to the face of it will sag as the panel sags.
Freestanding poles in planters are the anchor point you can move later. They work on rentals, and they follow the patio if you change the layout. They do need a heavy base, since an empty planter tips the first time wind catches the strand.
How to Plan the Layout Before Drilling
Choose your pattern first, because the pattern sets the spacing. A straight run needs the least hardware and the least cord. A swag means you run the wire taut, then slack the light cord into arcs between anchors. A zigzag uses two anchor lines and alternating attachment points. Perimeter follows the edge of the deck. A canopy crosses the middle to make a ceiling of light over a table.
A swag is the one most people want, and the one most likely to go wrong. Slack the cord by roughly one third of the distance between your wire anchors, not the wire itself. Slack it too little and you get a tight, flat arc. Too much and the bulbs hang down where people walk.
Two rules cover most mistakes. Stay six inches clear of anything hot, and never run a cord or cable across a walkway, a step, or a gate. If the light has to cross a path, take it up at the post and run the wire high overhead so people walk underneath it, not over it.
Work out the bulb count while you are still measuring. Bulbs sit somewhere between 12 and 36 inches apart, and strands come in fixed lengths, so the answer is usually how many strands you need rather than how many feet to buy. A 12-foot strand over a table and a 48-foot strand around a whole perimeter are solving different problems.
Planning comes first here. Ten minutes of sketching saves you from drilling a fifth anchor you cannot use.
How to Hang Lights Without Drilling
These methods are the difference between finishing a rental and calling a contractor. Each one has a load ceiling, and it is worth being honest about where that ceiling is.
| Method | Best surface | Load reality |
|---|---|---|
| Adhesive hooks or removable strips | Smooth vinyl or painted siding, flat soffit | Fine for a lightweight strand under 15 ft. Heat and wind are what fail them, and they can leave a mark. |
| Gutter clips | Rain gutter edge | Good for a single run; the clip depends on the gutter staying put |
| Umbrella table clips | Patio umbrella ribs and table rims | Short runs only, and they come down with the umbrella |
| Tension hooks and telescoping poles | Flat walls and deck posts | No holes, and the wire stays taut with no sag |
| Poles in weighted planters | Any open patio | Strongest no-drill option. Weight the base with concrete or sand. |
| Zip ties to existing fixtures | Railings, hooks, fence pickets | Fine if something solid is already there |
On command strips specifically: homeowners debate them endlessly, and the real answer is that they hold a light strand on smooth siding in mild weather and let go in summer heat or a gust. They are a real option for a small run and a poor choice for a long span with heavy commercial bulbs. Never hang a guide wire from them. If you need a heavier run and cannot drill, spend the money on weighted planters instead.
How to Secure Cords and Protect Connections
The failure point on outdoor lights is almost never the bulb. It is the connection. Every place two pieces of cord meet should sit lower than the wire above it, so water runs off instead of into the joint. That shape is called a drip loop and it takes about a minute to make.
Snap covers or in-use covers over any plug you leave outdoors, and keep the connection off the ground where a hose or a mower can reach it. Clip cords to the wire at the same 2 to 3 foot intervals as the strand so nothing swings free in wind.
To hide the plug end, route it down the wall and through a grommeted hole near an outlet, or run it along a baseboard into a low-profile cover. This is the one place where a small drilled hole pays for itself.
Common Mistakes
Most bad patio light installs are one of these, and every one of them is easy to avoid.
Using indoor-rated lights
Indoor strands have paper or thin plastic sockets that take water and fail. Buy strands explicitly rated for outdoor use and check the label before you hang anything.
Drilling into brittle masonry and splitting the trim
Old brick and stucco crumble if you hit them with a masonry bit in the wrong spot. A pilot hole at about three-quarters the screw diameter, and the right bit for the material, prevents most of it. If the wall is soft or you cannot confirm what is behind it, do not drill.
Daisy-chaining extension cords
Two cords plugged end to end is a fire risk outdoors. One properly rated cord, kept under its length rating and out of standing water, is the rule.
Cabling around a tree
Do not run wire rope around a tree trunk. It bites into the bark as the tree grows and eventually strangles it. If you must attach near a branch, use a wide, padded loop and plan for removal, or attach to a pole instead.
Leaving cords across the walkway
A cord across the path between the table and the door turns a nice evening into a trip to the emergency room. Run the cord along a wall or overhead instead.
Skipping the test
Test the whole run in the dark before you put tools away. A single dead socket or a reversed bulb is a two-minute fix now and a nuisance in six months.
Forgetting the manual
Ceiling fan clearance, dimmer compatibility, and the operating temperature range are all in the instructions. Read them before the run goes up, not after the light fails.
Frequently Asked Questions
Can patio string lights stay outside in the rain?
Outdoor-rated string lights are built to handle rain, but they are not indestructible. Water enters an unrated socket and corrodes the contacts, which causes flickering and a shortened life. Keep every plug connection inside a weatherproof in-use cover, add a drip loop at each joint, and unplug the strand before storms. Lights labeled outdoor-rated can stay mounted year round, though taking them down for winter makes bulb replacement easy later.
What can you hang string lights from?
Anything solid: rafter tails or a ledger board behind the fascia, masonry anchors in brick or stucco, deck posts, fence pickets, pergola beams, or a freestanding pole in a weighted planter. Skip thin soffit trim, decorative slats, and anything that flexes when you push on it. The test is simple: push hard and see whether the anchor point moves at all.
How do I hang string lights from a pergola?
Attach to the beams or rafters, not to the canopy fabric or decorative cross-pieces. Screw eyes into solid wood, run your cable between them, and keep the run clear of any ceiling fan blade path since clearance requirements differ by fan model. If the pergola has no outer posts, run the wire from the house to the nearest beam so the span stays under 20 feet.
Will command strips hold string lights?
Sometimes, and it comes down to the load. Removable strips and adhesive hooks handle a lightweight strand under about 15 feet on smooth siding in mild weather. They tend to fail in summer heat or a gust, and they can leave residue or a shadow on the siding. Never hang a guide wire from an adhesive hook. For a heavy run, weighted planters and poles are a better answer.
Do outdoor string lights need to be plugged into a GFCI outlet?
Yes. Outdoor lighting should plug into a GFCI-protected outlet, ideally an exterior one under an in-use weatherproof cover. GFCI protection trips when current takes an unintended path through moisture, which is exactly the condition an outdoor strand lives in. If you have no exterior outlet nearby, have a licensed electrician add one rather than running a cord across a doorway or under a door.
When should I hire an electrician instead of doing it myself?
Hire one when you need a new exterior outlet or a new circuit, when your only outlet is indoors and the cord would cross a door or walkway, or when the panel work is anything beyond plugging into an existing exterior receptacle. Hanging hardware, running cable, and attaching strands are ordinary homeowner work. Anything that means opening the panel or running new wire belongs with a licensed electrician.
When you are working through this for the first time, do one thing before anything else: measure the span and find solid material at both ends. Everything after that is ten minutes of hardware. Once the anchors are in, run the guide wire, hang the strand, and check the whole run at night.