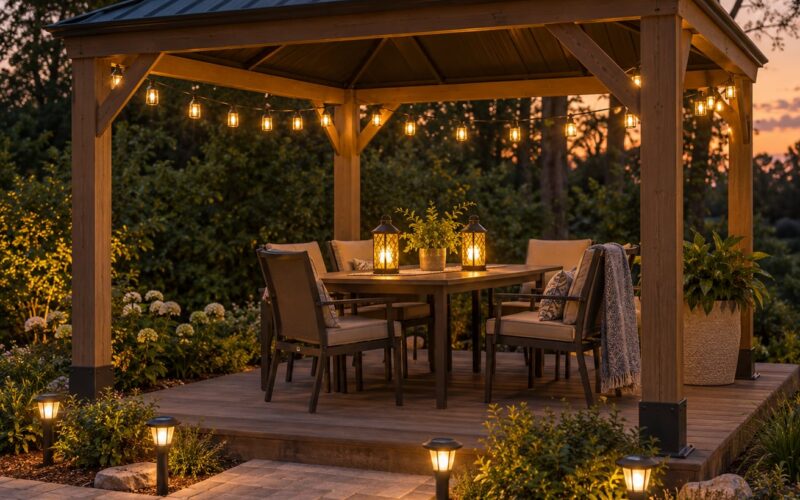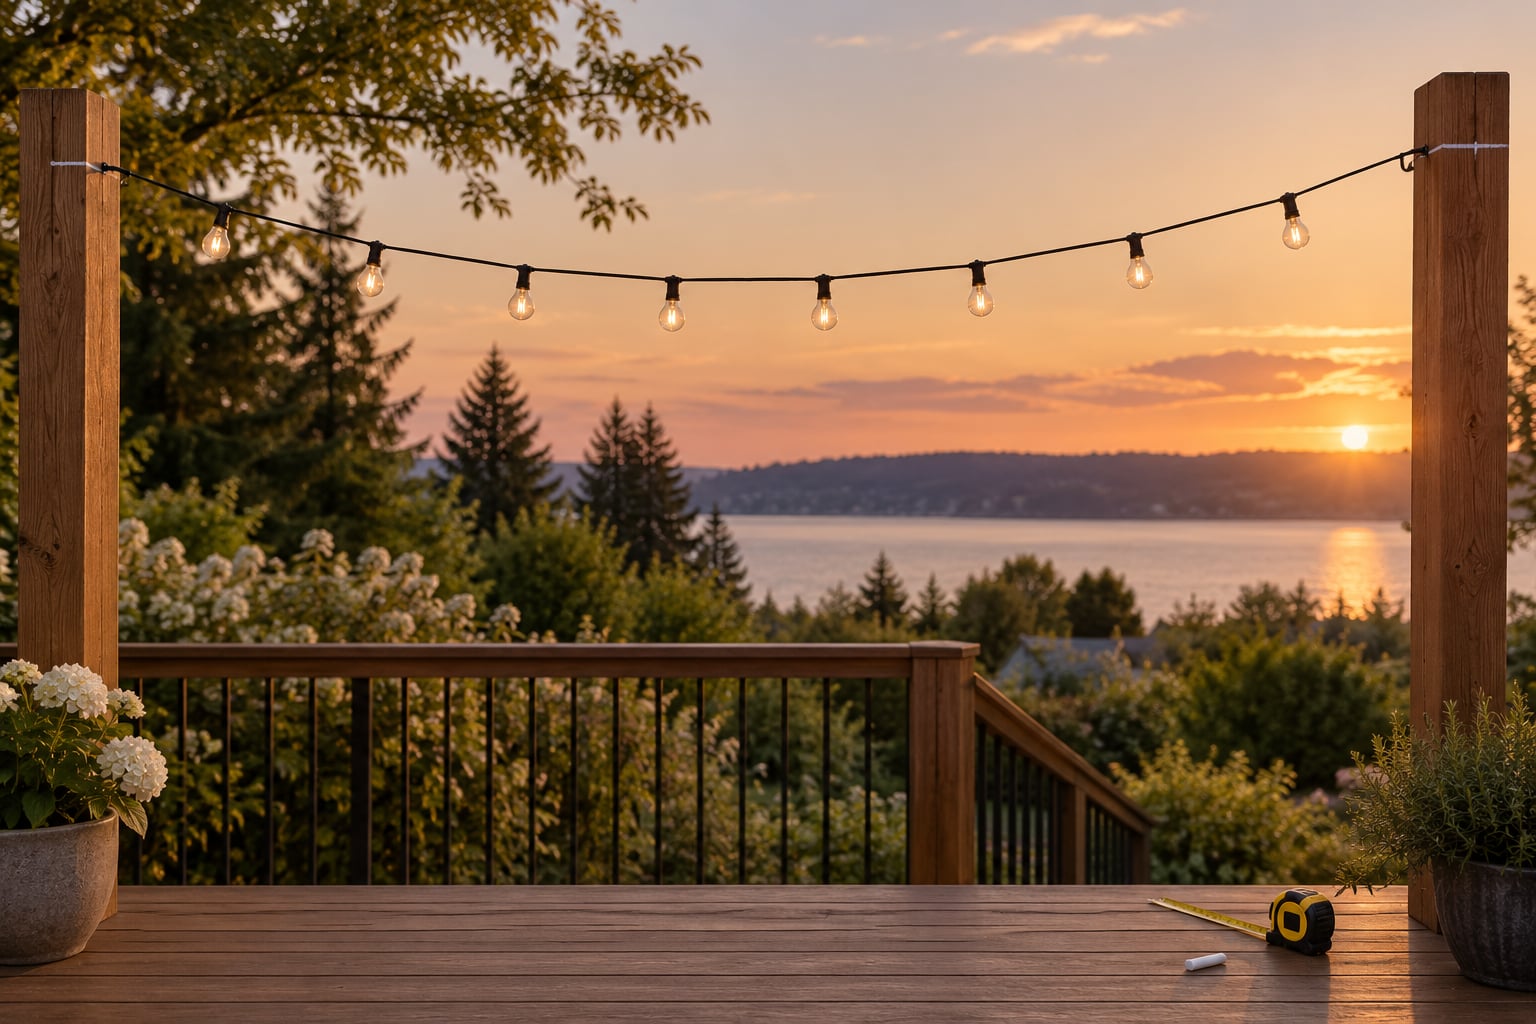
To space string lights evenly, work backward from the bulb count, not the feet of cable. Your anchor points are the number of bulbs you want in each gap, plus one, and you need 10 to 15 percent more cable than the straight-line distance so every span hangs in the same shallow curve. Nearly all of the work happens on the ground with a tape measure, before anything is drilled.
The reason runs look crooked is almost never the lights themselves. Bulb spacing is fixed on the strand. The only lever you control is where the cable is fixed, and where it sags once it is up.
A typical patio run takes about an hour once you have planned it, and it is a one-person job with a ladder. The planning takes twenty minutes. Skip that and you will be up a ladder in the dark moving hooks with cold hands.
Table of Contents
- What You Need
- Step-by-Step: How to Space String Lights Evenly
- Measure the Full Cable Run, Not the Straight Line
- Calculate and Mark the Anchor Points
- Install the Lights at the Same Height
- Adjust the Strand and Check the Finish
- Common Mistakes to Avoid
- Frequently Asked Questions
- How far apart should outdoor string lights be?
- How much slack should I leave in string lights?
- How high should I hang outdoor string lights?
- Do you need guide wire for outdoor string lights?
- How many string lights can you connect together?
- How do I fix string lights that sag in the middle?
- Conclusion
What You Need
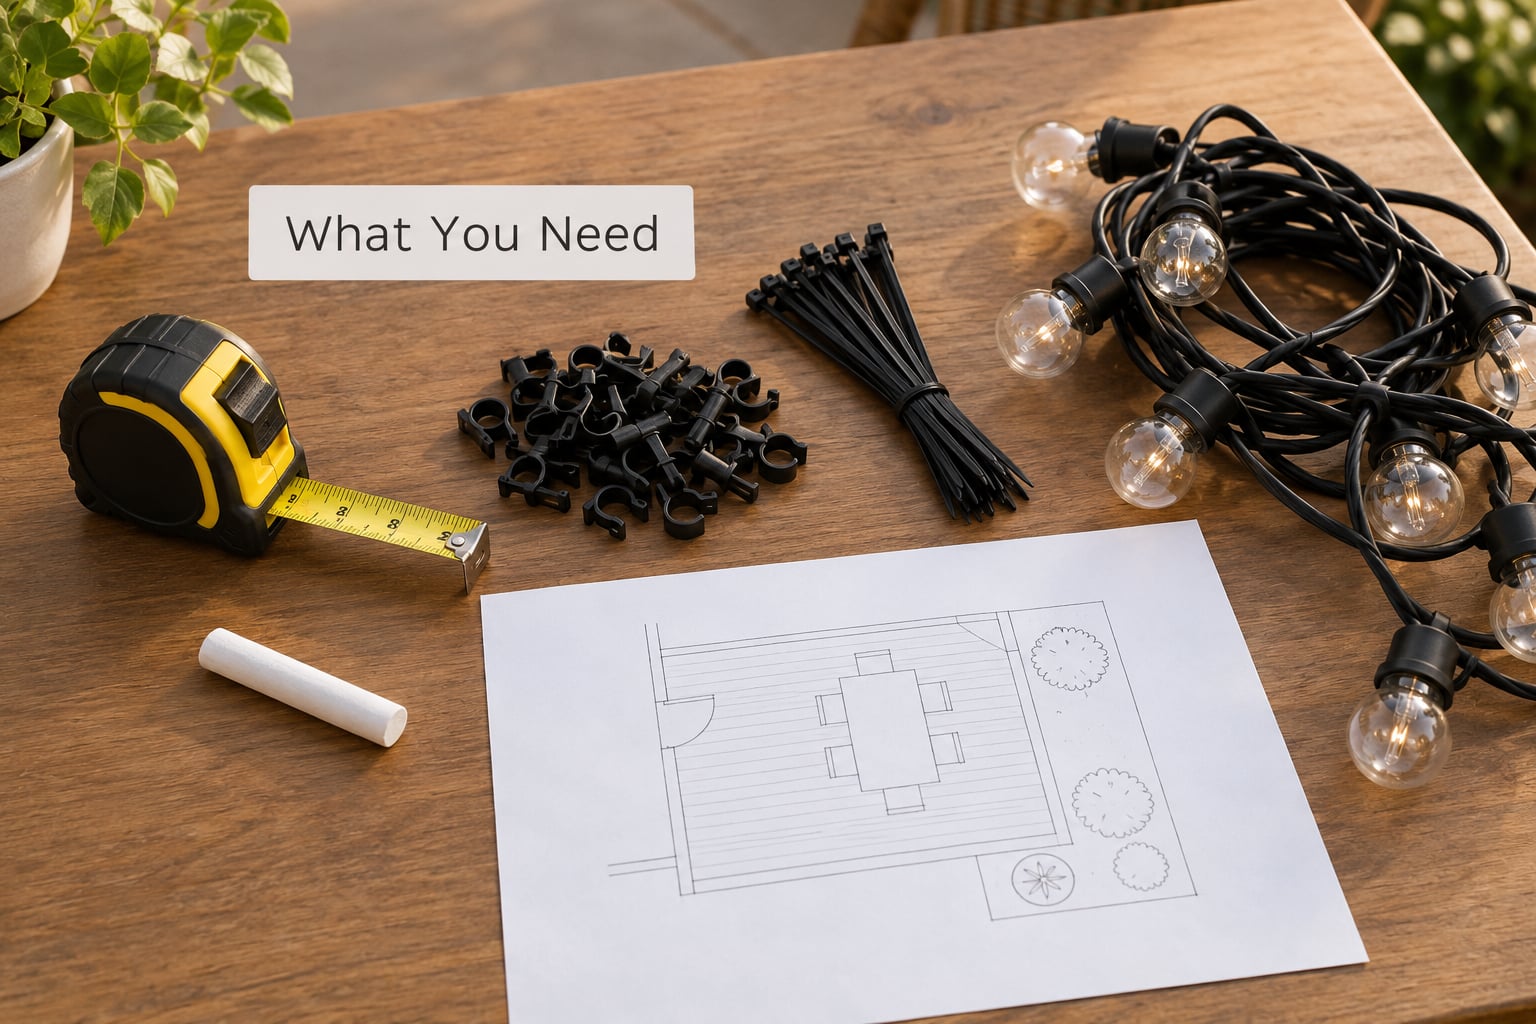
Gather everything before the first hook goes in. Half-finished anchor work is when runs end up uneven, because you start placing hooks wherever you happen to have one.
- Tape measure, 25 feet or longer. A short one forces you to walk a span twice and lose count.
- Chalk or painter’s tape for marking anchor positions on posts, siding and concrete.
- Screw eyes, shepherd’s hooks or Q-hanger hooks for wood, soffits and pergola beams. Coaxial cable clips work for siding runs, and cable ties handle railings.
- A short level, or a tape measure to check each hook against the ground.
- Drill plus a masonry bit if you are hitting brick or stucco. For stucco, use masonry screws or adhesive hooks rated for outdoor weight rather than indoor strips.
- A step ladder, and a second pair of hands for the first tension check on a long run.
- Outdoor-rated lights with a weatherproof connection and a GFCI-protected outlet. If you need new wiring, that is a job for a licensed electrician.
Take the glass bulbs out before you hang anything. They clank against each other while you work and that is how they crack.
Step-by-Step: How to Space String Lights Evenly
Measure the Full Cable Run, Not the Straight Line
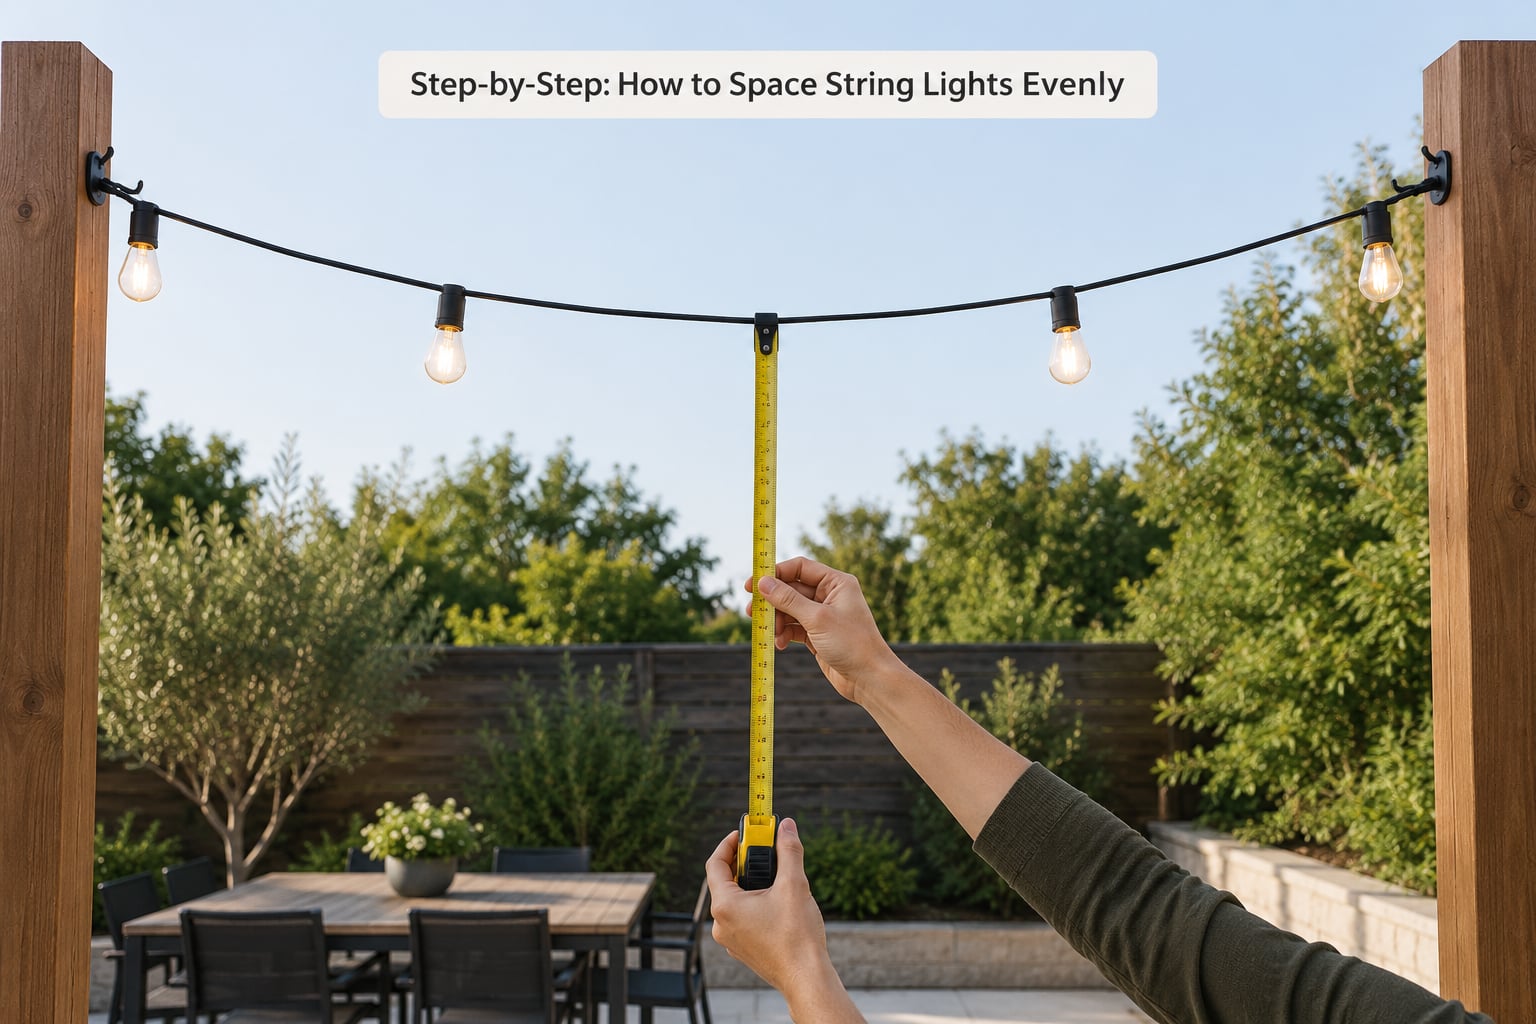
Start at one fixed anchor and walk the route the cable will actually take, tape extended, counting past every post, tree, bracket and corner. Write down the number. The single most repeated tip from experienced DIY installers is exactly this: measure the distance the cable will run rather than measuring a straight line.
The difference is real. A 20 foot straight span across a patio that detours around a downspout and a tree limb can easily be 23 feet of cable. Measure the straight line and you will be one bulb short with no way to fix it after hanging.
Note where the doors, gutters, AC units and branches sit while you are measuring. Anything within a few inches of the cable path is a place the strand will rub or snag later.
Calculate and Mark the Anchor Points
Now divide. The rule is anchor points equal bulbs plus one, which works out cleanly when you want one bulb per gap, and it generalises like this: spans divided by bulbs per span equals total bulbs plus one. An interior anchor bulb counts in both of the gaps it touches, so a run with 48 bulbs and 3 bulbs in each gap needs 17 anchor points, not 16.
Pick one interval and keep it identical across the whole run. Between 6 and 10 feet is the range most patio and pergola runs land in, and 4 to 6 feet suits mini bulbs and wall runs while 10 to 12 feet suits large G40 globes over a dining table.
- 12 ft span: 3 anchor points, 6 ft per gap, about 13.4 ft of cable with the sag allowance.
- 20 ft span: 4 anchor points, 6.7 ft per gap, about 22.4 ft of cable.
- 30 ft span: 5 anchor points, 7.5 ft per gap, about 33.6 ft of cable.
- 40 ft span: 6 anchor points, 8 ft per gap, about 44.8 ft of cable.
- 60 ft span: 8 anchor points, 8.6 ft per gap, about 67.2 ft of cable.
- 100 ft span: 13 anchor points, 8.3 ft per gap, about 112 ft of cable.
Multiply the straight-line distance by 1.12 to get the cable you need. That extra 10 to 15 percent is the sag allowance, and it is the piece nobody plans for.
Lay the strand out flat on the ground along the route and walk along it, counting bulbs. That confirms the bulb count matches your marked intervals before you touch a drill. If the strand is short, adding a second strand with a different bulb count is what breaks evenness, so check this now rather than after hanging.
Mark each anchor with tape or chalk, then go around and install the hardware.
Install the Lights at the Same Height
Every hook on a run sits at the same height. Eyeballing from a ladder is how one span ends up visibly higher than the next, so measure each new hook from the ground or from a fixed floor line instead.
Over a walking or dining area, 8 to 10 feet above the surface keeps heads clear and the bulbs above eye level. Along a fence or under a pergola, 6 to 8 feet is comfortable. Turn the bulbs to face downward so you see the light rather than the filaments.
Attach the cable to the middle of each hook, not the end, and leave the curve to the cable rather than forcing it. The shape you want is a shallow catenary, close to the curve a rope takes between two posts, not a deep hanging U. Extra sag is not free slack. It shortens the visible gap between bulbs, which is why a deep centre dip reads as uneven spacing even when the bulbs themselves are perfectly regular.
On spans longer than 20 feet, or anywhere the wind gets hold of the strand, run a thin guide wire above the cable and let the lights hang from it. The wire carries the weight and holds the line you measured.
Adjust the Strand and Check the Finish
Walk the run twice. Untangle twisted sections, pull excess cable toward the nearest anchor, and coil or secure the leftover so it does not dangle below the line. If a span sits tighter than the rest, shift cable out of it before you start tightening anything.
Then look at it from where you will actually sit. Turn the lights on after dark, view the run from inside the house, then from the seating area, and check that each gap between hooks holds the same number of bulbs and the same curve. Night is when a run either reads even or does not, so make your fine adjustments in the dark rather than trying to imagine them in daylight.
Common Mistakes to Avoid
Each of these shows up over and over, and each has a two-minute fix if you catch it early.
Eyeballing the intervals. Mark every position with tape before you install a single hook. Tape comes off later, mistakes do not.
Mixing anchor heights. Measure each hook from the ground. One run with a single high anchor is visible from every seat in the yard.
Measuring only one side. For a fence run or a pergola crossing, mark both ends and the middle, then check that the middle lands on the same interval. Runs that are even along the fence and squeezed in the middle are common.
Forgetting the cable path. Doors, branches and downspouts change the length. Add them into your total before you divide.
Leaving different slack in each span. The curve has to match from hook to hook. A span with 2 feet of extra cable next to a span with none is the most obvious error on a run.
Trusting indoor adhesive strips outdoors. On stucco, plaster or siding in sun and heat, use masonry screws, outdoor-rated hooks or staples instead.
Forcing a strand to cover a run it cannot reach. Two strands with different bulb counts in one line is a visible break in the pattern. Pick a longer strand or a count that divides evenly into your intervals.
Skipping the guide wire on a long span. Wind and cable weight will pull the middle down below the line you measured.
Judging the finish in daylight. Wait until dark, then step back ten feet and look at the whole run at once.
Solar string lights follow the same spacing math. The only difference is placement, since the panel needs direct sun in the morning and the run has no cord to trip over.
Frequently Asked Questions
How far apart should outdoor string lights be?
Most patio, pergola and fence runs land between 6 and 10 feet between anchor points, and that interval stays the same for every span. Closer spacing of 4 to 6 feet suits mini bulbs and wall runs, while 10 to 12 feet suits large G40 globes over a dining table. Consistency matters more than the exact number.
How much slack should I leave in string lights?
Add 10 to 15 percent more cable than the straight-line distance between your anchors. On a 20 foot span that is roughly 22 to 23 feet of cable, which produces the shallow curve that makes a run look relaxed. Too little slack leaves the strand flat and stiff, and too much turns the middle into a droop that hides the spacing.
How high should I hang outdoor string lights?
Over a walking or dining area, most people land between 8 and 10 feet above the surface, which keeps heads clear and the bulbs above eye level. Along a fence or under a pergola, 6 to 8 feet works well. Whichever height you choose, every anchor on that run needs to match it, so measure from the ground rather than eyeballing.
Do you need guide wire for outdoor string lights?
Guide wire, a thin stainless or fishing line run above the cable, is worth adding on any span longer than 20 feet or on runs exposed to wind. It carries the weight and keeps the strand from sagging below the line you measured. Short sheltered spans between posts and trees do not need it.
How many string lights can you connect together?
Follow the limit printed on the end connector, which for most connectable patio strands is three daisy-chained runs. Extra strands add weight and sag, and the joined section is usually where an uneven run starts. Power the setup from a GFCI-protected outdoor outlet, and leave any new wiring to a licensed electrician.
How do I fix string lights that sag in the middle?
Loosen the anchor at the low point, shift a little cable out of the dip, and tighten again until that curve matches the rest of the run. If the centre still sits low, add a mid-span anchor with a shepherd’s hook or Q-hanger on a post or wall. A shallow catenary is the goal, not a flat line.
Conclusion
To space string lights evenly, measure the full cable path, add 10 to 15 percent for sag, then divide that length into one interval you repeat on every span. Mark each anchor with tape before you install hardware, set every hook at the same height measured from the ground, and leave the same shallow curve between each one.
Then wait until dark and look at the run from where you sit. That single check catches almost every spacing mistake, and fixing it takes five minutes with a ladder rather than a whole weekend.