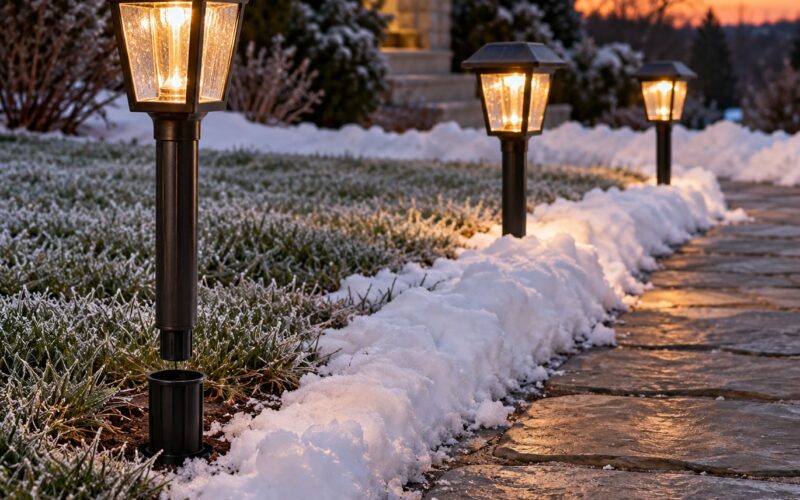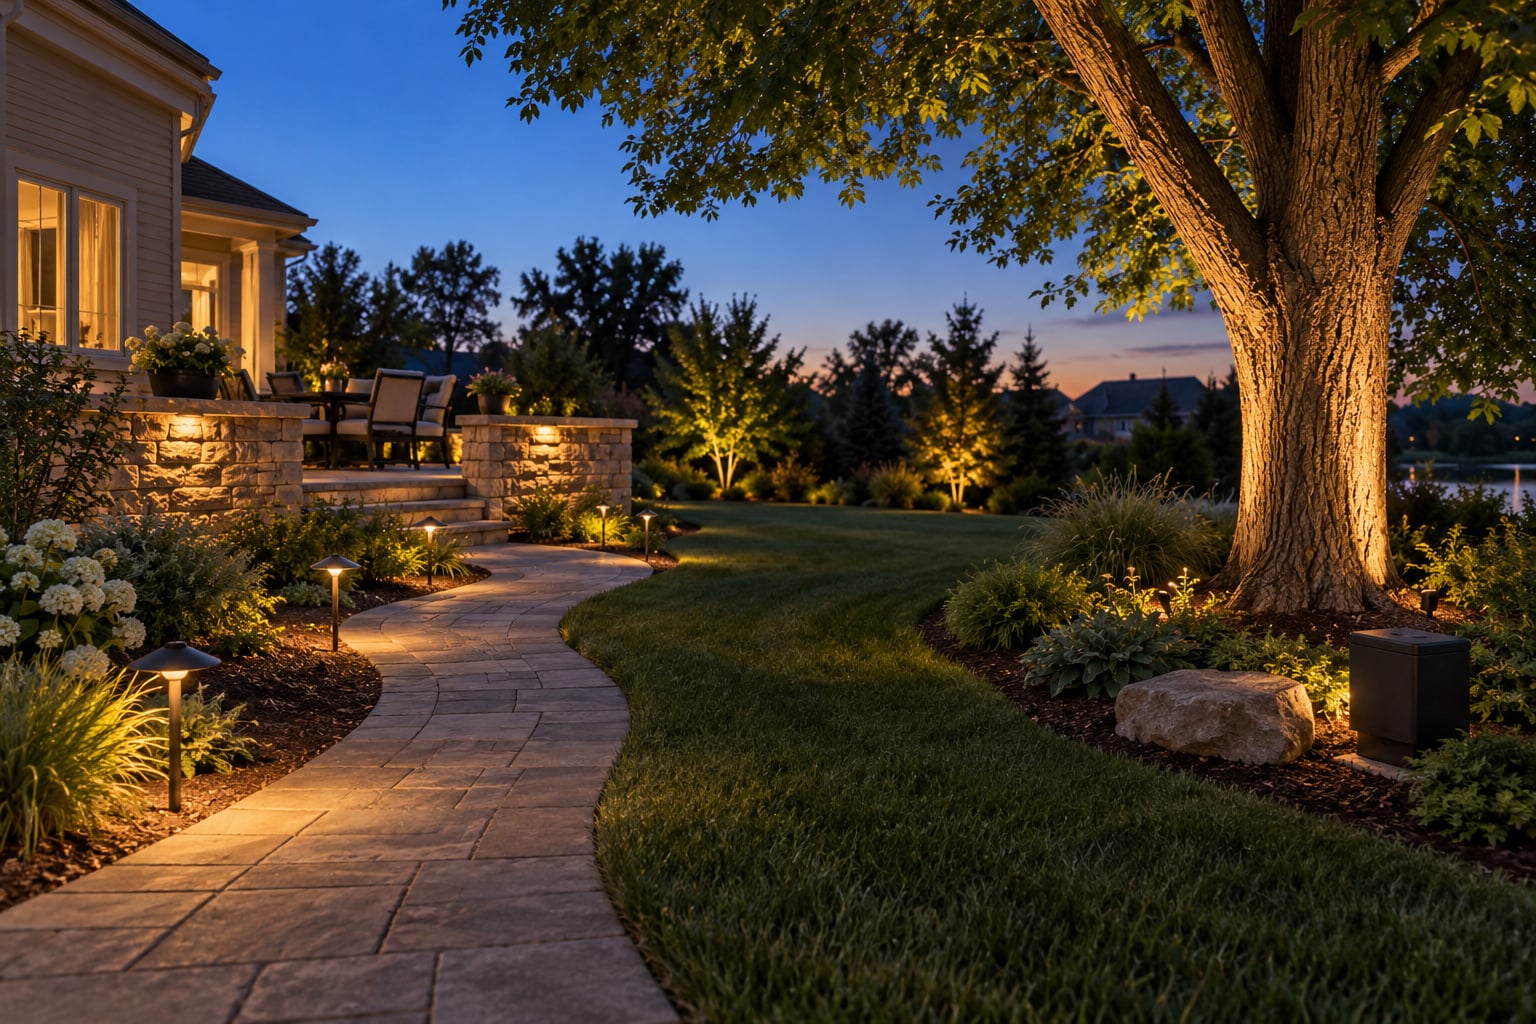
The biggest landscape lighting design mistakes to avoid are all planning errors, not hardware errors: buying fixtures before drawing a layout, mixing brightness across every zone, and aiming light at eye level. Fix those three and most yards look better before a single bulb goes in. Get them wrong and no amount of new fixtures will rescue the result.
Good outdoor lighting does four jobs at once. It keeps steps, paths and entries visible. It shows off a tree, a wall or a column you paid for. It sets the mood after dinner. And it stays safe, serviceable and cheap enough to run that you do not switch it off after a year.
The mistakes below apply everywhere outside the house: paths, patios, driveways, garden beds, trees, walls and gates. Some come from homeowners working from a daylight sketch, others from installers reusing the same fixture in every spot. Both are fixable before the first wire goes in the ground.
Table of Contents
- Landscape Lighting Design Mistakes to Avoid at a Glance
- 1. Designing only for daylight instead of darkness
- What a daylight-only design looks like at night
- 2. Placing too many fixtures close together
- 3. Using one bright fixture for every area
- 4. Ignoring glare from low and backlit fixtures
- 5. Creating dark gaps between zones
- 6. Lighting plants and trees at the wrong distance
- 7. Focusing on fixtures without considering the landscape
- 8. Choosing color temperatures that clash
- 9. Forgetting how trees, shrubs, and structures change
- 10. Neglecting maintenance access and cable routing
- What a serviceable low-voltage run looks like
- 11. Installing lights without a control plan
- 12. Overlooking safety, energy use, and local requirements
- Frequently Asked Questions
- What size transformer do I need for landscape lighting?
- What is the recommended voltage drop for landscape lighting?
- How many landscape lights can I run on a 300 watt transformer?
- Should I use solar landscape lighting instead of low voltage?
- What color temperature should landscape lights be?
- Does landscape lighting increase home value?
- Conclusion
Landscape Lighting Design Mistakes to Avoid at a Glance
| Mistake | What it causes | The correction |
|---|---|---|
| 1. Designing in daylight | Harsh pools, glare, blind spots | Walk the site after sunset |
| 2. Too many fixtures, too close | Overlapping beams, repeated shadows | Space by beam angle and purpose |
| 3. One bright fixture everywhere | Flat, glare-prone yard | Layer functional, accent and ambient light |
| 4. Ignoring glare | Discomfort, light trespass, disputes | Shield fixtures and aim down or across |
| 5. Dark gaps between zones | Hard-to-read steps and transitions | Fill edges with low, even light |
| 6. Wrong distance from plants | Clipped canopies, bright trunks | Match beam angle to distance |
| 7. Ignoring the terrain | Awkward aim, blocked access | Follow paths, walls and root zones |
| 8. Clashing color temperatures | Inconsistent, tired-looking yard | Pick one warm range and stay there |
| 9. Ignoring plant growth | Lights buried in mature shrubs | Leave adjustment room, re-aim seasonally |
| 10. No maintenance plan | Failed connectors, unrepairable runs | Accessible transformer, sealed connections |
| 11. No control plan | All-night glare, wasted power | Zones, timers, photocells |
| 12. Ignoring safety and local rules | Trip hazards, code problems | Low voltage, outdoor-rated, licensed help |
1. Designing only for daylight instead of darkness
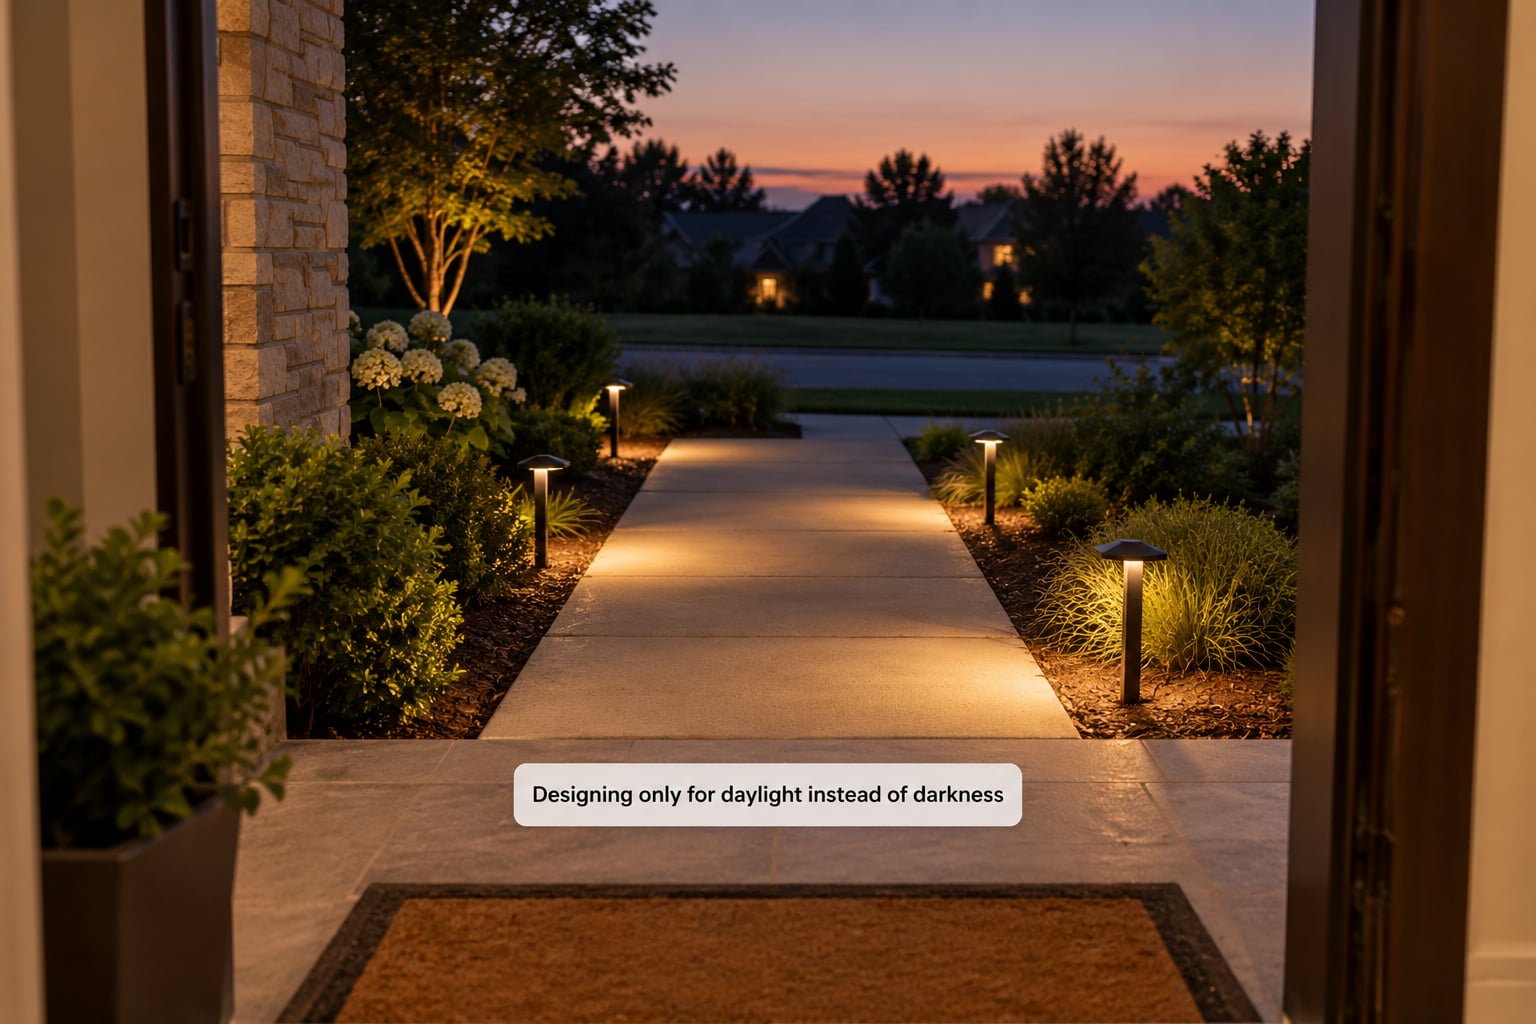
A lighting plan drawn at noon is a plan drawn in the wrong conditions. Under full sun you cannot see where beams land, how bright a fixture reads at night, or how much light spills toward the street. What looks tidy by day turns into a series of hot spots at nine at night.
What a daylight-only design looks like at night
Three signs give it away. Fixtures that vanished against the mulch in daylight now throw hard-edged circles onto a path. The space between two lights goes completely black, because the daytime view filled that gap with shadow detail you no longer have. And the brightest fixtures read as bright squares in the middle of a dark yard rather than as light on a surface.
Test it the evening before you buy. Stand where guests will stand, at the gate, at the back door, halfway up the path. Write down what you cannot see. That list is your lighting plan, and it takes about twenty minutes.
2. Placing too many fixtures close together
Spacing lights a few feet apart is the default most homeowners start from, and it is usually wrong. When two fixtures cover the same ground, their beams overlap and you get two shadows for every object instead of one. The extra wattage buys brightness nobody asked for.
Space fixtures by purpose and beam angle instead of by habit. Path lights in a narrow side yard can sit 8 to 10 feet apart, staggered left and right rather than lined up, so the light reads as a series of pools. An uplight 10 feet from a tree trunk should be paired with one on the other side of the trunk, not stacked next to it.
If you want more light along a path, choose a fixture with a wider beam before you add another hole in the ground.
3. Using one bright fixture for every area
A yard has three distinct lighting jobs and they are not the same job. Functional lighting gets you safely down the path, across the deck steps and along a driveway. Accent lighting draws the eye to a tree, a boulder, a column or a water feature. Ambient lighting sets a low, even base so nothing looks like a void.
Forcing all three into one bright flood type is the single most repeated complaint lighting contractors hear from homeowners. The result is uniform brightness everywhere, which flattens the yard completely. Nothing stands out because everything is shouting.
A layered plan uses a lot of dim, well-shielded light for paths, a few narrower beams aimed at specific features, and nothing at all in some corners. Dark space is part of the design. It is what makes the lit areas read as lit.
4. Ignoring glare from low and backlit fixtures
Any fixture that puts light at eye level creates discomfort, and a shielded fixture pointed into a neighbour’s bedroom creates a dispute. The rule is simple and worth writing on the plan: never aim a light source straight at where a passer-by’s eyes will be.
The fixes are mechanical. Aim downward or across rather than up into a window. Mount path lights low enough that the lens is never above about a foot off the ground. Keep fixtures near a walkway on the far side of the path from the viewer, so the beam faces away from the house.
Warmer light also helps. Cool white at high output reads as harsh indoors through a window, while warm white at the same output reads as soft. Swapping a yard to warmer fixtures tends to quiet the complaints from next door faster than any other single change.
5. Creating dark gaps between zones
Isolated pools of light are worse than even dim light. A lit step followed by four feet of nothing forces your eyes to re-adjust every time, and that re-adjustment is exactly when people trip.
The correction is not to flood the space. Define the edges: light the run from a path light into a step riser, then from the step into the landing, so each surface gets defined without flooding. Where a transition is unavoidable, a low wall wash along a retaining wall or a step light on each riser handles it cleanly.
If you are not sure whether an area is too dark, stand on it at night. If you need your phone to check your footing, it is too dark.
6. Lighting plants and trees at the wrong distance
Tree uplighting is where most DIY attempts fall apart. A narrow-beam spotlight parked three feet from the trunk lights the bark and misses the canopy entirely. Push the same fixture back to 10 or 12 feet and the whole crown fills with light.
Match the beam to the distance. A narrow 15 to 30 degree beam concentrates light and is the right choice for a single mature trunk or a column. A wide flood spreads light and suits a broad canopy or a shrub mass. Stand back and check that the light lands on the feature, not on the lawn in front of it.
One more thing worth knowing: wide wall washers look poor up close. Move them further from the wall and coverage improves noticeably, because the beam has room to spread before it hits the surface.
7. Focusing on fixtures without considering the landscape
The yard you are lighting is a physical object with slopes, retaining walls, mature roots and steps that sit at specific heights. A layout drawn on paper without walking it will put a fixture where a root mass is, or aim a wall washer at a surface that is actually facing sideways.
Walk the site and note where the ground changes level, where the beds hold moisture, where irrigation lines run, and where you would need to stand on a ladder. Plants you are not trying to hit should not need a fixture aimed straight at them.
Materials matter too. Pale stone and light concrete bounce light hard, so a fixture that looks right against dark mulch will look blown out against a flagstone patio. Aim light at the surface you actually have.
8. Choosing color temperatures that clash
Color temperature is measured in Kelvin, and lower numbers are warmer. Most residential yards sit best between roughly 2700K and 3000K. Below 2200K the light turns orange, and above 4000K it starts reading as a parking lot.
The mistake is mixing ranges. A yard with 2700K path lights, 3000K uplights and a 5000K security flood does not look layered, it looks broken. Different sources at different temperatures make the eye read them as different colors rather than as different brightnesses.
Pick one range for the whole property and hold it. If you already have fixtures in a different range, replacing them is usually cheaper than living with a yard that never looks finished.
9. Forgetting how trees, shrubs, and structures change
A lighting plan anchored to today’s foliage is a plan with an expiry date. A shrub bed two feet tall now may be four feet tall and wide in four summers, and a fixture aimed at it will end up buried in the middle of the plant with light bouncing off leaves at eye level.
Seasonal change matters as much as growth. After leaf drop, an uplight that looked soft and full in July exposes the full trunk and branch structure, which can look stark and bare for winter. That is fine, and it is a different look worth seeing, but you should know it is coming.
Leave slack in the plan. Aim uplights a little higher and wider than the current canopy so they still make sense as it grows, and expect one seasonal pass to re-aim a few fixtures. Homeowners who budget for a yearly checkup stop treating that work as a fault.
10. Neglecting maintenance access and cable routing
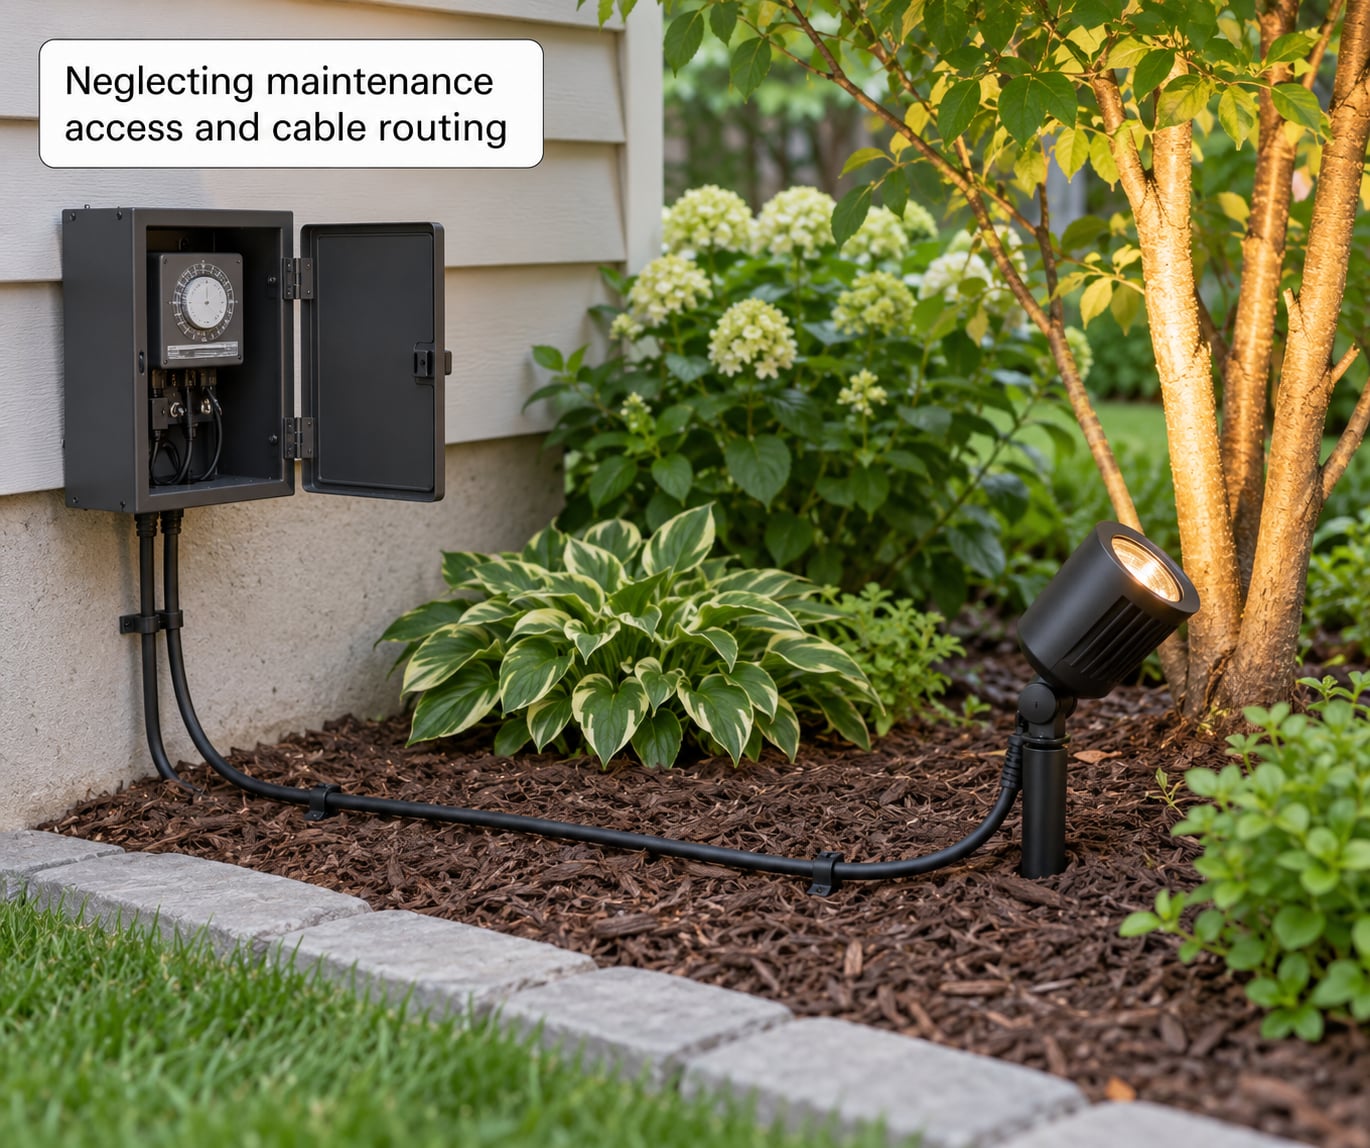
Most landscape lighting failures are not design failures. They are water getting into a connection that was buried and forgotten. The same two culprits show up again and again: pierce-point fittings and wire nuts that were not sealed, both of which let water in and both of which kill fixtures within a season or two.
Cable routing matters just as much. Voltage drop is the most repeated complaint of all, and it shows up as fixtures at the far end of a long run looking visibly dimmer than the ones near the transformer. The cause is simple resistance in the wire, and the fix is heavier gauge, a shorter run, or splitting the load across two circuits.
One practical trick installers use is reverse-looping: instead of running one long circuit out and back, run it out to the far fixtures and return along a different path so both ends feed the middle. Done on a medium yard, it recovers brightness without buying a bigger transformer.
What a serviceable low-voltage run looks like
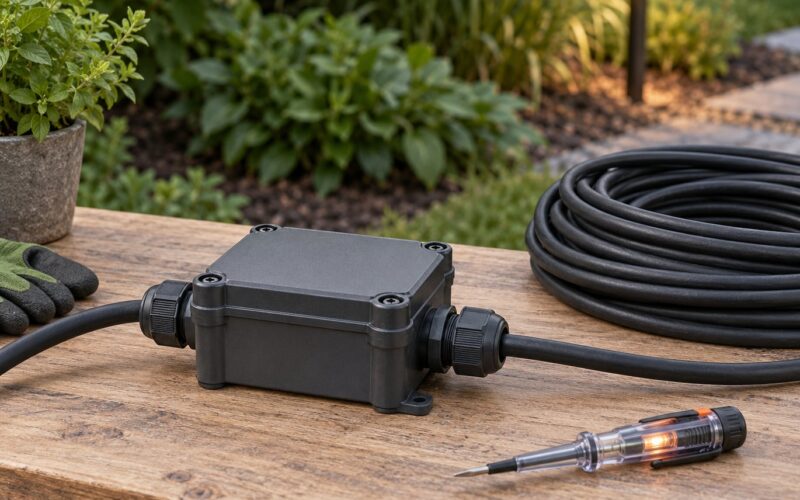
It starts at a transformer you can reach without digging, usually mounted on a wall or in an accessible box near an outlet. From there, cable is routed in an obvious path rather than hidden under a flower bed that will be replanted next spring. Every connection is sealed and above the soil line where water collects. Fixtures pull out or unscrew so a dead one does not mean a shovel.
Keep the transformer somewhere you can reach with a flashlight, not inside a closed cabinet. When a fixture starts flickering, the first thing anyone does is open the transformer.
For any wiring work that touches your home’s electrical supply or the panel, use a licensed electrician and follow the manufacturer’s instructions for the equipment you install. Low voltage is safer than line voltage, but it is still wiring.
11. Installing lights without a control plan
A design with no controls ends up either dark by nine at night because someone turns it off, or blazing at three in the morning because nothing switches it off. Neither is a design, both waste electricity.
Zone the system from the start. Put the path and entry on one circuit, the patio and seating area on a second, and garden beds and tree uplights on a third. Add a photocell or dusk-to-dawn control so the system starts on its own, and a timer with a sensible cutoff so nothing runs all night.
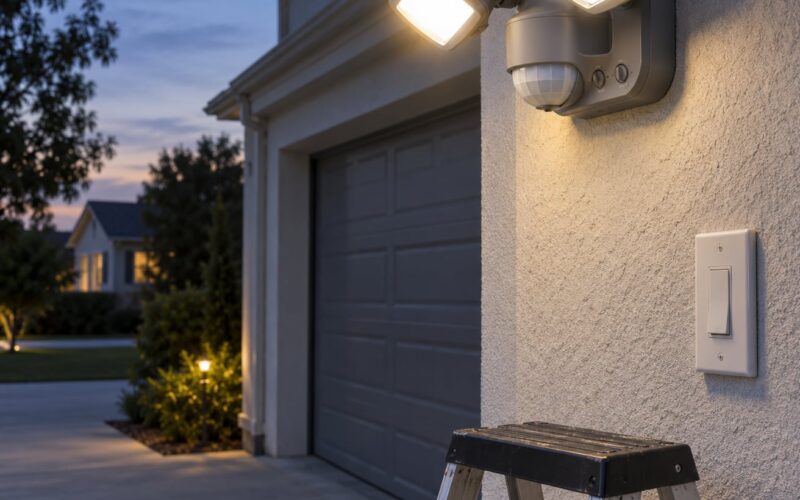
Motion sensors make sense on the back of the house and along side paths, where there is no reason to light an empty area all evening. They make less sense on the front approach, where constant low light is what makes the house look finished from the street. Decide each zone’s behaviour before you buy the transformer.
12. Overlooking safety, energy use, and local requirements
Low-voltage systems are the right default for most residential yards. They are safer if a fixture is exposed, they are cheaper to run, and LED fixtures draw a fraction of what halogen fixtures did. That last point matters more than people expect: a halogen bulb that lasted around a year was routinely being replaced across a yard of 20 fixtures.
Fixtures need an outdoor ingress rating. Look for IP65 or better for anything exposed to rain, and IP67 where fixtures sit in soil or where you get standing water. Coastal and pool-side yards need the higher rating because salt and chlorine attack fittings faster.
Set realistic operating hours. A yard lit from dusk to midnight every night of the year costs more and annoys neighbours more than one that runs until eleven and then dims to a low path setting. Some municipalities also restrict how much light may spill onto the street or a neighbouring property, so check local rules before aiming anything outward.
And be realistic about which jobs you take on. Buried wiring near utilities, anything tied to the house supply, and structural mounting all belong with a licensed professional. Fixture placement and aiming are yours to do.
Frequently Asked Questions
What size transformer do I need for landscape lighting?
Add up the wattage of every fixture, then multiply by 1.25 and round up to the next available size. A yard drawing 190 watts needs roughly a 300 watt transformer. Staying under about 80 percent capacity keeps the unit cool and gives you room to add a light later without rebuilding the circuit.
What is the recommended voltage drop for landscape lighting?
Most low-voltage installers aim to stay under a 10 percent drop from the transformer to the farthest fixture, and under 5 percent on longer runs. Voltage drop is resistance in the cable, which is why lights at the end of a long run look dimmer. Heavier gauge wire, a shorter run, or splitting the load across two circuits fixes it.
How many landscape lights can I run on a 300 watt transformer?
Divide the usable capacity by your per-fixture wattage. On a 300 watt transformer you should stay near 240 watts total, which allows about 48 path lights at 5 watts, or roughly 68 LED path lights at 3.5 watts. Older halogen systems draw far more, so count actual watts rather than assuming.
Should I use solar landscape lighting instead of low voltage?
Solar lights suit a single path or a marker light with no wiring access. They fall short for anything structural: plastic housings fade within a few seasons and small panels give low output after a few cloudy days. Homeowners often end up with a dim runway of repeated markers rather than real illumination, which is why most designers use low voltage for trees, walls and steps.
What color temperature should landscape lights be?
Aim for 2700K to 3000K across the whole property. Below 2200K the light reads orange, and above 4000K it looks commercial. Mixing ranges is what makes a yard feel unfinished, more than any single temperature choice. Pick one range, use it everywhere, and let brightness and beam angle do the layering instead.
Does landscape lighting increase home value?
It can, though no one prices it in an appraisal the way they price a renovated kitchen. What buyers notice is whether the front of the house reads well from the street and whether the yard looks maintained. A well-planned system with no glare, dim spots or dead fixtures supports both impressions. An over-lit, uneven one works against them.
Conclusion
Start with a twenty-minute walk after dark. Mark what you cannot see, decide what deserves to be accented, and group the fixtures into zones before you buy anything. That plan is what separates a yard that looks considered from one that just has more lights in it.
Of all the landscape lighting design mistakes to avoid, buying first and planning second causes the most wasted money. Everything else on this list, from glare to color temperature to voltage drop, gets easier once the layout exists on paper.